Harley Davidson Dyna Glide: How to Replace Battery
Batteries die. It happens. But don't worry because I'm here to help you out. Keep reading and we will take care of the dead battery together!
This article applies to Dyna Glide models (1991-2016).
Batteries die from time to time. Sometimes, they last two years and sometimes they last 10 (rarely). When they do die, it can be a major bummer. It is easy to avoid this issue by changing your battery regularly. I recommend changing your battery every three to four years at a minimum, so you don't end up stranded somewhere. Like most things, all batteries are not created equal. You can get a battery for as low as $45 at an auto parts store or your local Walmart, but they won't last as long as the OEM Harley Davidson batteries for around $110. Beyond that, you could look into race-application batteries such as Odyssey or Anti-Gravity batteries. The sky is the limit, but your best bet is a factory HD battery.

Materials Needed
- 3/8" drive sockets and ratchet combo
- 1/2" wrench
- Short extension for ratchet/socket combo
- Replacement battery
- Red grease
Make sure that the ignition key is in OFF mode and not ACC or IGN. This will prevent the bike from drawing electricity from the battery while you are connecting and disconnecting it.
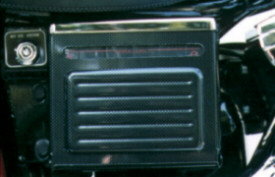
Step 1 – Loosen the battery cover/support
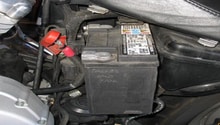
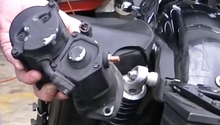
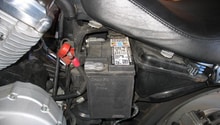
Loosen the battery cover/support and slide it outboard. The battery cover/support looks like a rectangular panel and is located just below the seat on the right side of your Dyna. There are two fasteners here. One is a bolt located just forward of the battery box and the other is a bolt located on the bottom of the battery box. They are both 3/8" and when loosed, they will allow you to slide your battery down and outboard for access.
Pro Tip
On some Dynas, it is easier to slide the battery box out if you remove the seat from the bike. This is not necessary, but it can make the job easier on certain configurations.
Step 2 – Disconnect the old battery
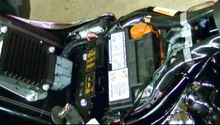
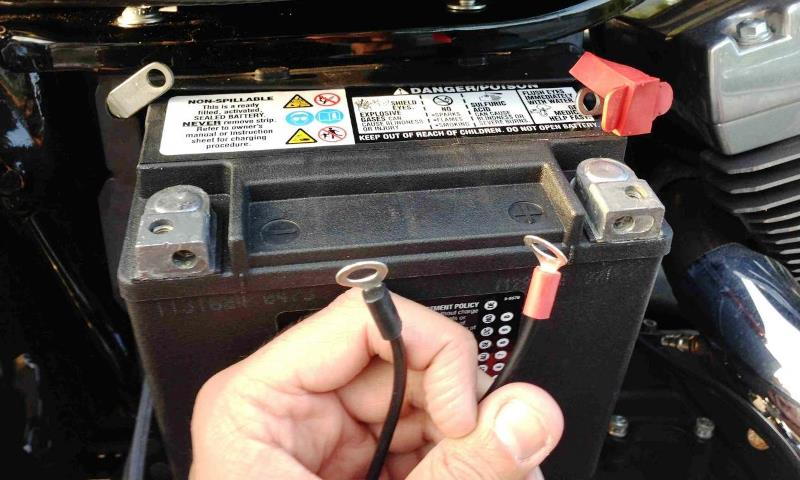
Disconnect the old battery using the nuts on the terminal cables. As with any battery, disconnect the negative terminal first (black cable, "-" symbol) and then the positive terminal (red cable, "+" symbol). This will reduce the chances of you shocking yourself by contacting a wrench on both terminals. After the old battery is disconnected, remove it from the bike.
Pro Tip
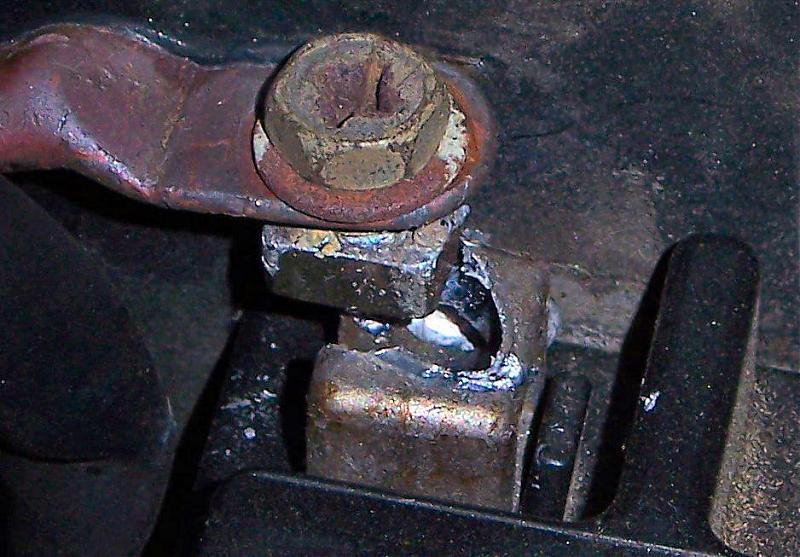
I always like to take a wire brush and clean out the terminals on the cables. This helps to promote a better connection and minimize corrosion.
Step 3 – Install and connect the new battery
Set the new battery in the battery box and connect the terminal cables. Before connecting the cables, apply a small amount of red grease to your new battery terminals to avoid corrosion. This time connect the positive cable first and then the negative cable. Make sure that the positive cable is attached to the positive terminal, and likewise for the negative. Failing to do so could result in damage to your Dyna. Avoid over-tightening the bolts or you can damage your new battery.
Step 4 – Tighten the battery cover/support
Slide the battery box back inboard and up into place. Tighten the bolt that holds the battery box up first, but do not torque it down completely. This will give you a little play to slide the other bolt in that holds the battery box. After you install and tighten the second bolt, finish tightening the bolt that holds the battery box up. All you need to do now is turn the bike on to test it.
Related Discussions
- Dyna Batteries -HDForums.com
- Dyna MC Batteries - HDForums.com