Harley Davidson: How to Clean Foggy Headlight
It can be a real pain to do this, but it seems the extra light and better looking bike would be worth it. After all, it is better to see and be seen than not; it might even save your life.
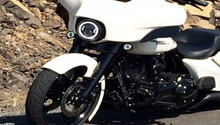
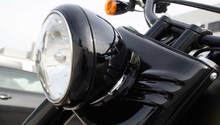
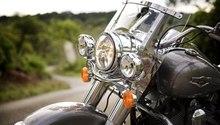
This article applies to the Harley Davidson Sportster, Dyna Glide, Softail, and Touring models with a single round headlight.
One of the first things I learned when I started riding a Harley is to drive defensively. Why? Because nobody is looking for you. One of the best things you can do to drive defensively is done before you ever hop on or fire up your beast. Make sure you can see—and be seen. A foggy or dirty headlight can cause you problems on your ride day or night.
Let's figure out how to take care of the problem. Many consider it quite a pain to do, but it's really not that hard at all. Not only will it make your bike look better, but you'll be able to see better and people will be more able to see you.

Materials Needed
- Rubber gloves
- Soft towel
- Rubbing alcohol
- Paper towel
- Phillips Screwdriver
Step 1 – Remove outer ring of your headlight
The first thing you want to do is remove the outer ring of your headlight. It may be held on by a screw at the bottom, in which case you'll need to use a small screwdriver. On some bikes there is no screw, but in either case, you remove the ring by turning it counterclockwise. Wear some rubber gloves, as this will make it easier to grip the smooth areas on which you're working.
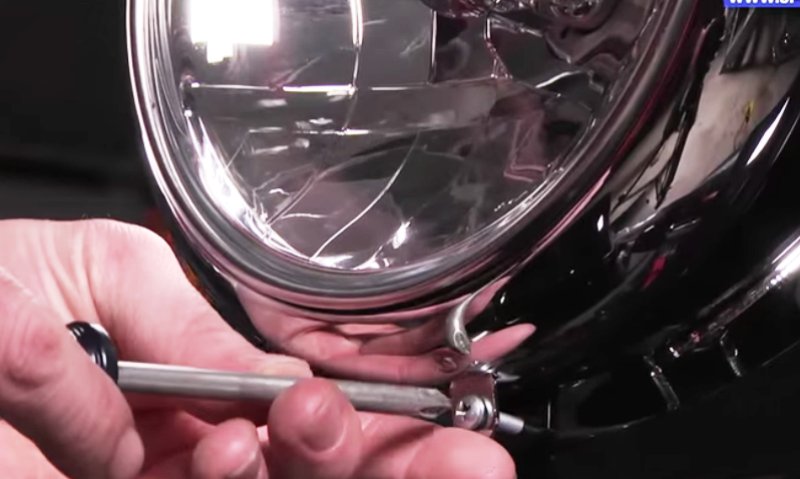
Figure 1. Loosening the screw to detach the outer ring. 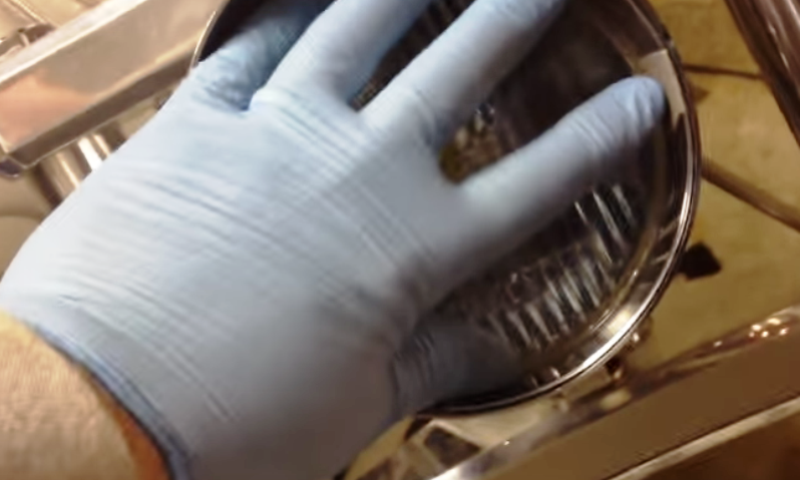
Figure 2. Unscrewing the outer ring (counterclockwise).
Step 2 – Remove inner headlight retaining ring
After removing the outer ring, take your small Phillips screwdriver and remove the three screws holding the inner ring in place. Be sure to hold the headlight securely in place while loosening the screws so the headlight doesn't fall out and break.
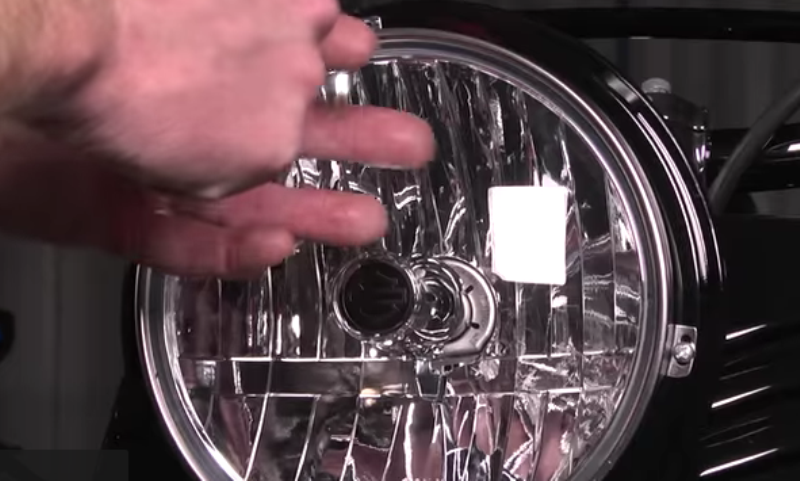
Figure 3. Remove the screws holding the inner ring in place. 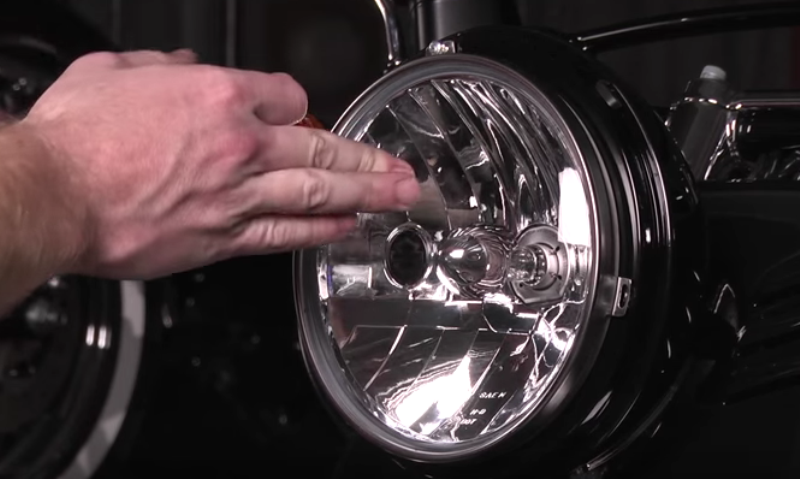
Figure 4. Don't let the headlight fall out.
Step 3 – Remove bulb from the headlight
After removing the headlight, remove the rubber housing that surrounds where the bulb is attached to the headlight. Loosen the set screw that hold the wire clip and then remove the bulb.
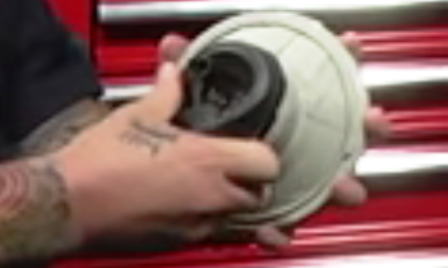
Figure 5. Remove the rubber around the bulb attachment. 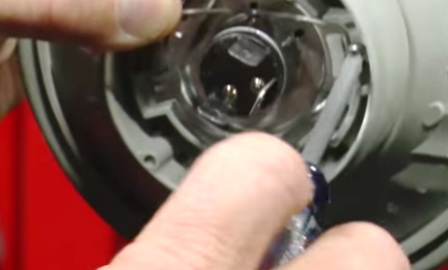
Figure 6. Loosen the set screw and remove the bulb.
Warning
Any oil from your fingers or gloves will adhere to the bulb and cause a hot spot, which will make the bulb blow quickly. Wipe it clean before installing it or turning it on.
Step 4 – Clean inside of the headlight housing
Set the lens unit on a soft towel so as not to scratch anything.
There are a couple of options at this point. You can use some dish soap and water, or just some clean water; some have suggested Windex, but I would be cautious here. I believe the best cleaning agent is some water with rubbing alcohol in it. Take some paper towel (as soft as possible), or a soft cloth, then soak in it your cleaning solution and then stuff it inside the headlight lens.
Either with your fingers, or as some have suggested, some forceps, work the soaked paper towel around inside the lens until it is clean. It may help to make a tool out of a dowel, or bent coat hanger to move the towel around inside the headlight housing, but be careful not to scratch anything inside.
Rinse everything out of the lens and let it dry.
Warning
- Do not use any strong cleaning solutions like Formula 409, or anything with ammonia. It will eat away at the mirrored reflector on the inside of the headlight.
- Use as soft a towel as possible to avoid scratching the reflective surface.
- Do not touch the inside of the lamp housing with anything except the soaked towel (i.e. nothing dry or solid). It can scratch the reflective surface or the clear lens.
Step 5 – Reinstall and you're good to go
Just reverse the steps to put it all back together again. Put the bulb back in the headlight lens housing and tighten the set screw. Reattach the rubber housing around the bulb clip. Put the headlight back in place and attach the inner ring with the three screws. Reattach the outer ring the same way you took it off.
Now, go for a ride, have fun, and be safe.

Related Discussions and Video
- Cleaning Inside Headlight and Passing Light - HDForums.com
- Foggy Headlight - HDForums.com
- Replace an H4 Headlight Bulb on a Harley-Davidson - YouTube