Harley Davidson Softail: How to Change Engine Oil
There's nothing like riding a Harley. Make sure you keep your ride on the road for as long as possible by changing your oil regularly.
This article applies to the Harley Davidson Softail.
Changing the oil in your Softail is one of the most rewarding DIY jobs you can perform on your bike. Fortunately, it is also one of the easiest things to do on your routine maintenance schedule. If you are new to Harley Davidson motorcycles or to riding a bike at all, don't fret or worry about breaking your baby. Changing the oil is easier than taking your dog for a walk around the block. You'll be satisfied knowing you did this job on your own and ecstatic when you find out that you saved yourself at least one large bill by not taking it to a pro to do this simple task for you. Follow this guide to learn how to change the oil in your Harley Davidson Softail.

Materials Needed
- Replacement oil (either Dino or synthetic will do)
- Catch pan
- Replacement oil filter
- Shop rags
- Oil filter wrench (optional)
- Torque wrench
- Motorcycle lift or 2x4 block of wood (optional)
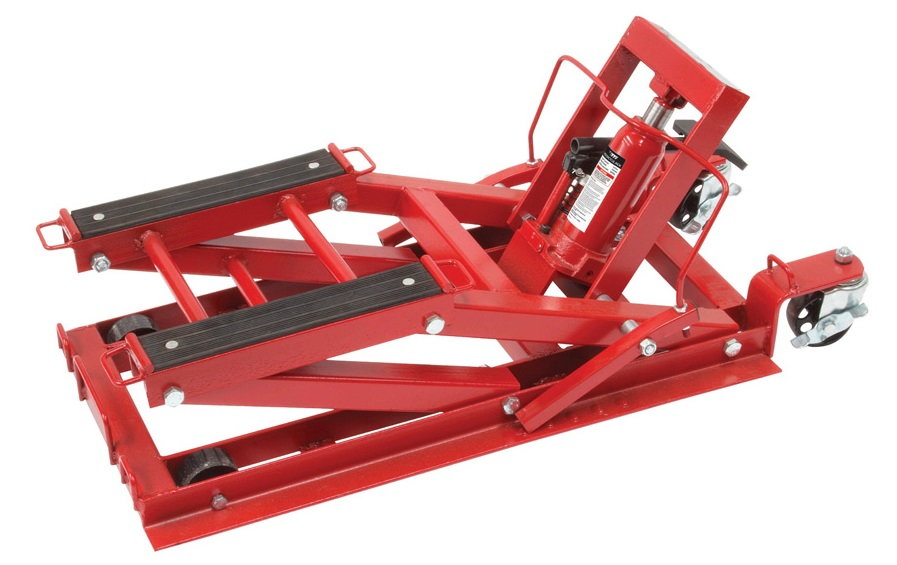
Step 1 – Get your Softail straight up
If you are fortunate enough to have access to a good motorcycle lift, you are a step ahead of the game. These items make maintaining your bike so much easier, but they are not required by any means. You can achieve a close to upright position by using a block of wood such as a 2x4 and placing it under the kickstand. If this makes your belly queasy just thinking about that, no worries because she'll still be stable and you can always forgo the block of wood and have a helper sit on the bike to keep it straight up. We do this because we get a much more accurate reading of the oil level when the bike isn't tilted like it is when it's on the kickstand.
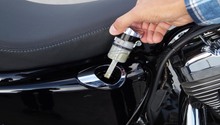
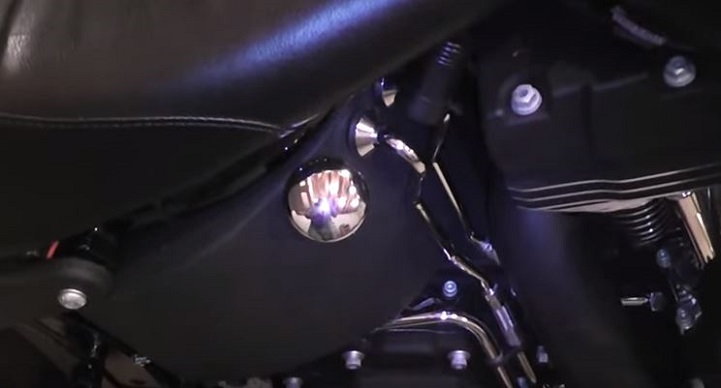
Step 2 – Warm up bike and open oil fill cap
Warm up your bike a little, as this will help thin the oil and let it flow faster. Once the bike has been running for a couple of minutes, shut it down and then remove the integrated oil fill cap and dipstick. Removing the oil fill cap will introduce air into the system, which will help push the old oil out faster.
Step 3 – Remove drain plug and drain the oil
Locate your rear (passenger) foot peg, or if you have removed yours, where it should be. The oil drain plug (or bolt, rather) is located under you bike in the center, in line with these rear foot pegs. Use a 5/8" deep well socket to remove the oil drain plug. Make sure that you have your drain pan in place before you remove the plug. This part is where the bike should be level to get as much of the old oil out as possible.

Figure 3. Use a 3/8" deep well socket to remove the oil drain plug. 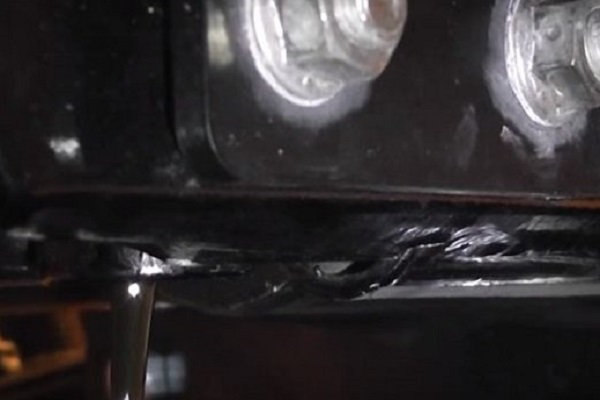
Figure 4. Use a ratchet to loosen the drain plug and then use your fingers to remove the plug the rest of the way for less mess.
Step 4 – Remove oil filter
While the main oil is draining, you can remove the old filter. This can get a bit messy, so have some shop rags in hand. A filter wrench makes this job much easier, especially if you do not have a filter such as K&N with the bolt welded onto the head for use with a normal ratchet. Theoretically, the filter should be removable by hand only, but that is a rarity at best. The filter is located in front of the front V-Twin cylinder at the bottom. Turn the filter counterclockwise until it comes straight out. Make sure that you have another drain pan in location before you pull the filter out to catch all the oil that is going to spill.
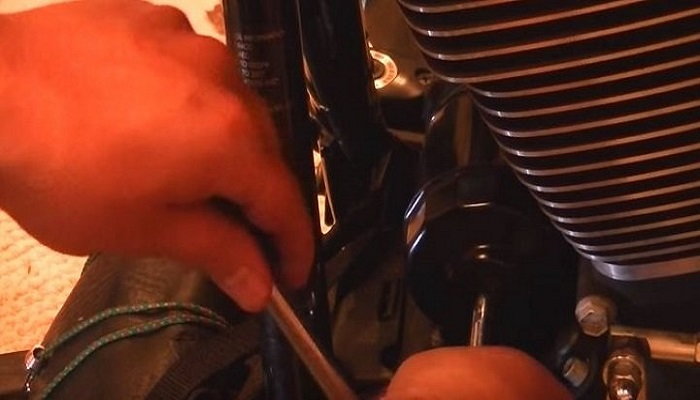
Figure 5. An oil filter wrench makes the job much easier, especially if the filter is really seized on there good. 
Figure 6. When the oil stops flowing, use a shop rag to clean up this area when the oil filter is removed.
Step 5 – Install new oil filter
Once you have cleaned the area around the filter port on the bike, it's time to prep your new oil filter.
- Crack open a bottle of new oil and rub a little around the rubber filter gasket on the new filter.
- Optionally, you may want to pre-load your filter with a few ounces of oil.
- Seat the filter into the port and turn clockwise until it is hand-tight and then another 3/4 to a full turn.
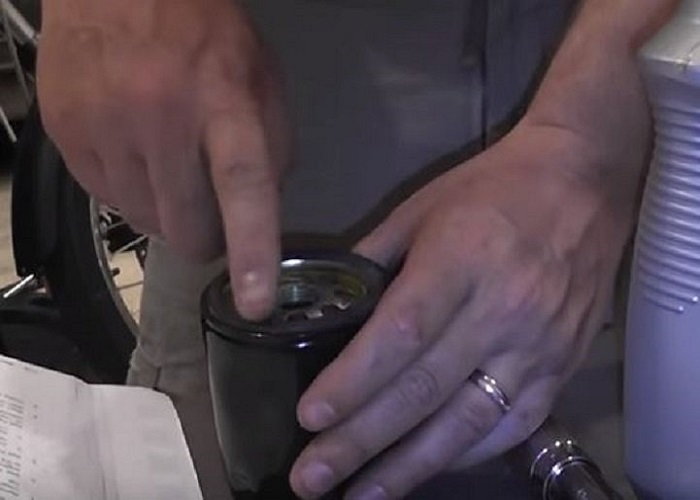
Figure 7. Rub some new oil around the rubber gasket to ensure a good seal on the bike. 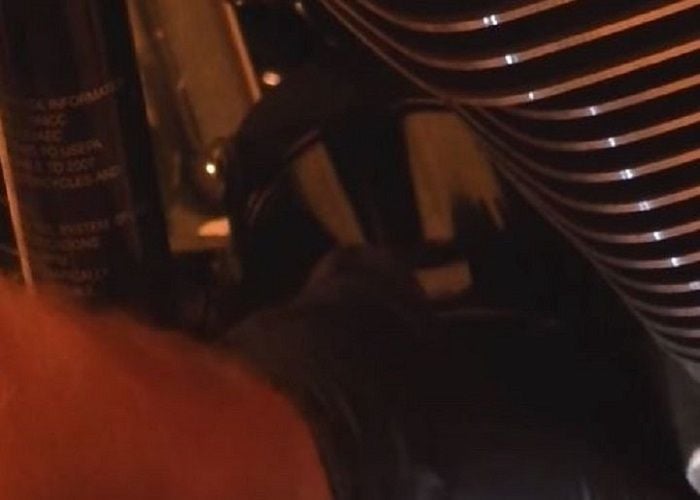
Figure 8. Hand-tighten the new oil filter, making sure it is snug. Be careful not to over-tighten it.
Pro Tip
Be careful not to over-tighten the filter. As the engine heats it up, it will expand a little and the next oil change you may find that it is a bear to take off.
Step 6 – Replace the drain plug
There is an O-ring on the drain plug that you may wish to replace. If the existing still looks good, you don't need to replace it, but some owners advocate replacing it at every oil change. Use your own best judgment and if you have cleaned up the area around the plug, you will be able to detect any leaks around the plug area after you come back from a ride. When you replace the plug, the manual calls for torquing this bolt to 14 to 20 pounds.
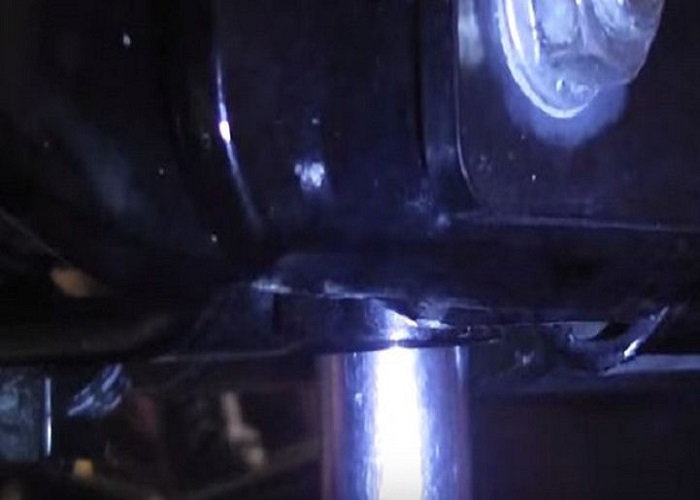
Figure 9. Replace the drain plug until it is snug, then torque it in. 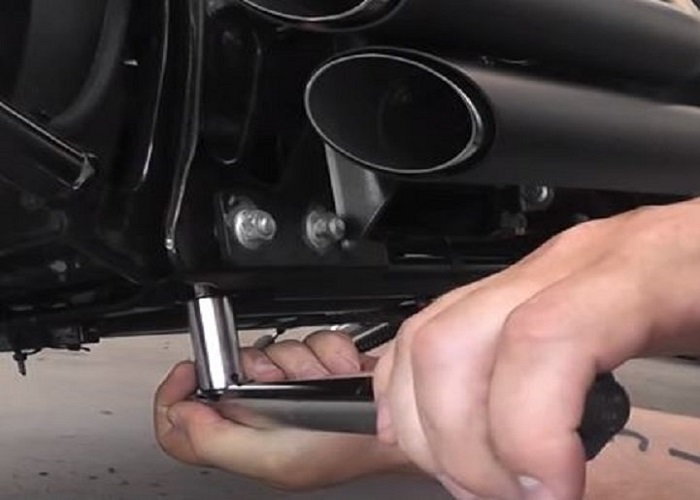
Figure 10. Torque the drain plug to 14 to 20 pounds, according to the manufacturer's guidelines.
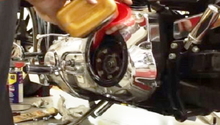
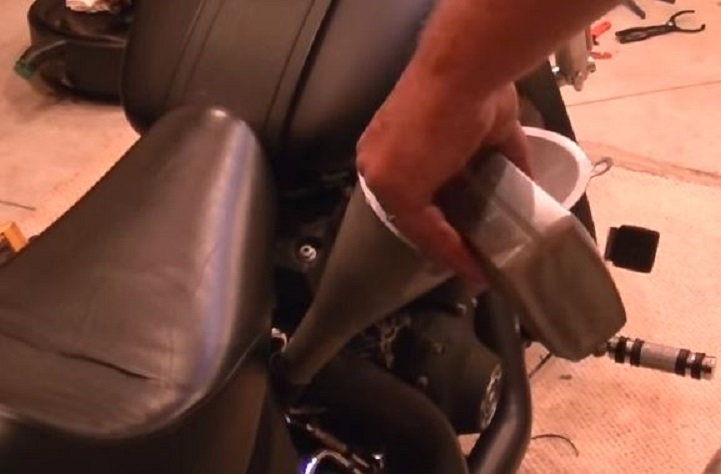
Step 7 – Add new oil to your bike
The age-old question is what kind of oil you should use. Harley recommends their specific oil of course, but any motorcycle-rated oil will work just fine and you can choose between synthetic or regular Dino. The most important thing is to make sure you change it at every recommended interval. 20W50 is probably the most common weight, but you have a little leeway depending upon the environment where you live and ride.
- Insert a long-neck funnel into the oil fill port.
- Add about three quarts of your favorite motorcycle oil.
- Replace the cap and with the bike level, check the dipstick. It should read somewhere between the upper and lower hash marks.
- Replace the cap again, but this time start the engine and let it run for a couple of minutes in order to get the oil through the system.
- Recheck the oil level on the dipstick and, again, the bike must be level to get an accurate reading.
- Add more oil as needed to maintain the level in between the hash marks. It's easier to add a little at a time to prevent over-filling and having to drain some out.
- Put the cap back on and take her for a ride. Re-check the area around the filter and the plug for any leaks.
Featured Video: How to Change Oil on Harley Davidson
Related Discussions
- What Kind of Engine Oil and How Much Does the Engine Hold? - HDForums.com
- Softail Oil Change Drain Plug Caution! - HDForums.com