Harley Davidson Sportster: Exhaust Reviews and How to Replace Your Exhaust
Harley owners love to express themselves through the customization of their hogs, and nothing does this better than a set of aftermarket exhausts. With increased performance, improved aesthetics, and enhanced sounds, there are virtually no downsides to installing a new and improved exhaust on your Sportster.
This article applies to Harley-Davidson Sportster.
Perhaps the most popular modification done by all Harley owners is an exhaust system upgrade. With ever stringent noise and emission restrictions, the true bark of the Harley V-twin engine has been muffled down to a near whisper. As a result, many owners have a hard time hearing how the engine is behaving at speed and lose out on the overall riding experience. Not to mention, an extremely quiet factory exhaust cannot alert other drivers of your presence on the road, which many agree is a huge safety hazard. Fortunately, there is a wide variety of exhaust systems available for each Sportster model to liven up the exhaust note and improve performance. Whether installing a set of slip-on mufflers or a full system, this article will provide a walk-through of the installation procedure as well as give a general review of several popular exhaust systems for the Sportster.
Table of Contents
How to Replace Your Exhaust

Materials Needed
- Flat head screwdriver
- 5/16" nut driver
- Wire cutters
- 1/2", 9/16", & 7/8" wrenches
- American Allen wrench set
- 3/8" drive ratchet & 9" extension
- T30 Torx socket
- 1/2" & 9/16" sockets
- Torque wrench
- Blue threadlocker
- Fine grit sand paper or scouring pad
Step 1 – Remove mufflers
If installing a set of slip-on mufflers, the stock mufflers are simply clamped onto the stock head pipes and can be quickly removed. If installing a full exhaust system, separating the mufflers from the head pipes is optional.
- Loosen the hose clamps securing the heat shields to the head pipes. This will allow for additional room to maneuver the mufflers when separating them from the head pipes. Similarly, the heat shields can be completely removed if desired.
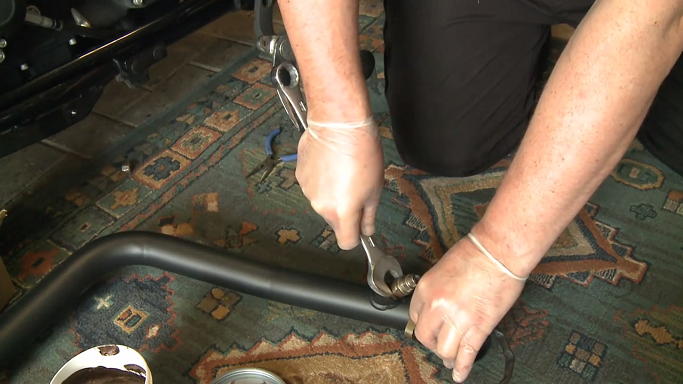
- Remove the (2) bolts on the underside of each muffler that secures them to the mounting bracket.
- Loosen each muffler clamp.
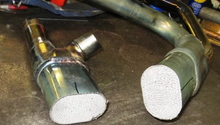
- Each muffler is best removed by working it up & down and twisting while pulling it firmly to the rear of the bike. A bit of penetrating oil can help loosen any rust or corrosion and aid in removal.

Skip to Step 4 for slip-on muffler installation.
Step 2 – Remove head pipes
If installing a full exhaust system, begin by loosening the heat shields as outlined in Step 1 before proceeding with head pipe removal.
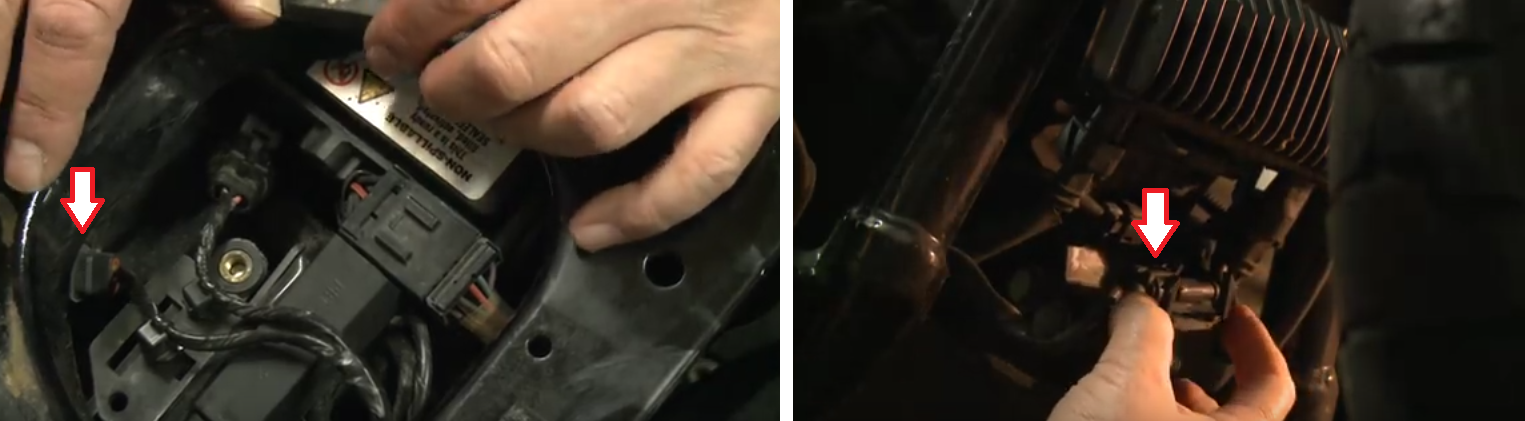
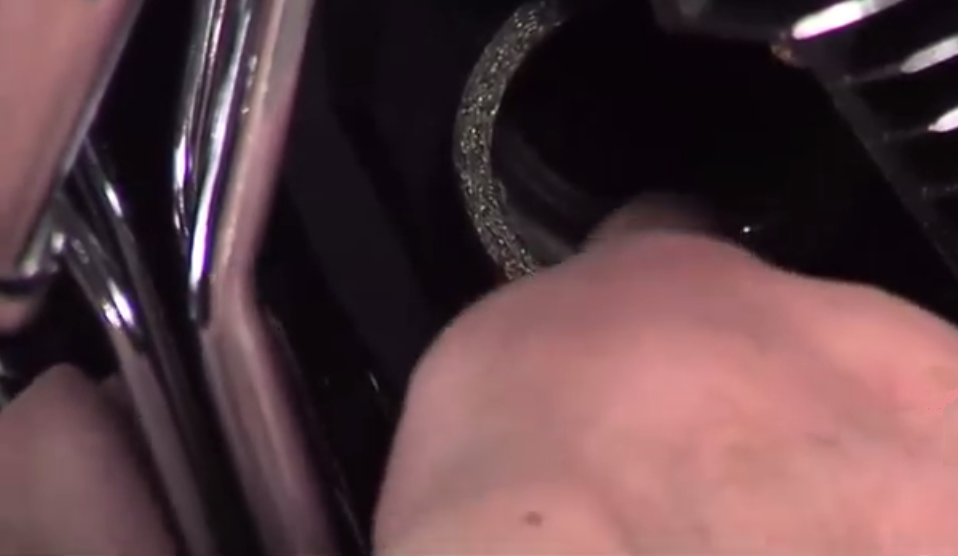
- Disconnect the oxygen sensors (if equipped). Depending on year model, one of the sensor's electrical harnesses is located under the seat, while the other is under the rectifier or tied onto the front of the frame. Route the rear sensor wiring out from under the seat and cut the wire tie, or remove the spring clamp, (depending on model) holding the front sensor wiring to the frame.
- Remove the (2) flange nuts that secure each head pipe to the engine.
- Remove the clamp bolt which secures the rear head pipe to the belt cover bracket (if not previously removed).
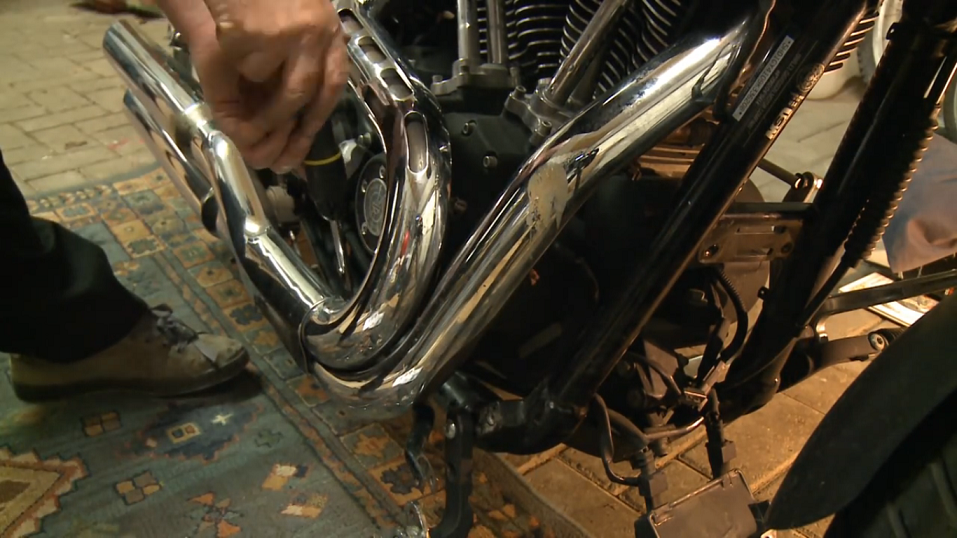
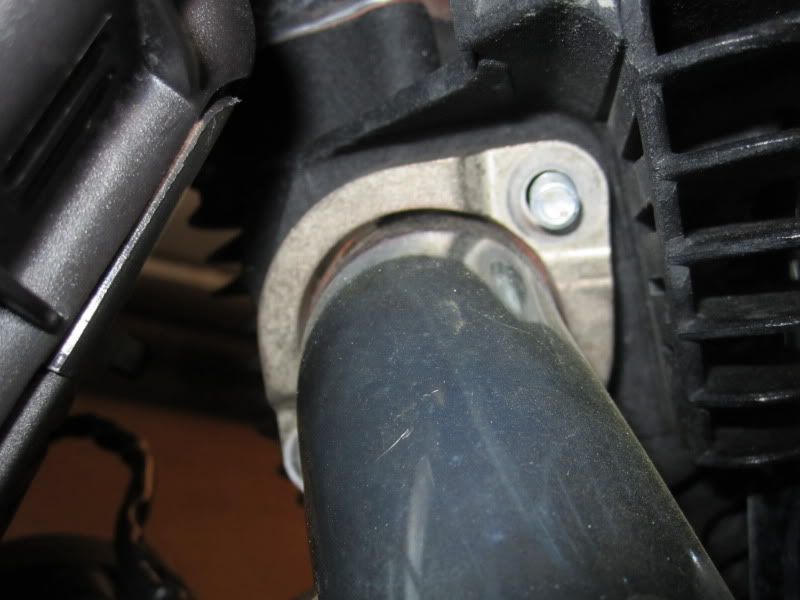
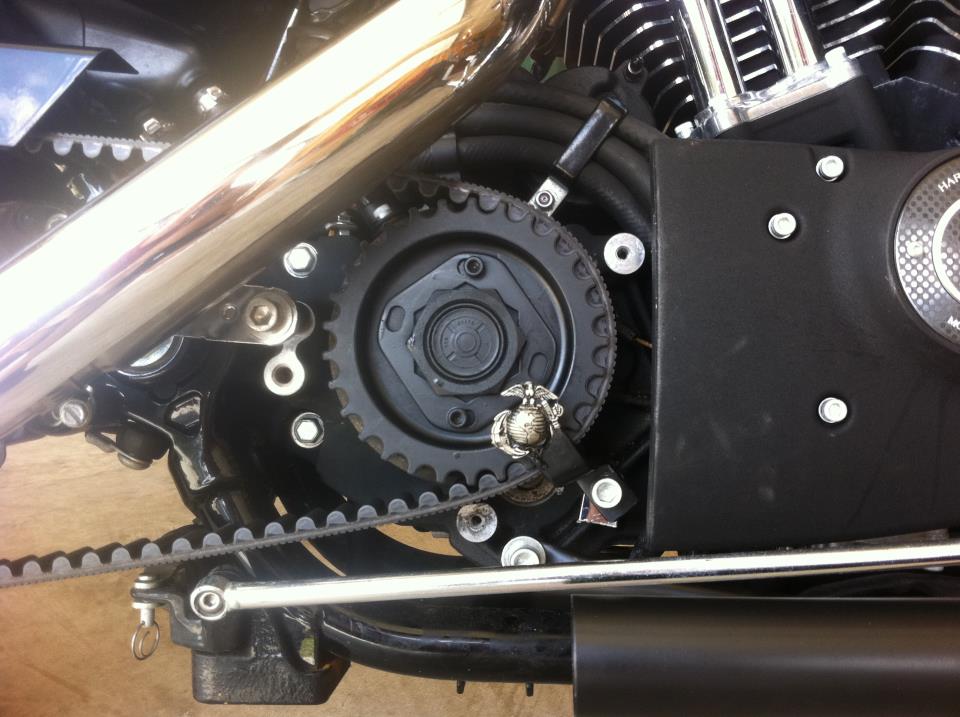
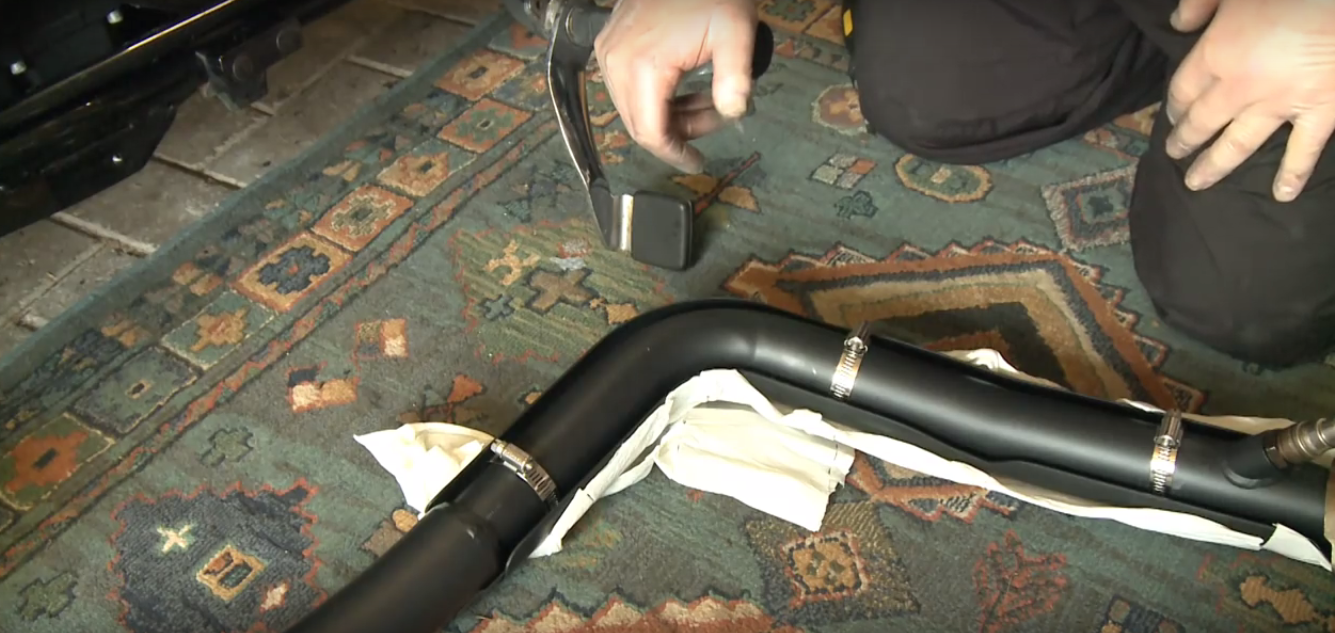
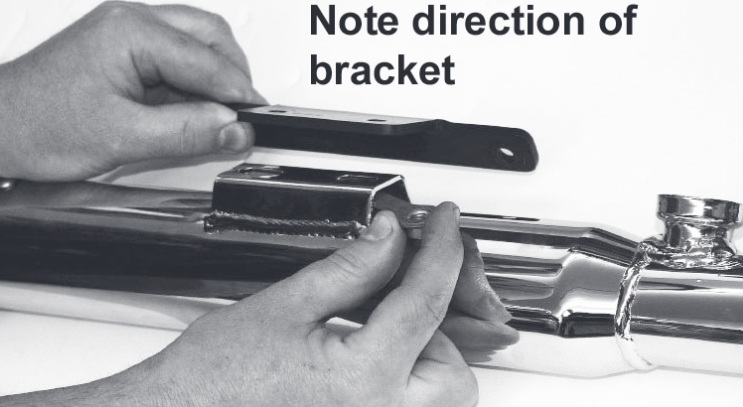
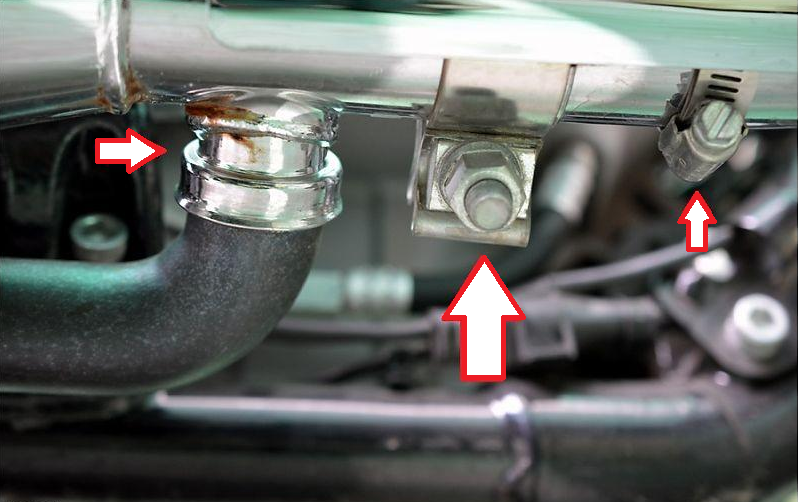
- Remove the (2) muffler mounting bracket bolts for each muffler (See Figure 2).
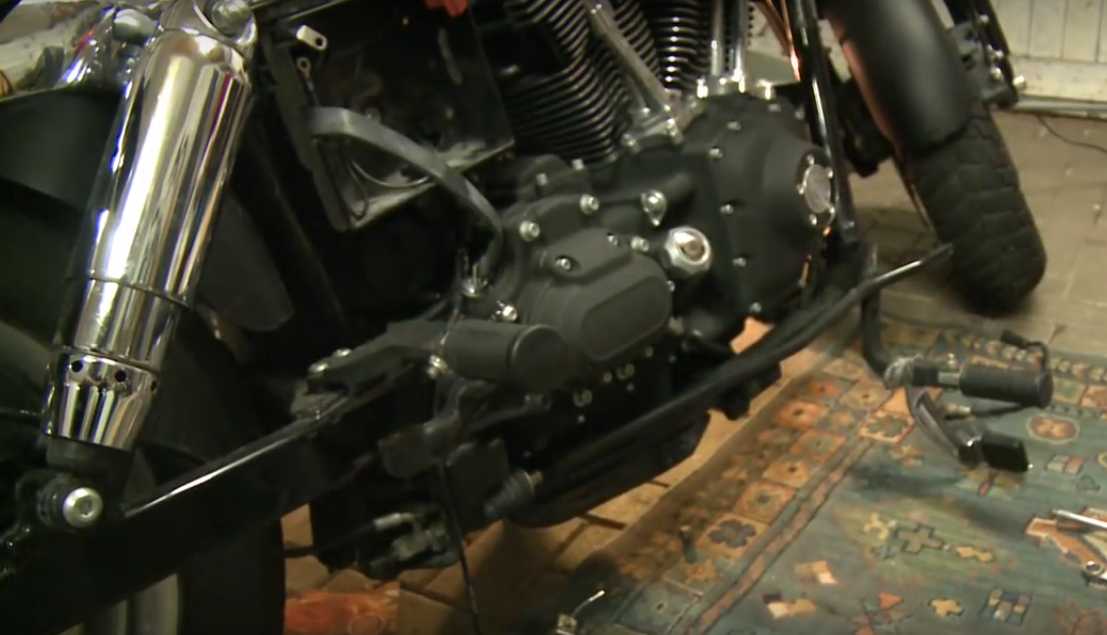
- Lift exhaust from the bike and set aside.
- Be sure to retrieve the old crush gaskets from the exhaust ports.
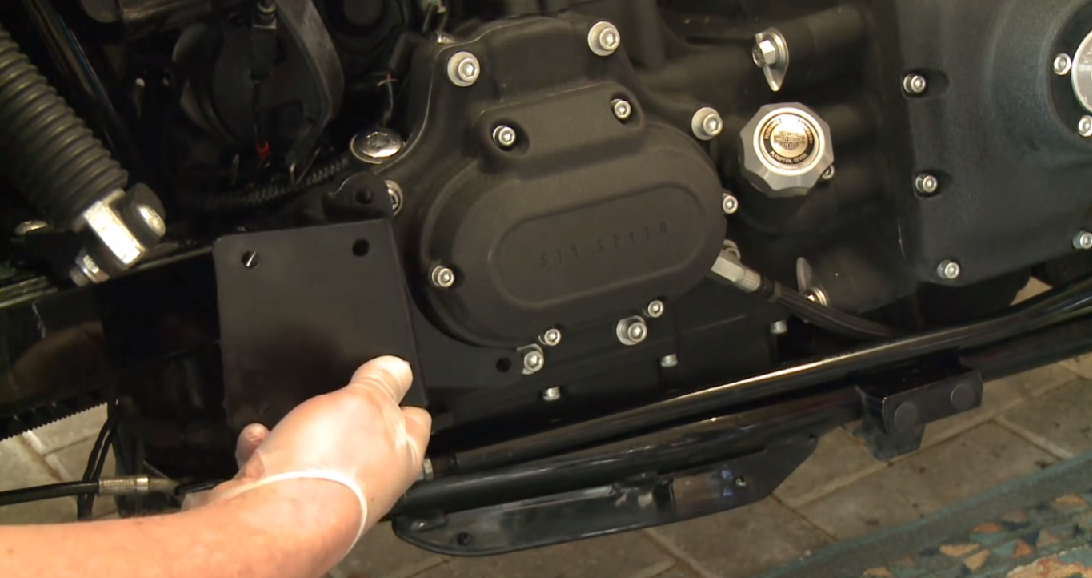
- Remove the drive belt cover and separate the support bracket from the cover. Most full exhaust systems supply a new support bracket to be used with the new exhaust.
- Loosen the rear brake rod with a T30 Torx socket before removing the (3) crossover pipe (aka exhaust mounting bar) bolts. Set the crossover pipe aside as it will not be re-used.

Step 3 – Install new exhaust system
- Swap the circlip and flange from each of the old pipes to the new pipes.

- Following the exhaust manufacturer's instructions, install the new exhaust bracket (if applicable). Torque the bolts to approximately 30 ft/lbs. Also, the drive belt cover and brake rod can be re-installed. Torque the cover to 30 ft/lbs and the brake rod to 120-180 In/lbs (use blue threadlocker).
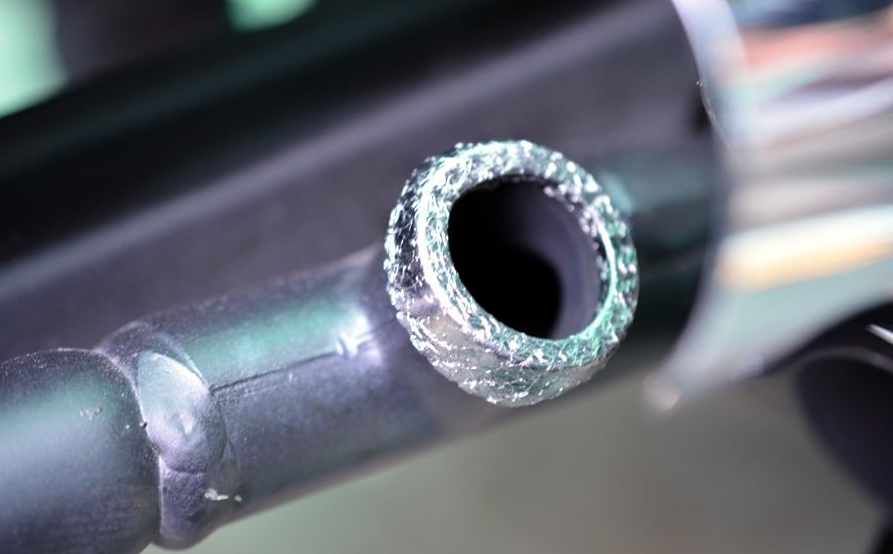
- Install new gaskets into each exhaust port, making sure they are fully seated.
- If applicable, install the oxygen sensor into the new pipes using a small amount of anti-seize paste on the threads.
- Install the heat shields loosely onto the pipes before attempting to install the pipes on the bike.
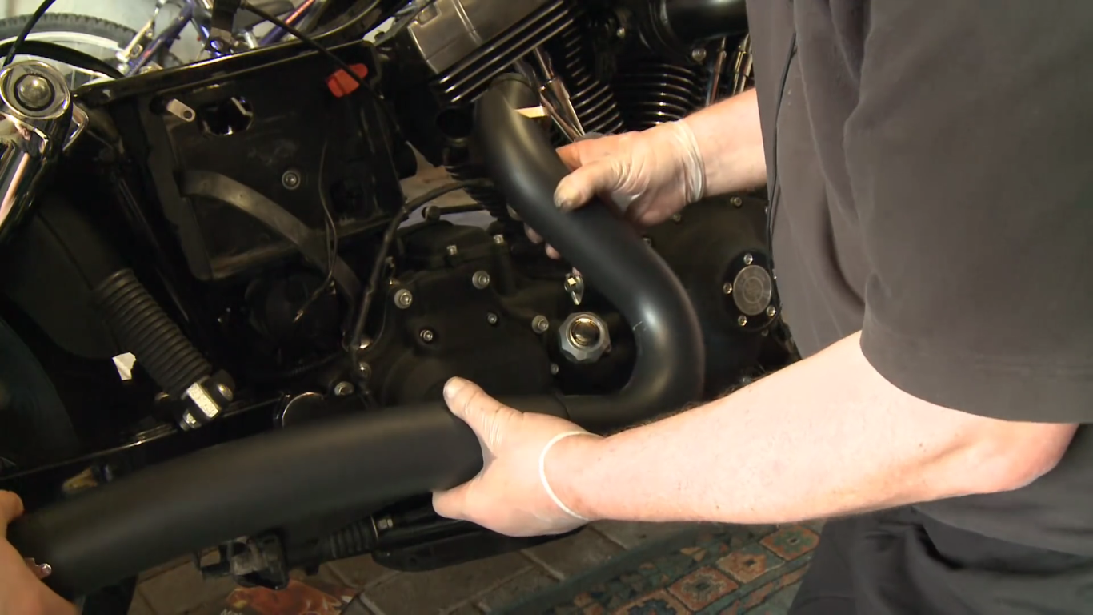
- Place the pipes into the exhaust ports and start the flange nuts. Similarly, align the pipes to the mounting bracket (if applicable) and start the bolts. Ensure the exhaust pipes are properly aligned before tightening the flange nuts (60-80 In/lbs.) and mounting bracket bolts (use manufacturer's torque spec).
Pro Tip
A helper can come in handy to hold the pipe in place while you start the flange nuts.
- After the pipes have been tightened in place, align and securely tighten the heat shield clamps.
- Route the oxygen sensor wiring back to their respective plugs and secure the wires in place with wire ties or spring clips.
Step 4 – Install muffler
- Clean any rust or corrosion from the header pipes using a scouring pad or fine sand paper to aid in muffler installation.
- Swap the crossover pipe gaskets from the old mufflers to the new mufflers. If damaged, replace the gaskets.
- Swap the nut plates located on the backside of the old mufflers to the new ones.
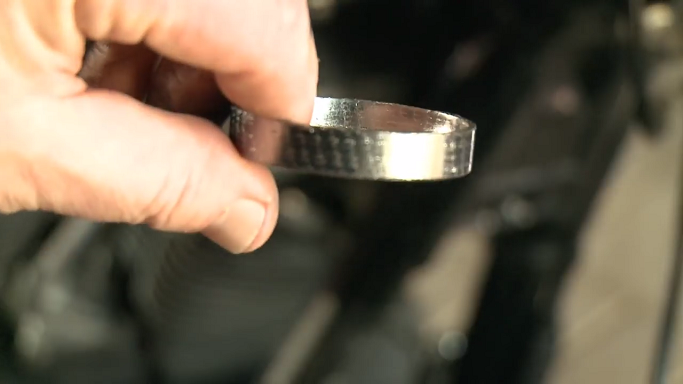
- Slide the exhaust clamps onto the nose of each muffler, then proceed with installing the mufflers onto the head pipes. Be sure the crossover pipe properly aligns and engages with the muffler's crossover ports.
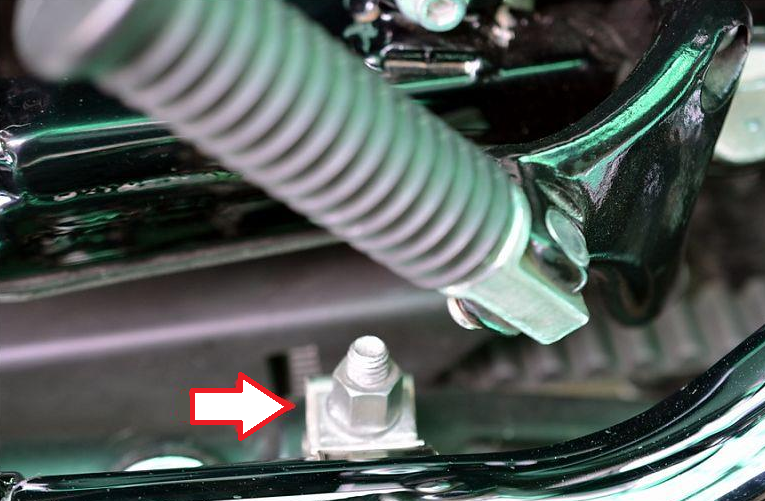
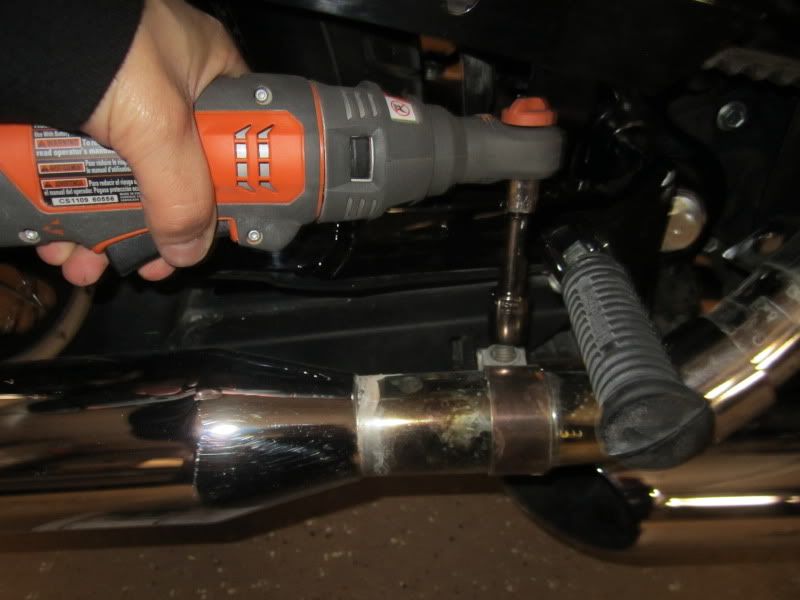
- With the mufflers installed in place, proceed with tightening each nut plate to the mounting bracket. Similarly, firmly tighten the exhaust clamps to 45-60 ft/lbs. (See Figures 2 and 3).
- Tighten any heat shields that were loosened during muffler removal.
Step 5 – Start bike and check for exhaust leaks
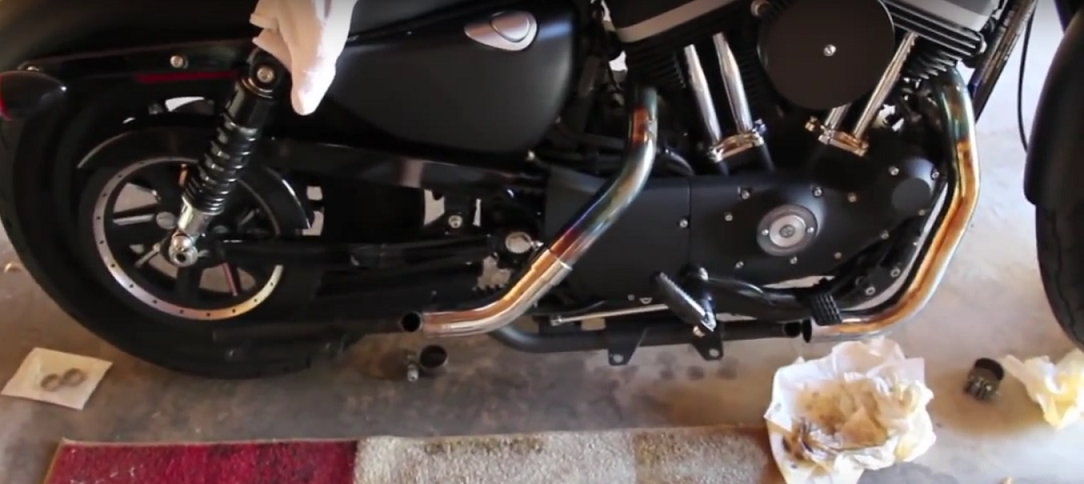
After the new mufflers or full exhaust system has been installed and all fasteners are securely tightened, wipe the pipes down to ensure they are free of dirt, oil, and other contaminants to prevent discoloration. Then proceed with starting the bike and checking for exhaust leaks.

Note
While a set of slip-on mufflers does not require tuning of the ECM, Harley suggests that fueling adjustments be made when a full exhaust system is installed to safely take advantage of the increased flow characteristics. This can be accomplished at the local dealer or by using one of the many available aftermarket EFI add-on controllers.
Featured Videos
-
Vance & Hines Exhaust Install
-
Sportster Muffler Swap
Exhaust Pipe Review
So, you have decided that you want to turn your Sportster's mild purr into a rip-snarling growl, but are overwhelmed by the literally hundreds of exhaust systems on the market and may be a bit unsure where to begin. A good approach to choosing the right exhaust is to evaluate which aspects of an exhaust system are most important to you. Are you looking to simply improve the aesthetic appeal of your bike? Perhaps you want a moderate improvement in the exhaust note and tone? Maybe you could give little care to looks or sound, and are focused only on all-out performance increases?
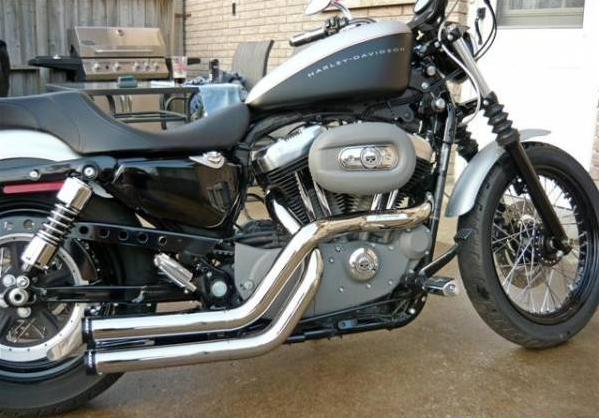
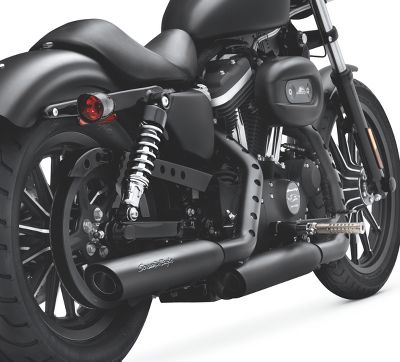
On top of these questions, one has to consider their budget, as a set of slip-on mufflers are roughly 1/3 to 1/2 the cost of a full exhaust system. Generally speaking, a set of slip-on mufflers can provide a noticeable increase in performance and sound, but are fairly close in appearance to the stock units. On the other hand, you can go with the full-monty and install a complete system for additional performance and a wider variety of styles. This review will outline several popular exhaust setups for Sportster models to give a general idea of some the features to look for when exhaust shopping. By no means should you limit yourself to one of the following exhausts, as the vast market has everything ranging from mild to wild to appeal to individual preferences.
Rinehart Racing - Cross Backs |
Samson Exhausts |
Screamin' Eagle - Street Performance |
Vance & Hines - Short Shots |
Vance & Hines - Competition Series | |
|---|---|---|---|---|---|
Price |
$859.95 | $786.95-$886.95 | $299.95 | $409.95-$489.95 | $776.95-$899.95 |
Type |
Full system |
Full system |
Slip-on mufflers |
Full system | Full system |
Style |
2-into-2 | 2-into-2 | 2-into-2 w/ crossover | 2-into-2 | 2-into-1 |
Sound |
Medium | Loudest | Quiet | Loud | Loudest |
Best Value: Vance & Hines Short Shots
Rinehart Racing - Cross Backs
Price – $859.95
Type – Full system
Style – 2-into-2
Sound – Medium
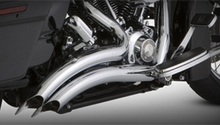
The Rinehart Racing Cross Back exhaust uses a rather unique crossing pattern in an attempt to achieve an equal length exhaust setup. Praised for its significant performance gains, the Cross Backs are available in black, chrome, or a combination of the two. Many owners rate the Cross Backs as being on the louder end of the sound spectrum, but agree they have a great note whether cruising or revving through the gears. While the ground clearance is slightly diminished compared to the stock system, the Rinehart system still provides adequate maneuverability at stock ride height levels. Recommended for owners wanting a unique exhaust with top notch performance gains.
Samson Exhausts

Price – $786.95-$886.96
Type – Full system
Style – 2-into-2
Sound – Loudest
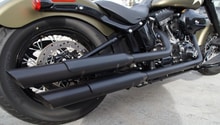
Samson USA offers a number of full exhaust systems for Harley Sportster models. Aside from their minor visual differences, all Samson exhausts provide relatively similar performance and sound characteristics. Although the exhausts are offered with removable baffles, owners tend to agree that these are one of the loudest off-the-shelf exhaust systems on the market. Some have complained of bluing and general discoloration of the chrome, but Samson believes this is from individual bike performance/tuning problems, not quality control issues with their exhausts. Regardless, a Samson exhaust is considered to be one of the best sounding setups that will not only draw a crown with its booming rumble, but also provide a noticeable boost in performance. Recommended for owners wanting a deep, throaty exhaust note, with little consideration for their next door neighbors.
Screamin' Eagle - Street Performance
Price – $299.95
Type – Slip-on mufflers
Style – 2-into-2 w/ crossover pipe
Sound – Quiet
Harley's factory exhaust offering comes by the way of a slip-on muffler setup designed for a mild improvement in sound while boosting performance. These mufflers have received positive reviews for their fitment and ease of installation. Unfortunately, these mufflers provide little change to the exhaust note over the stock units and have left many owners wanting. The good news is that Harley must have focused their efforts on improving performance as these slip-ons provide a noticeable increase in torque and improve the rideability of the bike. There were some complaints about welds being sub-par and the finish lacking the usual H-D luster, but quality control seems to have improved back to the levels one would expect from a factory product. Although these will not provide the performance of a full exhaust system, they do not carry the hefty price tag either. Recommended for owners wanting to retain stock Harley looks and sounds.
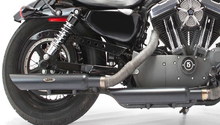
Vance & Hines - Short Shots

Price – $409.95-$489.95
Type – Full system
Style – 2-into-2
Sound – Loud
The Vance & Hines Short Shots full exhaust system is an attractive offering that retails in the price range of some slip-on mufflers. The Short Shots have been in the middle of a heated debate as to whether they are a good exhaust choice for Sportster owners. On one hand, many agree that the styling, build quality, and sound are excellent, whereas others feel they do not provide much of a performance improvement compared to a good set of slip-ons. It seems to be a matter of tastes, and one must determine which aspects are most important to them when choosing and exhaust system. Regardless, Vance & Hines has been at the forefront of Harley performance exhausts development for many years, so rest assured you will be getting a quality product made for the enthusiast. Recommended for those wanting improved sound and attractive styling in exchange for outright performance.
Vance & Hines - Competition Series

Price – $776.95-$899.95
Type – Full system
Style – 2-into-1
Sound – Loudest
The Vance & Hines Competition Series exhaust is a no holds barred 2-into-1 system that's sole focus is outright performance. Engineers often say that form follows function, and the Competition Series follows this mindset by using lightweight stainless steel and ditching overweight heat shields to give an industrial look that means business. While some complain that it is too loud, can easily burn your leg, and has a tendency to discolor (black ceramic coating), there is no arguing that this exhaust is top-of-the-class in producing top-end horsepower as well as providing a healthy dose of low to mid-range torque, especially when coupled with Vance & Hines proprietary FuelPak fuel management system. Recommended for owners wanting all-out performance.
Related Discussions
- Rinehart slip-ons on Sportster- HDForums.com
- Samson Exhaust owners: pics & opinions?- HDForums.com
- Screamin' Eagle Street Performance Slip-ons - HDForums.com
- Vance & Hines Short Shots - HDForums.com
- Loudest pipes?- HDForums.com