Harley Davidson Sportster: How to Obtain Diagnostic Trouble Codes
Trouble codes are used to help the owner/technician pinpoint a problematic component/system. Although a trouble code does not always locate the exact cause of the problem for you, it does help you narrow down the possibilities and saving you diagnostic time.
This article applies to the Harley Davidson Sportster (2004-2016).
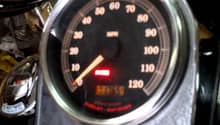
Diagnostic trouble codes continue to increase in number as newer generation Sportsters are released. The addition of modules and the CAN BUS system has intertwined the electronics together, making for many possible trouble codes. With so many trouble codes available, the problem is usually described specifically when one occurs. Harley Davidson has made it easy for you to view any stored and/or active codes using nothing but your finger, and the digital odometer. Whenever you see a check engine light displayed on your speedometer, take a couple minutes to find out which code(s) are present.

Materials Needed
- Finger
- Ignition key
- Pencil/pen and paper
If you are working on a 2013 or earlier Sportster, skip to Step 3.
Step 1 – Enter diagnostic mode (2014 and up)
This procedure applies to the 2014 and later Sportsters:
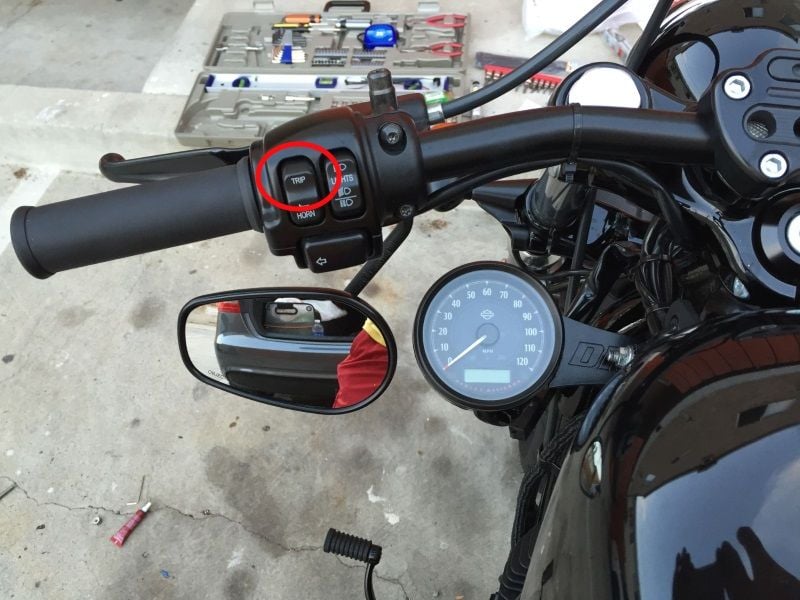
- Press and hold the trip button on the left handlebar control cluster.
- While holding the button down, turn the ignition on.
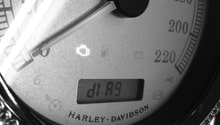
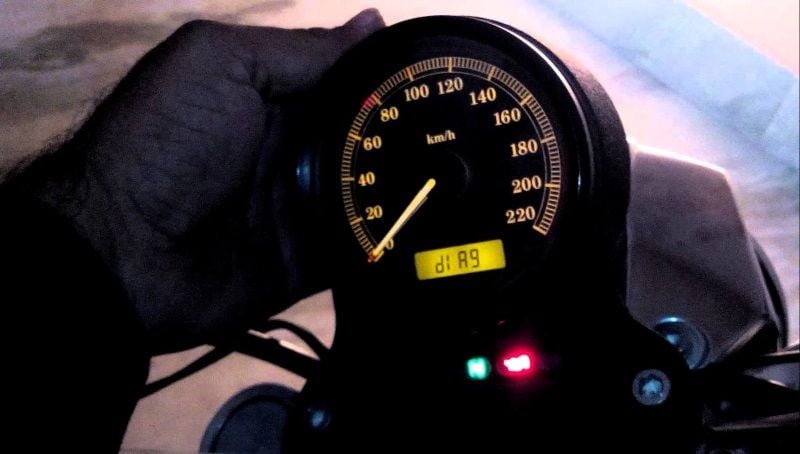
- Release the button when the odometer screen displays "diag."
- Push and release the trip button to scroll through the different modules and codes. If a module has a "Y" next to it, a trouble code is present.
- Press and hold the odometer button for five seconds and the trouble code will be displayed.
- Record the code for later.
Step 2 – Check and erase the trouble codes (2014 and later)
This procedure applies to the 2014 and later Sportsters:
- Follow the steps listed in Step 1.
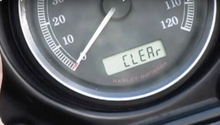
- Press and hold the trip button for five seconds to clear the code.
- Press the button to scroll through any additional codes, and the other computer modules.
- Turn the ignition switch to off to exit "diag" mode.
Step 3 – Enter diagnostic mode (2004 to 2013)
This procedure applies to the 2013 and earlier Sportsters:
- Move the run/stop switch to the on position with the ignition off.
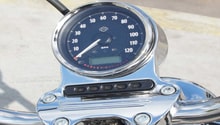
- Press and hold the odometer button. The button is located on the backside of your speedometer.
- Turn the ignition on while holding the button.
- Hold the button until the message "diag" appears.
Diagnostic modules are represented with one of four different letters on 2004 to 2013 models.
- P = PCM
- S = Turn Signal/Security Module
- SP codes = Speedometer
- T codes - Tachometer
Step 4 – Read and erase the trouble codes (2004 to 2013)
This procedure applies to the 2013 and earlier Sportsters:
- Follow the steps listed in Step 1 of the article.
- Press and release the button. "PSSt" will appear representing the different computer modules, with one letter flashing.
- Press and hold the trip button for five seconds to read the trouble codes in the flashing module.
- Record the code for later.
- If the message "none" is displayed, no codes are present.
- Press and hold the trip button to erase the code.
- To view the current module's part number, press and release the odometer button.
- Press and release the odometer button to return to the module selection menu.
- Turn off the ignition to exit the menu.
Common Code
The P0374 code is notorious on the 2004 and later Sportsters. This code relates to the crank shaft position sensor. Replacing the sensor usually corrects the problem.
Step 5 – Use a scan tool
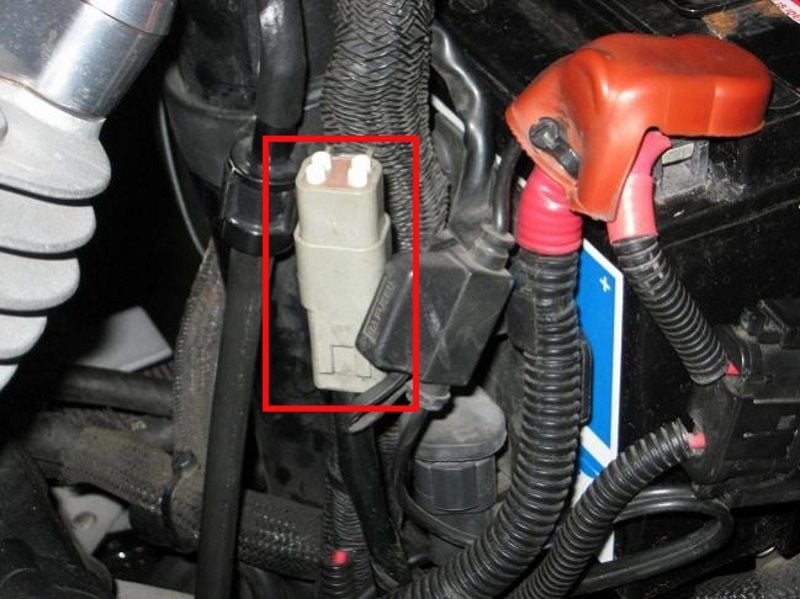
There is really no need to pay the several hundred to over a thousand dollars a dedicated Harley code reader will cost you. But if you find yourself reading codes off several bikes constantly, or work in a shop, they can be very convenient. These scan tools plug into the diagnostic connector located near the battery. To access the battery read the article How to Replace Battery.
Related Discussion, Sites and Videos
- How to Diagnose Trouble Codes - HDForums.com
- List of Harley Davidson Trouble Codes - DGCustomCycle.com
- Reading Trouble Codes - LawAbidingBiker.com
- 883 Sportster Trouble Codes - YouTube.com
- 2007 Sportster Diagnostic Codes - YouTube.com