Harley Davidson Touring: Air Intake Reviews and How-to
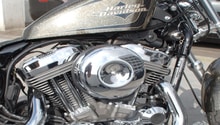
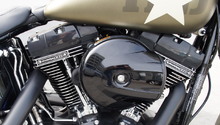
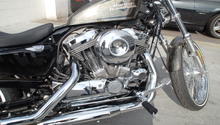
One of the most popular upgrades for any Harley model is a high flow air intake kit. From a performance standpoint, the stock air filter configuration on Touring model Harley's are lacking, designed instead for noise control. Fortunately, many aftermarket companies have stepped up to provide air intake kits that improve performance and that sweet V-Twin music.
This article applies to Harley Davidson Touring models (2000-2015).
Air filters protect your engine from harmful contaminants that would otherwise be ingested into the intake tract. While the OEM air filter setup on Harley Touring models adequately filter the incoming air charge, they tend to be quite restrictive and hamper engine performance. With modern EPA noise regulations, it is no wonder Harley must choke back their big V-Twins from the factory to stay in compliance. That being said, a number of aftermarket air intake kits are available to allow your engine to breathe, increasing performance and improving the sound. A high flow air filter coupled with a redesigned filter housing allows for an enormous improvement in airflow, compared to the stock element that is virtually enclosed behind the small openings in the OEM housing. Combined with an ECM tune, an aftermarket air filter kit will provide improved throttle response, increased torque as well as horsepower, and enhanced ride-ability. This article will outline the procedure for installing an air intake kit on various Harley Touring models as well as provide a brief review of several popular kits available on the market.
Table of Contents
How to Replace Your Air Intake

Materials Needed
- T27 Torx driver
- 8mm Hex (Allen) wrench
- 7/16" and 1/2" sockets
- Ratchet and extension
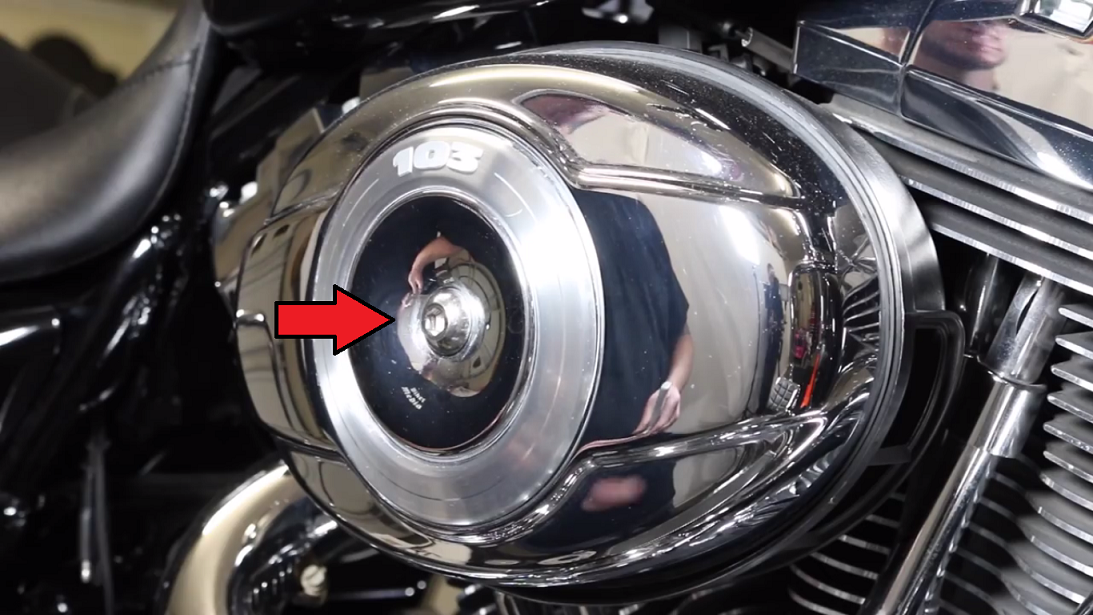
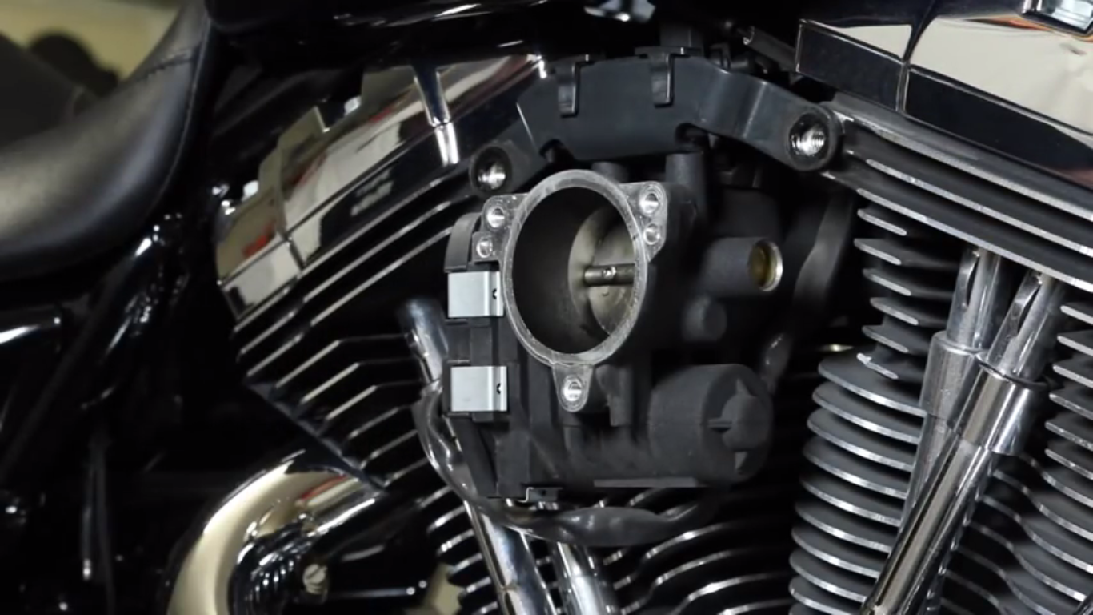
Step 1 – Remove stock air filter cover
- Using an 8mm Allen wrench, remove the bolt(s) securing the stock air filter cover to the filter housing.
- With the bolt(s) removed, simply pull the filter cover off and set it aside.
Step 2 – Remove filter element
- With the filter cover removed, the air filter is now accessible. Remove the (3) T27 Torx fasteners and retrieve the filter plate.
- Remove the filter element from the filter housing by grasping the filter and crankcase breather hoses, and pulling the filter outwards.
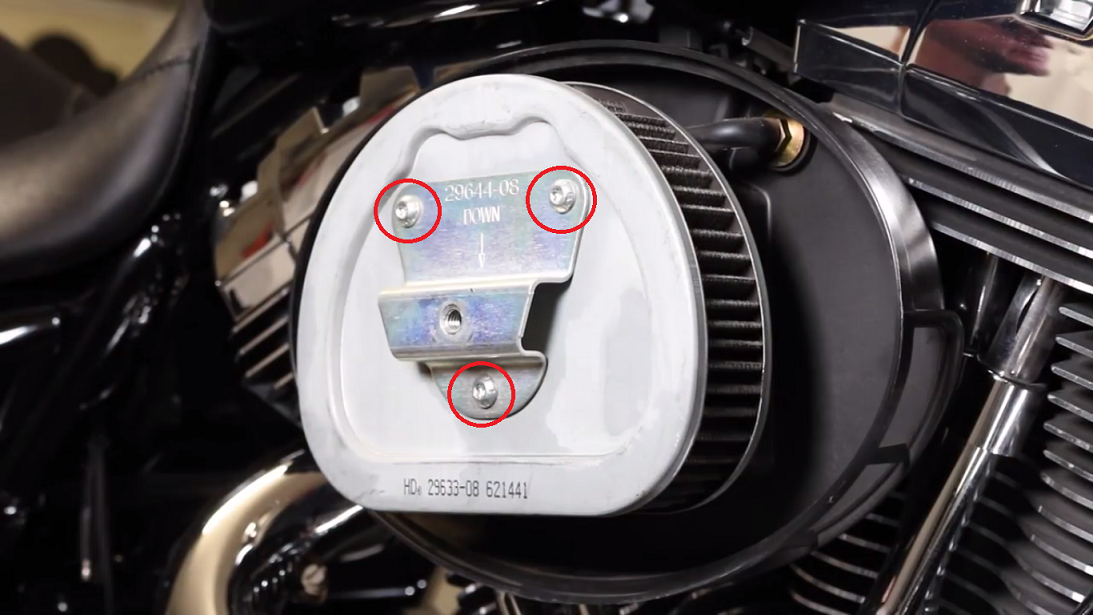
Figure 2. Filter plate fasteners. 
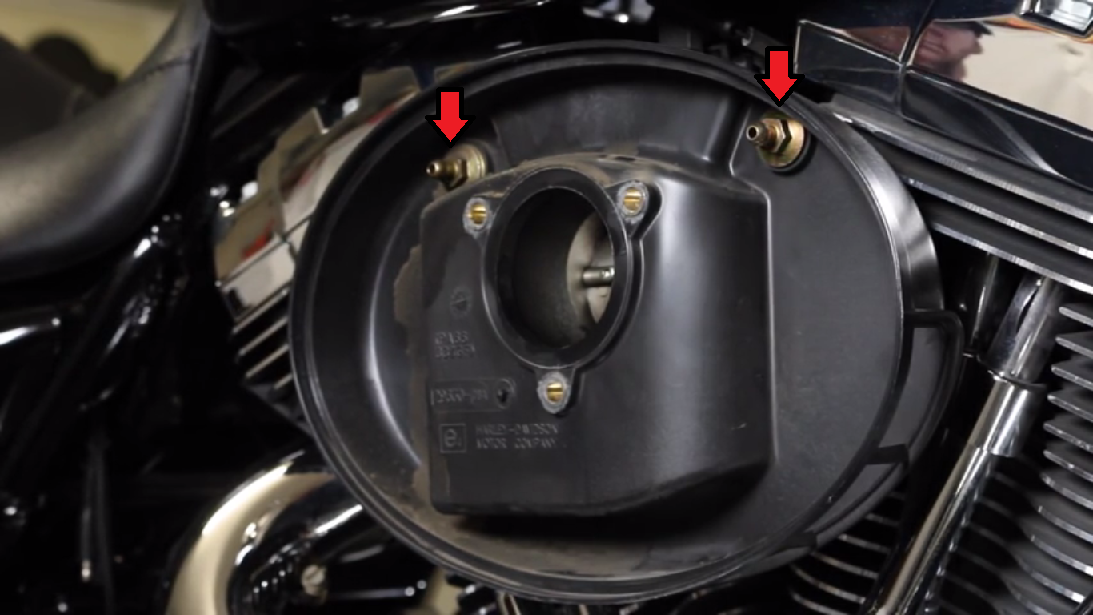
Figure 3. Crankcase breather hoses.
Step 3 – Remove filter housing (backing plate)
- Using a 7/16" socket and ratchet, remove the filter housing bolts to free the housing from the throttle body.
Note
Some intake kits utilize the stock filter housing/backing plate as well as the intake support bracket. Refer to the manufacturer's instructions to see if your kit requires replacement of the filter housing and support bracket prior to removing the stock components.
Step 4 – Clean throttle body mating surface
- In many cases, the filter housing gasket will be stuck to the throttle body. Thoroughly clean any residual gasket material from the throttle body before proceeding with installation of the new intake kit.
Step 5 – Install new filter kit
- Install the new filter housing gasket to the throttle body. Harley uses an adhesive-backed gasket to secure it in place on the throttle body.
- Prepare you new filter housing/backing plate by installing any O-rings or seals into the housing. Filter housings vary in design, so refer to the manufacturer's instructions for proper housing assembly. Using Threadlocker (blue) on the filter housing bolts, place the housing against the throttle body and torque the fasteners to 122-140 ft/lbs.
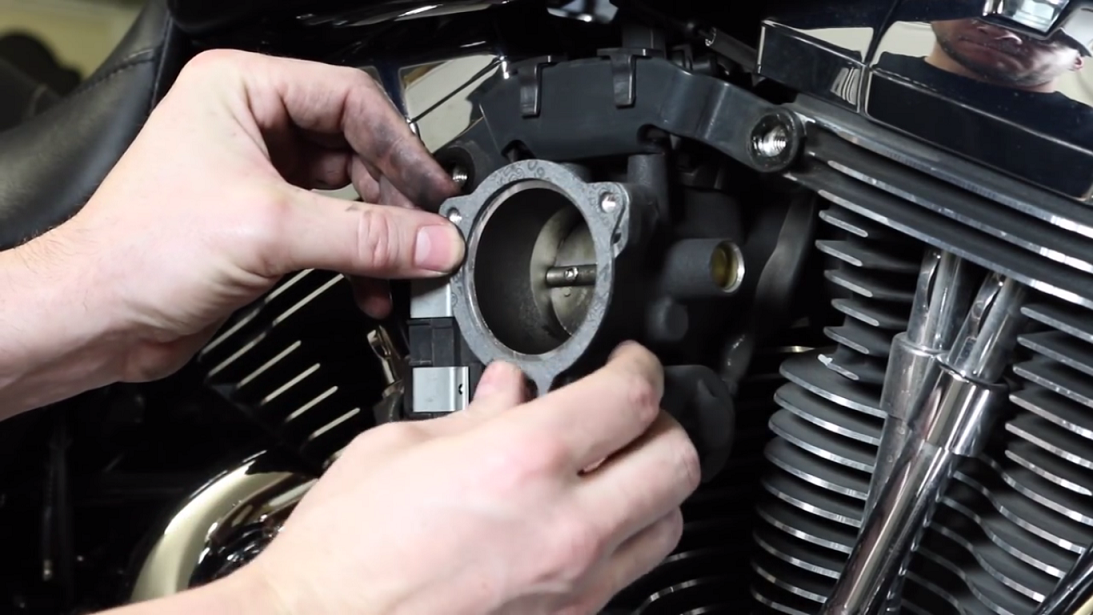
Figure 6. Filter housing to throttle body gasket. 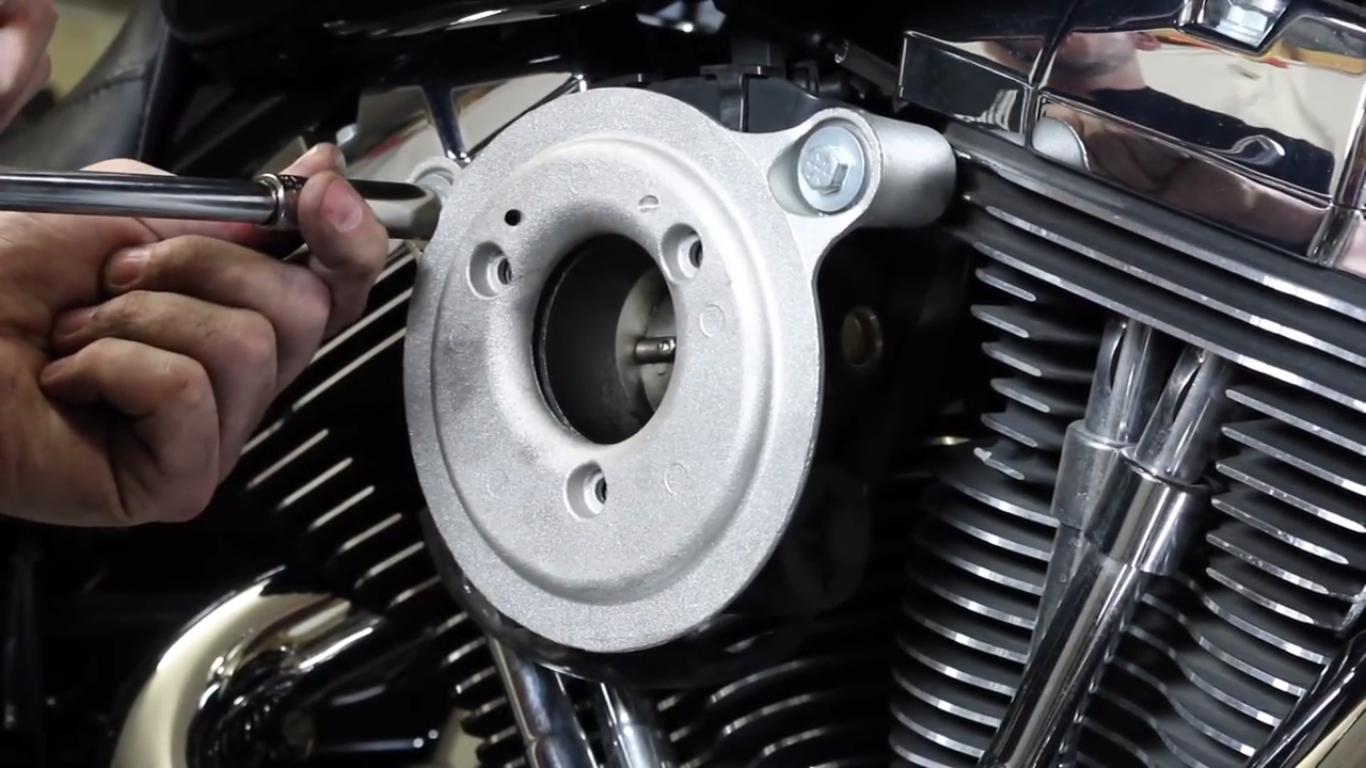
Figure 7. New filter housing (backing plate) installed.
- If your new filter housing (backing plate) utilizes studs to hold the filter in place, apply Threadlocker (blue) to the studs and torque to 55-60 in/lbs.
- Install the filter element onto the filter housing using Threadlocker (blue) on the fastening screws. Torque the filter screws to 55-60 in/lbs before installing the outer filter cover (if applicable).
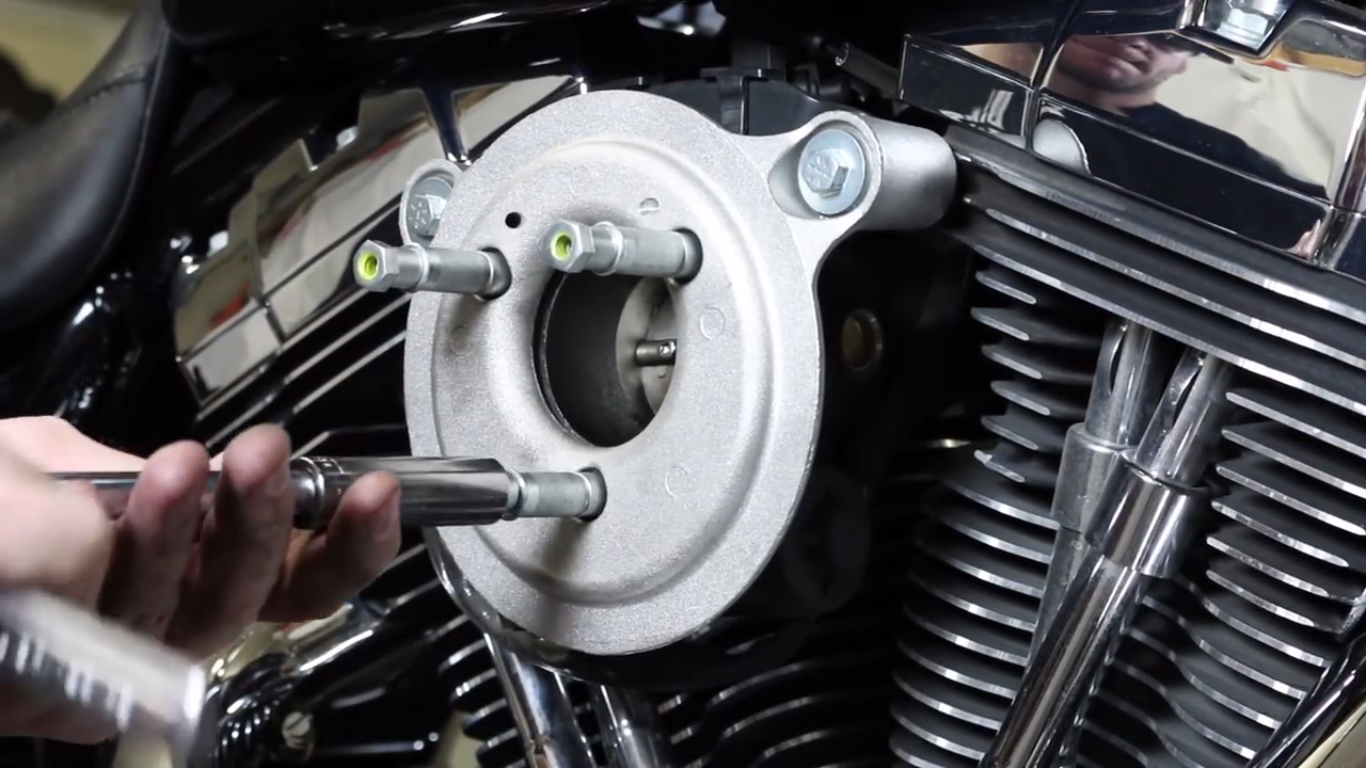
Figure 8. Installing studs into housing. 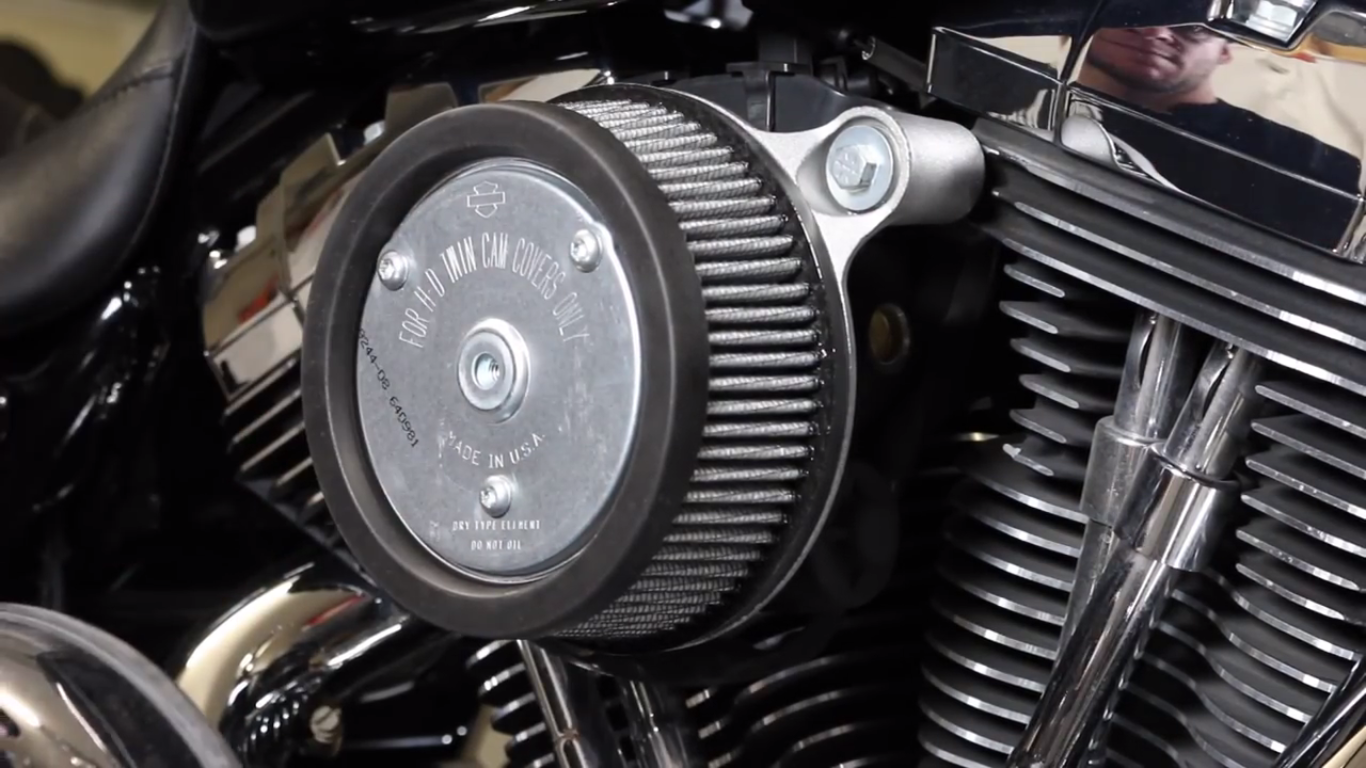
Figure 9. Filter element installed.
Note
It is highly recommended that the ECM on fuel-injected models be re-calibrated after an air intake kit is installed to take advantage of the increased airflow. Failure to adjust the air-fuel mixture can result in a lean condition and possible engine damage.
Featured Video: How to Install Stage 1 Air Intake Kit
Air Intake Review
Considered by many to be the best first modification, an air intake kit improves the looks, sound and performance of your bike. It is safe to say that just about all aftermarket stage 1 air intake kits will provide a moderate performance improvement over the stock setup, but visually they are all a little different. Aftermarket intake kits come in a variety of shapes, sizes, and finishes to give each bike the individual the look you desire. Installation of any kit is straightforward and can be completed at home with basic tools. When choosing an air intake kit, it is always important to consider its size and how it may interfere with your leg while riding. Additionally, evaluating the materials used and the fit/finish of the product can often justify an increase in price. Regardless of which air intake kit you choose, rest assured that it is a worthwhile modification that will only enhance the riding experience.
Screamin' Eagle Stage 1 |
Roland Sands Design |
Kuryaken Street Sleeper |
Vance & Hines VO2 |
Arlen Ness Naked Stage 1 | |
|---|---|---|---|---|---|
Price |
$159-169 | $400-450 | $160 | $259-279 | $129-149 |
Claimed Performance Gain |
10% | 8-9 Horsepower | 10-12% | 7-9 Horsepower | Up to 21% Increase |
Use Stock Filter Cover |
Optional | No | Optional | Optional | No |
Washable Filter Element |
Yes | Yes | Yes | Yes | Yes |
Available Finishes |
Textured black, Chrome | Black, Chrome, Contrast, Machined, Carbon fiber |
Natural | Black, Chrome | Chrome, Natural, Contrast, Polished |
Best Value: Arlen Ness Naked Stage 1
Screamin' Eagle Stage 1

Price – $159-169
Claimed performance gain – 10%
Use stock filter cover – Optional
Washable filter element – Yes
Available finishes – Textured black, chrome
The Screamin' Eagle branded Stage 1 intake kit is Harley Davidson's official aftermarket performance intake kit specifically designed for your bike. Screamin' Eagle (SE) products come highly recommended, as they feature top notch quality, fitment, and finish. The SE Stage 1 intake kit comes in a variety of configurations, including both round and teardrop-shaped filters. The round filters can utilize the stock filter cover for that OEM look or run uncovered for an extra bit of performance. Harley claims roughly a 10% increase in performance with one of their stage 1 intake kits; however, individuals looking for outright performance may consider Harley's "heavy breather intake kit." Recommended for individuals looking for a boost in performance while keeping their bike 100% Harley Davidson.
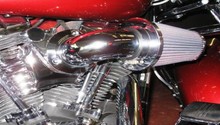
Roland Sands Design

Price – $400-450
Claimed performance gain – 8-9 Horsepower
Use stock filter cover – No
Washable filter element – Yes
Available finishes – Black, chrome, contrast, machined, carbon fiber
Roland Sands Design (RSD) offers some of the most innovative performance products for your Harley and their air intake kits are no exception. Former AMA road-racer and custom bike-builder, Roland Sands not only focuses on the performance aspects of his products, but also pays special attention to their aesthetic appeal and effects on ergonomics. While all of the RSD intake kits perform similarly, the craftsmanship and intricate details are what set these intake kits apart the crowd. For example, the Clarity intake kit (as shown above) uses a sealed polycarbonate window over the end of the filter to provide a clear view into the throttle body and intake tract. The only downside to any RSD intake kit is that they tend to be in the upper price range despite the fact that they provide the same relative performance as kits one-third of the price. Recommended for individuals wanting a unique looking intake kit made from quality materials.
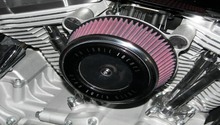
Kuryakyn Street Sleeper

Price – $160
Claimed performance gain – 10-12%
Use stock filter cover – Optional
Washable filter element –Yes
Available finishes – Natural
Kuryakyn has become one of the largest aftermarket parts manufacturers for Harley Davidson models. Their Street Sleeper intake kit does not stray too far from the norm, as it uses a traditional round K&N washable air filter element. The major difference with this kit is that the end of the filter is left uncovered to allow for additional airflow. Coined a 'High-Five' design, Kuryakyn claims their filter kit allows for an additional 40% more flow than their competitors capped filters. Although the filter can be run with the cover or uncovered (as shown), a number of owners have complained about oil blow-back dripping from the breather tubes through the filter, and making a mess of the bike. Perhaps there is good reasoning why the majority of manufactures close off the end of their filters. Recommended for those wanting a high flowing filter kit at an affordable price.
Vance & Hines VO2

Price – $259-279
Claimed performance gain – 7-9 Horsepower
Use stock filter cover – Optional
Washable filter element – Yes
Available finishes – Black, chrome
Long time performance gurus Vance & Hines' stage 1 intake kit is the VO2. Much like other kits, the VO2 utilizes a washable filter element that flows more air than the OEM filter. The big talking point of the VO2 is its billet aluminum backing plate combined with a twin venturi to draw larger amounts of air into the engine. Although its performance is quite good, many agree that the filter cover offered is one of the most bland looking covers on the market and most prefer to buy the 'naked version' at a reduced cost. Recommended for owners wanting a well-rounded, quality intake. Owners wanting to reuse the stock filter cover can buy the 'naked version' at a reduced cost.
Arlen Ness Naked Stage 1

Price – $129-149
Claimed performance gain – Supports up to 21% increase
Use stock filter cover – No
Washable filter element – Yes
Available finishes – Chrome, natural, contrast, polished
Coming in at one of the lowest price points among air intake kits is the Naked Stage 1 kit from Arlen Ness. Long associated with Harley customization, Arlen Ness and company have done their fair share of performance product development including their patented Big Shot fuel injection tuning system. With such experience, it is no wonder why the Naked Stage 1 intake kit is touted as the best performing kit on the market with its attainable 21% increase in power (with a combination of other modifications and an ECM tune). While not the most flashy or innovative looking designs, the Ness intake kits provide a raw look with a sophisticated edge, proving that form and function can co-exist. Recommended for owners wanting simple aesthetics with a top notch performance increase.
Related Discussions
- Anyone running Kuryakyn Street Sleeper II? - HDForums.com
- Roland Sands Design Aircleaner Review - HDForums.com
- Screamin Eagle Stage 1 Air cleaner Install -HDForums.com
- Air Cleaner kits - Stage 1 Recommendations - HDForums.com