Harley Davidson Touring: General Information and Recommended Maintenance Schedule
Keeping your bike running well for thousands of miles, protects your safety and resale value. All the required maintenance items per factory recommendations are right here, and we'll walk through some of the ones you can do yourself. The owner's manual covers some of the simpler tasks, but we recommend obtaining the factor service manual for more advanced maintenance and repairs.
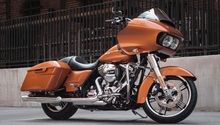
This article applies to later model Harley Davidson Touring bikes (1999-2014).
Proper maintenance is absolutely essential to long term safe operation of your motorcycle. Luckily, Harley provides a handy guide of necessary maintenance items in the owner's manual that came with your motorcycle, or by logging into the owner portion of their website (see link at bottom).
Maintenance Schedule Breakdown
Harley provides an extensive list of periodic maintenance items and the schedule of when to do them, based on mileage or time.
A partial list of periodic maintenance items is presented below. Many of these items should be addressed after the first 1,000 miles for a brand new machine, but this article is aimed at on-going maintenance. For items that have a 5,000 mile interval, it is also a good idea to perform them once a year no matter how few miles you put on the bike. A full schedule can be found in your owner's manual or check this online chart.
- Check tire pressure and condition every 1,000 miles.
- Change engine oil and filter every 5,000 miles.
- Inspect the oil lines and brake system for any leaks every 5,000 miles.
- Inspect the air cleaner and change if necessary every 5,000 miles.
- Check and adjust clutch every 5,000 miles.
- Check, adjust and lubricate the throttle, brake and clutch controls every 5,000 miles.
- Check the level and condition of the brake and clutch fluids every 5,000 miles.
- Inspect and adjust the final drive belt and inspect the sprockets every 5,000 miles.
- Check the tightness and torque of spokes (if equipped) after first 5,000 miles, then every 15,000 miles.
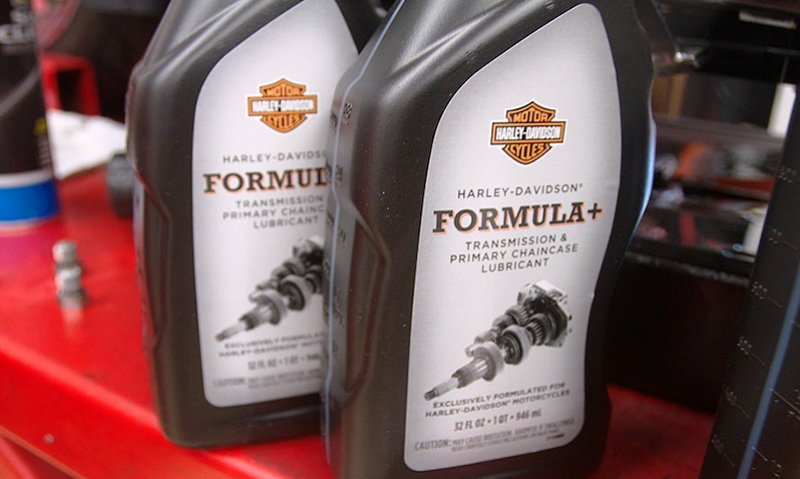
- Check/adjust the primary chain and change the primary oil every 10,000 miles.
- Change the transmission oil every 20,000 miles.
From the list above, you can see that most items are scheduled at 5,000 mile intervals. We'll describe later how to perform some of the simpler items, such as changing the engine, primary case and transmission oil; plus, some of the straightforward inspection items that you can do. If your bike is still under warranty, the above guide is the minimum maintenance required to keep your warranty in effect. Many dealers will recommend additional or more frequent service items, but these are not required by the factory so use some judgement in these cases. For the Rushmore models (2015 to present) additional inspection and service items related to the liquid cooling system should be included, but we'll focus on the pre-Rushmore era for now.
Change the Engine Oil and Filter
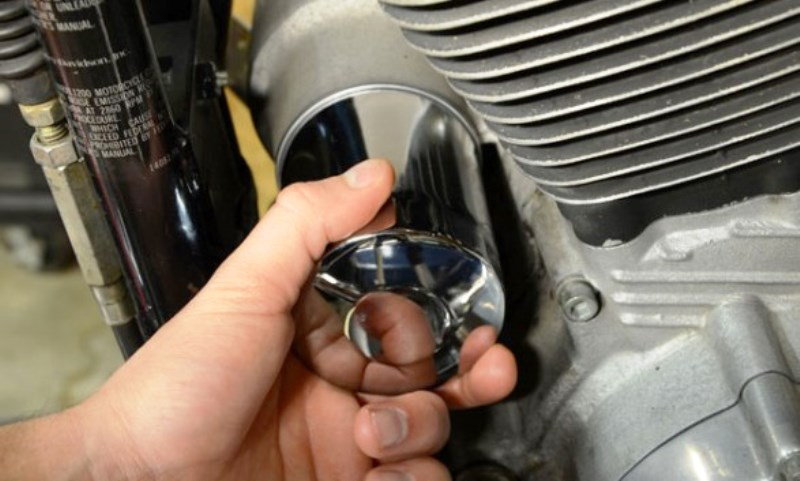
Obtain the necessary supplies before you begin. The correct oil can be found at your Harley dealer or any shop that sells motorcycle oil. Locate the drain plug underneath the engine by referring to your manual. Place a suitable catch pan under the plug and remove the plug. Allow the oil to drain into the pan until it slows to a drip. Changing the oil when it's warm can expedite this step. Inspect and clean the drain plug and its O-ring before replacing it into the engine. Do not over-tighten the drain plug, only about 16 to 17 ft/lb, torque is necessary. Move the catch pan forward under the oil filter and remove the filter by unscrewing it with an oil filter wrench.
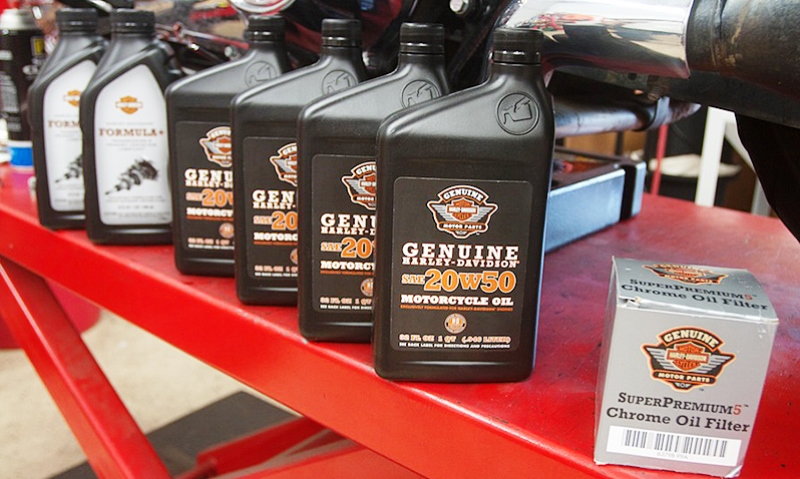
Clean the sealing surface on the engine and then lubricate the rubber gasket on the new filter with clean oil before installing it to the engine. When threading the new filter on, only tighten it 1/4 to 1/2 turn once the filter seal contacts the engine sealing surface. Clean up any spilled oil and dispose of the old oil responsibly. Most auto parts suppliers will accept used oil.
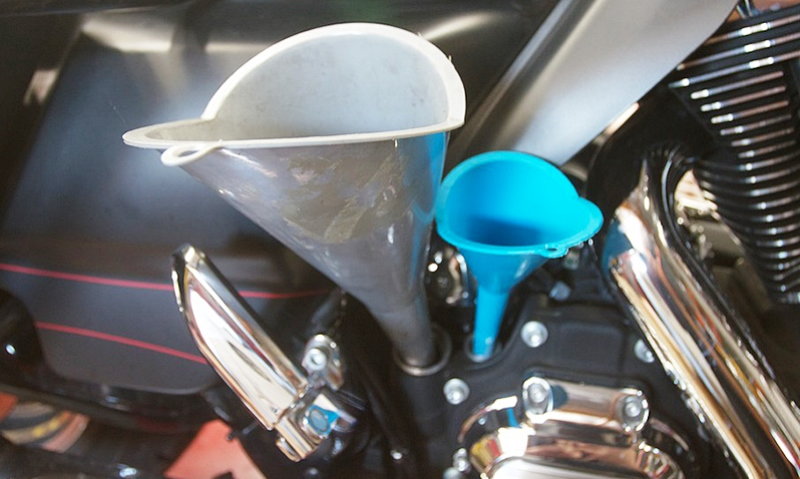
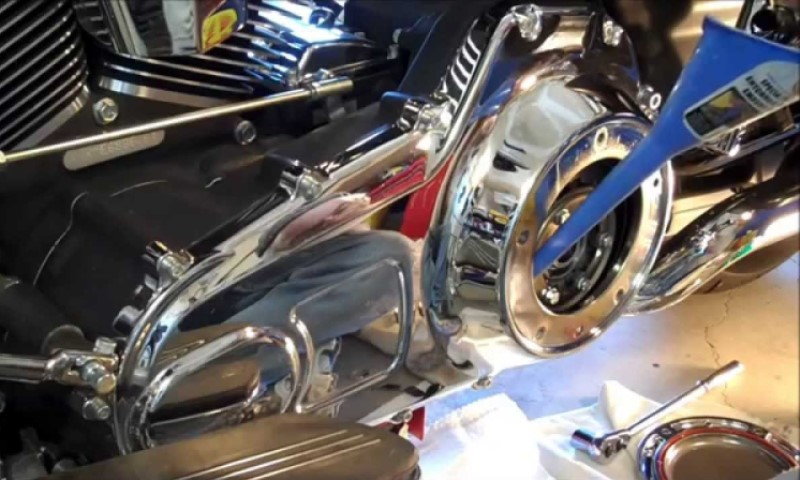
Refill the engine with 3.5 quarts of oil. Make sure to put the oil into the larger, more rear, most filler hole shown below with the grey funnel in it. The blue funnel is the filler for the transmission. After putting the new oil in, start and run the bike for about three to five minutes, check for leaks and then confirm the oil level on the dipstick. Make sure the bike standing upright when checking the oil level. Add any additional oil as needed.
Change the Primary and Transmission Oil
Unlike the engine oil, there are no oil filters to be concerned with and changing these fluids are a simple case of drain and re-fill. For the transmission, a different oil designed for gears is used. Like the engine oil, your local dealer should have this on the shelf. This same lubricant can also be used in the primary drive.
Locate the drain plugs according to your manual and, just as with the engine oil, remove the plugs and allow the oil to drain down to a drip. To refill the transmission refer to Figure 3 and fill using the smaller opening, shown with a blue funnel in place. Refilling the primary case can be done by removing the clutch cover as shown below. Make sure to inspect and replace the seal if necessary.
Tire Pressure
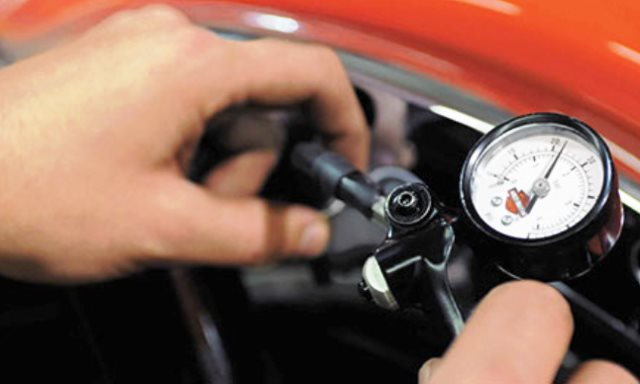
You should at least give your tires a passing glance every time you fill the tank, or even every morning you plan on riding. If the pressure is too low or too high, the tires can wear quickly, but tire pressure also has a big effect on handling. Recommended pressure will vary according to tire size, bike model and loading conditions, so consult your manual for the proper pressures.
Brake and Clutch Fluid
You've checked the "go" maintenance items, so now you need to check the "whoa" items. Of course we are referring to the brake fluid level and condition. Brake fluid level will drop somewhat as the pads wear, but if the fluid has disappeared from the inspection window (Figure 7), the system should be inspected for leaks or perhaps severely worn pads. The front brake reservoir will have an inspection window and rear a translucent reservoir with high and low level markings.
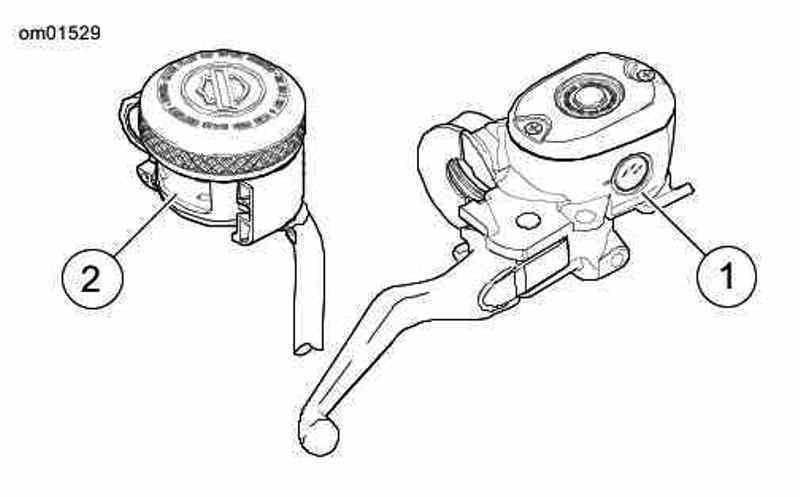
The clutch reservoir (one bikes equipped with a hydraulic clutch) will have a similar sight glass and uses the same fluid as the brakes, so have a look at it while you're at it. Make sure to use only DOT 3 or 4 fluid (marked on the master cylinder cap) and from a newly opened container if a top off is needed. Also, observe the condition of the fluid. It should have a clear, slightly amber appearance. If the fluid looks cloudy or dark, it may be due for replacement.
We've gone over some of the most important and easy to perform maintenance items for your Harley Davidson touring. Most of these items can be performed by the average owner. Depending on your level of skill and comfort, you may be able to tackle some of the additional maintenance items on the list or see your local dealer (or trusted independent shop). With respect to your warranty, you can perform all of these essential maintenance items on your own or at a shop, other than an official Harley dealer, so long as you document your services and use the recommended products.
Common Issues
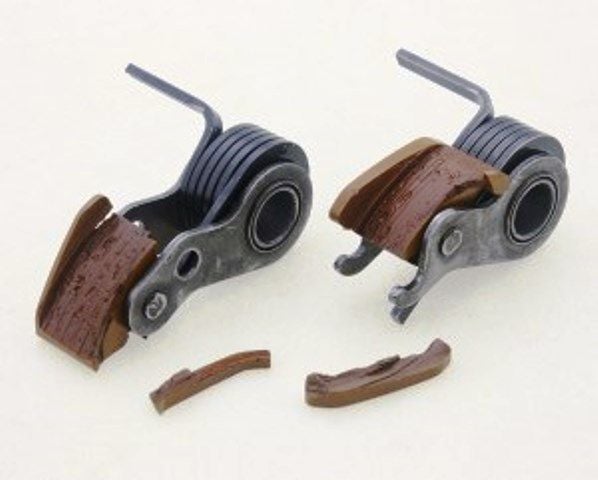
Cam Chain Tensioner
If you are looking to buy a bike made between 1999 to 2006 with the Twin Cam 88 motor in it, be aware that there are serious cam chain tensioner issues with these. Take a good long listen to the motor running if you don't have a full service history for the bike. The solution is a replacement cam chain tensioner with hydraulic instead of spring tension, or gear drive cams. If you don't fix this, be sure to check the tensioner shoe for signs of excessive wear every 15,000 miles. You can read more about this serious problem here.
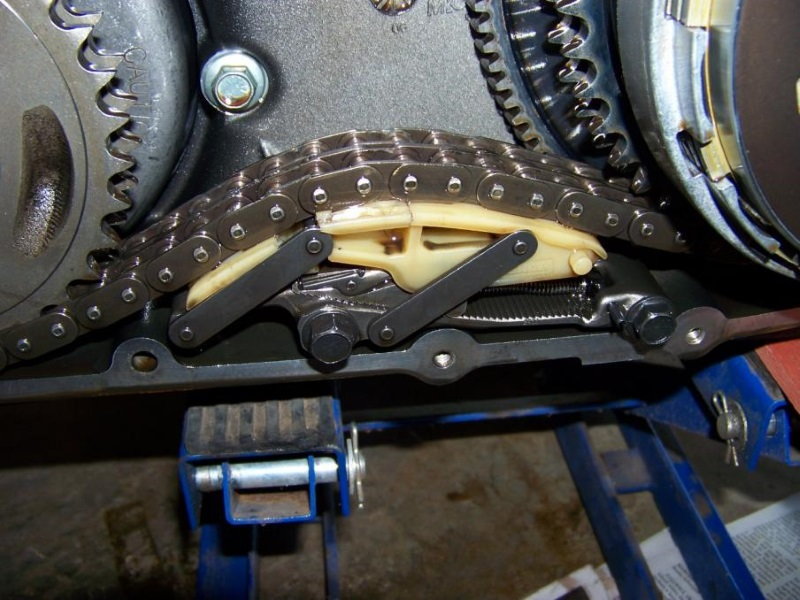
Primary Chain Auto Adjuster
In 2007, Harley Davidson implemented an auto adjusting primary chain tensioner. This primary chain wears and stretches in random areas during operation. Once the auto adjuster finds a section of chain with slack, it ratchets up and reduces it. The adjuster is not able to un-ratchet, which increases tension on the other non-stretched areas of chain. This excessive stretching has been known to cause transmission bearing failure, crankcase bearing failure, and transmission spline destruction.
Technical Service Bulletins (TSB)
All Harley Technical Service Bulletins and Safety Recalls can be looked up by bike VIN number directly on the Harley Davidson site here.
Related Discussions
- Touring Maintenance Schedule - HDForums.com
- 2007 Ultra Service Schedule - HDForums.com
- Scheduled Maintenance - HDForums.com