Harley Davidson Touring: How to Create Bypass Breathers
Air cooled bikes like Harley big twins expand and contract with the heat soaking into the cylinders, much more so than a water cooler bike, or a car. This can lead to oil and combustion gasses sneaking past the rings when everything is hot. It is especially notable after long freeway runs in warmer weather, or after climbing a long hill. The stock breathers let the oil drip out of the air cleaner sometimes, but it is not hard to prevent with a little work.
This article applies to the Harley Davidson Touring (2000-2016).
You may not have experienced the nasty blow-by mess on your Harley if you haven't installed a high performance air cleaner system, but if you have a stock air filter, don't be alarmed by a pool of oily goop on the bottom of your air cleaner cover. Excess combustion blow-by and oil mist are pushed out of the breathers and exit into your air cleaner, where it is sucked back into the motor to be burned. This system lessens emissions, but can make a mess especially with open element air cleaners, which don't deliver as much vacuum at the breather to suck up the vapors. If you have ever over-filled your oil reservoir, you most certainly have experienced blow-by at its most dramatic levels. A bypass system directs the vapors down and toward the back of the bike, either to a catch can or just to the atmosphere.

Materials Needed
- Breather kit (banjo bolts or hose barbs, hose, clamps)
- Long section of hose
- Breather
- Drool cup (optional)
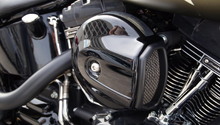
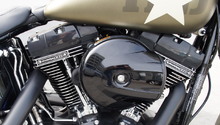
The stock air cleaner has two bolts which support it, as well as have hollow passages for oil vapor and blow-by to come through. These typically have short hoses which direct the vapor toward the mouth of the throttle body, as seen in Figure 1. Some aftermarket covers retain these, but many are smaller and just install small vent bolts on their place, which allows oil to build up and drip onto the motor eventually. The fix is either a dedicated breather kit, or barbs/banjo bolts, and rubber hoses, with a dribble can or breather under the bike.
Figure 1. Stock air cleaner and breather hoses. 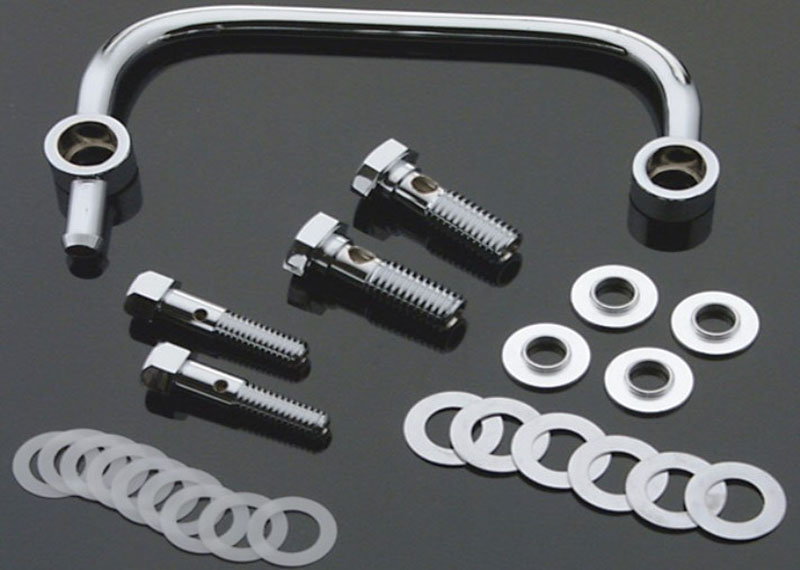
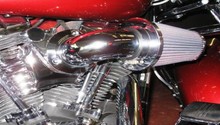
Figure 2. Typical horseshoe breather kit.
Step 1 – Remove air cleaner and filter
Remove the air cleaner cover and the air filter from the cleaner assembly. You may or may not have to take off the back plate depending upon the brand, type or style of air cleaner you have if you have upgraded from the OEM.
Step 2 – Install barbs or banjo bolts
You will need a couple of hose barbs or banjo bolts to connect hoses to and redirect the blow-by, rather than the throttle body. These typically are all included in the breather kit, or you may be able to re-purpose the factory breather bolts and reroute the hose. Banjo bolts allow for a cleaner installation, as they direct the hoses 90 degrees and make it easier to route the hose. The holes in the motor should be threaded for 3/8" x 16tpi bolts on all Twin Cam motors.
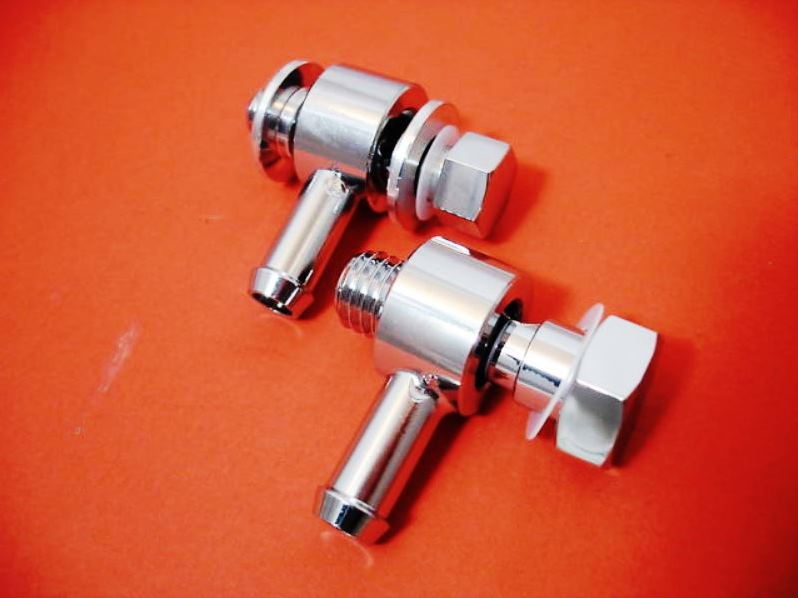
Figure 4. Banjo bolts with hose barbs. 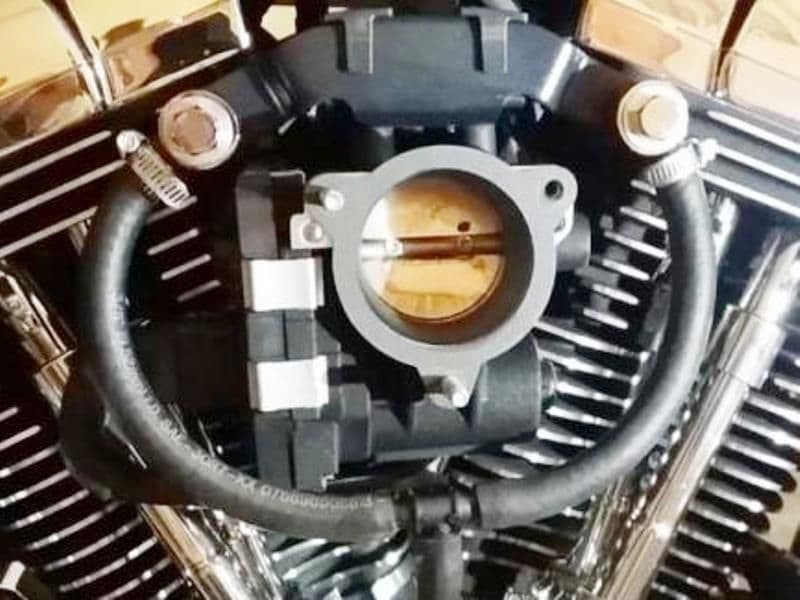
Figure 5. Banjo bolts installed in head.
Step 3 – Connect hoses to your barbs or banjo bolts
Connect your hoses and secure them to your bolts or barbs. You can use use a T-connector, or some kits run a hose from one bolt to the other, then down to a breather or drain. A horseshoe breather uses a hard metal line to connect the two and a rubber hose comes off of that.
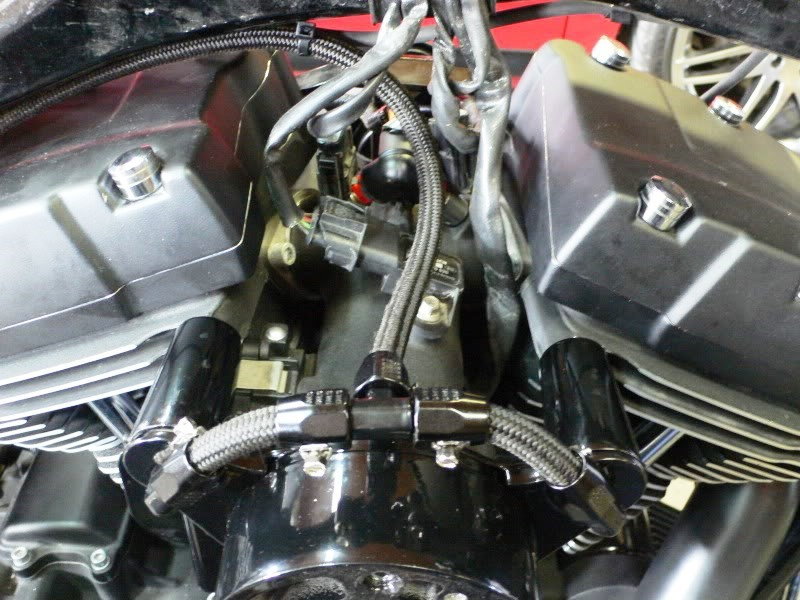
Figure 6. Using hose barbs and tubing, you can create your bypass system to meet with a "T" joint connection. 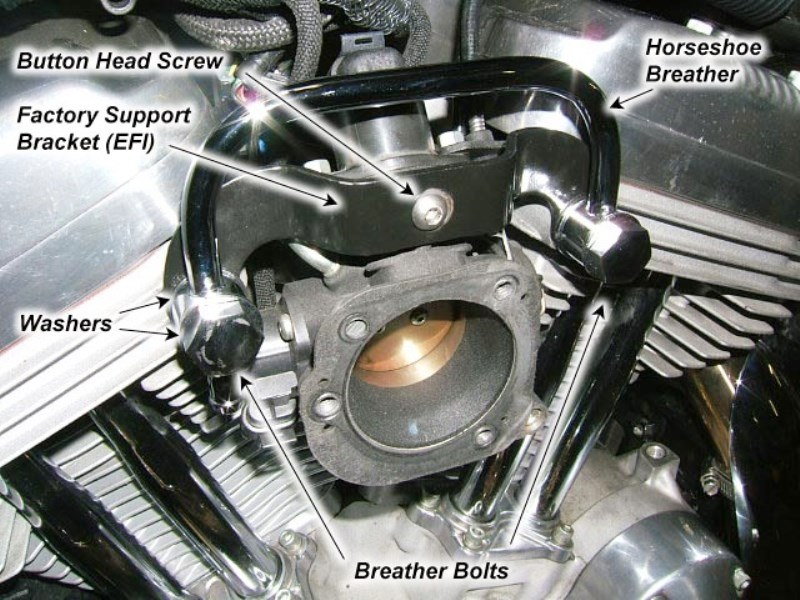
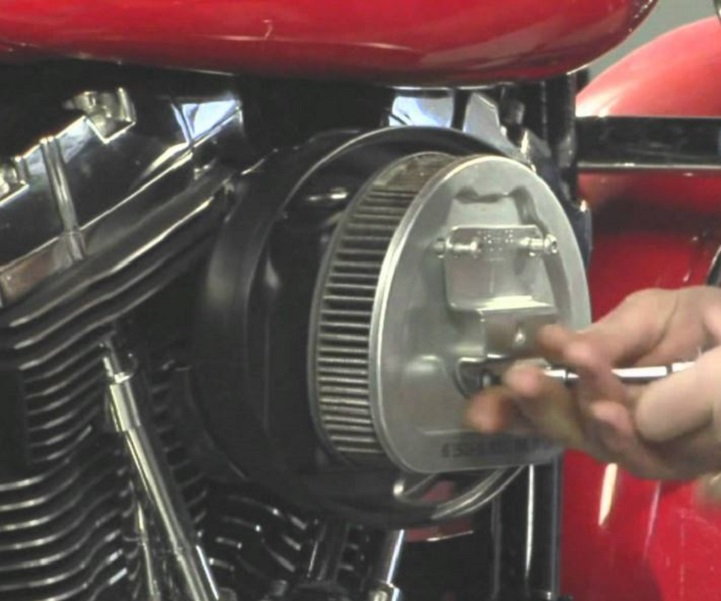
Figure 7. Some breather kits use a hard line to connect the two bolts into a single hose barb.
Step 4 – Run your hose an exit point
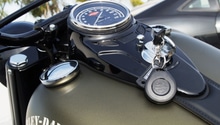
From the air cleaner, you have a couple of options for running your hose to the exit point. Some owners will run their hose to the end of the pipes near the rear tire. Others create a drool cup with a lid and nipple on top to connect to the hose and mount under the bike in an inconspicuous location. This cup catches all the blow-by and gets emptied with every oil change. If you do choose to mount a cup, it can't be fully sealed, so there needs to be a breather or vent in it, usually at the top.
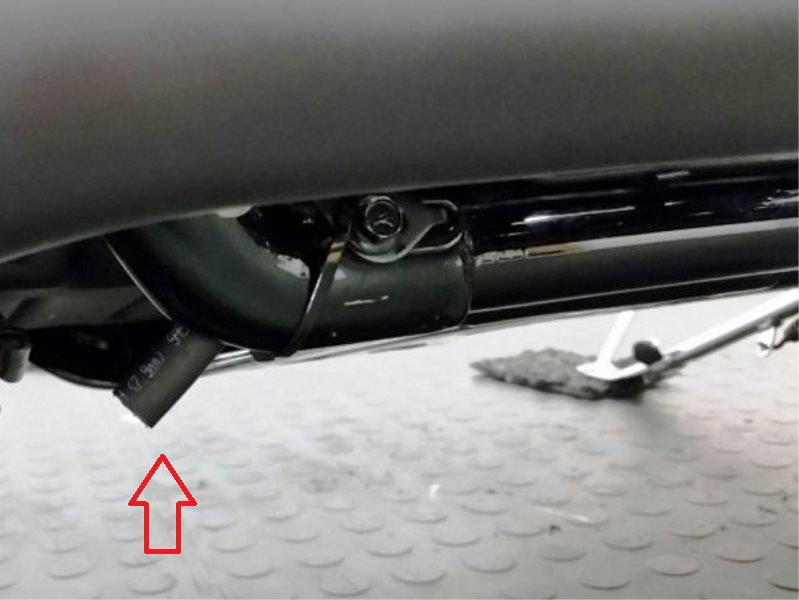
Figure 8. You may opt to drain your breather bypass out by the end of the exhaust pipe away from the rear tire. 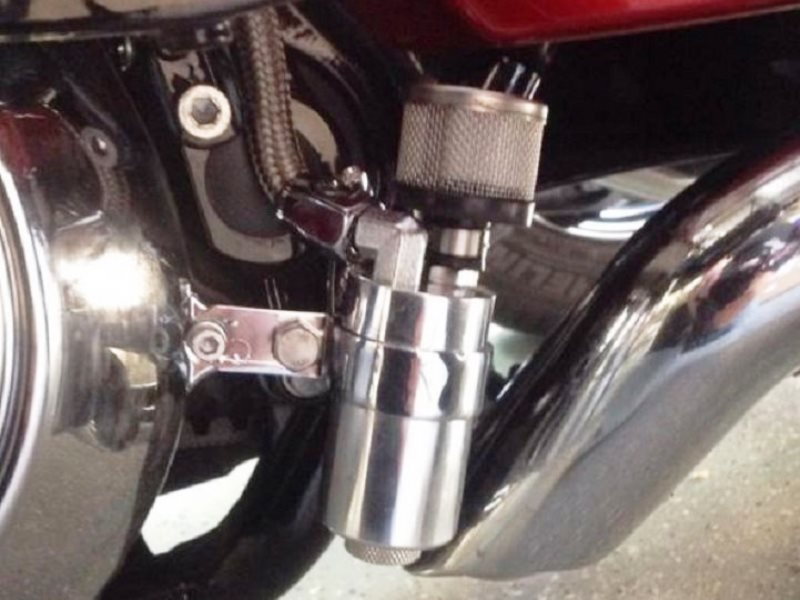
Figure 9. Oil catch can with drain in bottom and breather in top.
Related Discussions and Site
- Crankcase Breather Kit? - HDForums.com
- Finally Did My Breather Bypass - HDForums.com
- Quick Technical ? About Breathers - HDForums.com
- Fixed It - RoadGlide.org