
Brake caliper rebuild + photos
#1
 01-16-2011, 08:19 PM

Did this job a year ago
2000 Road King. 15,000 miles. No lever when I got bike. Lever went almost all the way to handle.
Low miles so I took them off, tore them completely apart. Everything cleaned up good. Reused all parts except new bleeder screw and new banjo washers.
Have not bleed brakes yet. Took pictures of tear down and install.
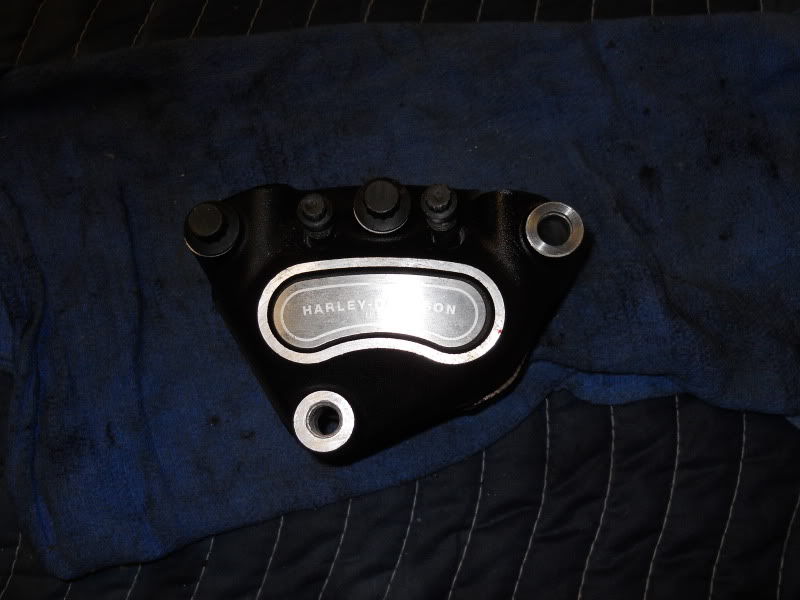
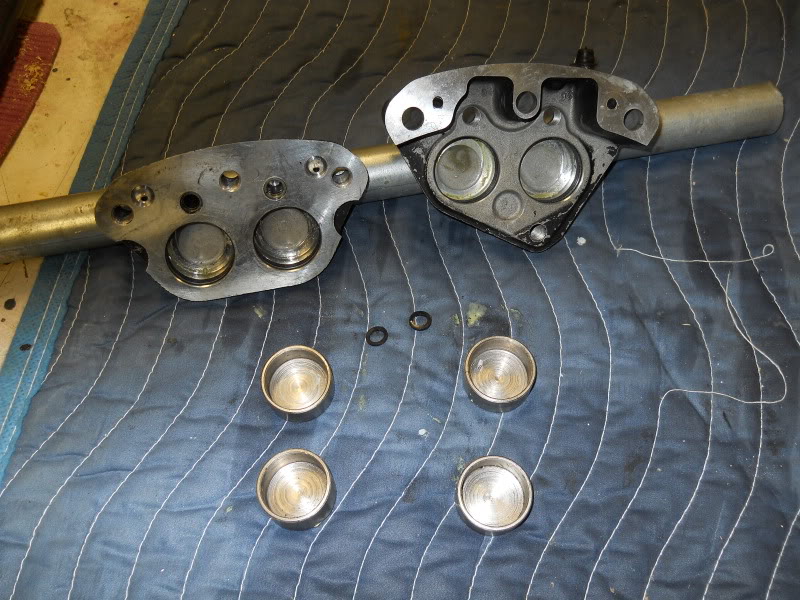
Caliper apart - pistons were frozen - pretty dirty
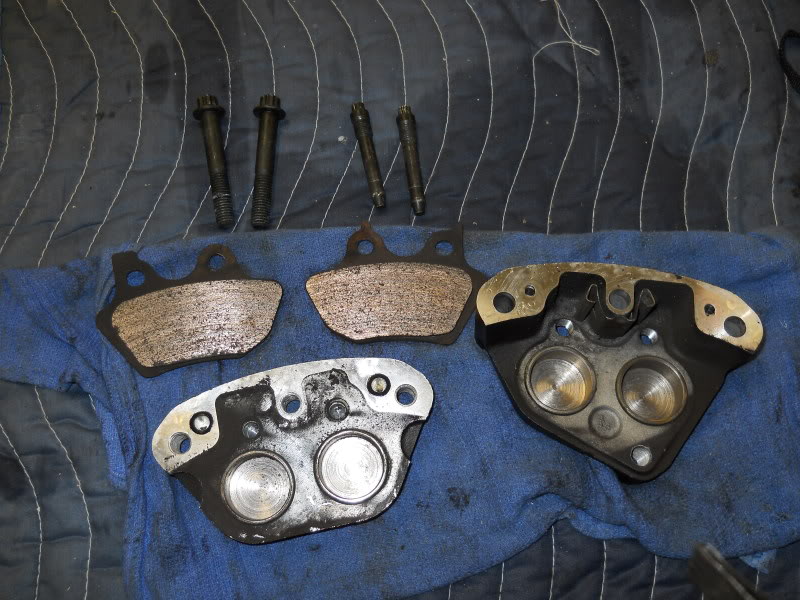
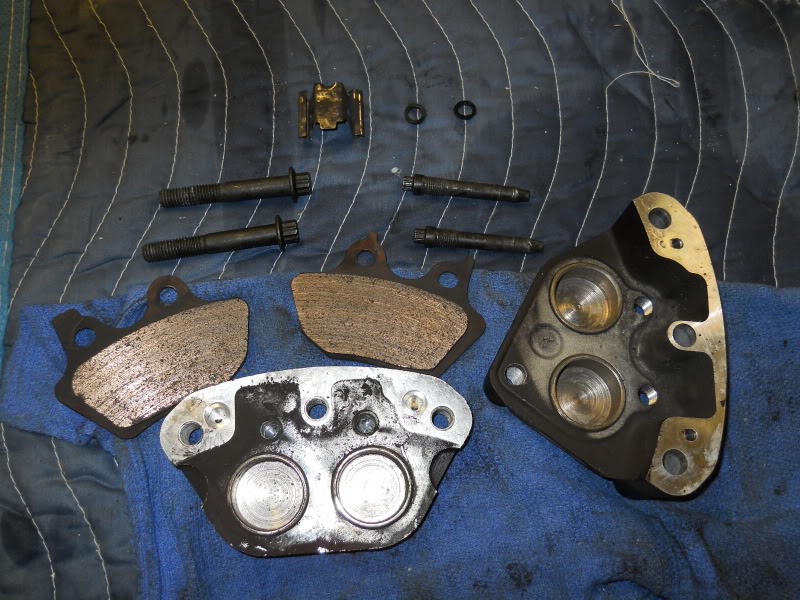
Lower half is in middle it has the 2 rubber washers that are off.
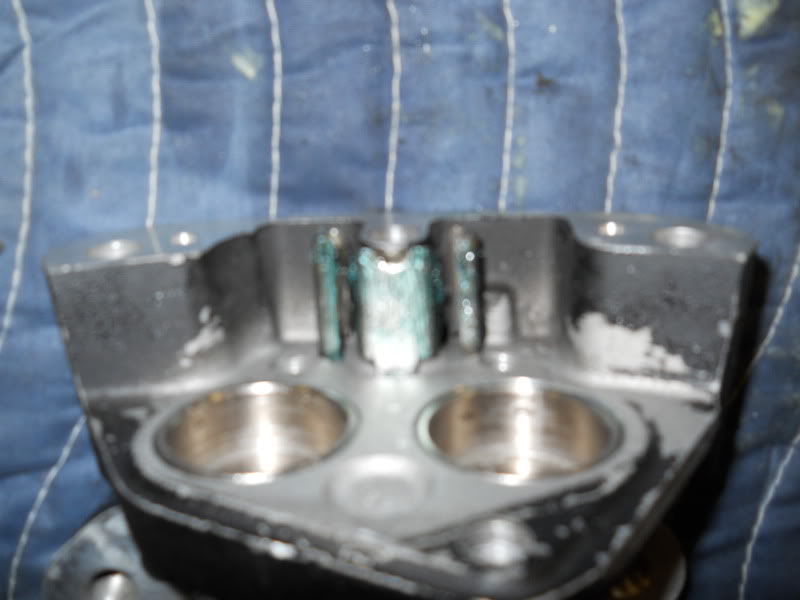
Upper half to the right has the part that is the anti rattle metal piece. I believe the pad top metal parts slide across it when cleaned and greased.
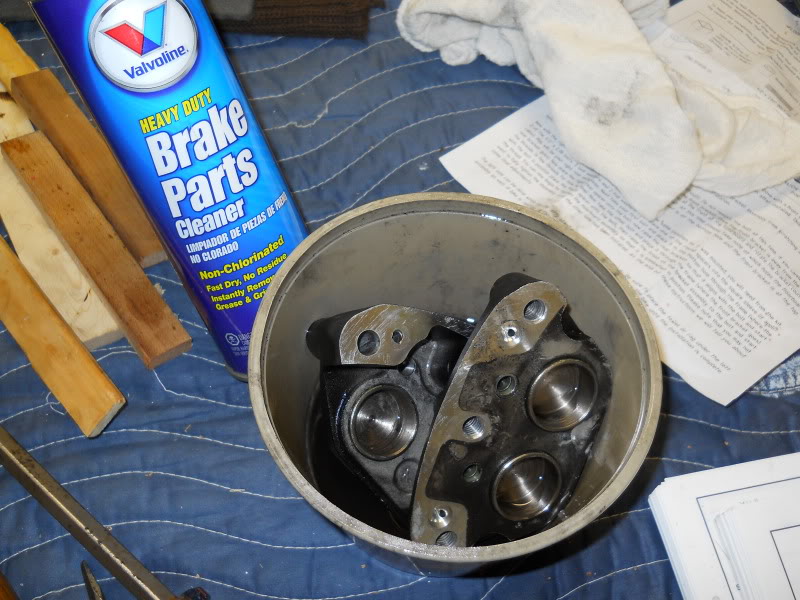
Soaking parts in brake cleaner.
They are in my high tech empty butter tub / parts cleaner thingy
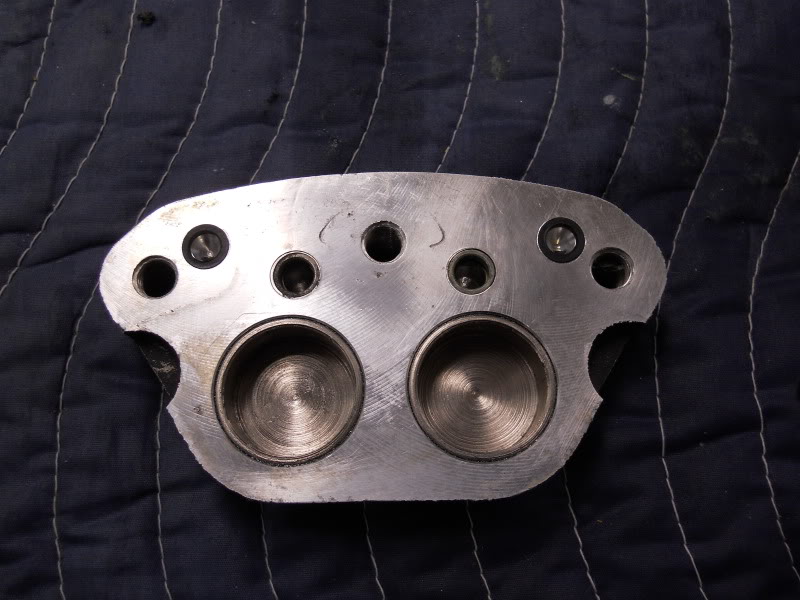
Pistons out. Partially cleaned . Wiper part and rubber oil ring were not taken out of where the piston is installed
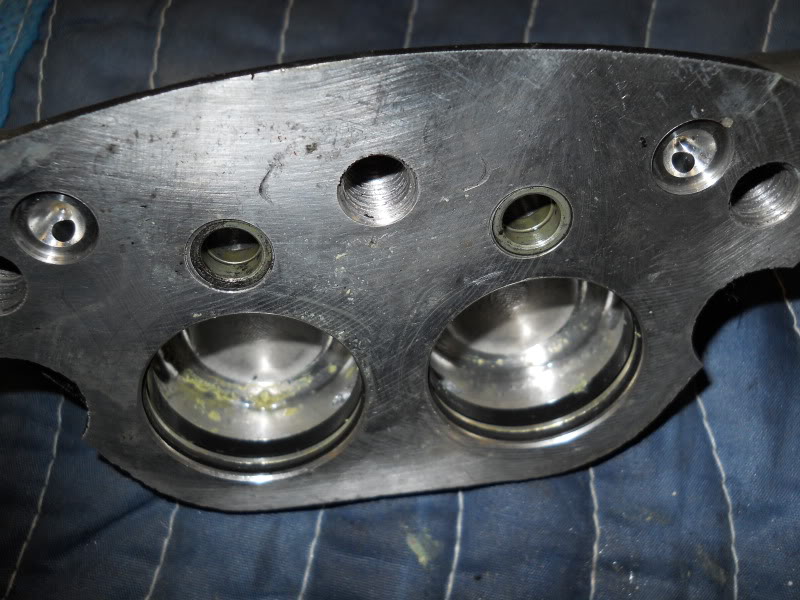
Inside of piston. Crudy oil/grease in bottom. Holes the have a little hole in them is where those little rubber washers are installed. The brake fluid goes through there and push's piston out.
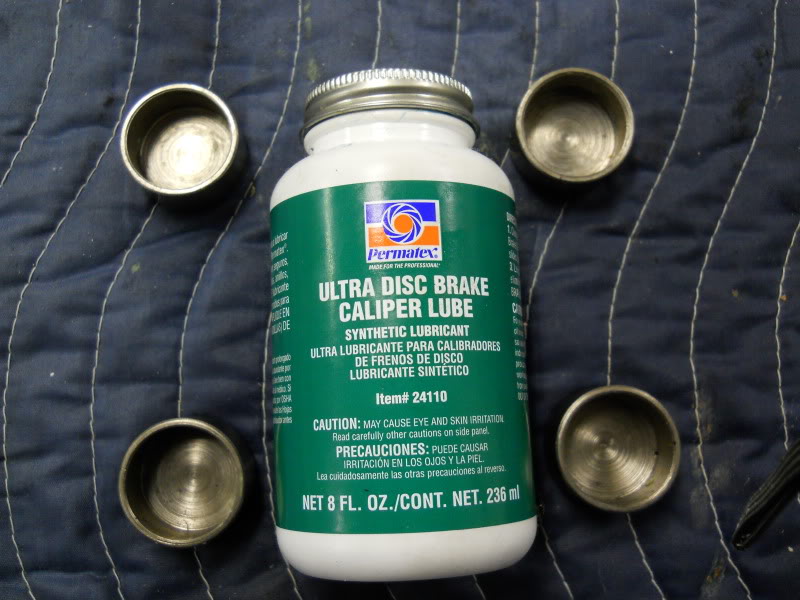
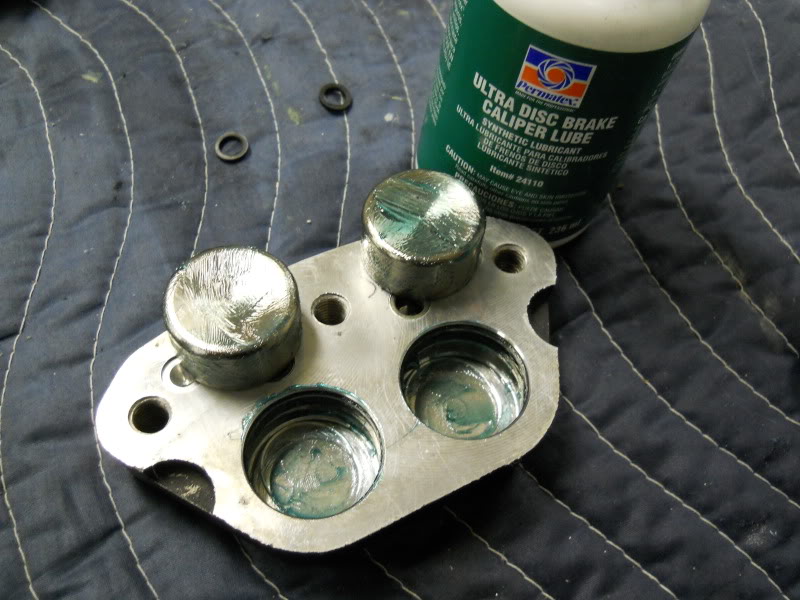
This is what I used to coat the inside of the pistons holes. Outside of the pistons. The pins that hold the brakes. The metal anti rattle metal piece
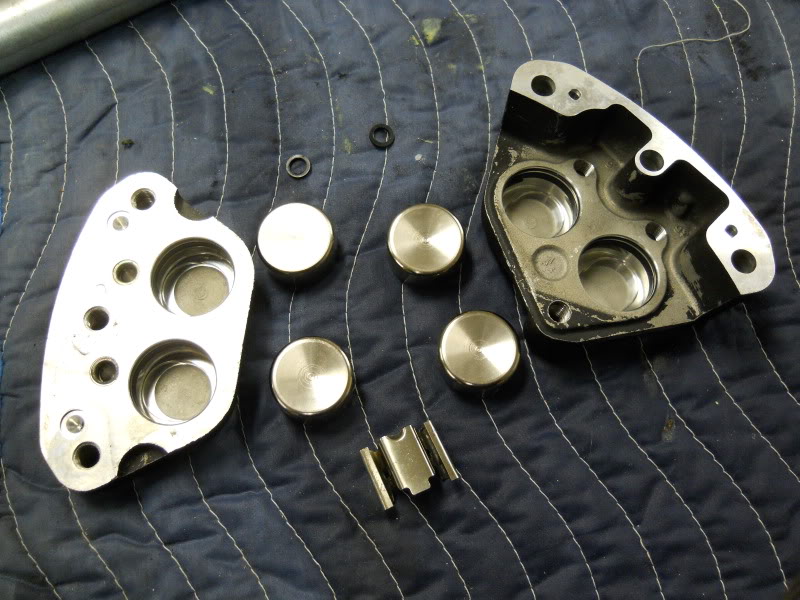
Parts all cleaned and ready to be put back together
Greased up piston hole and outside of pistons, and wiper and rubber seal in side of hole
After install and wiped surface clean - rubber o rings installed
Greased up metal retainer / anti rattle piece
Greased up pins for pads

Finished install ready to go back on rotor.

I hope this helps anyone doing this. My first Harley and my first time doing the brakes. I read my service manual.
I have done a bunch of car brakes before so I understand what the parts do. The service manual does not say lube the metal anti rattle piece or the pins.
I do this when I do car brakes so I did it on the bike.
Straightleg
2000 Road King. 15,000 miles. No lever when I got bike. Lever went almost all the way to handle.
Low miles so I took them off, tore them completely apart. Everything cleaned up good. Reused all parts except new bleeder screw and new banjo washers.
Have not bleed brakes yet. Took pictures of tear down and install.
Caliper apart - pistons were frozen - pretty dirty
Lower half is in middle it has the 2 rubber washers that are off.
Upper half to the right has the part that is the anti rattle metal piece. I believe the pad top metal parts slide across it when cleaned and greased.
Soaking parts in brake cleaner.
They are in my high tech empty butter tub / parts cleaner thingy
Pistons out. Partially cleaned . Wiper part and rubber oil ring were not taken out of where the piston is installed
Inside of piston. Crudy oil/grease in bottom. Holes the have a little hole in them is where those little rubber washers are installed. The brake fluid goes through there and push's piston out.
This is what I used to coat the inside of the pistons holes. Outside of the pistons. The pins that hold the brakes. The metal anti rattle metal piece
Parts all cleaned and ready to be put back together
Greased up piston hole and outside of pistons, and wiper and rubber seal in side of hole
After install and wiped surface clean - rubber o rings installed
Greased up metal retainer / anti rattle piece
Greased up pins for pads
Finished install ready to go back on rotor.
I hope this helps anyone doing this. My first Harley and my first time doing the brakes. I read my service manual.
I have done a bunch of car brakes before so I understand what the parts do. The service manual does not say lube the metal anti rattle piece or the pins.
I do this when I do car brakes so I did it on the bike.
Straightleg
Last edited by straightleg; 01-04-2012 at 07:32 PM.
#3
01-16-2011, 09:14 PM
Seasoned HDF Member
#4
01-16-2011, 10:04 PM
Extreme HDF Member
#5
01-16-2011, 11:33 PM
I first took a 1/2 inch piece of oak and sliped it between pistons. I have around 90lbs of air on the compresser.
I have a air sprayer for getting rid of saw dust on something.
I had to spray knock one out. Start over shim wood against the one loose. Spray knock one loose.
Shim wood against that one.
Take it back apart, spray more brake cleaner on it.
Start over.
It took awhile to get all the pistons broke loose.
I did not have the harley tool for this.
Used what I had in the shop. I am a woodworker.
When one broke loose, I reinstalled in to hold the air and shimmed it with wood , so it would not move and break another loose. I did this over and over to get them all loose.
I have more time than money.
Straightleg
Last edited by straightleg; 01-16-2011 at 11:38 PM.
#6
01-17-2011, 12:39 AM
Outstanding HDF Member
#7
01-17-2011, 07:41 AM
I have always done it on my car brakes. They even give you a tube of grease.
Mechanics on cars have told me that is the right way to grease all the metal hardware and the pins so everything slides.
Bike
The pistons are a tight fit. Dont see much dirt getting inside.The mechanics manual says to lube pistons on the outside and in the hole.
To use silicone grease from GE
It does not say to lube things outside like the metal piece and pins.
I just used what I use on my cars.
Straightleg
Trending Topics
#8
01-17-2011, 07:58 AM

#9
01-17-2011, 08:20 AM
Seasoned HDF Member
#10
01-17-2011, 08:33 AM
Dawg
I cleaned it all and did not replace the parts. I did grease the parts just like the manual says. Did not use that GE part number or use the HD piston remover.
I also greased the metal part and pins.
Maybe for that price I should have put new parts in. Can always do a redo.
Straightleg
I cleaned it all and did not replace the parts. I did grease the parts just like the manual says. Did not use that GE part number or use the HD piston remover.
I also greased the metal part and pins.
Maybe for that price I should have put new parts in. Can always do a redo.
Straightleg