Modified 2008 Dyna Fat Bob FXDF - 12" mini-apes and other mods...tell me what you think!
Dyna Glide ModelsSuper Glide, Super Glide Sport, Super Glide Custom, Dyna Glide Convertible, Super Glide T-Sport, Dyna Glide Police, Dyna Switchback, Low Rider, Street Bob, Fat Bob and Wide Glide.
Modified 2008 Dyna Fat Bob FXDF - 12" mini-apes and other mods...tell me what you think!
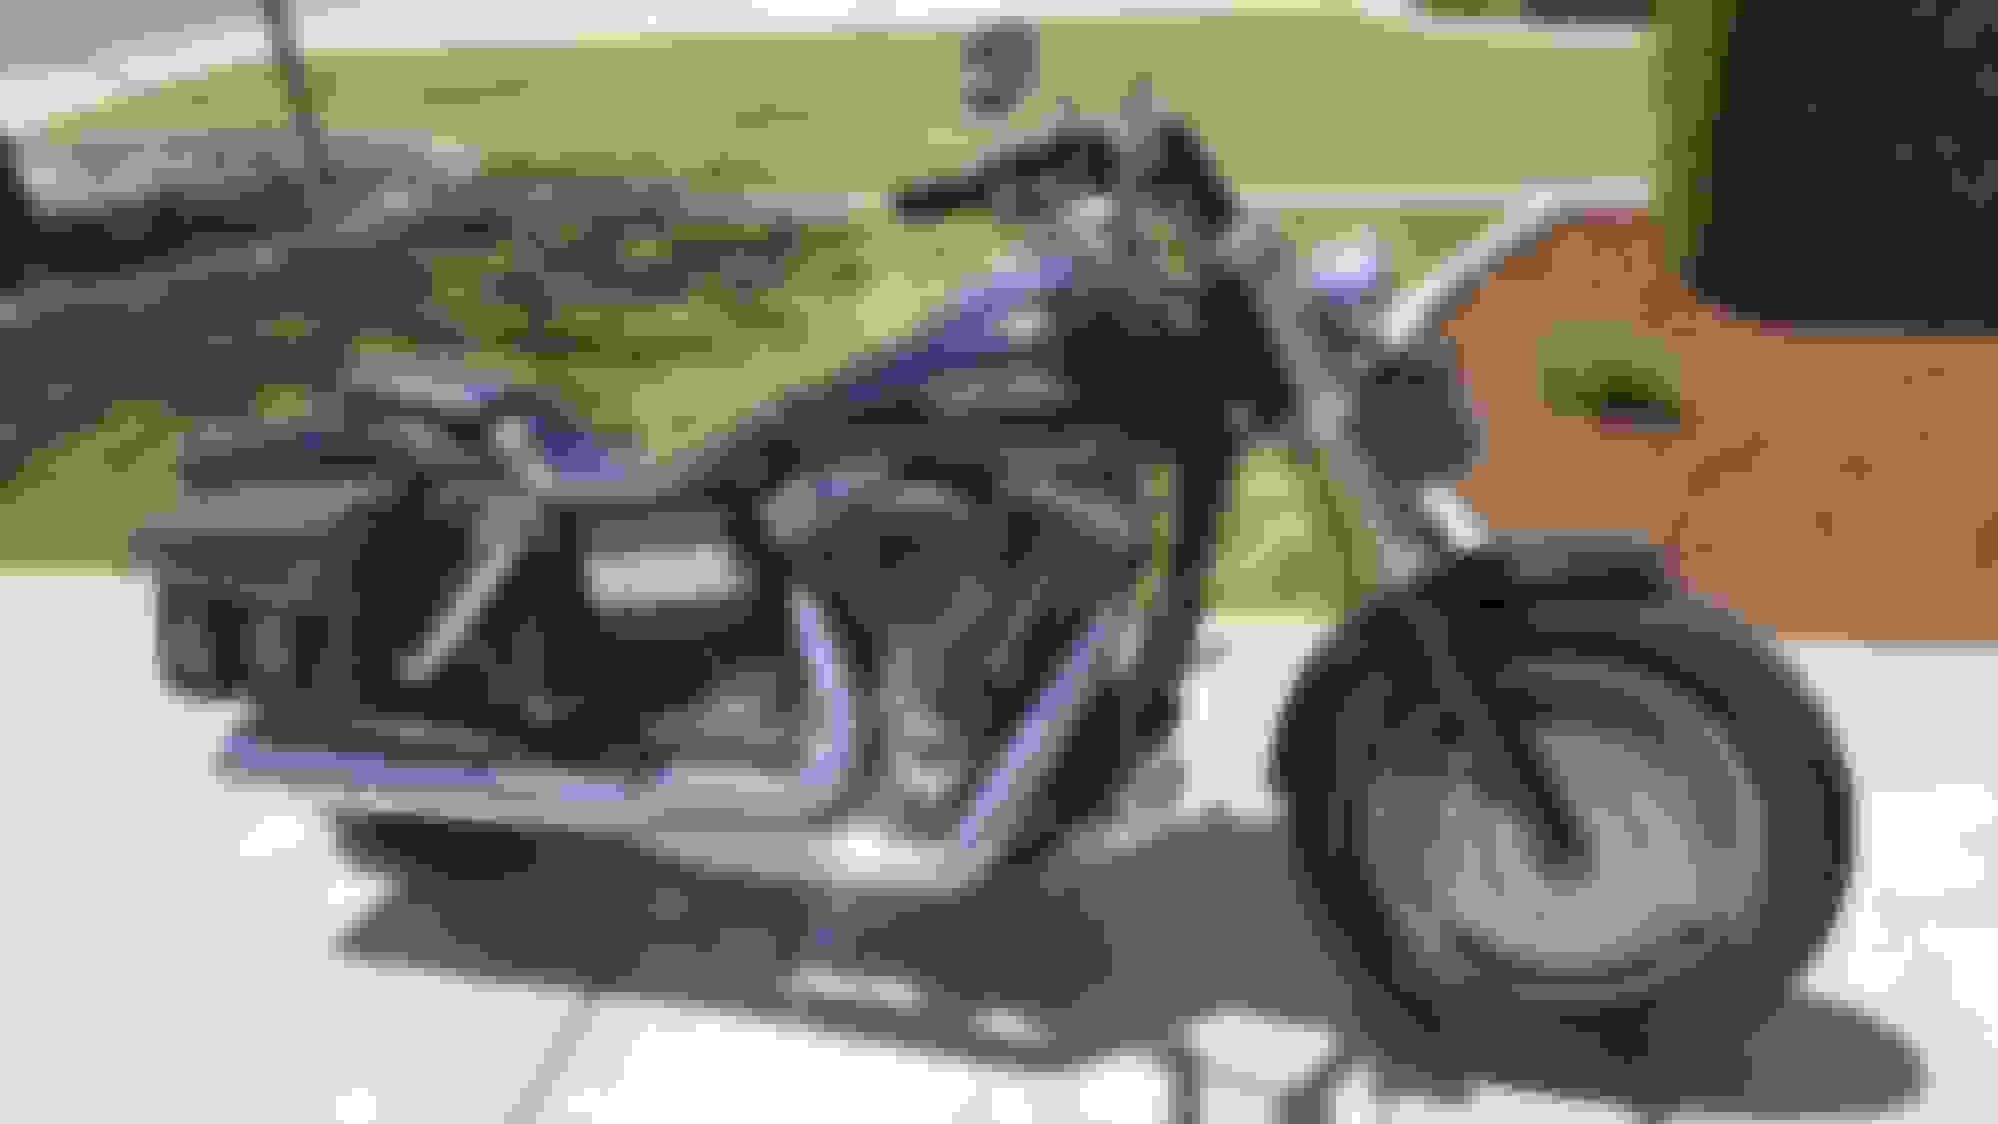
Hey everyone...long time lurker, first time poster. Figured I would share some pics/info on my ride and what I've done to it over the last year. First, a before picture from when I first bought it from a buddy:
I first purchased it with 2-1 V&H Pro Pipe and high flow stage 1 "stock look" air cleaner. Came with Viking "Thor" small bags, HD quick disconnect sissy, and HD quick disconnect large windshield.
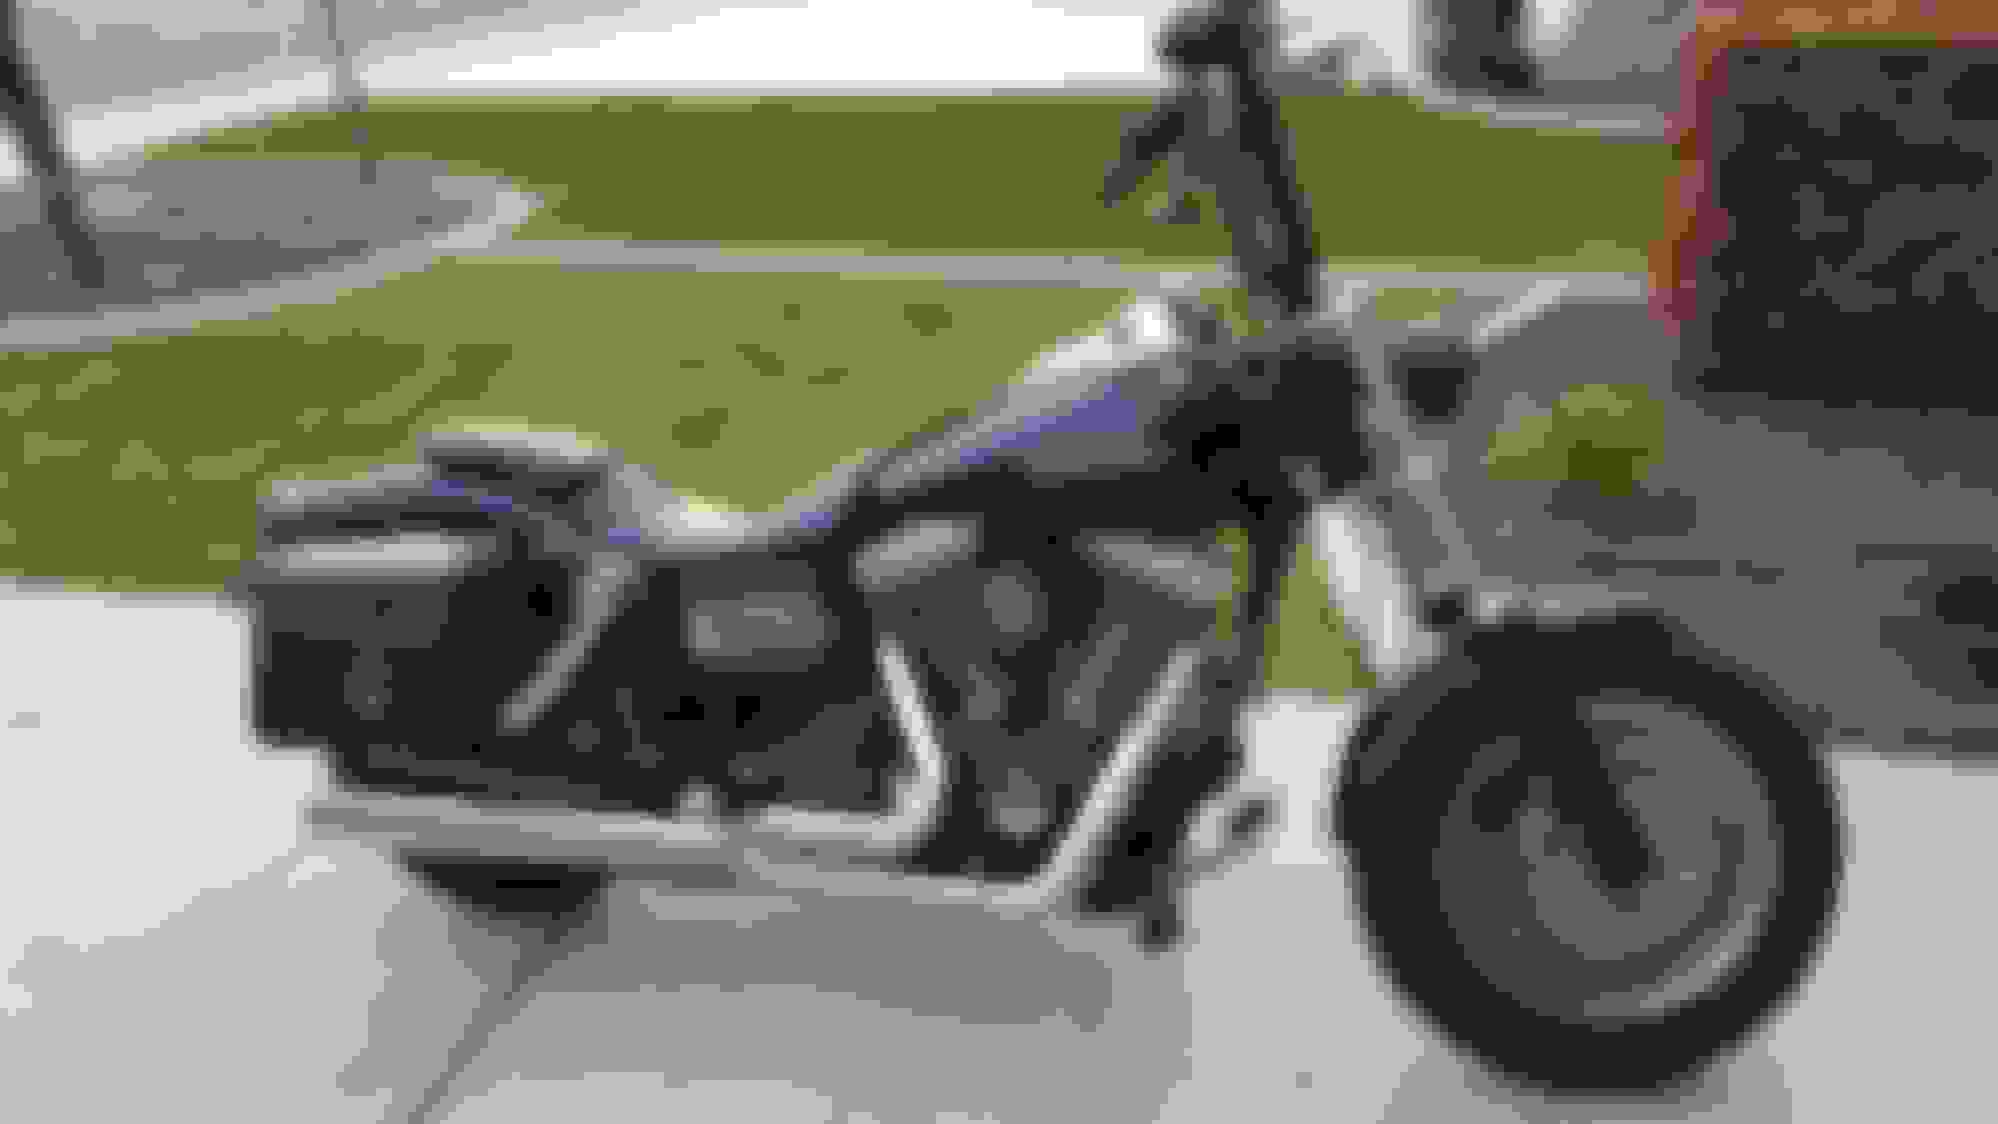
The very first things I did were remove the windshield and the sissy bar. Some probably like this look...that's all well and good but I have strong neck muscles from rocking no fairing or windshield on my old bike and I don't want to lose those! Next, I picked up a Le Pera Silhouette solo seat/passenger pad and I tried plasti-dipping the stock bell-housing air cleaner cover because there was too much chrome for me. Finally, i swapped out front pegs and grips with Avons from Amazon (part #s AIR-99-ANO and FP-CC-86-ANO). Oh and I upgraded the front tire to a 150mm Sportster rear tire (no changes required...fits perfectly in any stock Fat Bob - well at least my 2008). Here is the result:
I still hated the stock air clener so I picked up a Joker Machine Finned Air Cleaner for Harley Twin Cam 2007-2017 (mfg part# 02-142B) and after installation I was much happier. Not only did I have more room for my right knee, the look fits the engine pretty well:
I liked the way the plasti-dipped air cleaner cover looked previously so I decided to do more tinkering since it is easy to take off and I then did my console and my dual headlights. Oh and I swapped my stock tombstone mirrors with some simple black ones from Hill Country Customs (not sold anymore but part# HC-MR15B):
This was muuuuch closer to what I was looking for and I rode it just like this for months while I saved for the most worrisome thing that I knew I had to do. Bar and cable swap to 12" mini apes.
I did a ton of reading on the forums, watched hours of videos, studied my bike when I had time, and looked for inspiration to see if I could find a style I liked that I could then make my own. EricInNCA and mustang0ne are the two posters that modified their Fat Bobs similarly to what I had planned so I tried to research parts suppliers and steal ideas for which parts they used to inform my searches. For reference, here are a couple forum posts from them with pics of their bikes...they both turned out badass:
These are pretty incredible bikes and while I didn't want to copy them, I did want to take some inspiration (and part #s where I could, heh). I finally settled on the following parts that I would need:
A note about cables - I would recommend contacting Magnum Shielding to find out exactly what part #s you need for your swap and then searching them out on Dennis Kirk or Amazon. I saved over $100 by just searching the part # for the kit I needed on Amazon...not sure why they are so much cheaper on alternate sites or from alternate dealers, but that's the way it is.
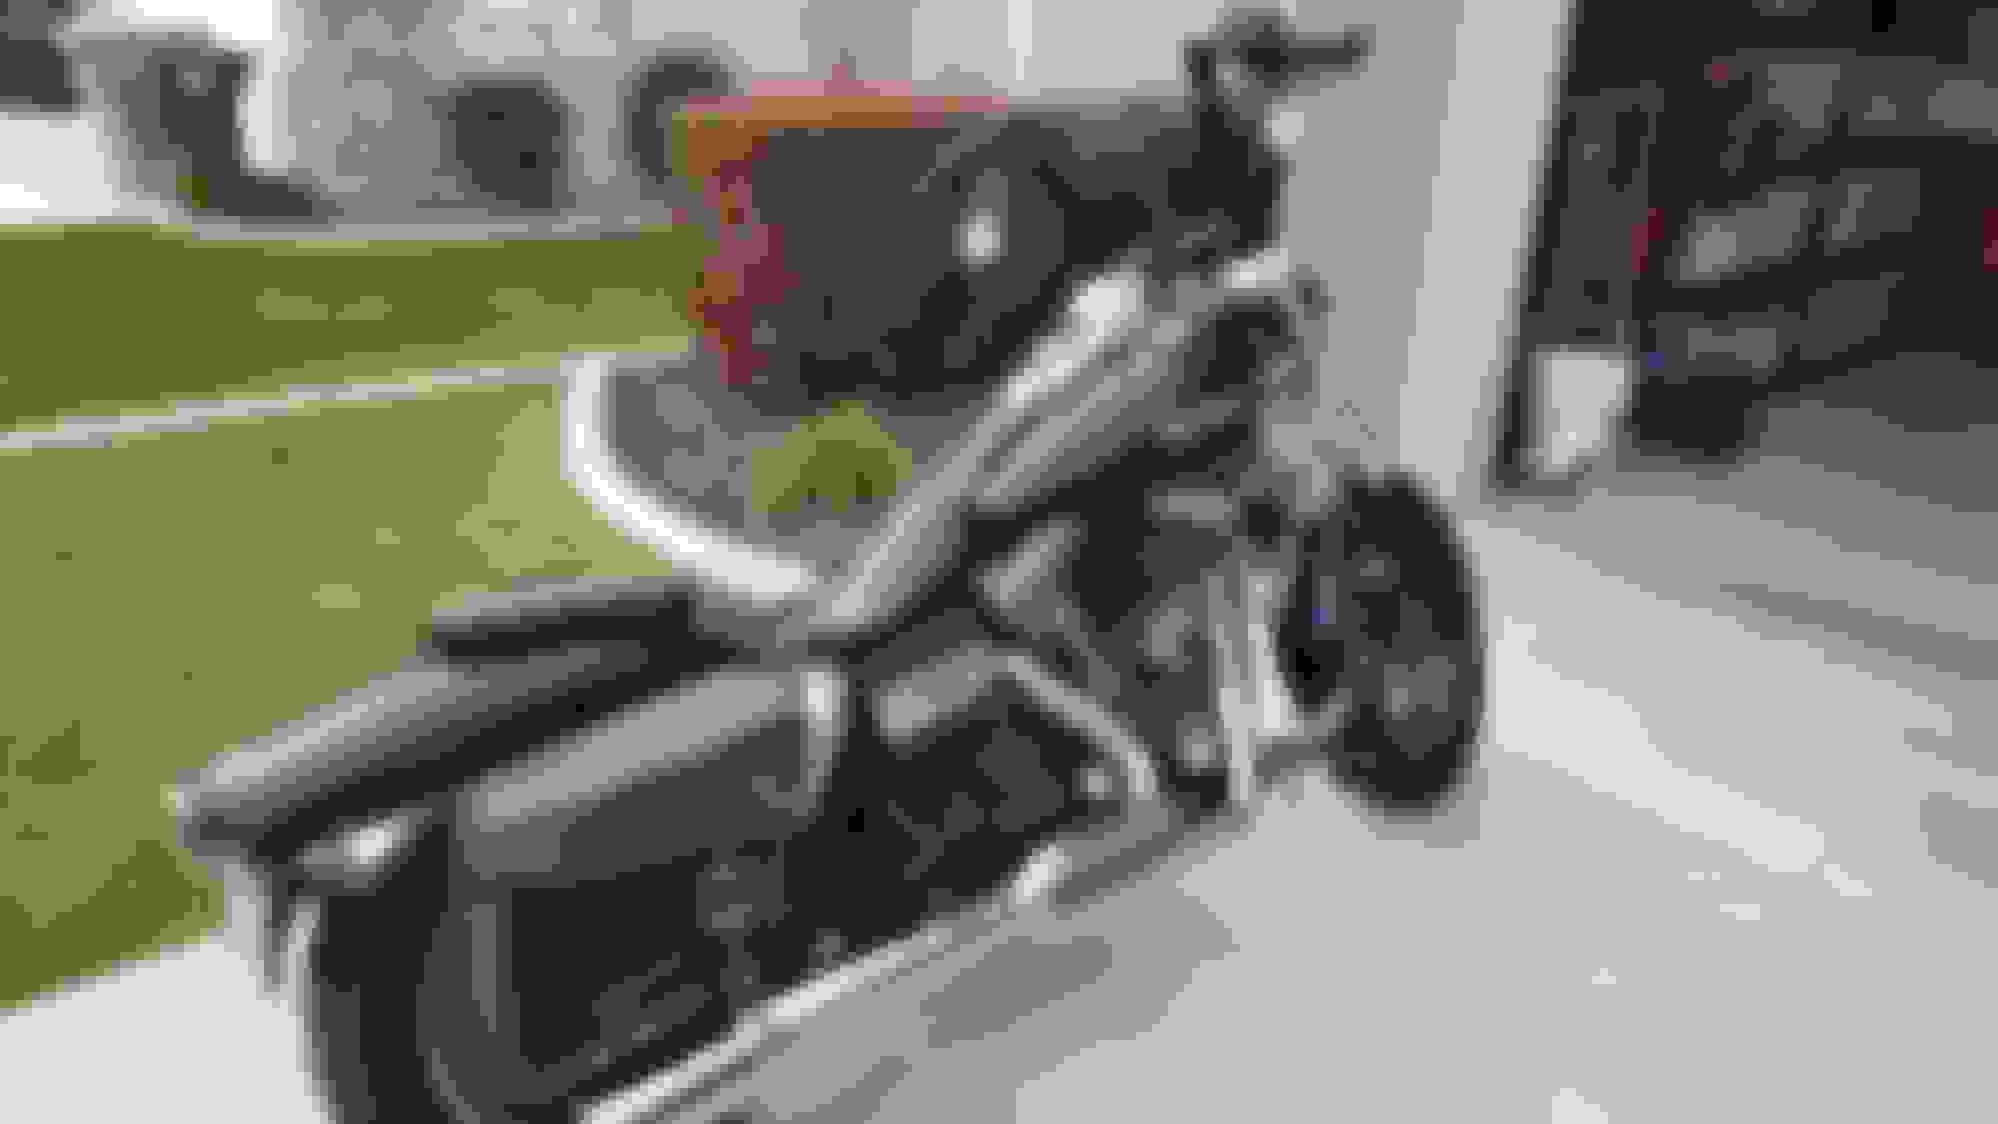
Once all parts had arrived, I started the install and it took me about 3 days working on lunch breaks and after work. Most of the time was spent second-guessing myself and coming back here to pore over posts or to sit back and watch YouTube videos to make sure I didn't jack anything up. Anyway, after all the hard work here are the results:
A few additional things to note...my poor bags have seen hell (you can see I'm missing a strap now) and I'm replacing them with newer, better versions of the same model. I also swapped brake pedal for the HD Diamond Black small brake pedal and shifter peg as the previously installed ones were massive and gaudy. Finally, I removed the plasti-dip from the console and had planned on redoing/reinstalling before riding. Instead I was able to finish up my clutch cable faster than I thought and could not wait for it to get above 60 degrees to dip again. After reinstalling it, I don't know if I will go black again or not...I'm trying to keep a balance of chrome/black and not make this an all black bike so we'll see what happens. I love it as it sits for now though.
Check it out and tell me what you think! All criticism welcome...everyone has different tastes but this is as close as I can possibly get to my exact taste without spending another $10k to custom design every piece, lol.
----------------------------------------------------------------------------------------------
If you are planning to do a bar swap on an FXDF, here are some things you need to know (for noobs like me who hadn't done this before):
1. If you stay below 14" rise and 2" risers, you should not need wiring extensions for internally wired bars. There is quite a bit of extra cable behind the rubber boots in the neck of the frame and it might be a PITA to get out of there - the connectors had bound my cables on one another and I was so scared of pulling too hard that I tried this 4 separate times and watched videos in between to make sure I wasn't jacking anything up.
Just get both hands working both sides of the cables back and forth in the frame and once one connector comes out, it will be much easier to get at the other.
2. When you have disconnected the cables, you will need to remove the molex connectors on the ends to be able to pull out of your current bars and to insert into your new bars. Take plenty of pictures from all angles of each and make sure to look up guides on the internet for how to disassemble these...it takes a bit of patience but it is well worth not having to cut and solder your existing cables.
3. Your clutch cable comes underneath the bike and connects into your transmission cover. You want to get a transmission gasket and some oil because you will have to drain and then refill the tranny oil. I didn't have to remove my pipes because I was BARELY able to get behind mine but you MAY have to loosen your pipes up to gain access. DO NOT try to unscrew the clutch cable from the transmission housing while it is attached to the bike. The best way to do this is to be sure the clutch cable is free from all ties under the bike and the clips are removed from the other side as it moves up the frame and coonnects to the clutch lever.
Once the cable is completely disconnected everywhere except the tranny cover, pull the cable and the cover free and place on a clean surface, towels, or something to keep grime out. Clean the hell out of your old cable before breaking the connection to make sure you don't get any gunk into the tranny cover or it will be a pain to clean out. Once you are ready, you can now hold the cover in one hand steady and use a wrench to break the old cable loose. Once it is broken loose, you can simply spin the transmission cover until the cable is loose.
I recommend looking up videos on how to replace a clutch cable in order to see how to remove the cable's end from the linkage inside the tranny cover. Also, you won't be able to use needle-nose pliers to get the retaining ring out - trust me. You'll need some snap ring pliers or something that only creates horizontal force...needle-nose will move the snap ring and then it will slip off the end and may damage the ring. Once your new clutch cable is in, slide it back through the frame the way the old one came out and re-attach the transmission cover with the new gasket.
4. Throttle and idle cables require that the tank be lifted at least 4-5" in the front. I did NOT want to do this but it has to be done. Get yourself a siphon and pull out as much gas as possible into a gas can. Also, before you proceed, get a 1/8" rubber hose/tube and a small piece of 1/4" hose. Take one end of the 1/4" hose and insert the 1/8" into it at least 1", making sure it is tight. You don't need a hose clamp..just be careful not to pull that. Next, use some vise grips to pinch off one side of the rubber crossover hose that connects both sides of the tank under the very front - make sure it is just pinching the hose and not smashing it or you will need a new one. Now disconnect the hose clamp from the high side and IMMEDIATELY connect the 1/4" hose, making sure the 1/8" end is pinched or tied off.
You can either work like this or do what I did and loop the 1/8" hose across the top of the tank and connect the other end into the crossover line in front of where you have pinched it off. Now you can remove your vise grips and the crossover is no longer keeping you from lifting the front of the tank more than 2". Finally, you will need to remove the console and disconnect any cables that will keep the tank from being lifted.
Now, just remove the front tank bolt and loosen the rear a bit and you can lift the front of the tank as much as you need...I just took a large rubber mallet and put the head between the tank's underside and the frame to prop it up while I worked. From here, throttle and idle cables were a cinch to install once I had the air cleaner off...just remember that the idle cable has the return spring and connects to the back side of the throttle housing on the bars and you'll do fine.
Looks MUCH better! Your lurking has definitely paid off. Looks like your buddy swapped out the tank badging also..I always preferred the stock one but it was a popular thing to do back then.
Bike looks great. I liked the sissy bar on it. Apes look much better. Just my Opinion.
Agreed. I am actually going to do a taller 16" sissy that is more pointed in back and add a removable pad to that for the ol lady. That one will likely be fixed so we are on the same page.
Looks MUCH better! Your lurking has definitely paid off. Looks like your buddy swapped out the tank badging also..I always preferred the stock one but it was a popular thing to do back then.
He says that is how he got it from Harley so not sure if he is just remembering wrong or if they had an option for it in 08 but it has grown on me. I felt the same at first.
I like those apes a lot, I might be copying myself. I try to strike a balance between black and chrome. I also have the flat black paint and I've blacked the engine out, the triple trees, wheels, and some other bits but left things like the console and exhaust chrome. All black bikes are cool and all but some contrast goes a long way if done right. What mainly drove me to black things like the wheels and engine out was the aluminum that needed polishing and I hate polishing. I plasti dipped my rear strut covers, battery cover, and belt guard probably 6 years ago and they're still holding up.
I like those apes a lot, I might be copying myself. I try to strike a balance between black and chrome. I also have the flat black paint and I've blacked the engine out, the triple trees, wheels, and some other bits but left things like the console and exhaust chrome. All black bikes are cool and all but some contrast goes a long way if done right. What mainly drove me to black things like the wheels and engine out was the aluminum that needed polishing and I hate polishing. I plasti dipped my rear strut covers, battery cover, and belt guard probably 6 years ago and they're still holding up.
Thanks! If you need any info on the swap let me know...now that I have done it, it would be easy to do again. You have a few of the other parts I plan on blacking out already done. Triple trees definitely, black wheels or black rotors...haven't decided on that one yet. Exhaust might go black ceramicoat with gray wrapped uppers. Oh and belt guard will either come off or get blacked...not sure.
 02-22-2017, 08:17 PM