Dyna Glide Models Super Glide, Super Glide Sport, Super Glide Custom, Dyna Glide Convertible, Super Glide T-Sport, Dyna Glide Police, Dyna Switchback, Low Rider, Street Bob, Fat Bob and Wide Glide.
Sponsored by:
Sponsored by:

Two Primary Side Upgrades to my Fat Bob

Thread Tools
 
Search this Thread
 
  #1  
Old 07-29-2014, 04:46 PM
HD Pilot's Avatar
HD Pilot
HD Pilot is offline
Elite HDF Member
Thread Starter
Join Date: Sep 2012
Location: N Texas
Posts: 3,791
Received 55 Likes on 47 Posts
Default Two Primary Side Upgrades to my Fat Bob

After I finished my engine build and had my bike dynoed, Steve at GMR noticed that my clutch was slipping and recommended that I address the issue.

Already had the Barnett clutch spring, so I needed to either buy a better clutch or try upgrading my clutch plates. Upgrading the plates costs about $130 and a new clutch would be ~ $450 to $600, so I opted to try the plates.

After a fair amount of research, I chose the Alto Carbonite +1 Clutch Upgrade Kit #095750NC.

The second upgrade I decided to do was the Baker manual chain tensioner, which I will get to later.

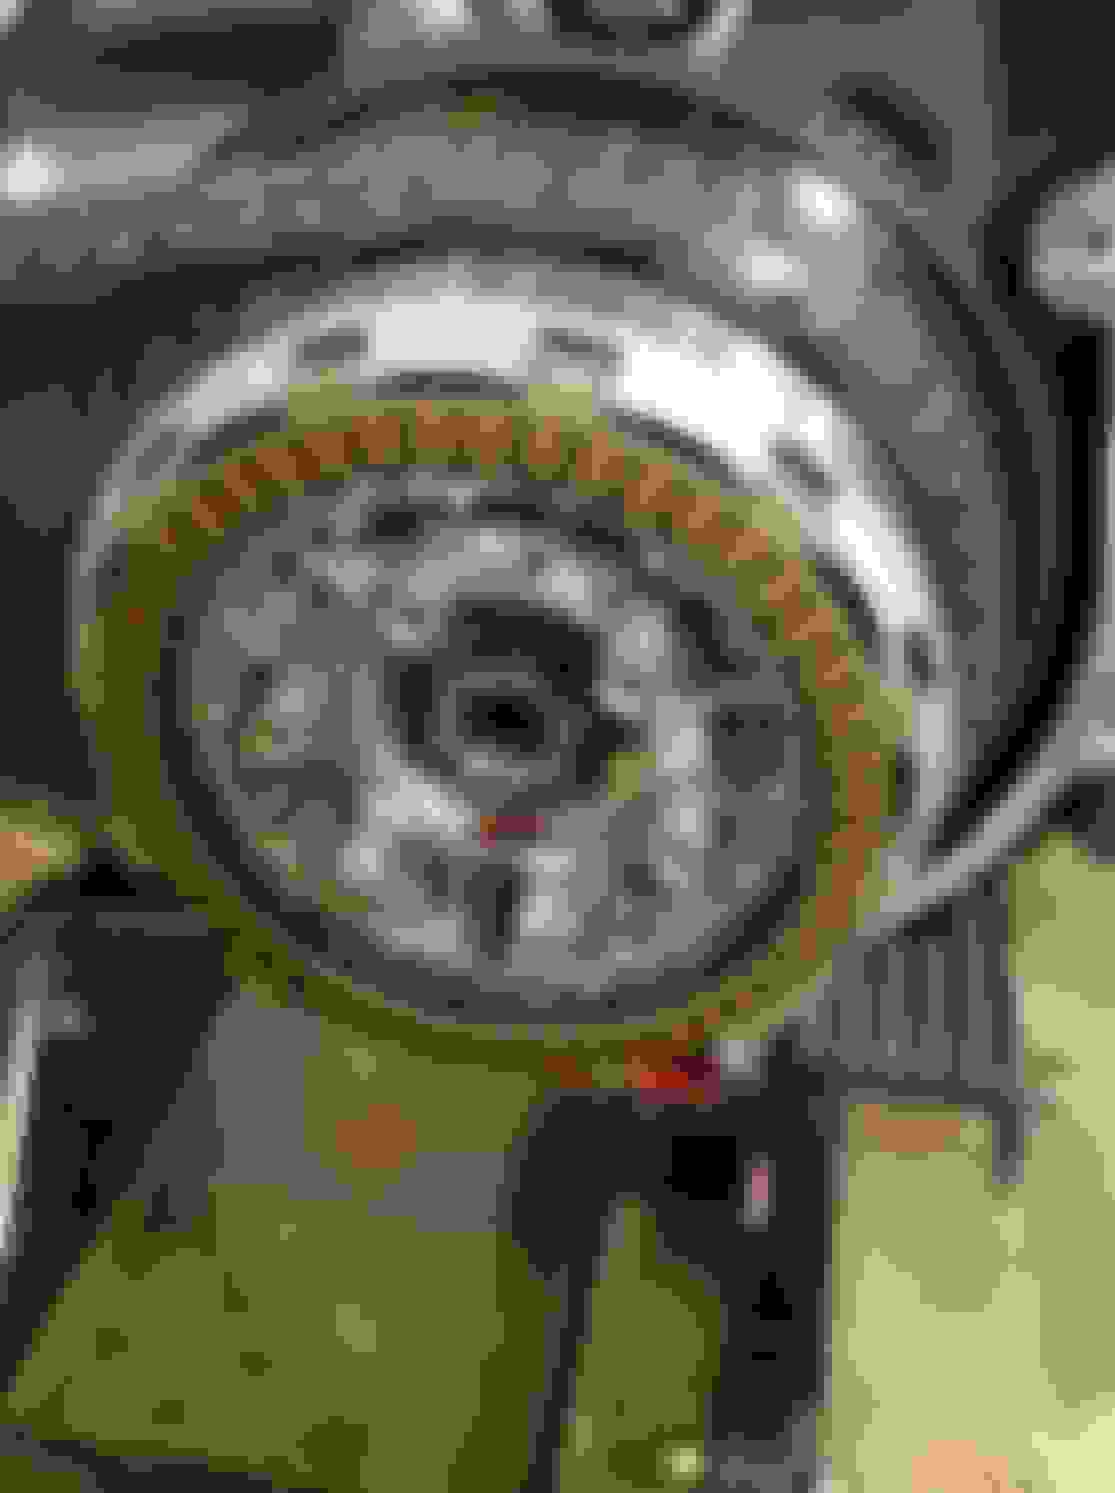
Opened up the Primary:


Soaked the friction plates in the new primary oil shown towards the back of pic. The narrow friction plate can be seen on top:


  #2  
Old 07-29-2014, 05:03 PM
HD Pilot's Avatar
HD Pilot
HD Pilot is offline
Elite HDF Member
Thread Starter
Join Date: Sep 2012
Location: N Texas
Posts: 3,791
Received 55 Likes on 47 Posts
Default

Loosened the 6 spring retainer bolts and pulled the diaphragm spring retainer, diaphragm spring and pressure plate:


Here is the new friction plate on the bottom and the old HD one, looks like a lot more friction material:


Here is a pic of the new steel plate on the bottom again, compared to the HD one:


Last edited by HD Pilot; 07-29-2014 at 05:22 PM.
  #3  
Old 07-29-2014, 05:24 PM
JRK5892's Avatar
JRK5892
JRK5892 is offline
Banned
Join Date: Mar 2007
Location: Chicago suburbs (Elgin/Schaumburg)
Posts: 19,481
Likes: 0
Received 24 Likes on 22 Posts
Default

very interested in how this works out for you. i have done the EBC clutch packs on several bikes but not my HD yet... let me know please... i am going to do the Hayden M6-BT07 upgrade on my tensioner when i assemble that sucker
 
  #4  
Old 07-29-2014, 05:28 PM
HD Pilot's Avatar
HD Pilot
HD Pilot is offline
Elite HDF Member
Thread Starter
Join Date: Sep 2012
Location: N Texas
Posts: 3,791
Received 55 Likes on 47 Posts
Default

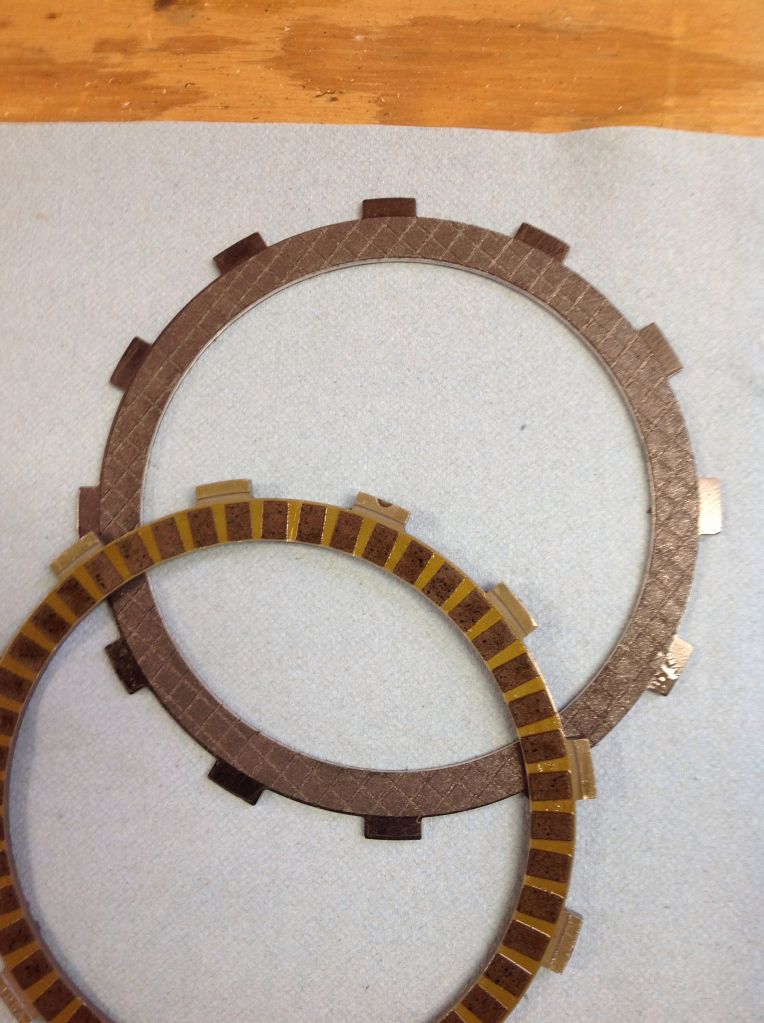
After you pull all the full size friction plates and all the steel plates, you will get to the narrow friction plate and inside of that the damper spring and the damper spring seat shown below. They are kinda hard to get to, so a little pick helps:


Last edited by HD Pilot; 07-29-2014 at 05:31 PM.
  #5  
Old 07-29-2014, 05:32 PM
soft 02's Avatar
soft 02
soft 02 is offline
Seasoned HDF Member
Join Date: Mar 2007
Location: TOAK western branch
Posts: 66,948
Received 4,570 Likes on 2,888 Posts
Default

Cool! I had to get a Bandit. $499 ouch.
 
  #6  
Old 07-29-2014, 05:33 PM
soft 02's Avatar
soft 02
soft 02 is offline
Seasoned HDF Member
Join Date: Mar 2007
Location: TOAK western branch
Posts: 66,948
Received 4,570 Likes on 2,888 Posts
Default

Been hearing more and more complaints of the revised Hayden keep the chain too tight.
 
  #7  
Old 07-29-2014, 05:34 PM
HD Pilot's Avatar
HD Pilot
HD Pilot is offline
Elite HDF Member
Thread Starter
Join Date: Sep 2012
Location: N Texas
Posts: 3,791
Received 55 Likes on 47 Posts
Default

Originally Posted by JRK5892
very interested in how this works out for you. i have done the EBC clutch packs on several bikes but not my HD yet... let me know please... i am going to do the Hayden M6-BT07 upgrade on my tensioner when i assemble that sucker
Hey Joe, just to let ya know early - I pulled my M6 to install the Baker, just felt like the M6 keeps the chain soooo tight
 
  #8  
Old 07-29-2014, 05:36 PM
soft 02's Avatar
soft 02
soft 02 is offline
Seasoned HDF Member
Join Date: Mar 2007
Location: TOAK western branch
Posts: 66,948
Received 4,570 Likes on 2,888 Posts
Default

Other option is to put the OEM auto in there, set to the correct tension, then remove it and have it TIG'ed.
 
  #9  
Old 07-29-2014, 05:44 PM
HD Pilot's Avatar
HD Pilot
HD Pilot is offline
Elite HDF Member
Thread Starter
Join Date: Sep 2012
Location: N Texas
Posts: 3,791
Received 55 Likes on 47 Posts
Default

Time to install the narrow friction plate, damper spring seat, damper spring(cupped side facing out), and then all the steel plates and friction plates alternating each time until they are all in.

A little punch helps to insert the plates:


They are all in:


  #10  
Old 07-29-2014, 05:56 PM
HD Pilot's Avatar
HD Pilot
HD Pilot is offline
Elite HDF Member
Thread Starter
Join Date: Sep 2012
Location: N Texas
Posts: 3,791
Received 55 Likes on 47 Posts
Default

There is an extra friction and steel plate in the kit, but everything still fits in fine because the Alto plates are slightly narrower than the stock HD plates. The extra friction and steel give you a 12.5 percent increase in friction area that should help with any slipping issues.

Finished up the clutch upgrade by reinstalling the pressure plate, diaphragm spring, diaphragm spring retainer using the 6 bolts and torquing in a star sequence as per the HD SM.

Of course you will have to readjust your clutch too after installing new plates, never liked this part!


Quick Reply: Two Primary Side Upgrades to my Fat Bob


All times are GMT -5. The time now is 12:59 PM.