Progressive 2" drop kit HOW TO PICTORIAL
#1
 07-28-2012, 12:18 AM

welp finally gat off my **** and started this 1.5 hour(yeah right project)LOL
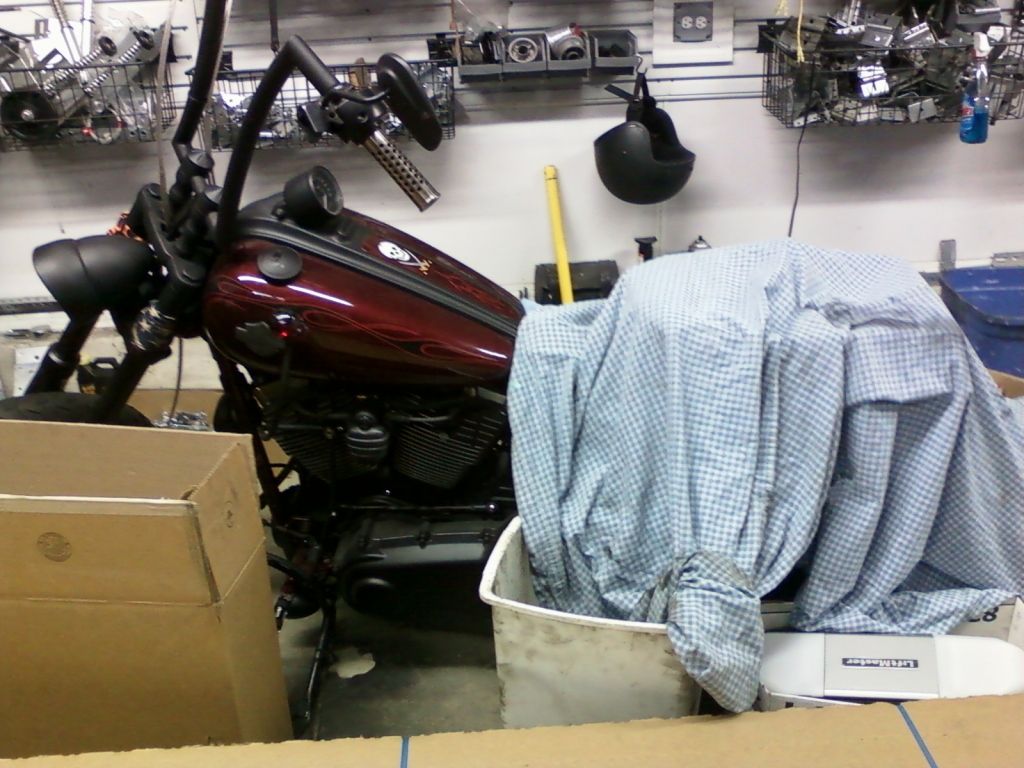
1st step uncover unlodge motorcycle
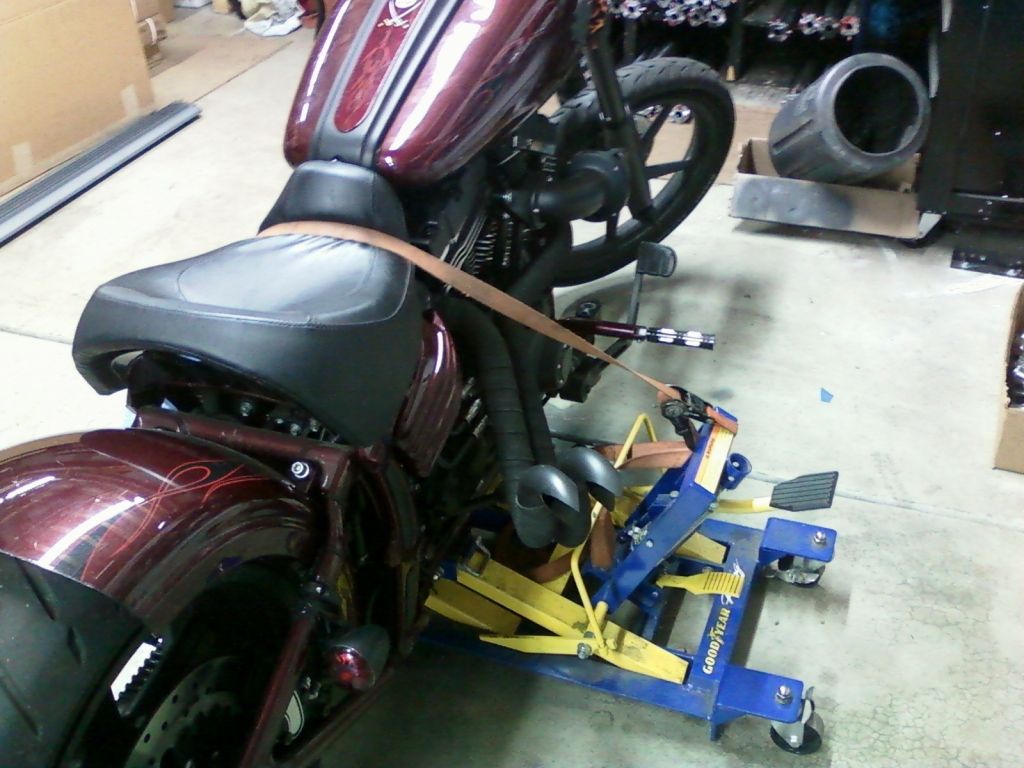
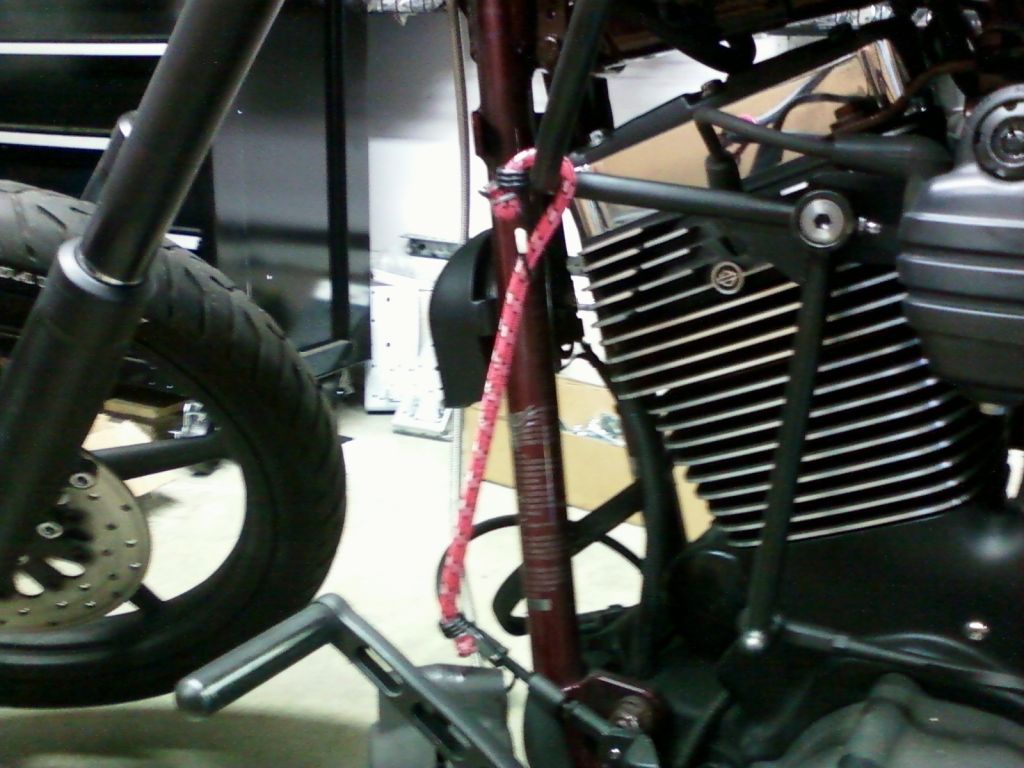
2nd jack up bike & tie down for safety
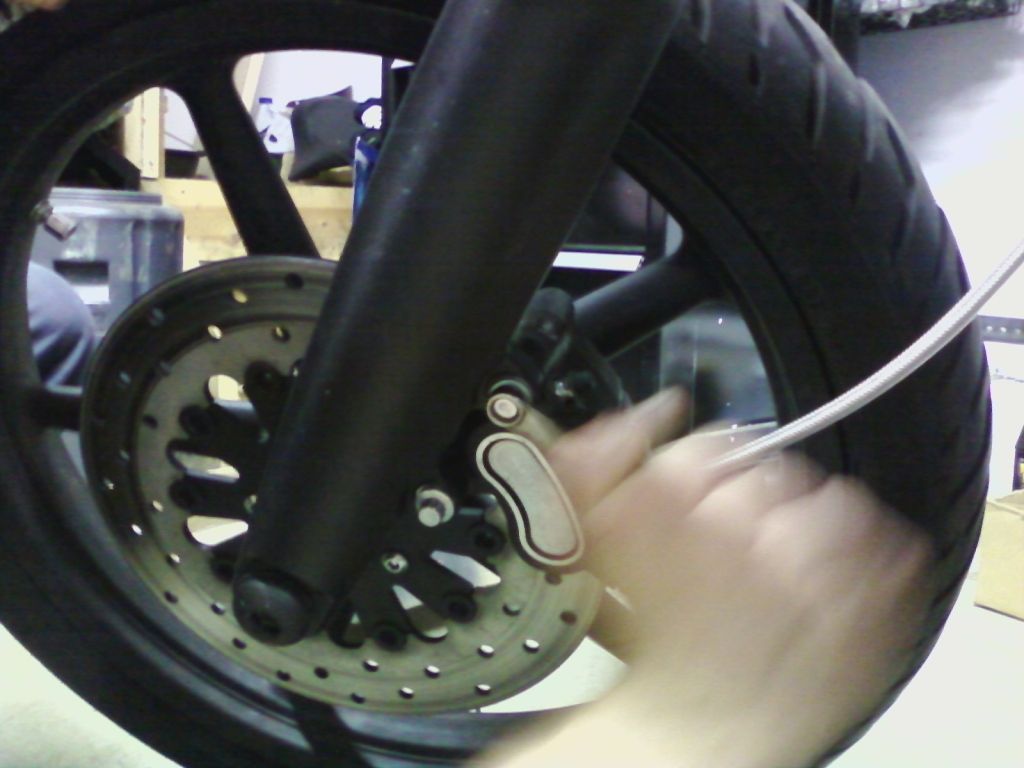
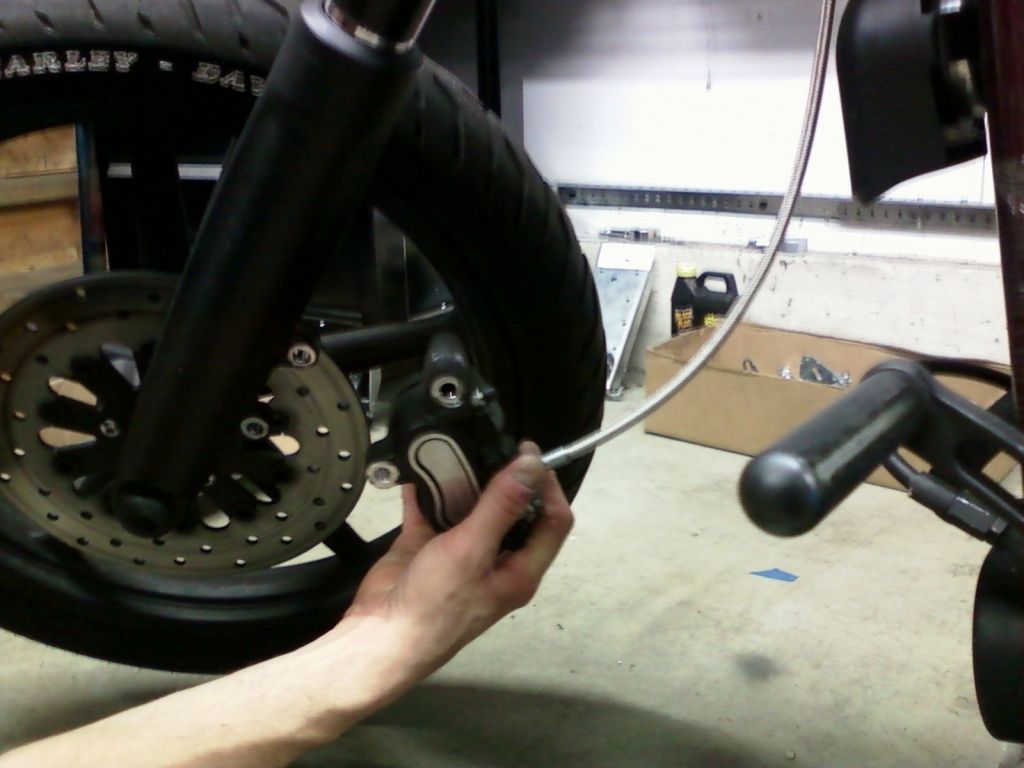
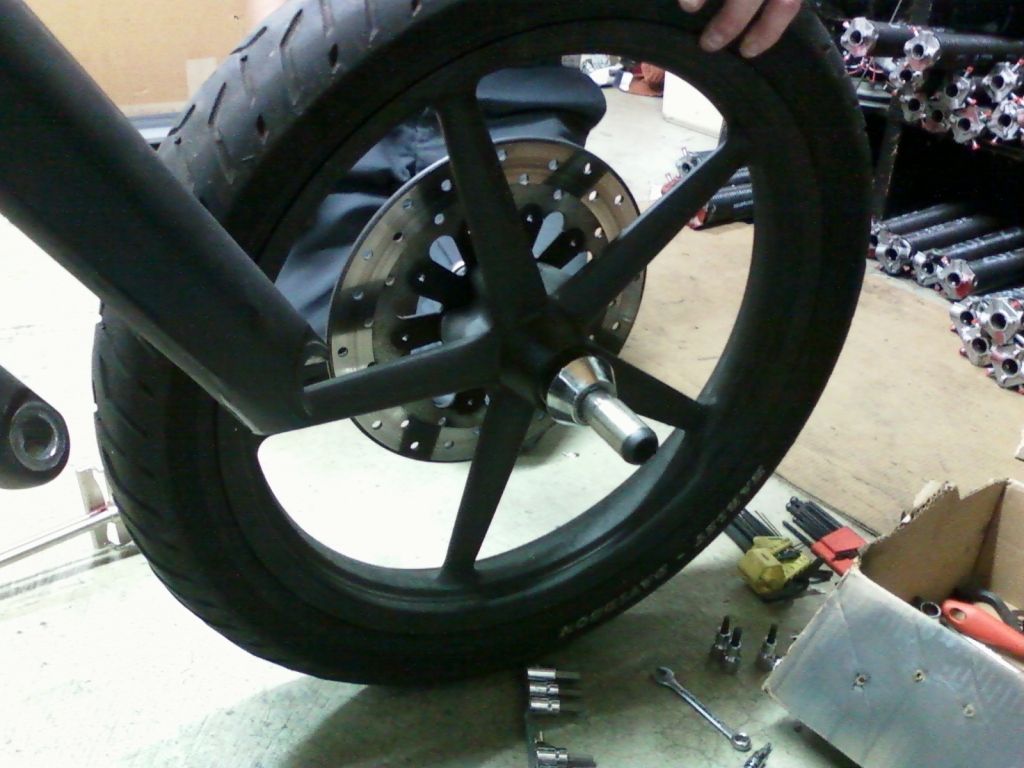
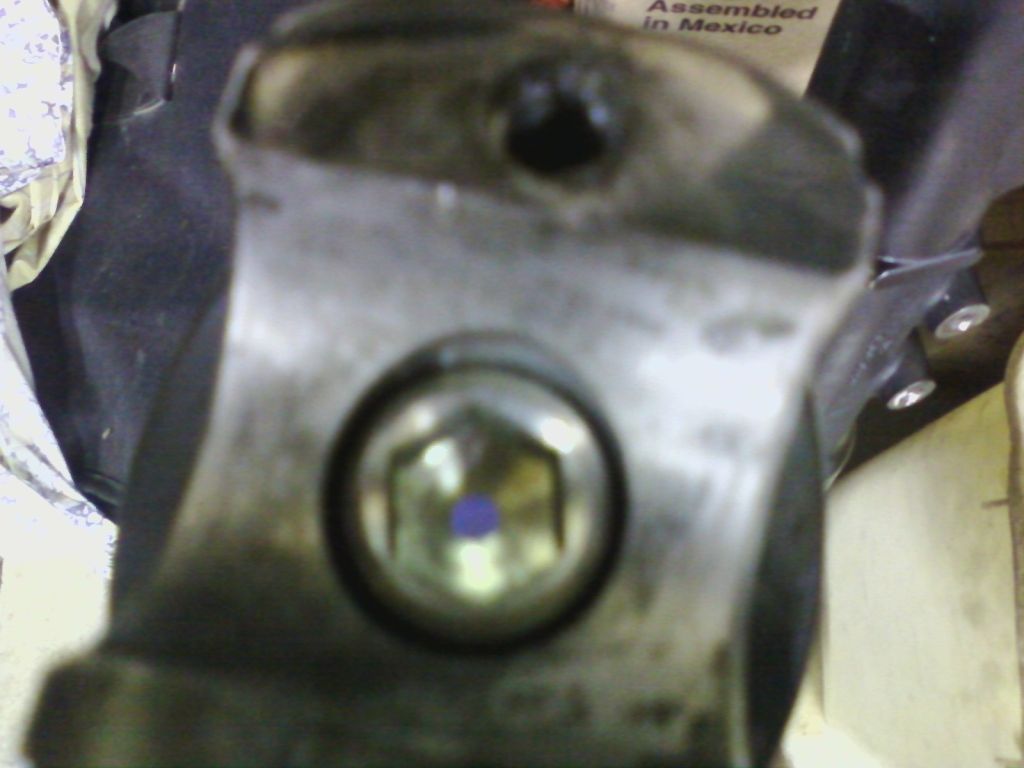
take off brake caliper ***10MM***
bungee to kick *** tank shifter LOL
***NO PIC*** took off spikes
**NO PIC ** loosen pinch bolt torqs bit
loosen 2 axle bolts from bottom (allen wrench) 5mm
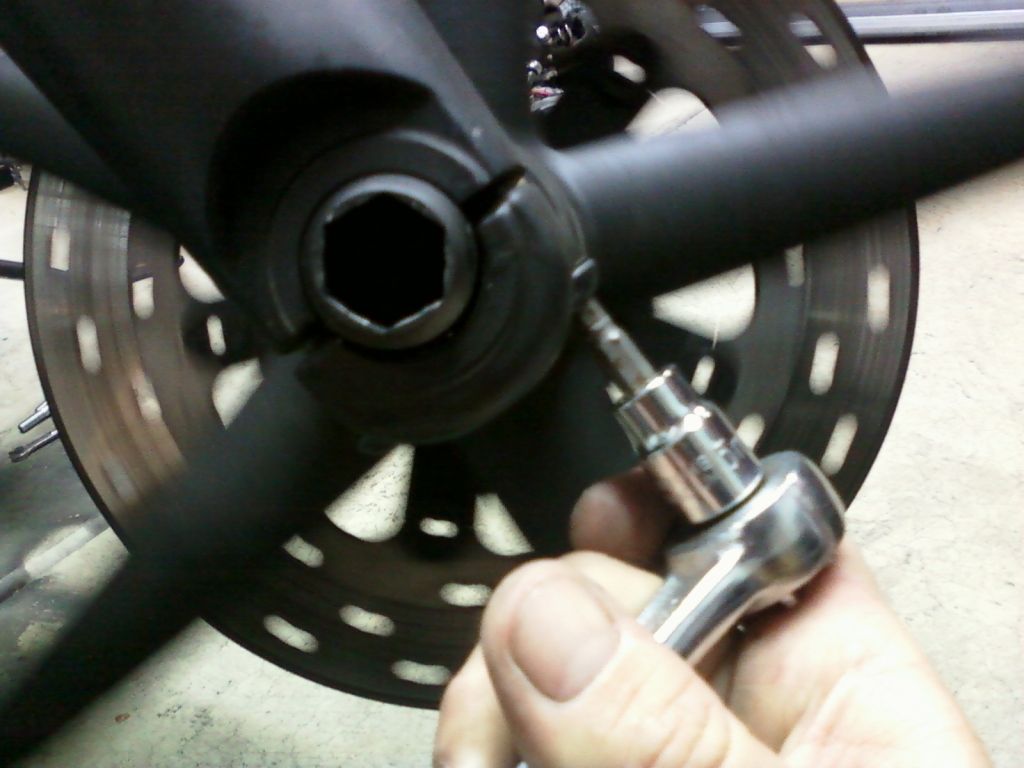
pre pare to take wheel off w/ big *** allen& large allen on other side of wheel
this process kinda un screws (the axle)
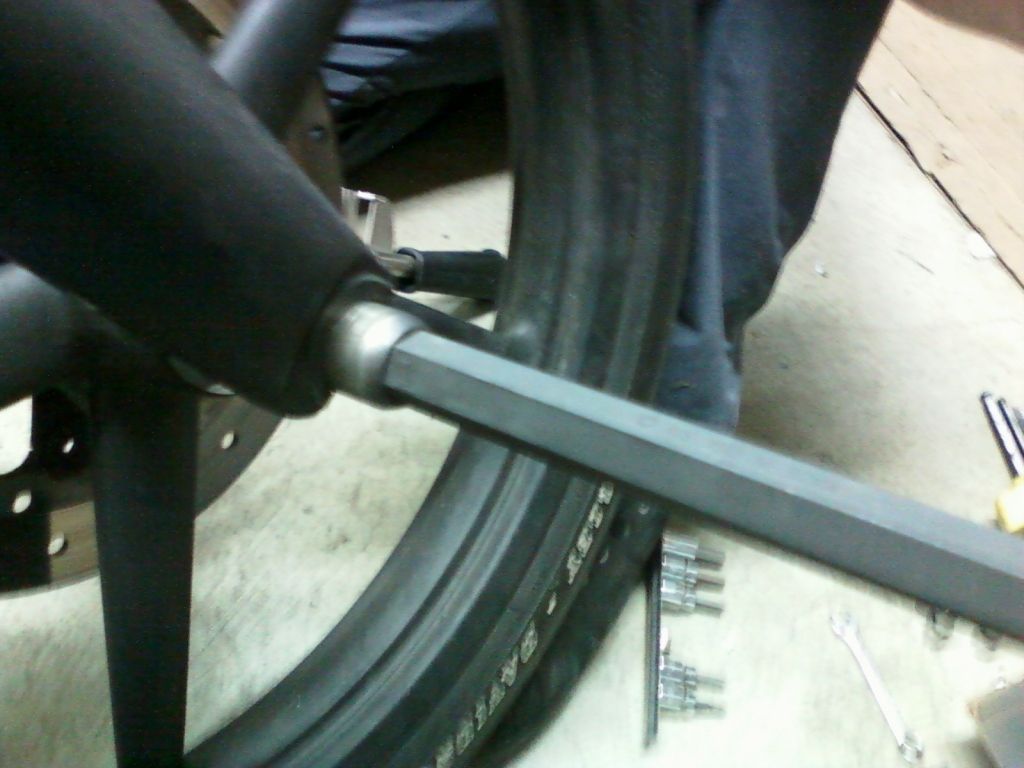
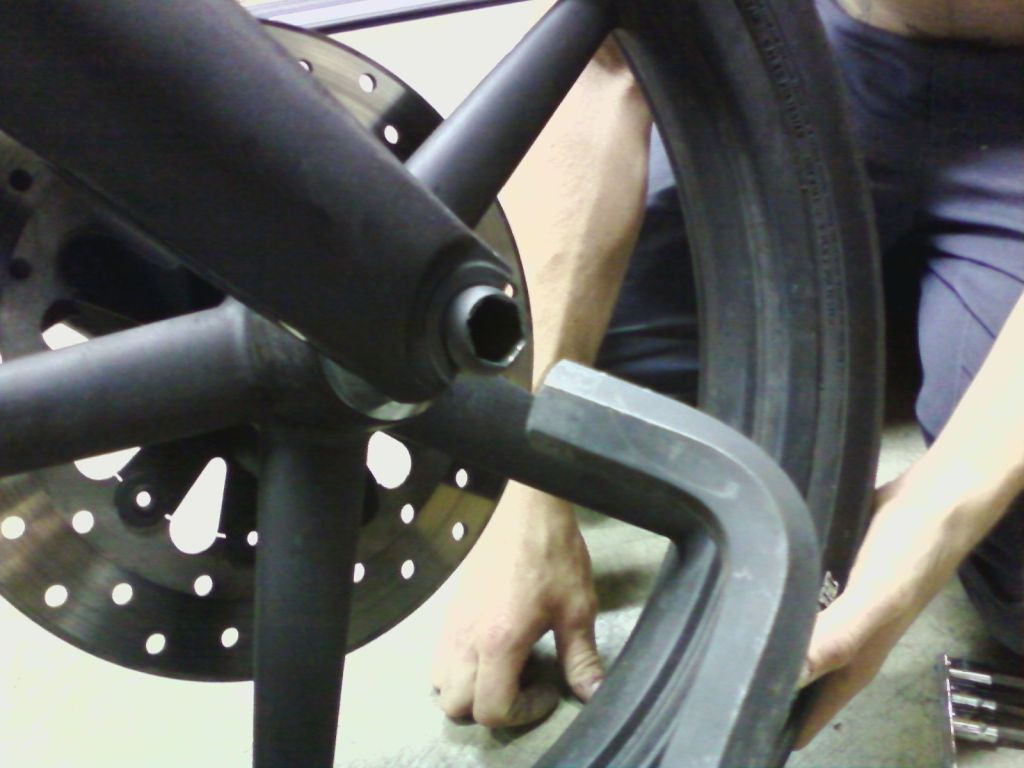
take wheel off (dont take axle off all the way )
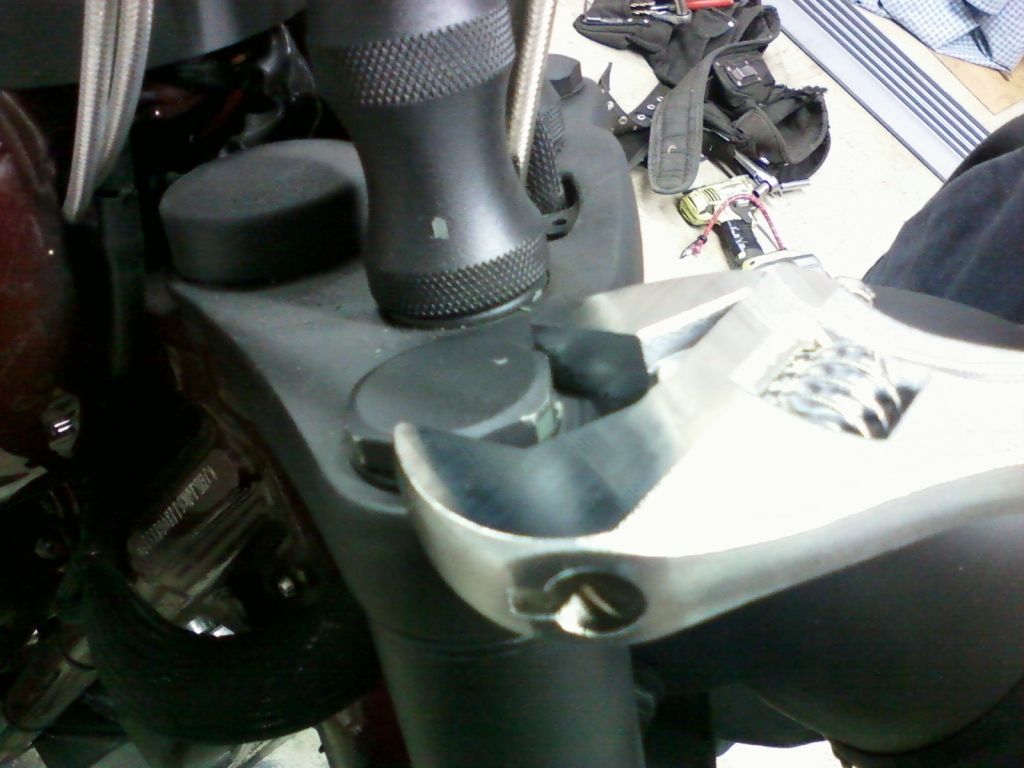
next if ya got a fender take that off i dont at present so next step
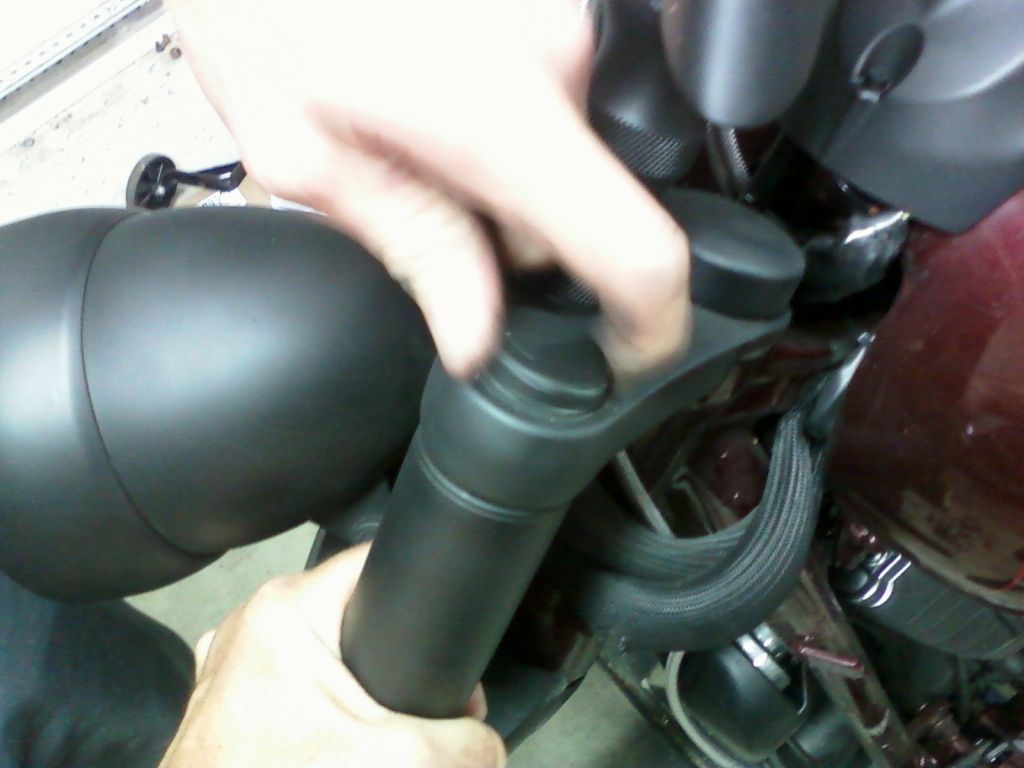
top slide bolt off( i couldnt figure out the size of this but a adjustable
wrench works good, get 1 that opens at least 1" 1/2
this bolt is not on that tight
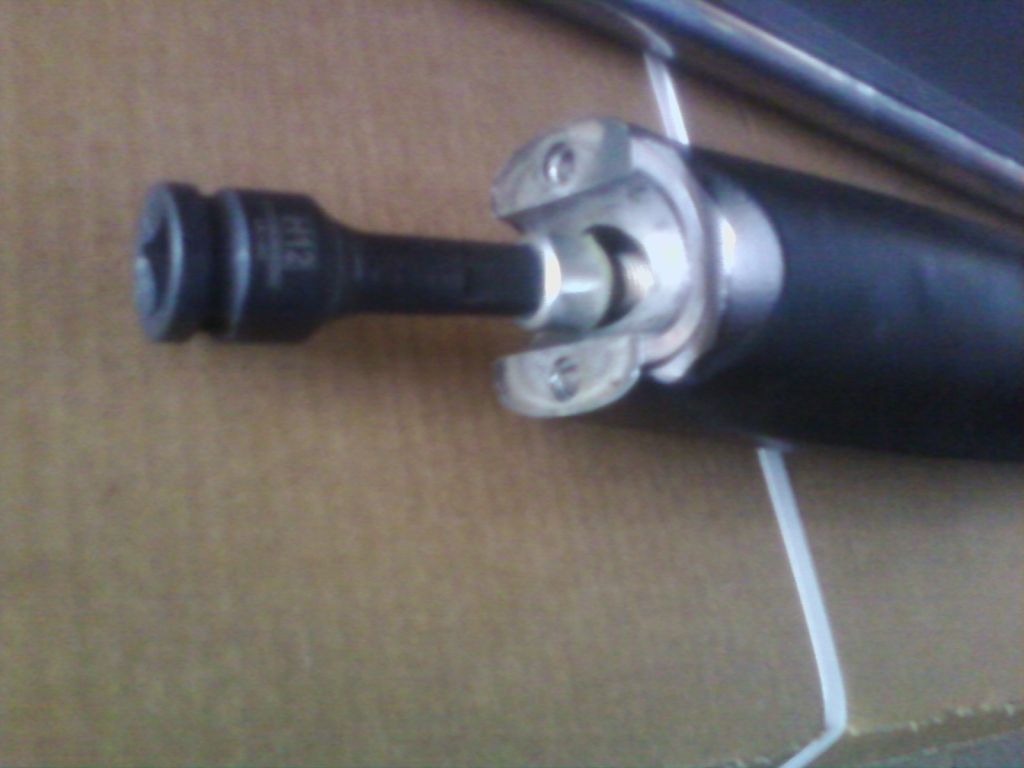
****no pic**** loosen both pinch bolts these are torques bit
they are easy to loosen as well
next slide tube out nice n easy(u could grease or oil for easier slide out)or pry pinch bolt a tad
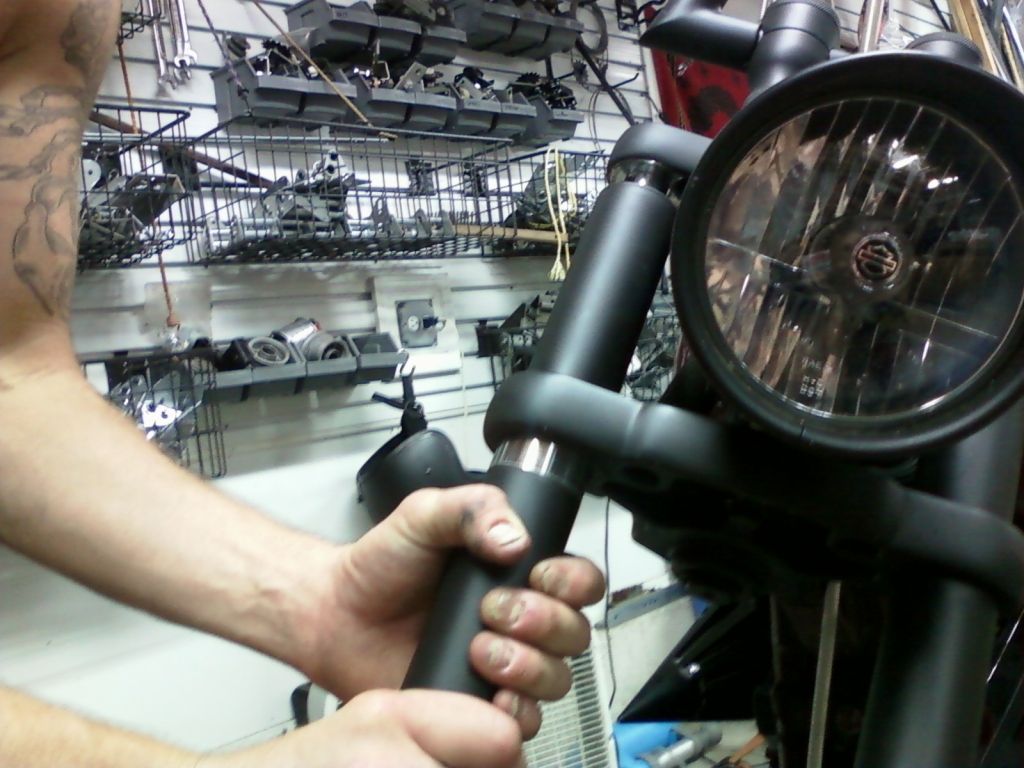
1 down 1 to go
loosening up the other side with my bare hands RRRRRRR.. LOL
ok here is the safety part you dont wanna miss, i had safety glasses on
and my friend didnt,****NOTE**** loosen lower 12mm bolt 1st to relieve pressure ***(its underneath at bottom of forks) we opted to unscrew this tube upside down because we knew there was pressure
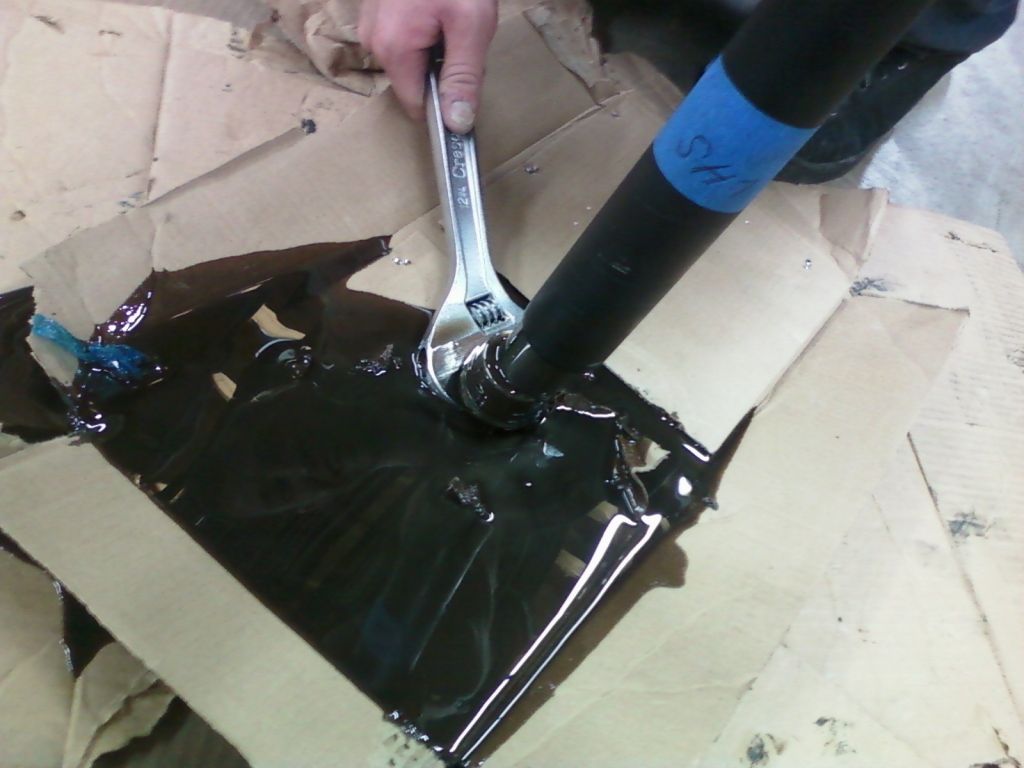
slowly fork juice is streaming out,then you felt a bump the top slider bolt is loose and fork oil is now everywhere
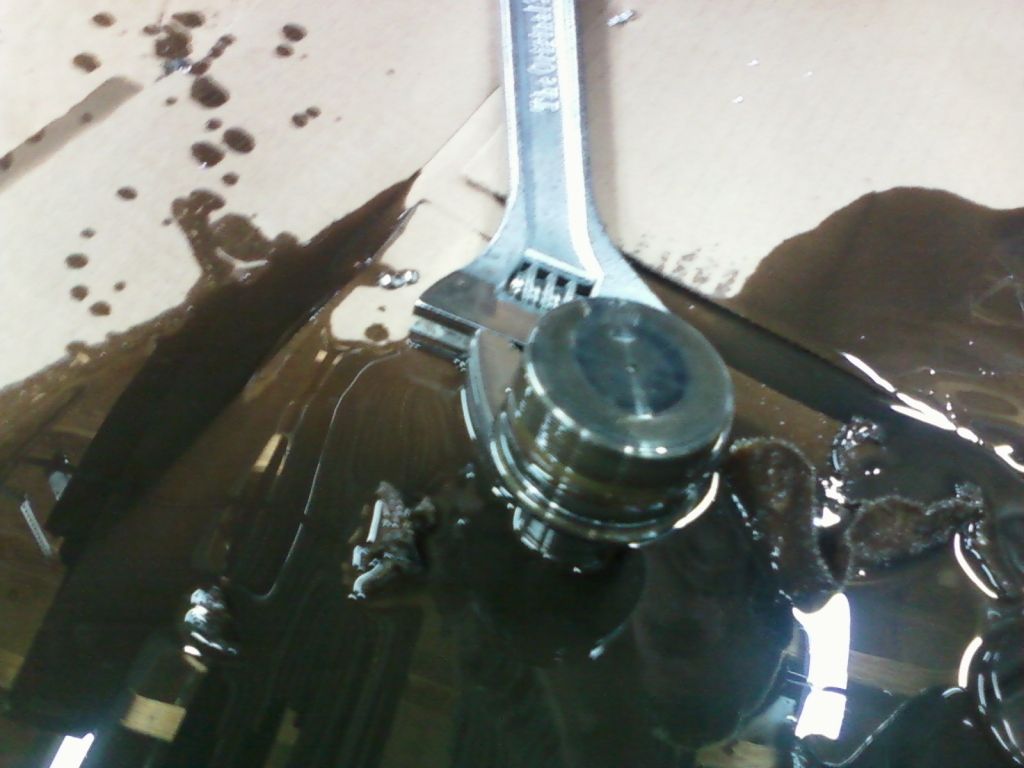
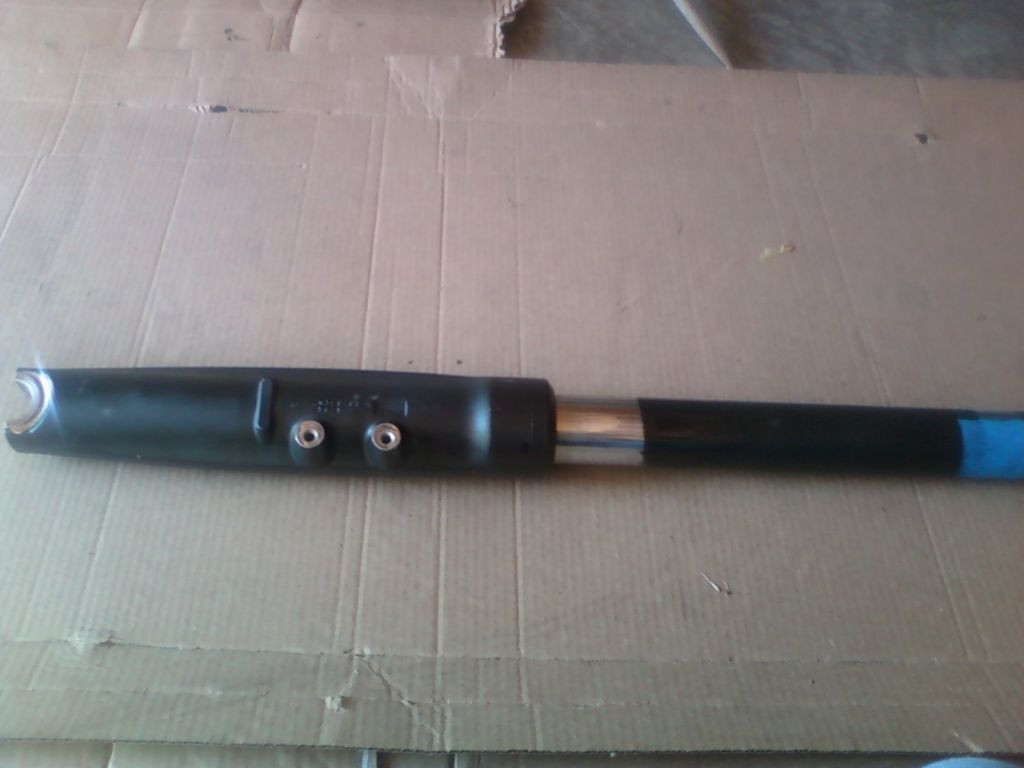
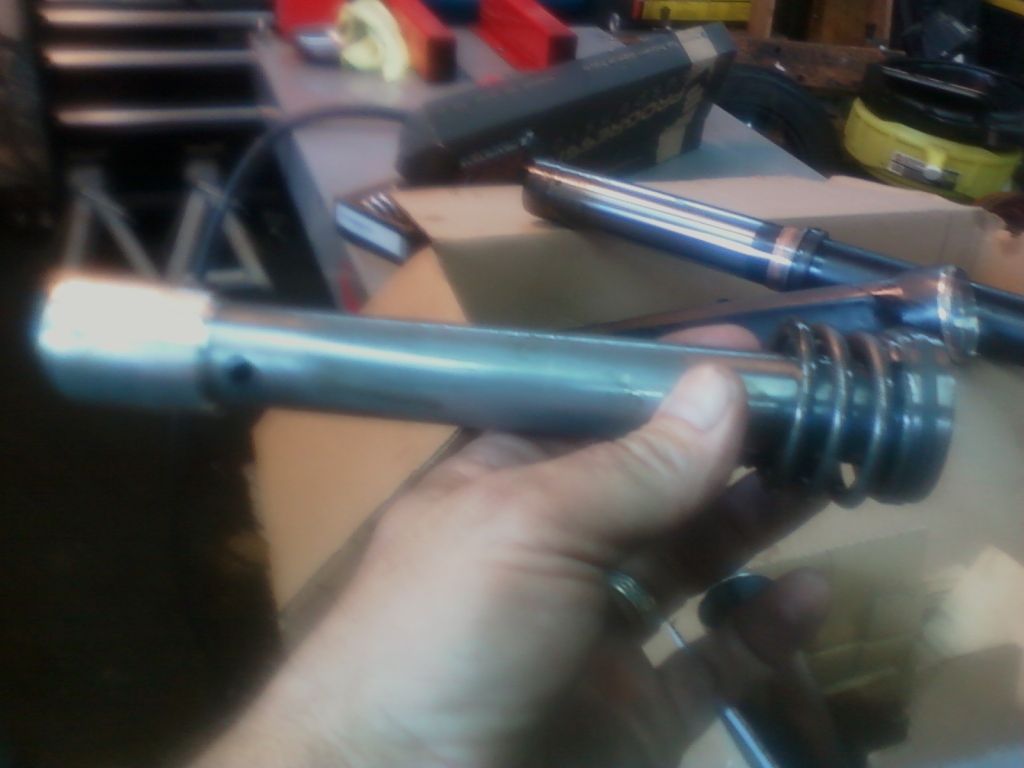
next out comes the tube the spring goes into***NOTE*** this will not be used later*****
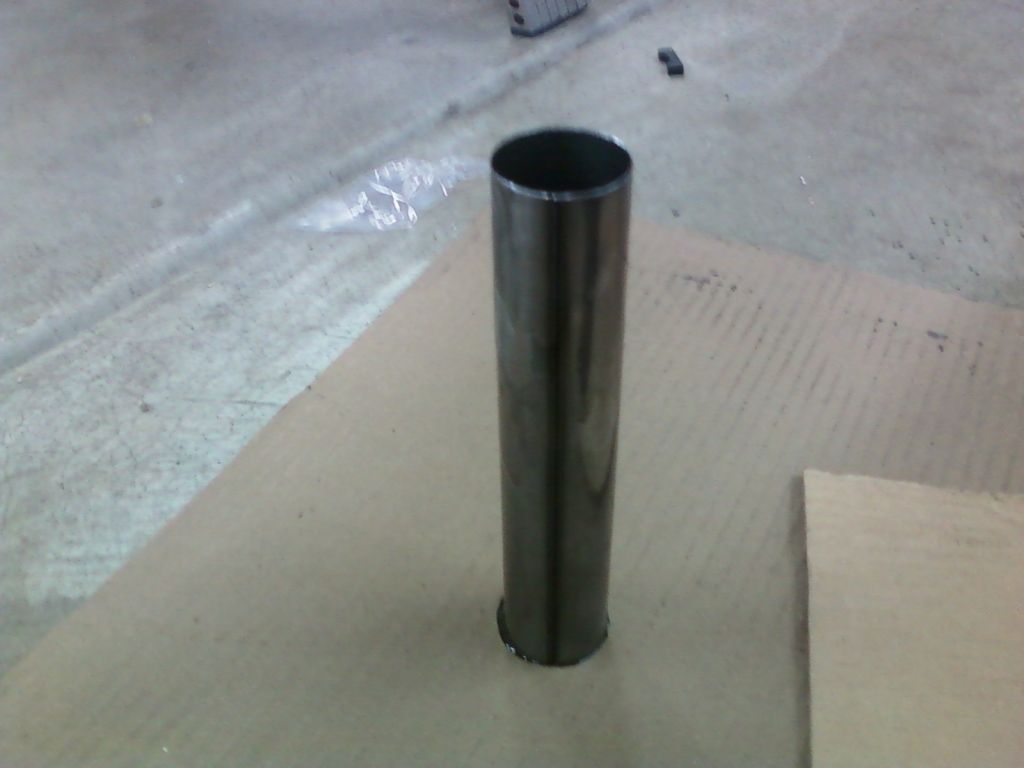
here it is stacked on top of each other ( as it would go together)
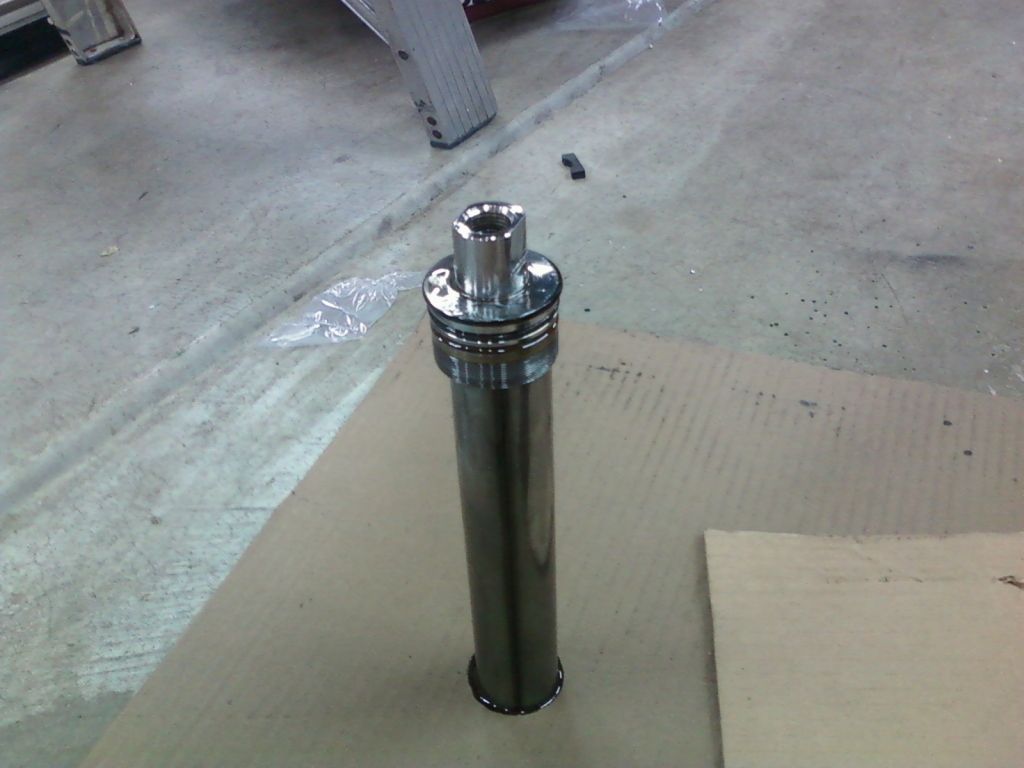
next out comes the stock washer****you will re-use this later***
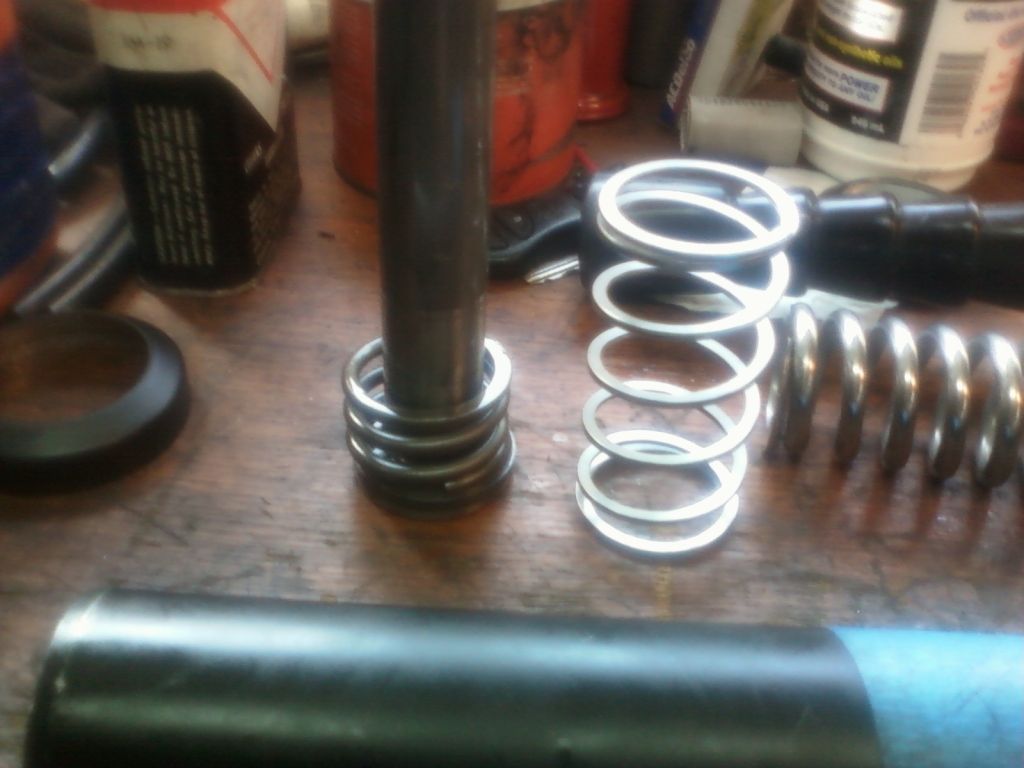
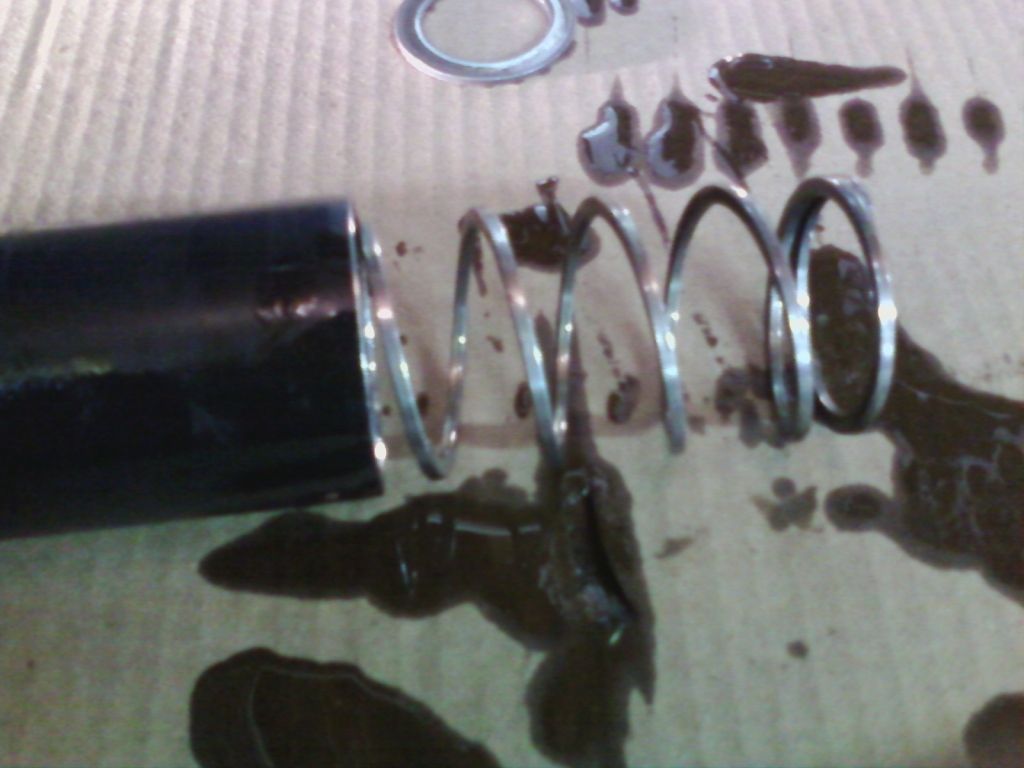
And the stock spring
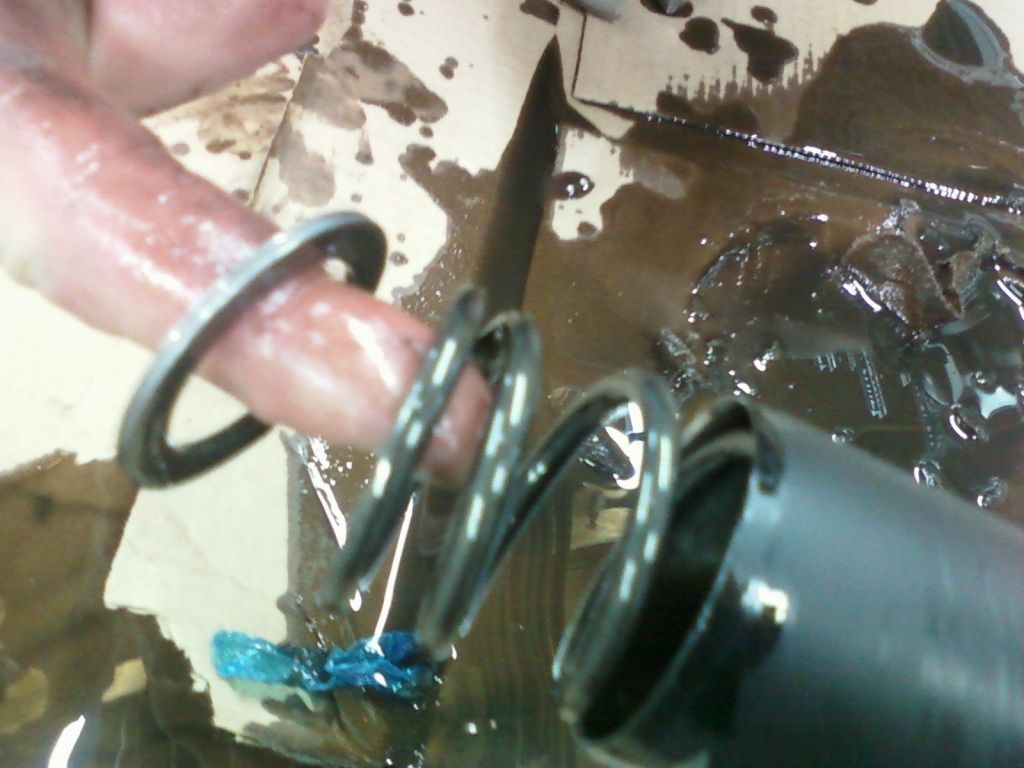
here are the springs**progressive on left, stock harley on right
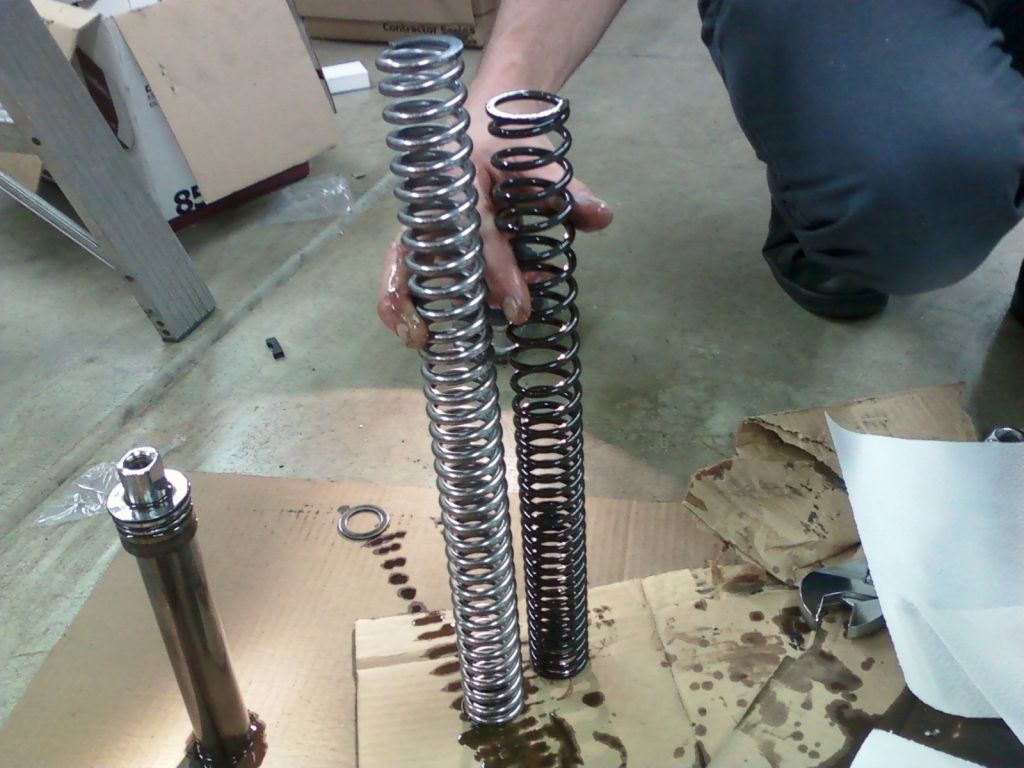
**note this will lower as you are going to take metal spring collar and disgard it*****
Oh yeah the Safety part*** well spicolie once said "danger is my middle name" we decided to take the next fork tube apart standing up
** BAD MOVE** that S>O> B> tube holder shot out real fast OOOPS
almost whack both of us in the head LOL!
if anyone has suggestion please chime in, my 1st time i suggest get a helper
unscrew upside down just get cardboard & rags/towels for clean up
***NOTE*** also make sure you mark which tube goes to which side with painter tape or something.
Last but not least the sad part
This bugger i do not have the correct allen size this is what holds the tube together im pissed , we tried mcgeyvering somethin and it did not work****NOTE this is a 12mm*****
it was 930 pm and every store we went to did not have this(sears-home depot) its size is 12mm,i have to take this off as im leaking so i gat to replace a seal in there, otherwise if your not SKIP THIS STEP.
i am at a stand still till tomorrow
tune in for the completion of this mess.
1st step uncover unlodge motorcycle
2nd jack up bike & tie down for safety
take off brake caliper ***10MM***
bungee to kick *** tank shifter LOL
***NO PIC*** took off spikes
**NO PIC ** loosen pinch bolt torqs bit
loosen 2 axle bolts from bottom (allen wrench) 5mm
pre pare to take wheel off w/ big *** allen& large allen on other side of wheel
this process kinda un screws (the axle)
take wheel off (dont take axle off all the way )
next if ya got a fender take that off i dont at present so next step
top slide bolt off( i couldnt figure out the size of this but a adjustable
wrench works good, get 1 that opens at least 1" 1/2
this bolt is not on that tight
****no pic**** loosen both pinch bolts these are torques bit
they are easy to loosen as well
next slide tube out nice n easy(u could grease or oil for easier slide out)or pry pinch bolt a tad
1 down 1 to go
loosening up the other side with my bare hands RRRRRRR.. LOL
ok here is the safety part you dont wanna miss, i had safety glasses on
and my friend didnt,****NOTE**** loosen lower 12mm bolt 1st to relieve pressure ***(its underneath at bottom of forks) we opted to unscrew this tube upside down because we knew there was pressure
slowly fork juice is streaming out,then you felt a bump the top slider bolt is loose and fork oil is now everywhere
next out comes the tube the spring goes into***NOTE*** this will not be used later*****
here it is stacked on top of each other ( as it would go together)
next out comes the stock washer****you will re-use this later***
And the stock spring
here are the springs**progressive on left, stock harley on right
**note this will lower as you are going to take metal spring collar and disgard it*****
Oh yeah the Safety part*** well spicolie once said "danger is my middle name" we decided to take the next fork tube apart standing up
** BAD MOVE** that S>O> B> tube holder shot out real fast OOOPS
almost whack both of us in the head LOL!
if anyone has suggestion please chime in, my 1st time i suggest get a helper
unscrew upside down just get cardboard & rags/towels for clean up
***NOTE*** also make sure you mark which tube goes to which side with painter tape or something.
Last but not least the sad part
This bugger i do not have the correct allen size this is what holds the tube together im pissed , we tried mcgeyvering somethin and it did not work****NOTE this is a 12mm*****
it was 930 pm and every store we went to did not have this(sears-home depot) its size is 12mm,i have to take this off as im leaking so i gat to replace a seal in there, otherwise if your not SKIP THIS STEP.
i am at a stand still till tomorrow
tune in for the completion of this mess.
Last edited by m i k e; 08-01-2012 at 11:53 PM. Reason: 12mm size of allen
#2
07-28-2012, 12:30 AM
Ultimate HDF Member
#4
07-28-2012, 08:19 AM
IIRC, that bottom allen, which is the dampner tube bolt, was a 6mm allen on mine. Took an old crappy 6mm bent allen key, cut the bend off, then stuck it in a 6mm socket and hit it with the impact gun. Took a few shots, but eventually came out. It helps to clamp the fork in the bottom tree with the pinch bolts, it keeps everything from spinning while loosening that bolt, and next time you disassemble, remove this bolt first. The spring pressure also helps hold everything in place while loosening. A store bought 6mm extended allen socket works too, but I was in the same spot as you and had to make something work, so I made my own. Also, draining the forks completely before beginning helps to cut down on the mess.
What wheels you running? I dig the clean and simple 5 spoke, might be on my future mod list!
What wheels you running? I dig the clean and simple 5 spoke, might be on my future mod list!
Last edited by jreichart; 07-28-2012 at 08:22 AM.
#5
07-28-2012, 08:24 AM
I have had mine apart twice & did them alone holding them vertical. I unthreaded with wrench with one hand pushing down until I was on the last thread then carefully unscrewed by hand with downward pressure.
It came apart no problem then drained the oil. I had no issues. It is trickier putting it back together by yourself to line up threads (without cross threading) while pushing down as hard as you can.
It came apart no problem then drained the oil. I had no issues. It is trickier putting it back together by yourself to line up threads (without cross threading) while pushing down as hard as you can.
#6
07-29-2012, 11:37 PM
IIRC, that bottom allen, which is the dampner tube bolt, was a 6mm allen on mine. Took an old crappy 6mm bent allen key, cut the bend off, then stuck it in a 6mm socket and hit it with the impact gun. Took a few shots, but eventually came out. It helps to clamp the fork in the bottom tree with the pinch bolts, it keeps everything from spinning while loosening that bolt, and next time you disassemble, remove this bolt first. The spring pressure also helps hold everything in place while loosening. A store bought 6mm extended allen socket works too, but I was in the same spot as you and had to make something work, so I made my own. Also, draining the forks completely before beginning helps to cut down on the mess.
What wheels you running? I dig the clean and simple 5 spoke, might be on my future mod list!
What wheels you running? I dig the clean and simple 5 spoke, might be on my future mod list!
we found out it is a 12mm bought it today at harbor freight,i will take alle to a mechanic w/ an air impact cuz i dont have 1, the idea of leaving in tree and pinch bolt is good, i cant drain fork tube as the rocker (aka bastard child of softtail family) is completely different no drain plug! you gatta tip it upside down.
my wheels are stock
powdercoated by powderpro
tune in for the finish of this project.
#7
07-30-2012, 06:40 AM
thanks for all the heads up here jreichart!
we found out it is a 12mm bought it today at harbor freight,i will take alle to a mechanic w/ an air impact cuz i dont have 1, the idea of leaving in tree and pinch bolt is good, i cant drain fork tube as the rocker (aka bastard child of softtail family) is completely different no drain plug! you gatta tip it upside down.
my wheels are stock
powdercoated by powderpro
tune in for the finish of this project.
Waiting patiently for the completion!
Trending Topics
#8
08-02-2012, 12:23 AM
ok thanks all for help tips and advice this forum fn rocks!
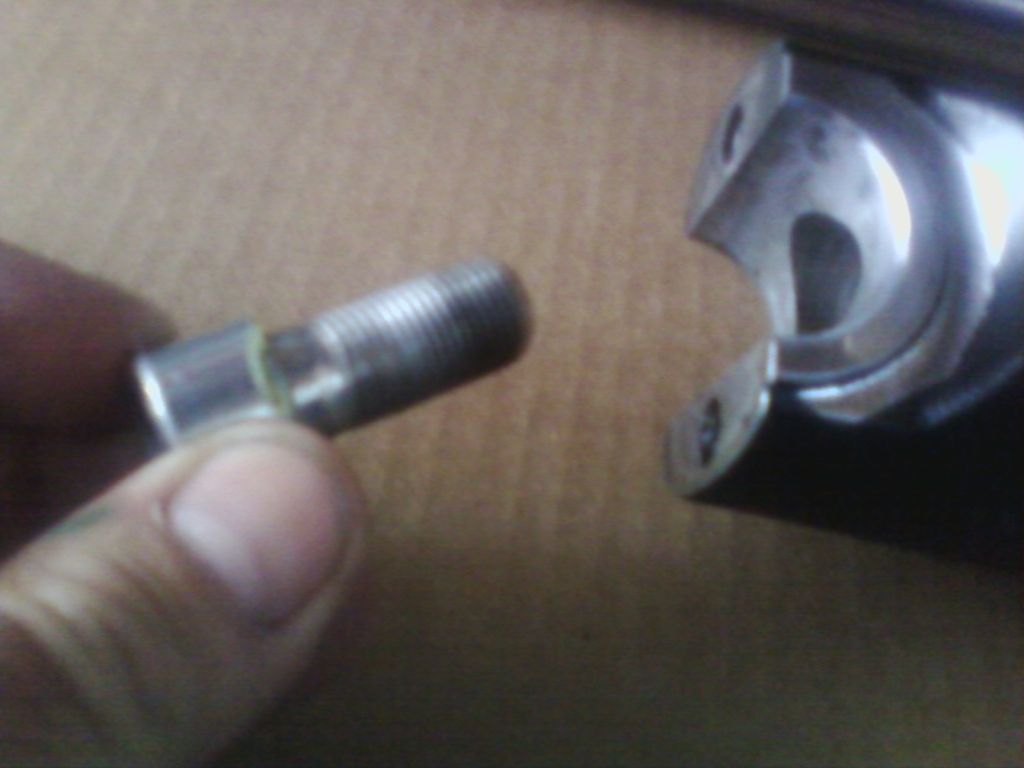
**NOTE*** u probably should loosen this b4 you take tube out, but
this way works.***it is safer to loosen this 1st its the 12mm
this will take pressure off spring
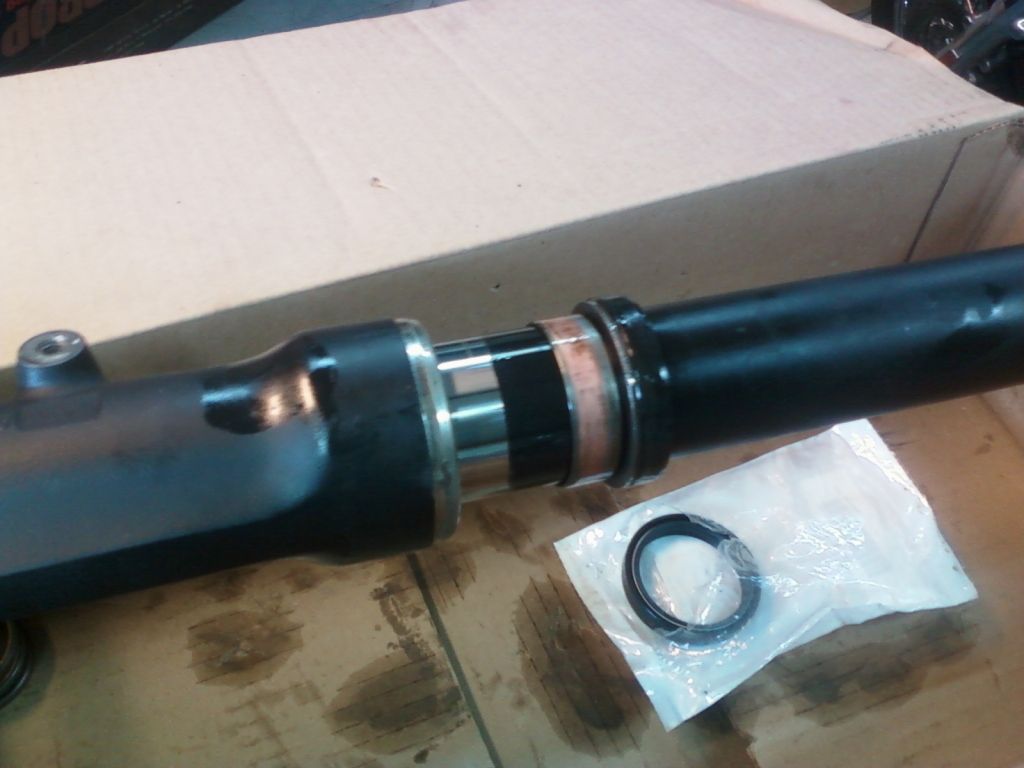
here is the buger 12mm go figure **note this gets replaced along with a copper washer ***
next slide tube apart finally LOL
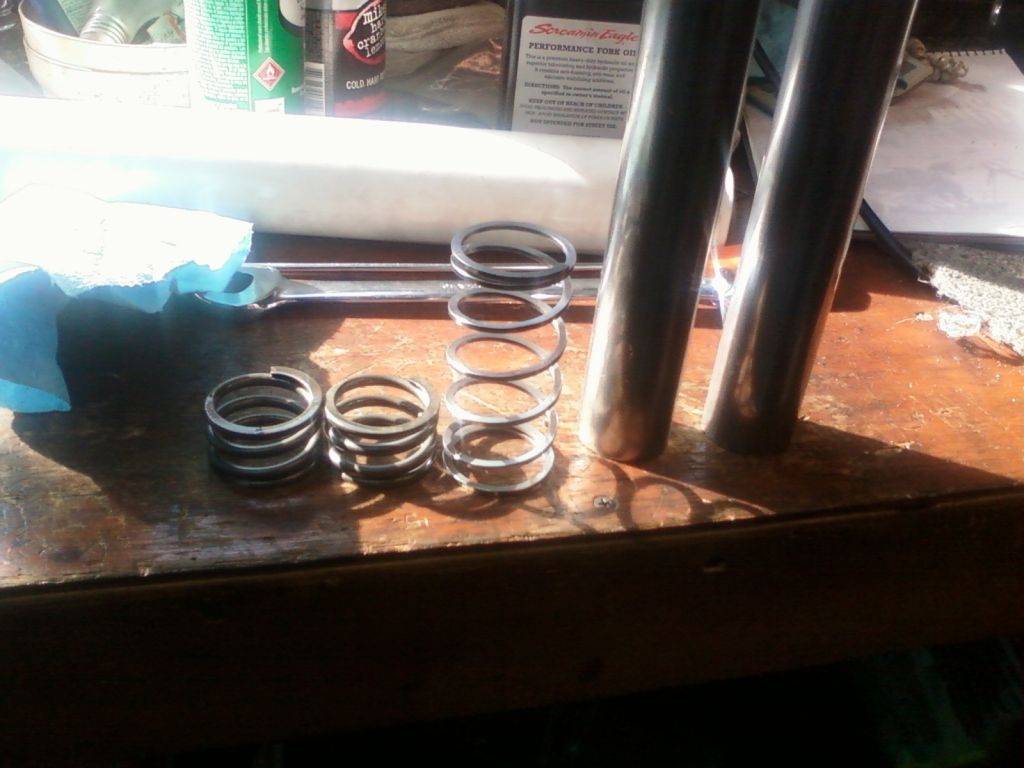
next part that comes out is this( this holds tubes together) the spring will be reused** the 2nd spring (smaller one) GOES ON TOP OF BIG SPRING , THEN THE WASHER***)
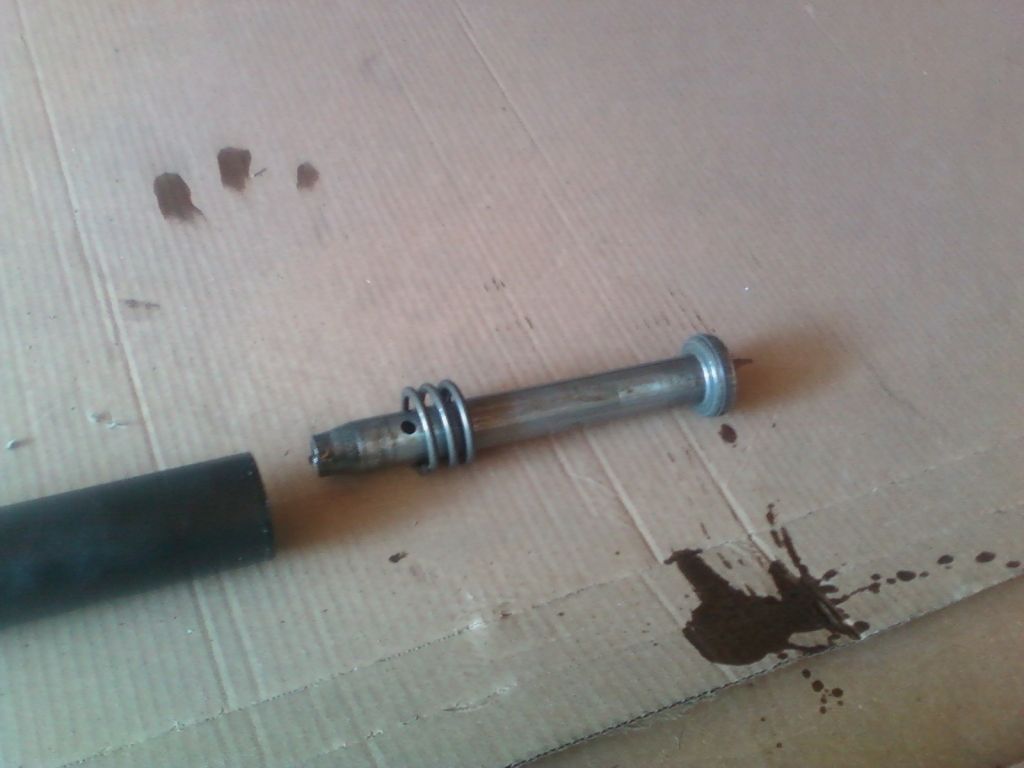
here is a close up ***note the little collar at the end and remember which way it goes in it does matter)this sits at the bottom of tube
kinda b4 and after
springs & tubes
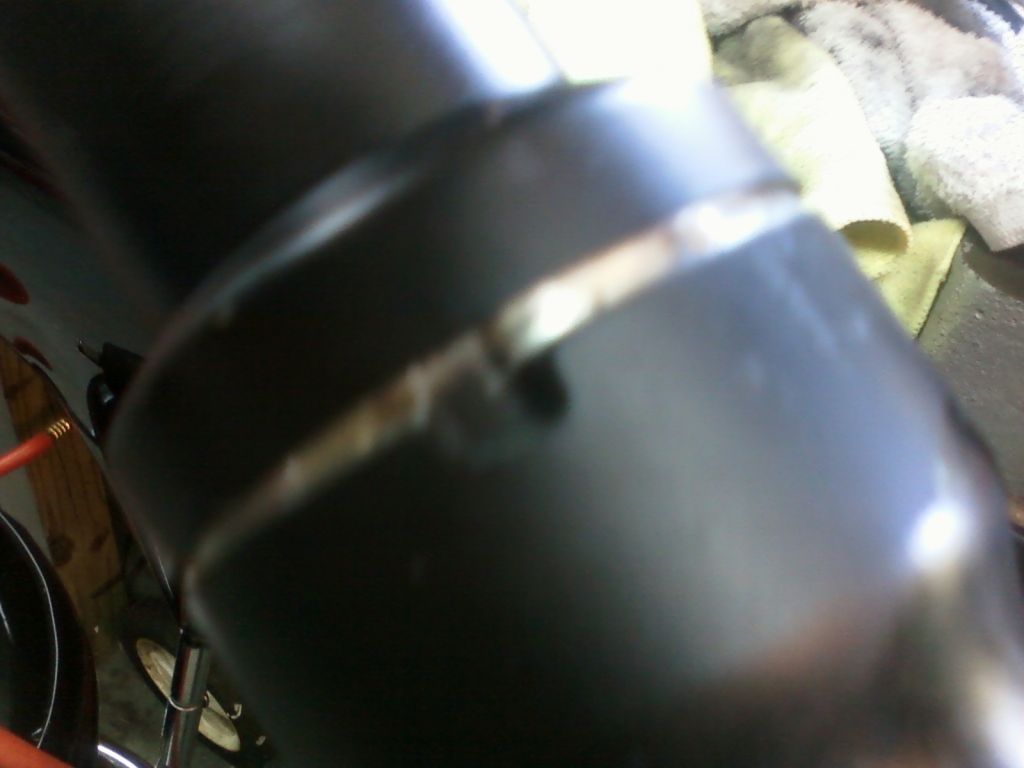
next take a small punch or somethin and rubber mallet and tap this dust cover loose ( there is a small divot on tube you'll see it)
***NOTE*** no pics you will have to take a pic or something sharp and skinny to remove octagonal spring ring that holds tube together, do this carefully so as you dont screw the ring up!
after its out you then can
next totally seperate tubes to get to another cover and seal that is bad
next clean out tubes and parts with cleaner
***note no pics*** after you replace seal(remember which way old one comes on/ off ) you will have to use the harley slide hammer 89.00 bucks OR
goto home depot and get a large piece of pvc 3.00 bucks!
this is to beat new seal into place.you will see how far it has to go down as there is a slot for that octagonal oring you took out. now you can put the o ring back on and start putting everything back the way it came out.
put this in 1st***note which way the end piece goes in ***important***
it sits in a little groove at bottom of tube you can take it off and put it in by itself and see .
next slide in new spring

***note important**** do this very carefully as not to move anything as you want everything to line up nice ***** do this on a table ****
as you screw this 12mm bolt back in to tighten up 1st put a light coat of silicone seal on so yer fork juice don't leak, i put it on the threads
after large spring is in , you can turn tube upright and fill tube with fork oil
next PUT ON COMPENSATOR SPRING FROM LOWERING KIT
then washer then take plug push down and twist to seat into tube be careful not to cross thread
snug up and now the tube is done
dont freeak like me they look to be 2 different lengths but on the rocker the bottom part is missing that hold axle on the 1 side
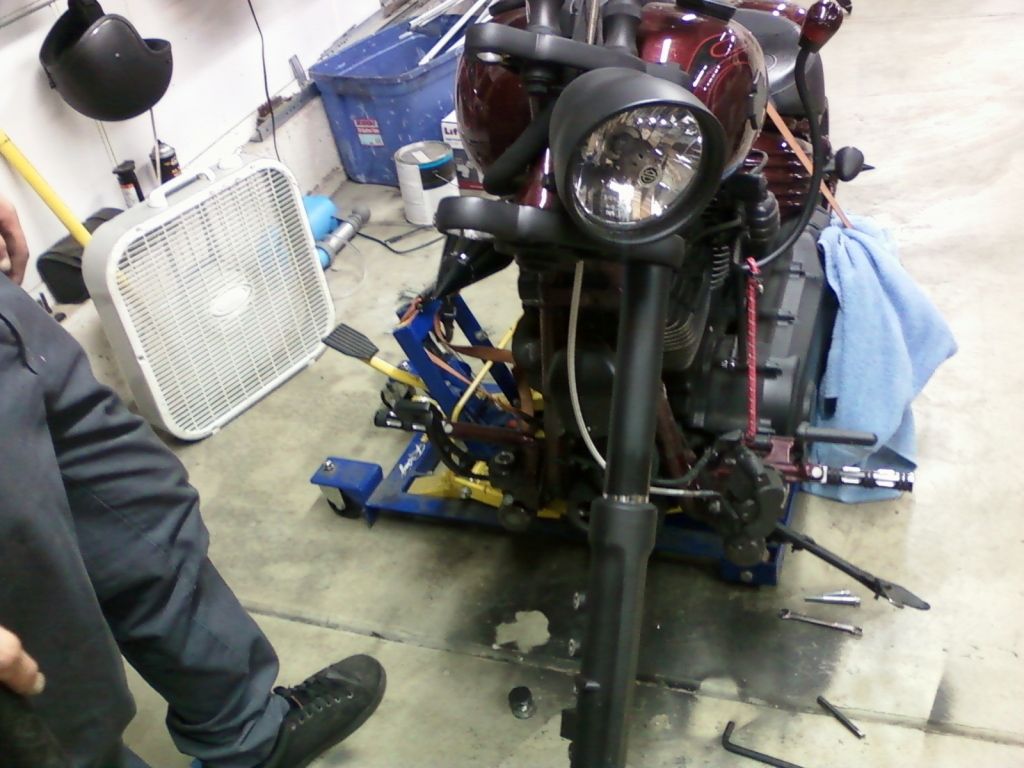
then go re- install everything per manual
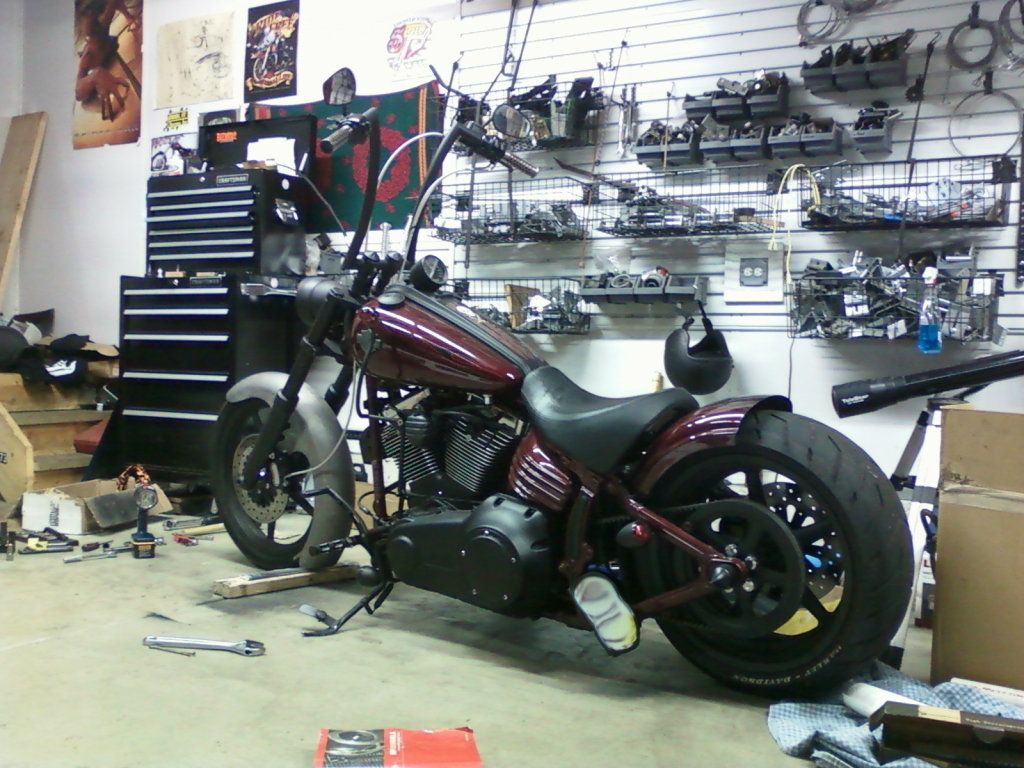
the finished product
PIMP
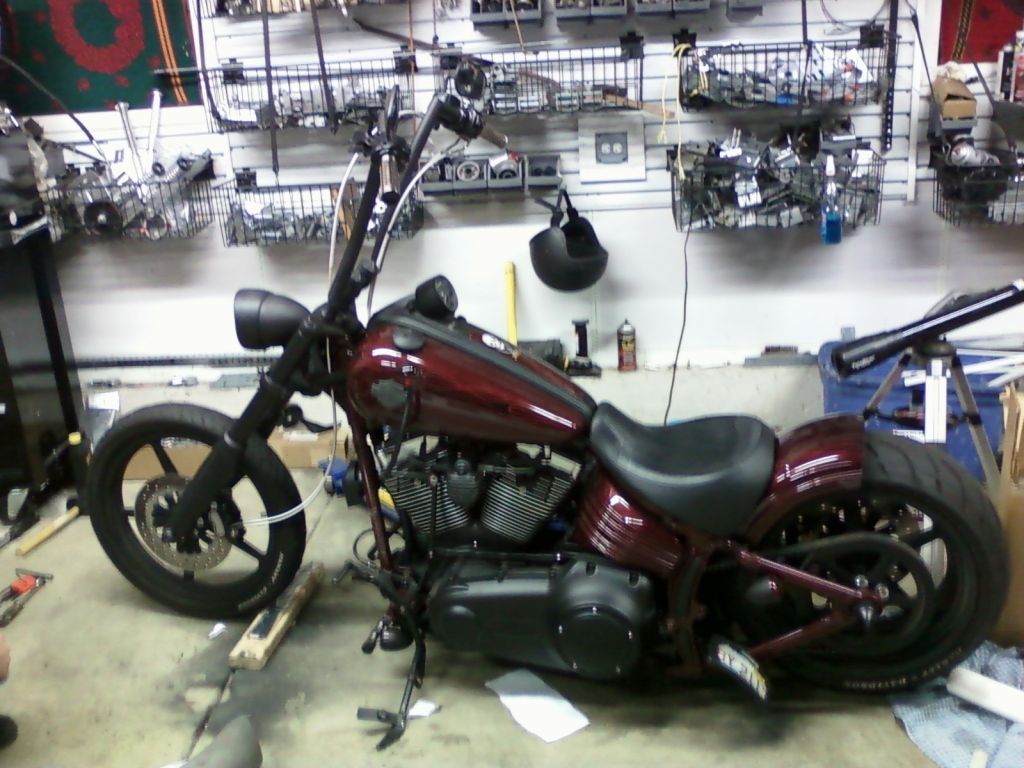
side shot w/ new fender im workin on
i hope this helps you out fellow rocker owners you can do this
i know this bike is different than other softtails lots of fxcw only parts
this is also done because my 1 seal was bad and i had to replace it, lots of these steps you dont have to do
thanks again everyone for yer help
**NOTE*** u probably should loosen this b4 you take tube out, but
this way works.***it is safer to loosen this 1st its the 12mm
this will take pressure off spring
here is the buger 12mm go figure **note this gets replaced along with a copper washer ***
next slide tube apart finally LOL
next part that comes out is this( this holds tubes together) the spring will be reused** the 2nd spring (smaller one) GOES ON TOP OF BIG SPRING , THEN THE WASHER***)
here is a close up ***note the little collar at the end and remember which way it goes in it does matter)this sits at the bottom of tube
kinda b4 and after
springs & tubes
next take a small punch or somethin and rubber mallet and tap this dust cover loose ( there is a small divot on tube you'll see it)
***NOTE*** no pics you will have to take a pic or something sharp and skinny to remove octagonal spring ring that holds tube together, do this carefully so as you dont screw the ring up!
after its out you then can
next totally seperate tubes to get to another cover and seal that is bad
next clean out tubes and parts with cleaner
***note no pics*** after you replace seal(remember which way old one comes on/ off ) you will have to use the harley slide hammer 89.00 bucks OR
goto home depot and get a large piece of pvc 3.00 bucks!
this is to beat new seal into place.you will see how far it has to go down as there is a slot for that octagonal oring you took out. now you can put the o ring back on and start putting everything back the way it came out.
put this in 1st***note which way the end piece goes in ***important***
it sits in a little groove at bottom of tube you can take it off and put it in by itself and see .
next slide in new spring
***note important**** do this very carefully as not to move anything as you want everything to line up nice ***** do this on a table ****
as you screw this 12mm bolt back in to tighten up 1st put a light coat of silicone seal on so yer fork juice don't leak, i put it on the threads
after large spring is in , you can turn tube upright and fill tube with fork oil
next PUT ON COMPENSATOR SPRING FROM LOWERING KIT
then washer then take plug push down and twist to seat into tube be careful not to cross thread
snug up and now the tube is done
dont freeak like me they look to be 2 different lengths but on the rocker the bottom part is missing that hold axle on the 1 side
then go re- install everything per manual
the finished product
PIMP
side shot w/ new fender im workin on
i hope this helps you out fellow rocker owners you can do this
i know this bike is different than other softtails lots of fxcw only parts
this is also done because my 1 seal was bad and i had to replace it, lots of these steps you dont have to do
thanks again everyone for yer help
Last edited by m i k e; 08-05-2012 at 04:26 PM.
#9
08-02-2012, 12:32 PM

Former Sponsor
Nice work man. You are correct, it is much easier to loosen that bottom damper bolt with the fork assembled.
Lots of messy fork oil, too. Probably ruined your shirt. Send us an email with your address and shirt size and we'll fix that.
news@progressivesuspension.com
Lots of messy fork oil, too. Probably ruined your shirt. Send us an email with your address and shirt size and we'll fix that.
news@progressivesuspension.com
#10
08-02-2012, 02:46 PM
Road Master
Join Date: Feb 2008
Location: Marion Ill
Posts: 1,118
Likes: 0
Received 0 Likes
on
0 Posts
Good lord I am confused after looking at this, and I even put this same kit in my train not a month ago. I loosened everything on the bike, drained the fluid beforehand to eliminate the mess(if you done have drains then just take out the dampener retaining bolts and itll come out), and the rest was pie. Took an hour max. Did you seperate the uppers and the lowers?