Tank badge thread for Glenn B. and his Slim
#1
 02-18-2013, 09:21 PM

Hey Glenn. Got your message. I thought I would just post a thread, just in case others want the low down on how to change emblems.
This will be a little quick and dirty. But I think it will help. Feel free to answer the thread if you have questions.
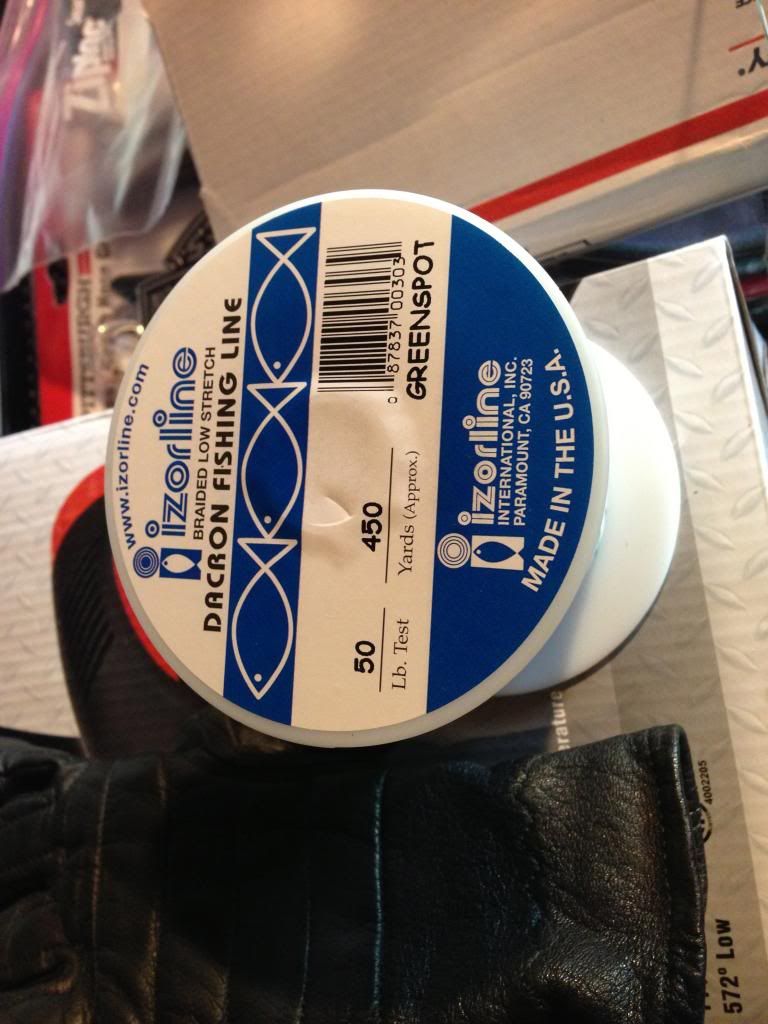
So first thing I did is I used this fishing wire to cut through the adhesive on my old badges. Be careful to keep the wire pulled toward you, so you don't scratch your tank. Wear gloves to get a good grip. Don't worry if the fishing wire snaps a few times. Just cut a new strand and keep going.
Here's the stuff. I bought it at Big 5 sporting goods:
This will be a little quick and dirty. But I think it will help. Feel free to answer the thread if you have questions.
So first thing I did is I used this fishing wire to cut through the adhesive on my old badges. Be careful to keep the wire pulled toward you, so you don't scratch your tank. Wear gloves to get a good grip. Don't worry if the fishing wire snaps a few times. Just cut a new strand and keep going.
Here's the stuff. I bought it at Big 5 sporting goods:
#3
02-18-2013, 09:28 PM
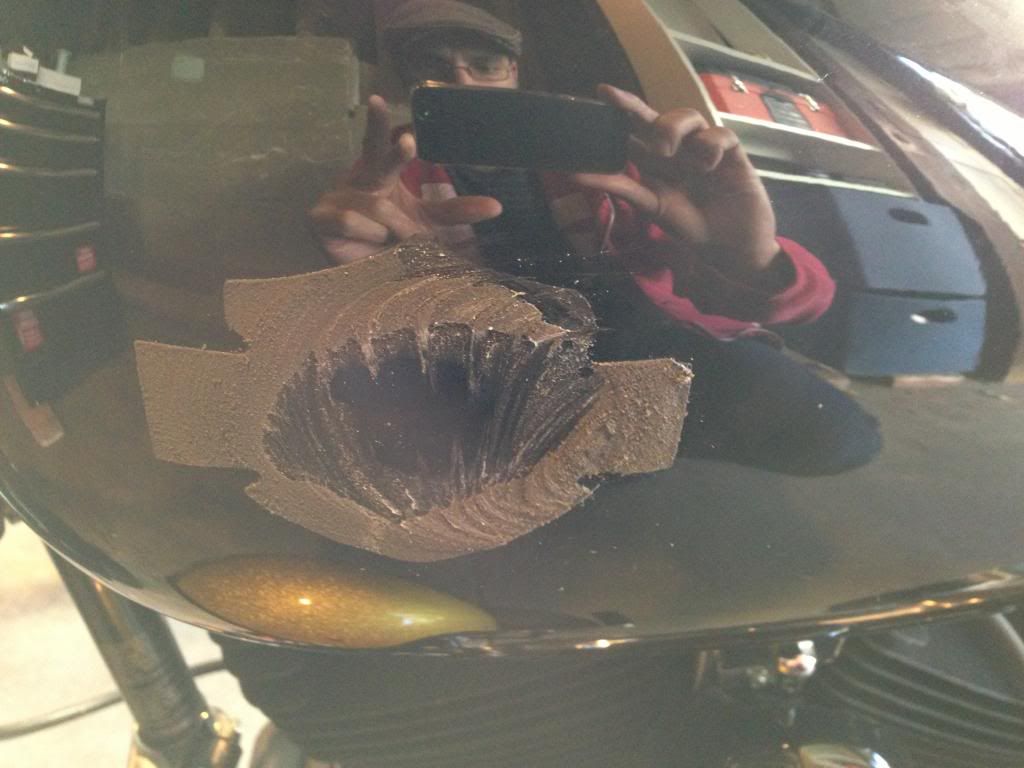
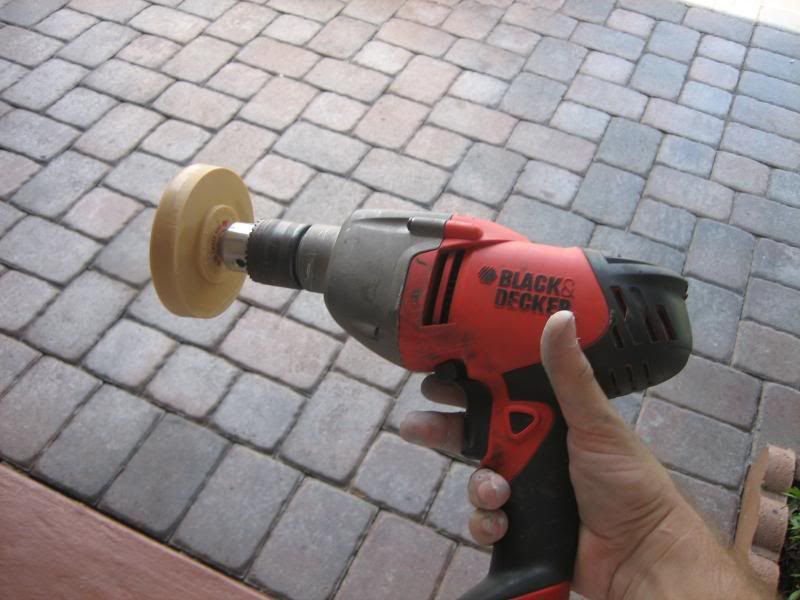
To get that left over adhesive off, you use 3M adhesive remover. I went for the automotive type that says it won't damage cured paints. I was careful to dilute this stuff by dipping a clean rag with no texture to the rag in a cup of hot water. Then I would spray some 3M on that wet rag.
I went really slow and took it off bit by bit, always using a heavily diluted mix. I probably could have went faster by using heavier doses of 3M, but I wanted no scratches or loss of patina.
Here's where you can get the 3M adhesive remover:
http://www.amazon.com/3M-03618-Adhes.../dp/B000BQYA7W
I went really slow and took it off bit by bit, always using a heavily diluted mix. I probably could have went faster by using heavier doses of 3M, but I wanted no scratches or loss of patina.
Here's where you can get the 3M adhesive remover:
http://www.amazon.com/3M-03618-Adhes.../dp/B000BQYA7W
#6
02-18-2013, 09:33 PM
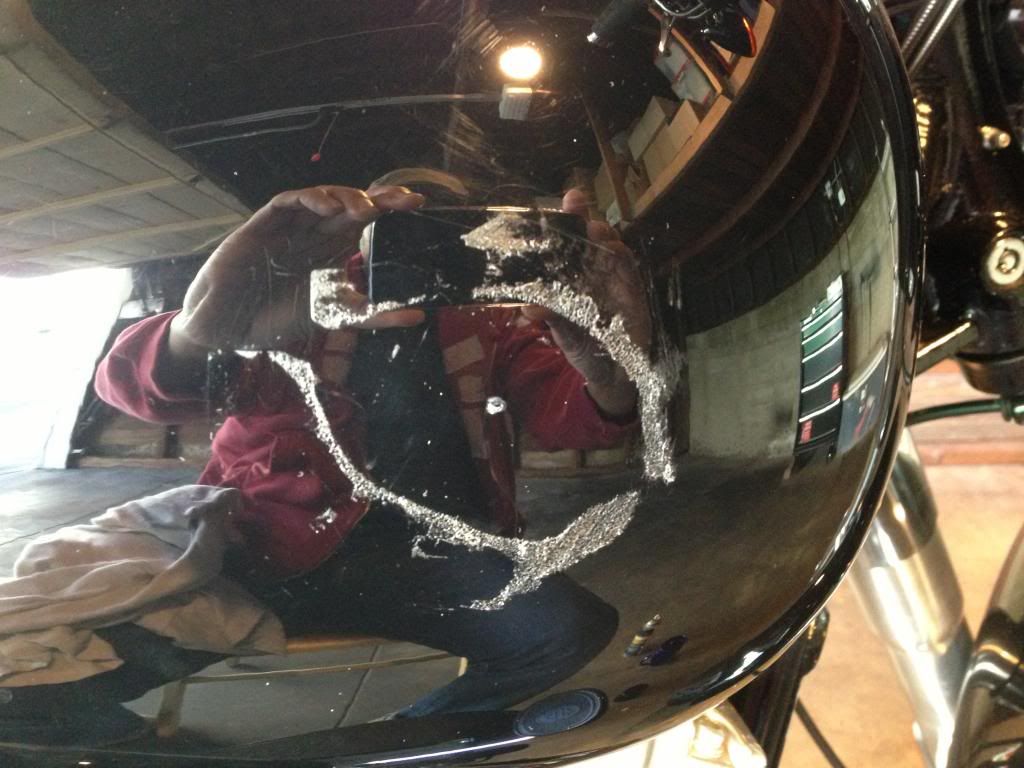
Notice the little tiny white dots on the tank? I drew those in with a white grease marker. Dead center where the old badges were.
Those will give you a very general guide where you want your replacement badges to be.
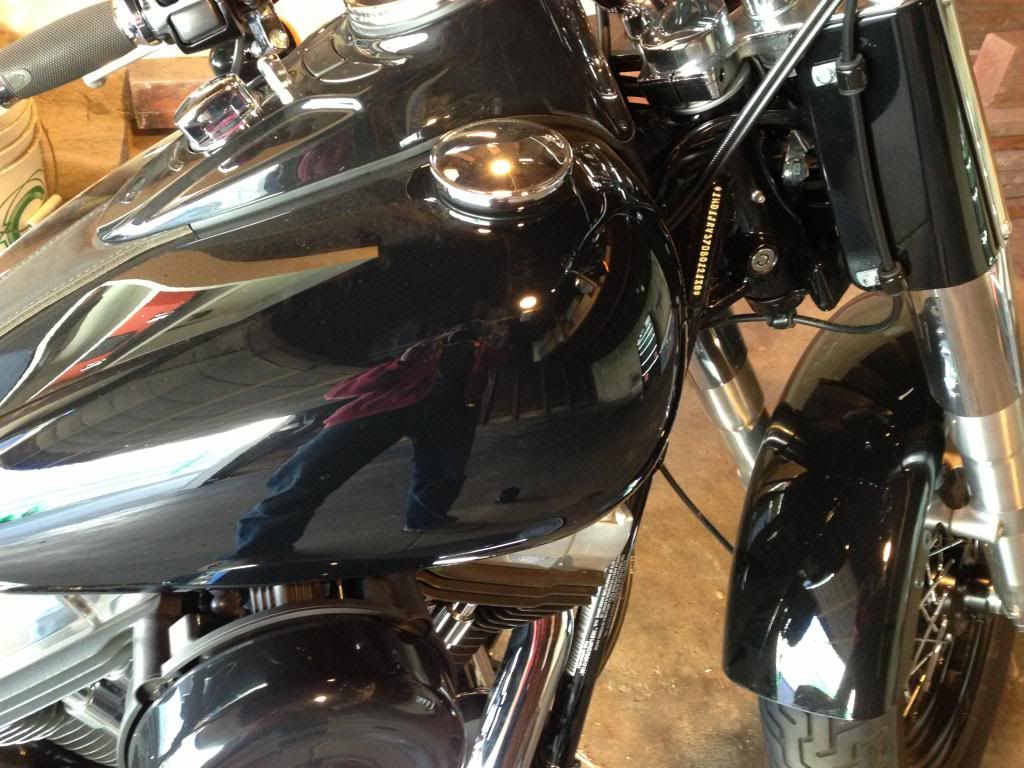
I'm gonna do a few other things, but stay tuned..I'll post how to put the new badges on either tonight or tomorrow.
Those will give you a very general guide where you want your replacement badges to be.
I'm gonna do a few other things, but stay tuned..I'll post how to put the new badges on either tonight or tomorrow.
#7
02-18-2013, 09:37 PM

Trending Topics
#8
02-18-2013, 10:09 PM


#9
02-18-2013, 10:27 PM
Ya, nothin to it. It will be a little tougher than removing the reflectors, but same deal.
Last edited by SoCalSoftailSlim; 02-18-2013 at 10:57 PM.
#10
02-18-2013, 10:28 PM
