2013 883 Hammer Performance 1250 Install
#12
Thank you....You should check out the build tread on the bike too if you get time. I tried to be just as detailed.
Thanks, Yes definitely reusable but hopefully will never have to.
Thank you very much...if it helps the next nube like me through it then its worth it. Sticky would be pretty cool...Still gotta get the parts back and put it back together. About 3-4 weeks is what I am expecting. You get the shipping and the bolt board is yours.
#13
#14
Holy poop. I could NEVER do that...I'm too much of a klutz.
Also, since I'm not in the US it's cheaper to just order everything new and have my shop fit it, rather than sending things away.
I love hot thorough you are and how you mark everything.
It's also awesome to see the inner workings of our EFI bikes.
Keep these coming.
Oh and are you changing anything cosmetically or staying with the café theme?
#16
Originally Posted by Pixiechitos
Holy poop. I could NEVER do that...I'm too much of a klutz.
Also, since I'm not in the US it's cheaper to just order everything new and have my shop fit it, rather than sending things away.
I love hot thorough you are and how you mark everything.
It's also awesome to see the inner workings of our EFI bikes.
Keep these coming.
Oh and are you changing anything cosmetically or staying with the café theme?
Also, since I'm not in the US it's cheaper to just order everything new and have my shop fit it, rather than sending things away.
I love hot thorough you are and how you mark everything.
It's also awesome to see the inner workings of our EFI bikes.
Keep these coming.
Oh and are you changing anything cosmetically or staying with the café theme?
I am getting the paint redone now. Mainly just quality I am keeping the same design. I don't plan on changing any of the looks. I just finished that stuff about 3 weeks ago and only had 300 miles or so on it before I tore it down again. I was upset about the paint job and the painter agreed to fix it. So I figured since I can't ride anyway might as well do the motor.
Originally Posted by IMJames
subscribed. i loved your first build thread. can't wait to see where this one goes..
#18
#19
Thank you. It was fun before...now its gonna be down right dangerous....I cant wait to get it back together.
#20
Ok so here goes.
Here is my 2013 XL883N Cafe "Racer" Conversion.
I have decided to go against my better judgment and do an complete motor upgrade. After much deliberation and research I have decided to go this route:
1. Hammer Performance 1250 Kit
2. Hammer Performance Smash Port Job with Upgraded springs and Retainers
3. Hammer Performance Impact 560 Cams
4. Hammer Performance Push Rods
5. Energy One extra plate clutch pack
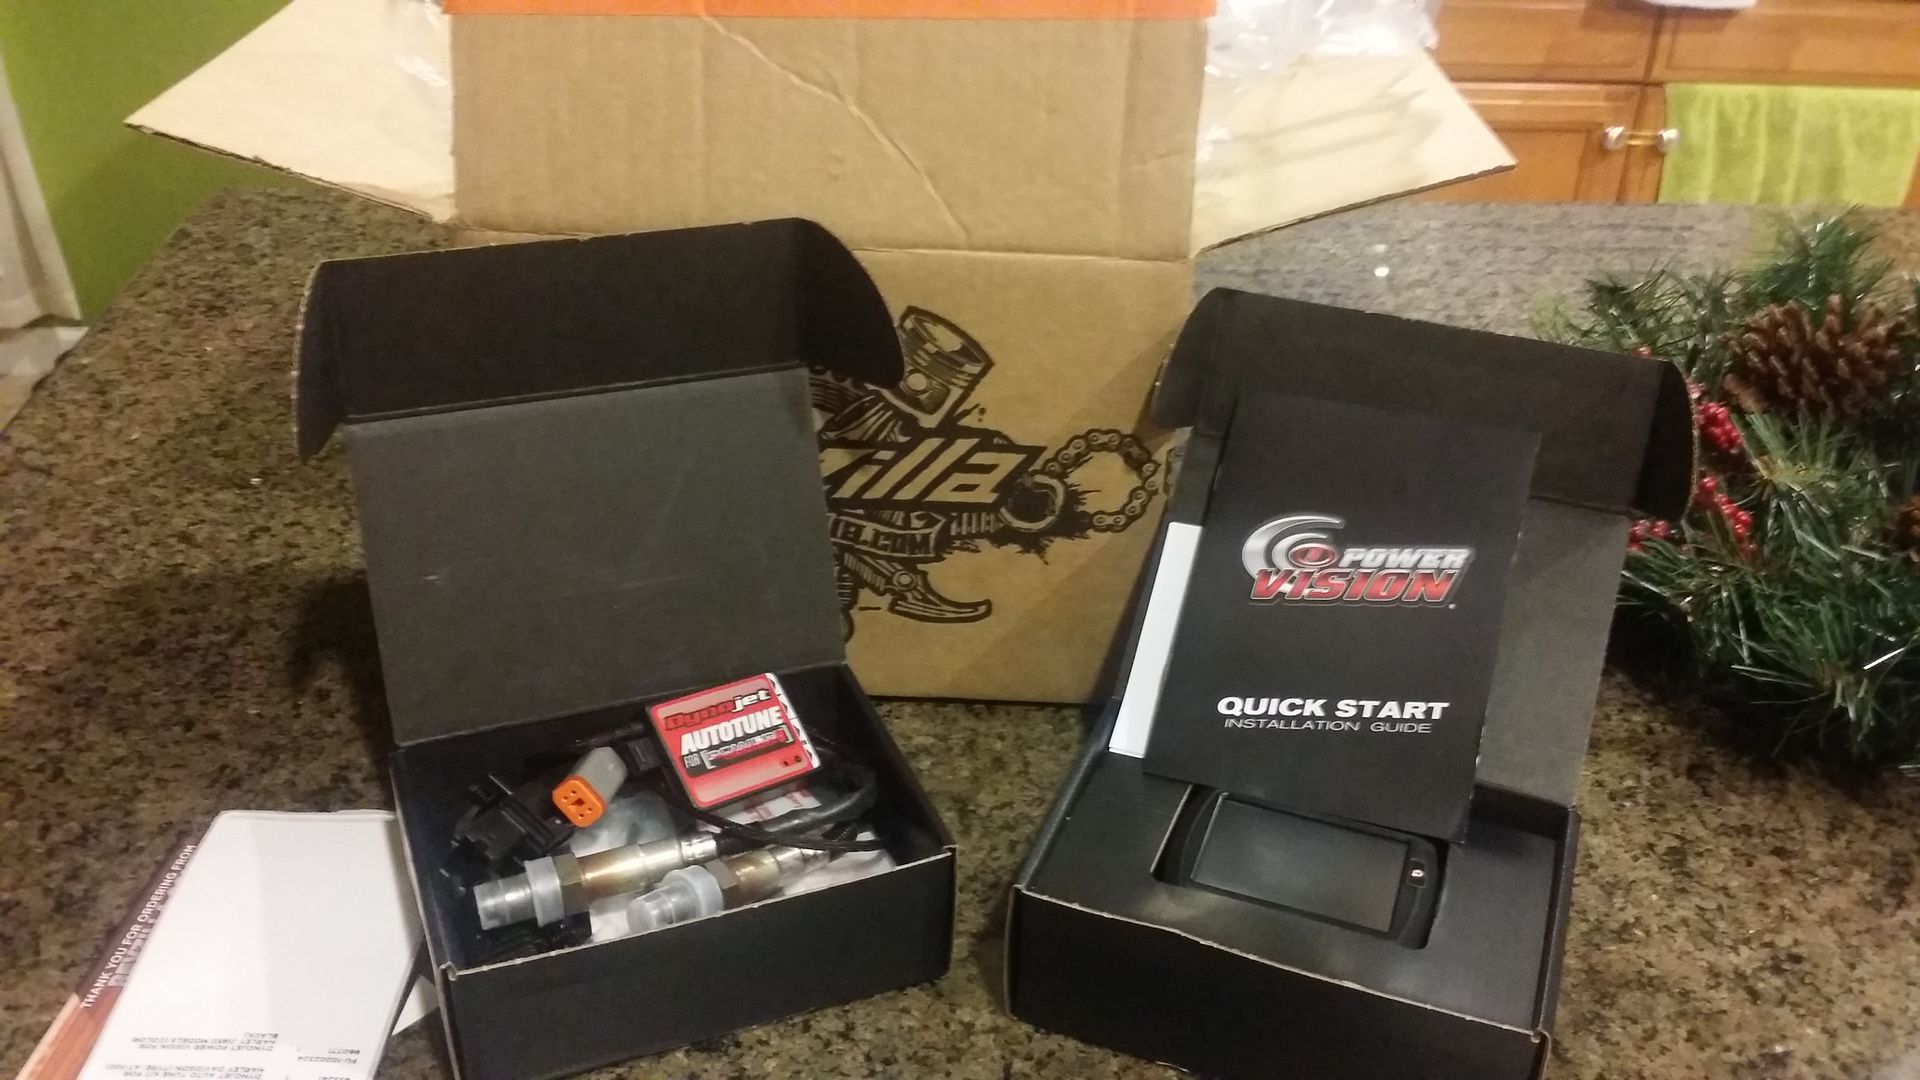
6. Power Vision Tuner
7. Power Vision Autotune Pro
6 and 7 suck big time.
If you are willing to spend all that money, why are you going for an inferior product when it comes to fuel management!?


