
2013 883 Hammer Performance 1250 Install


#62
 01-28-2015, 07:38 AM
Hmmmm I will admit to being a novice at this so I will have to give them a call because this is what is listed on the invoice....
HP 3563 30D61 3.563 30 Degree 10.5-1 Piston With
Reverse Dome, 61 CC Chamber
#63
01-28-2015, 04:59 PM
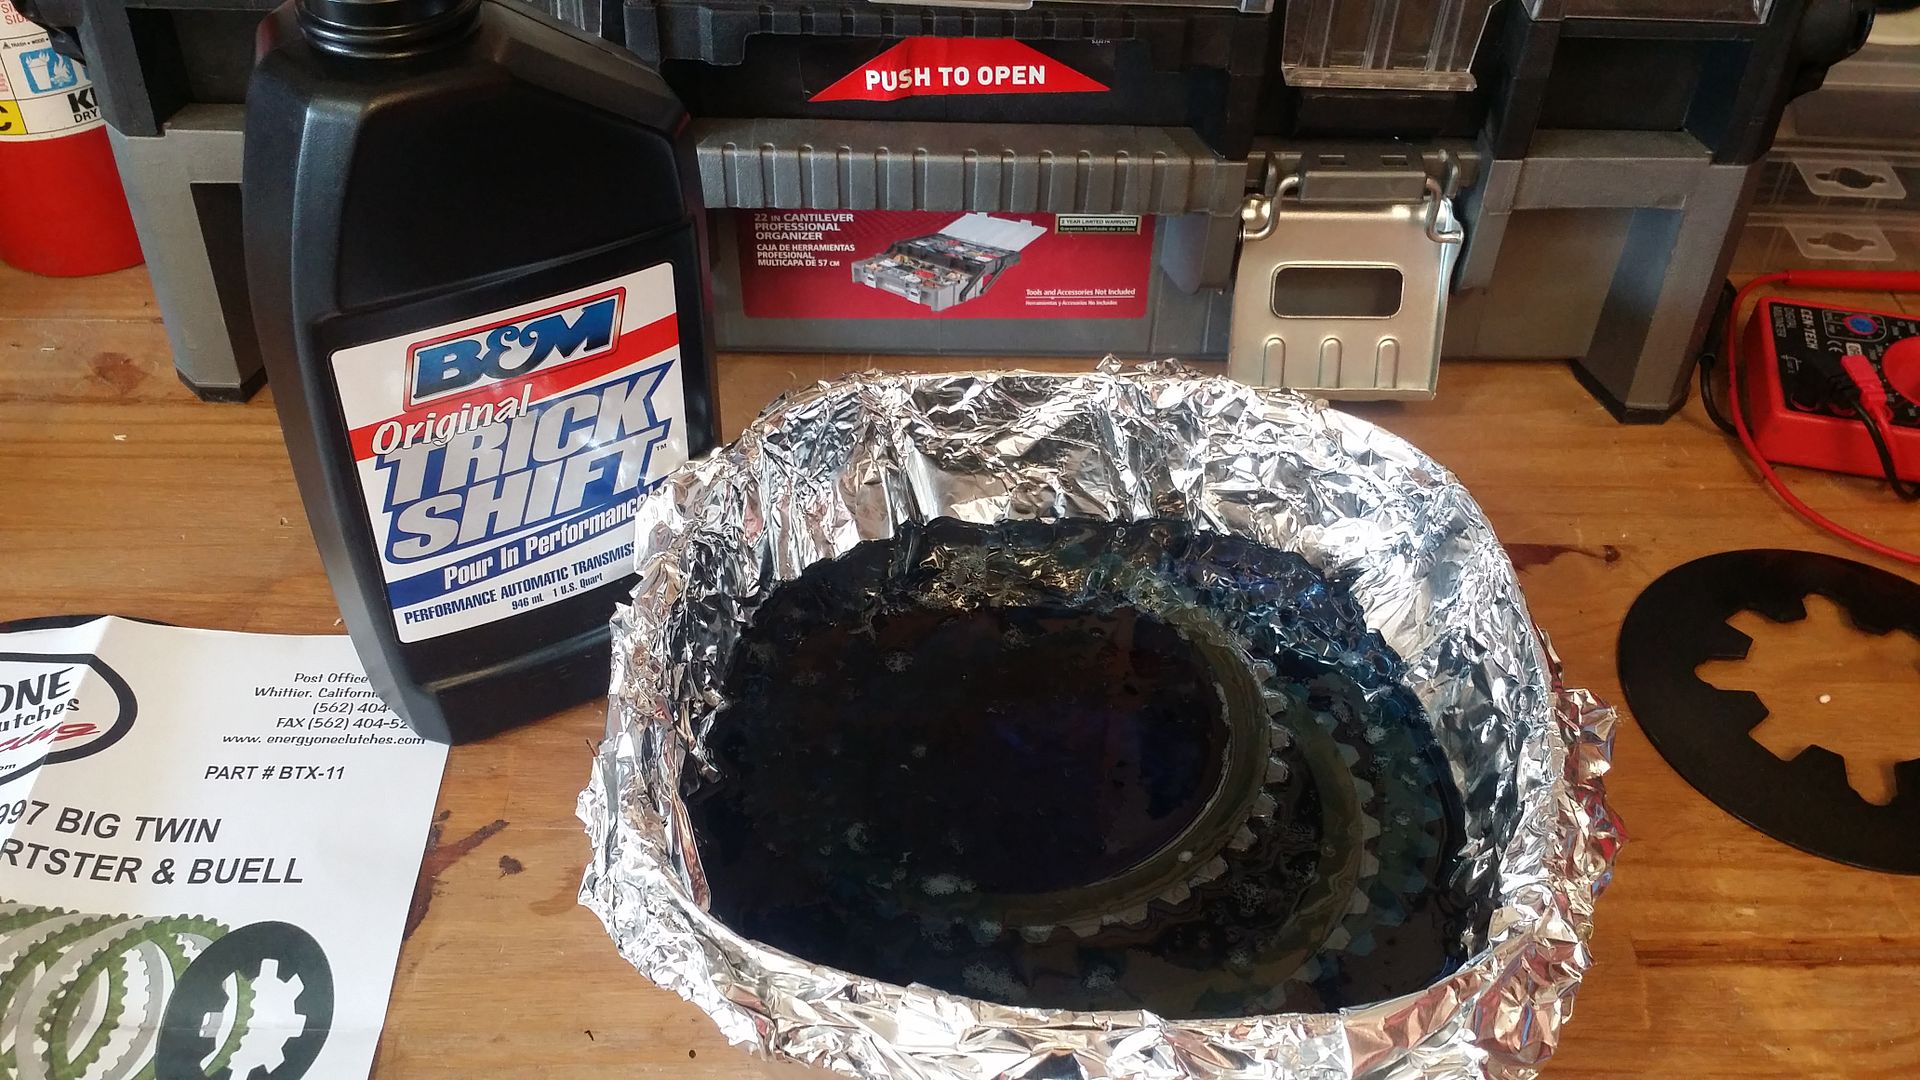
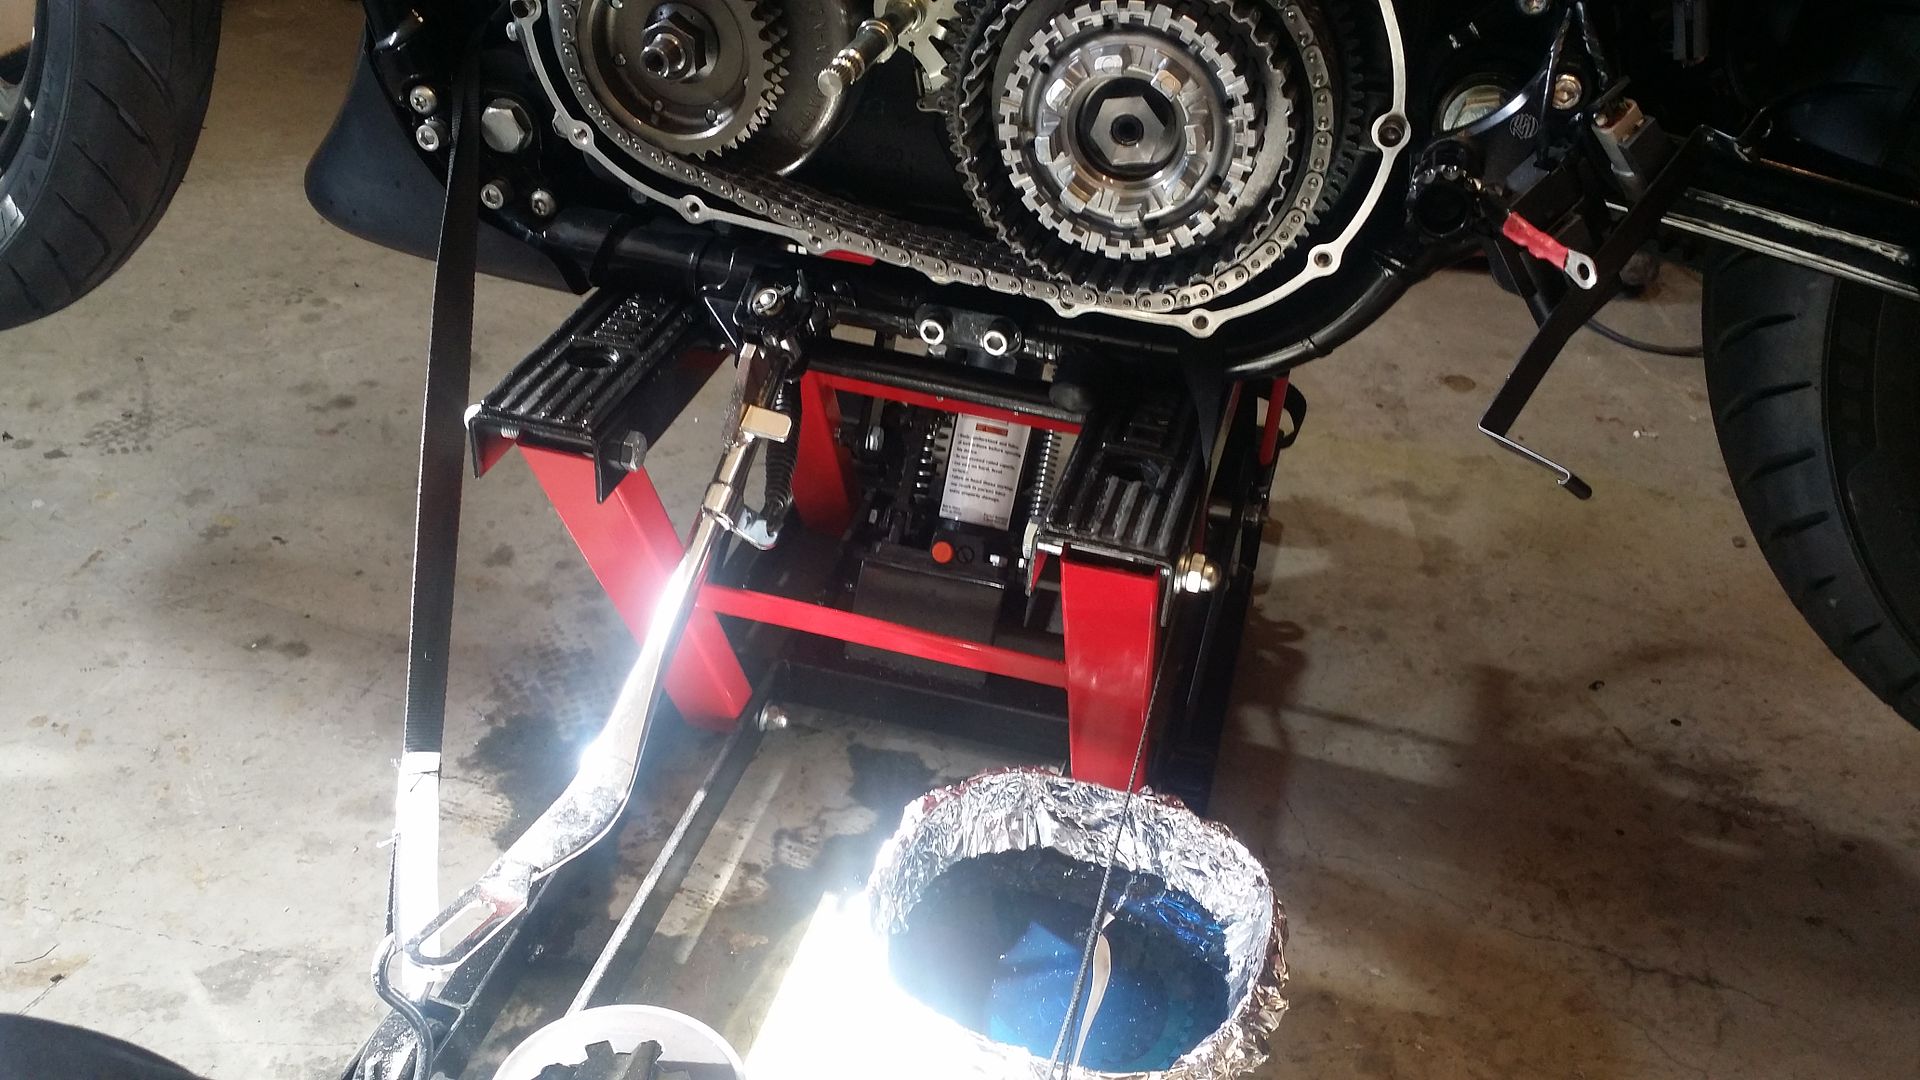
Ok so now begins the install of the new Energy One BTX-11 Extra Plate Clutch Pack. Along with clutch, clutch cable and primary chain adjustment.
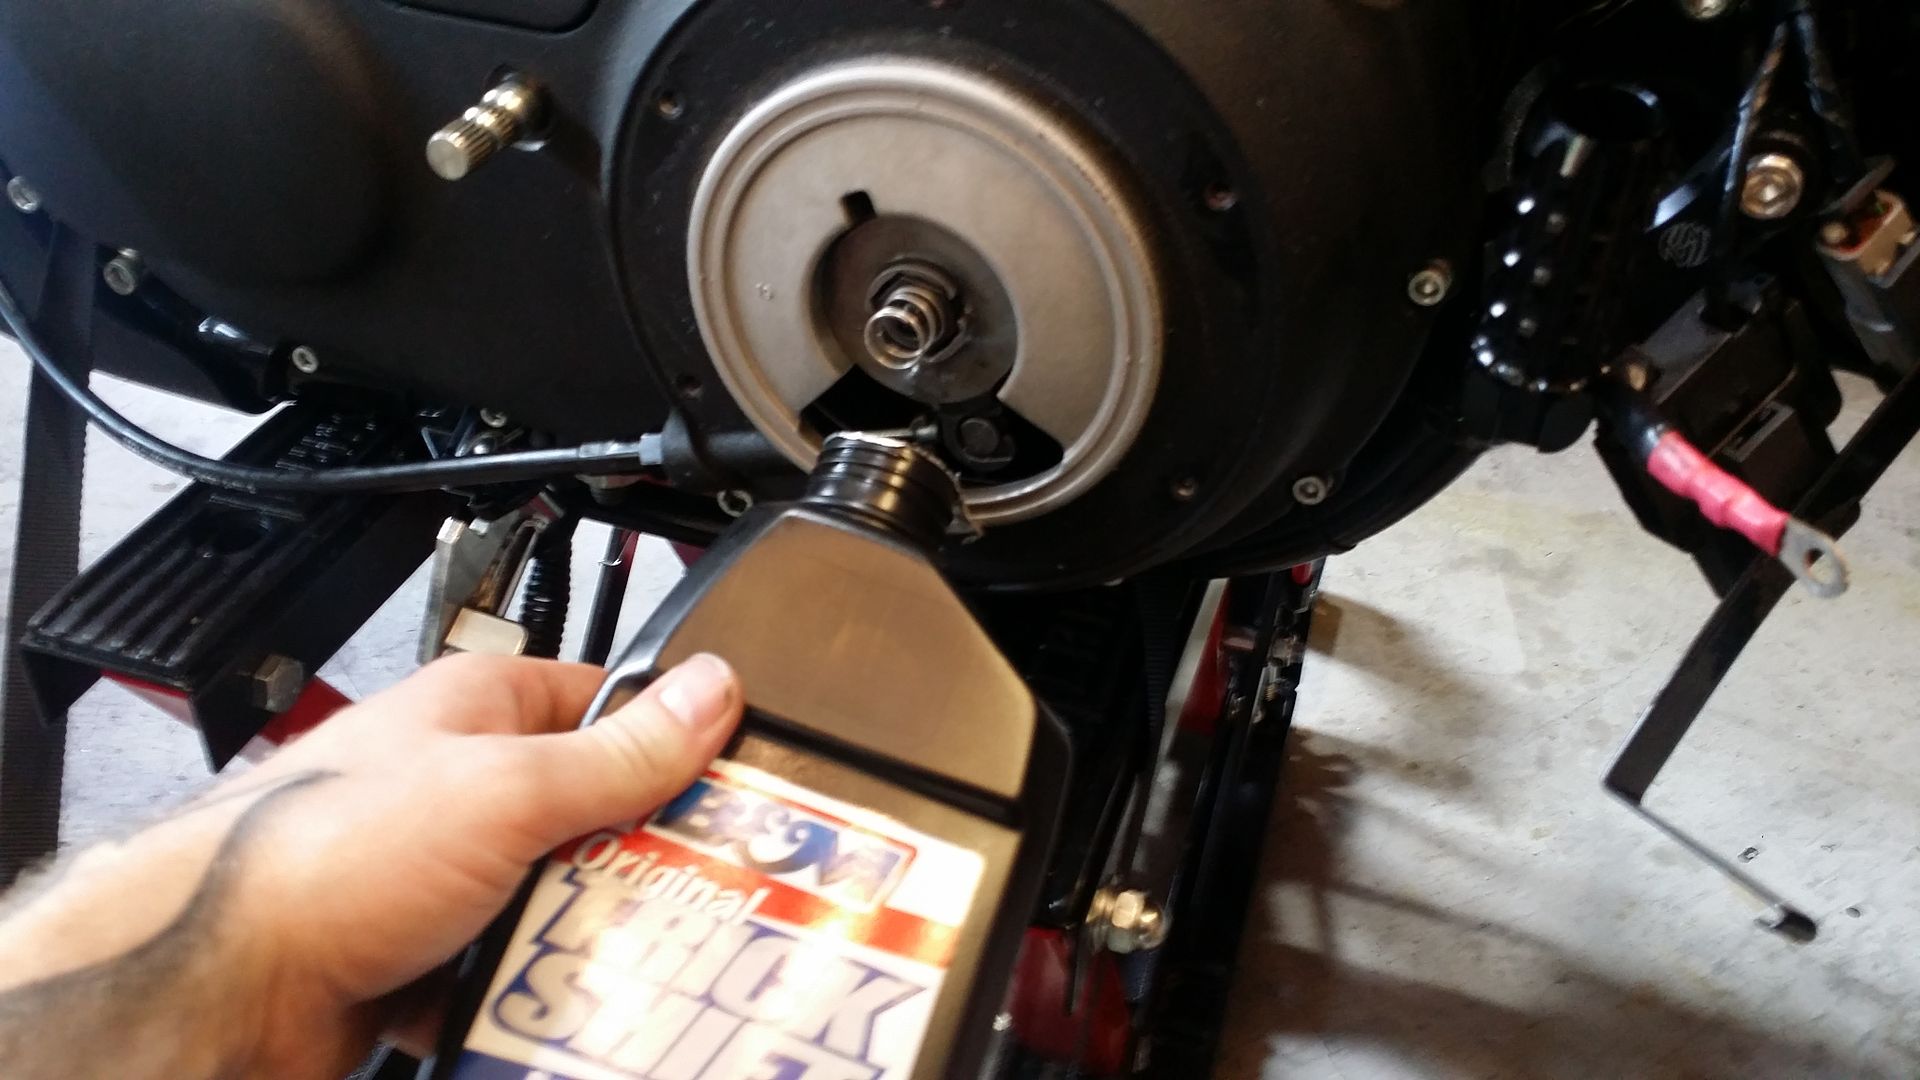
First I soaked all the plates it B&M Non-Synthetic Trick Shift ATF as per instructions from Energy One.
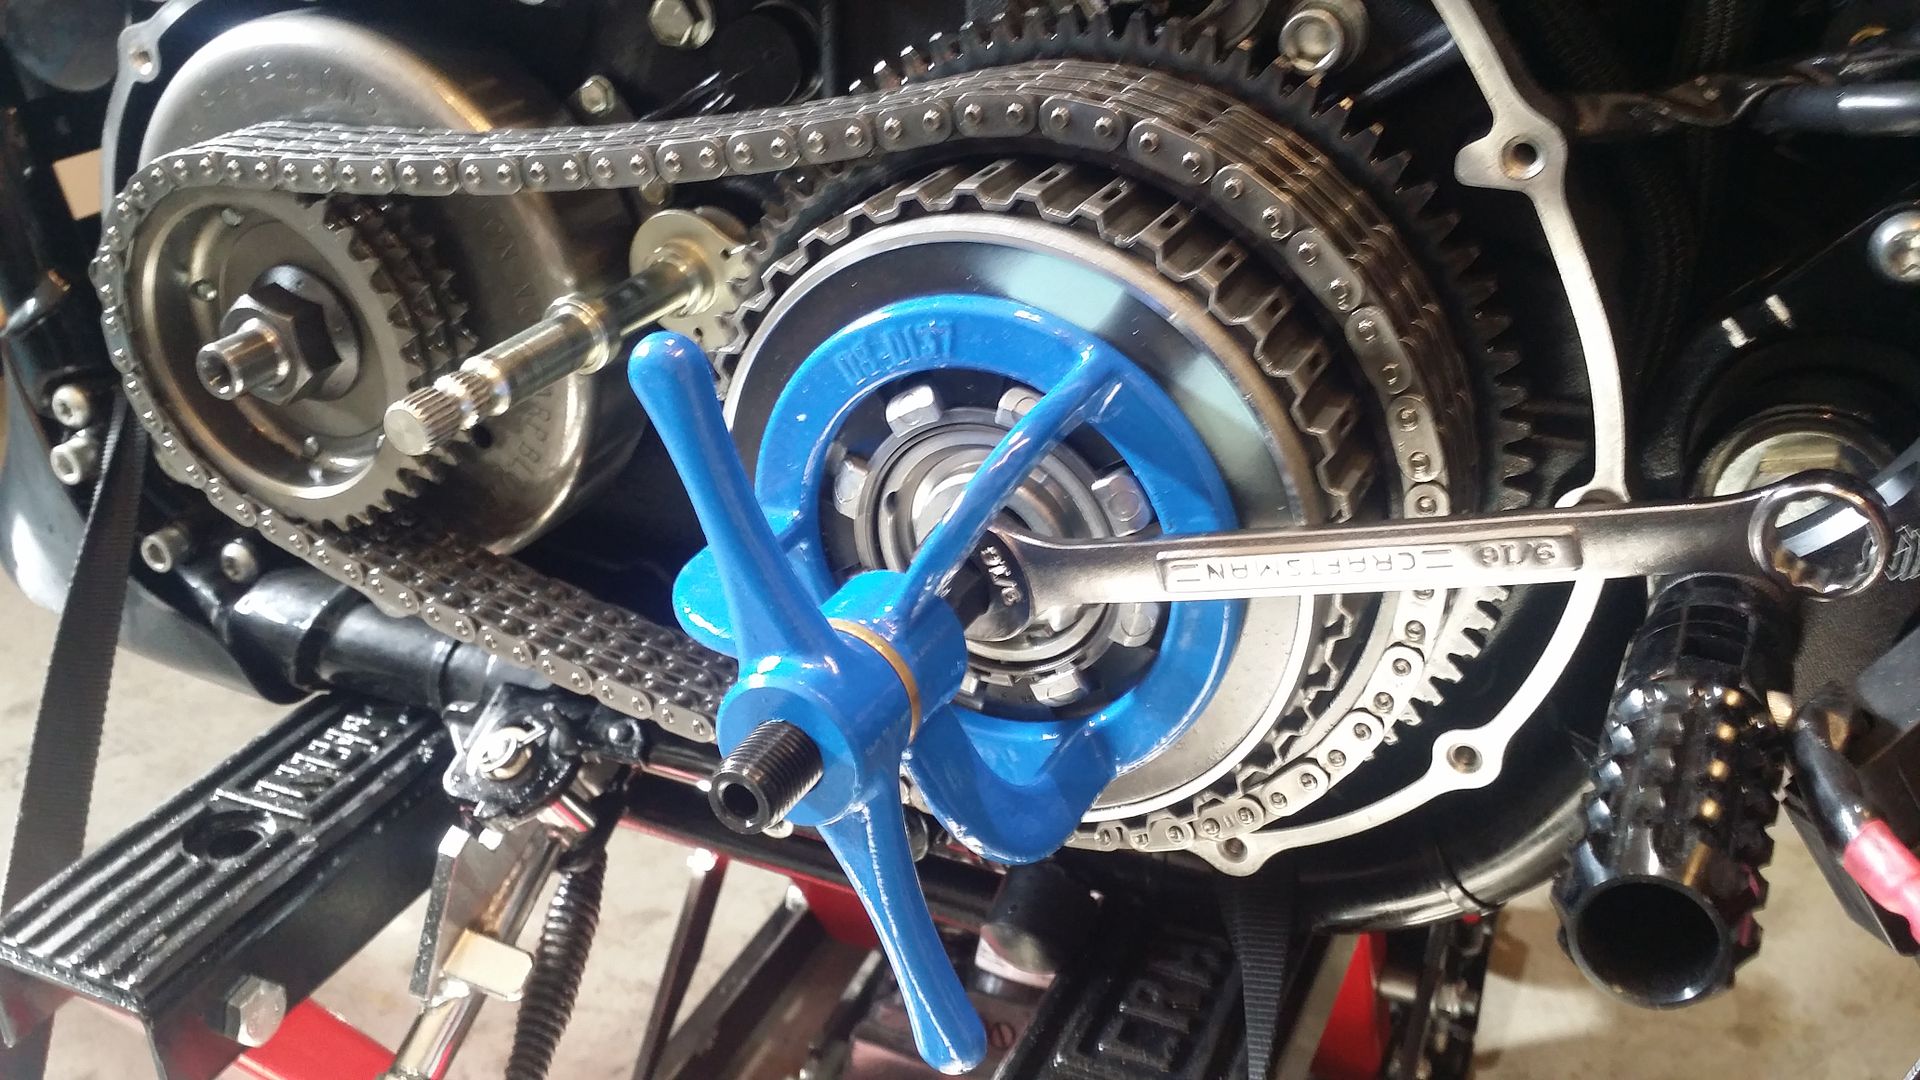
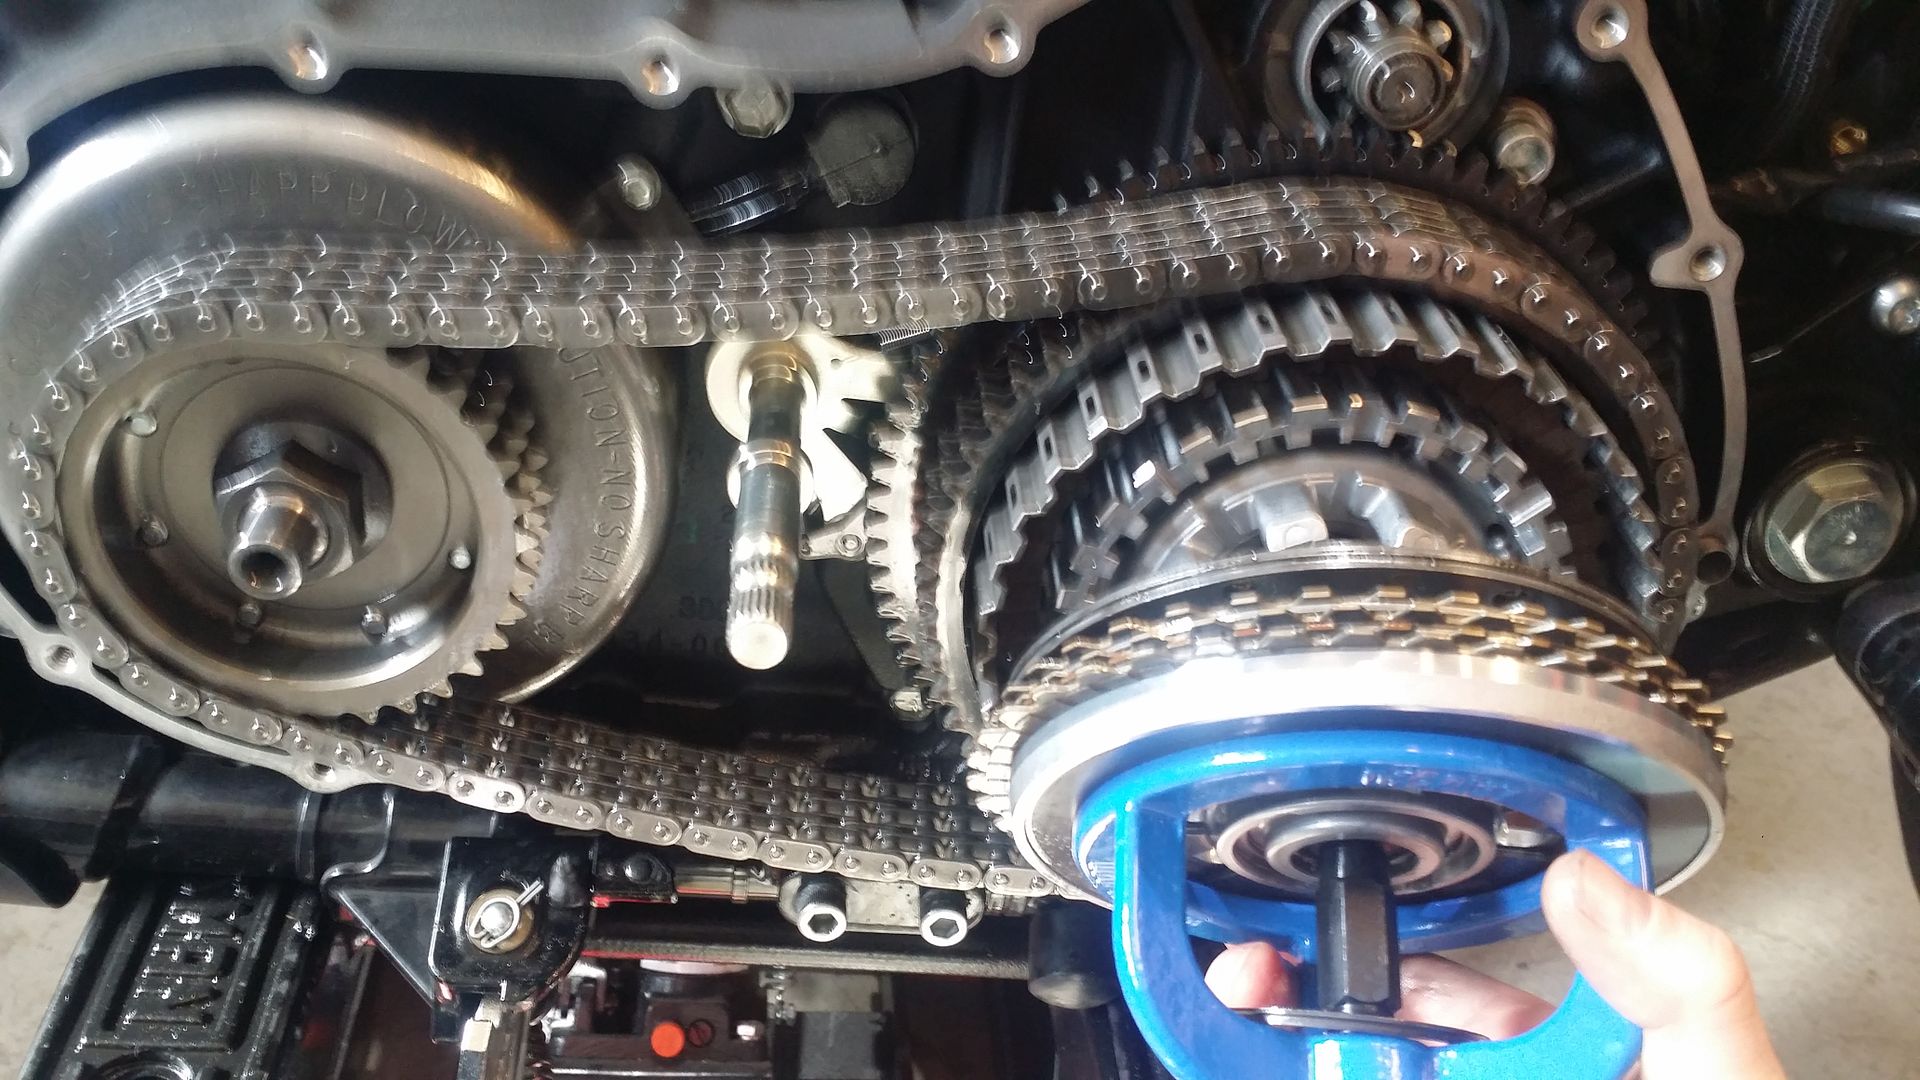
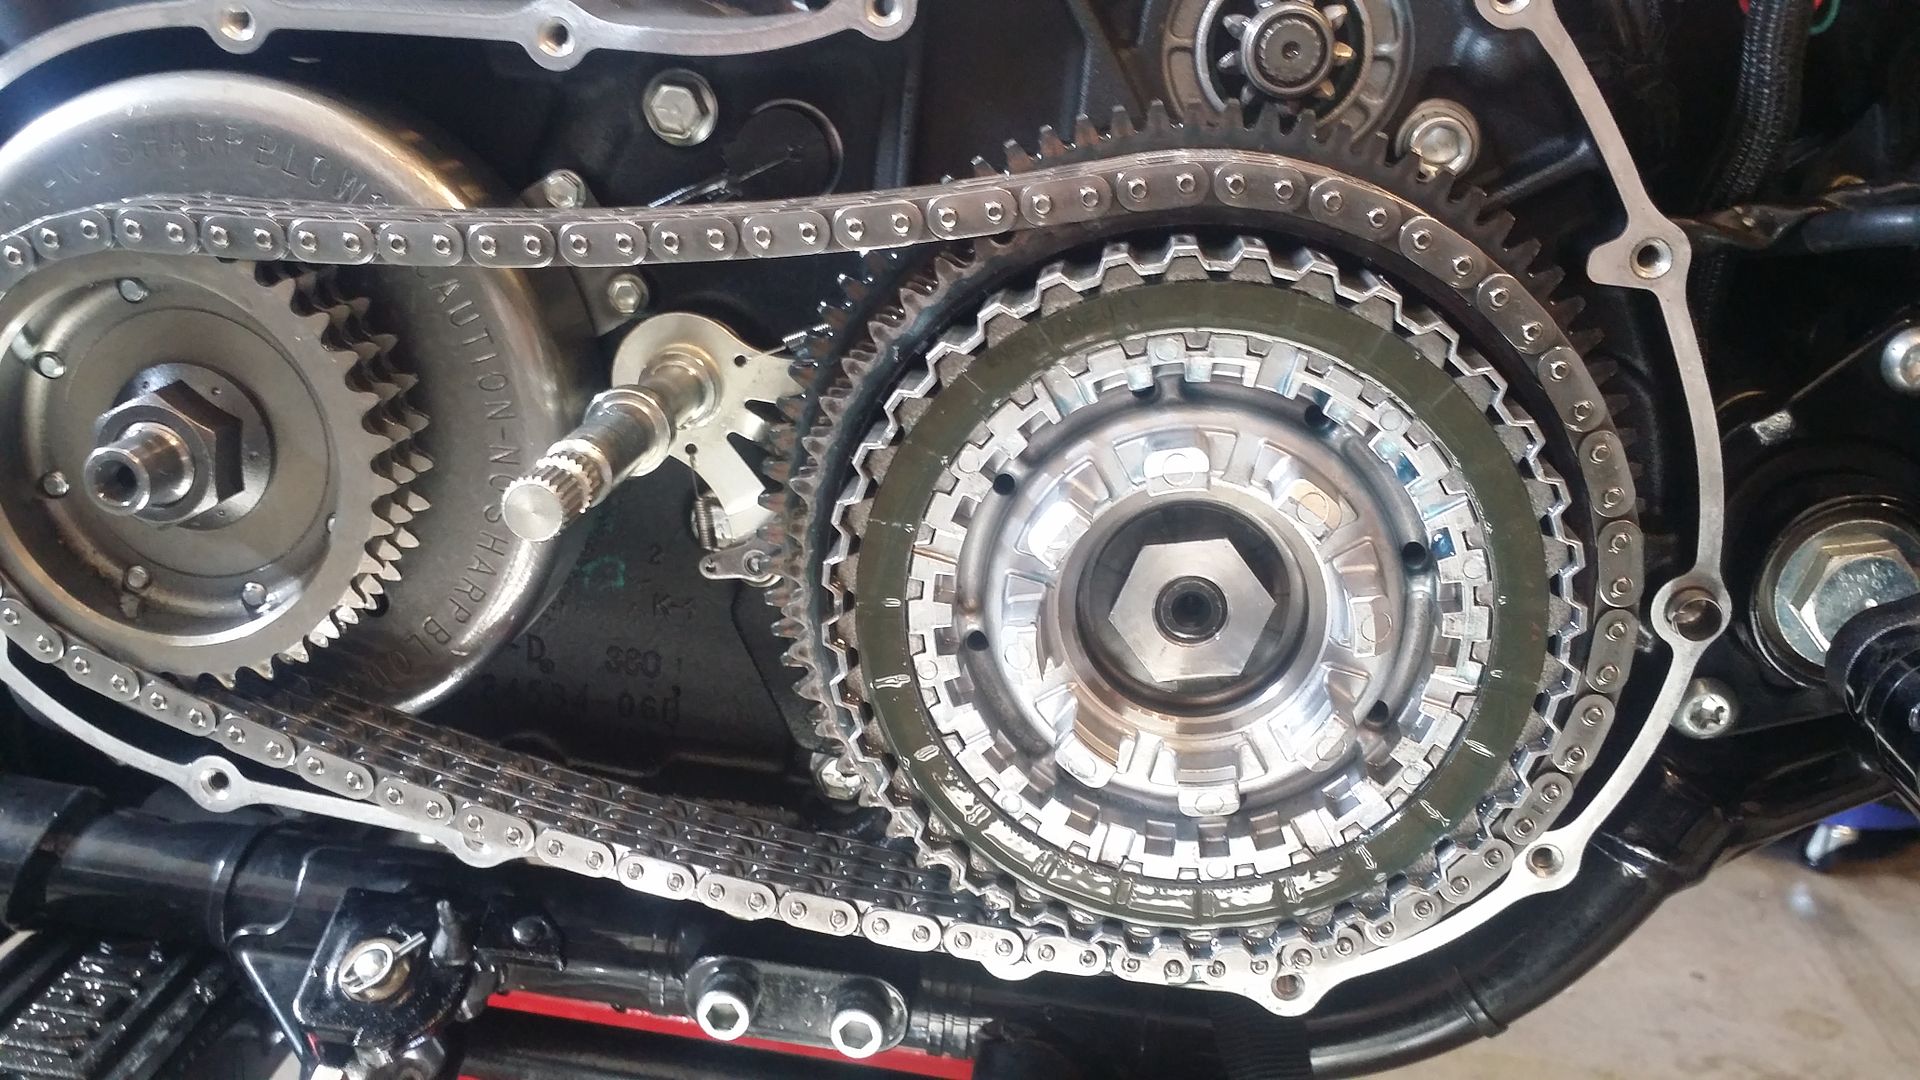
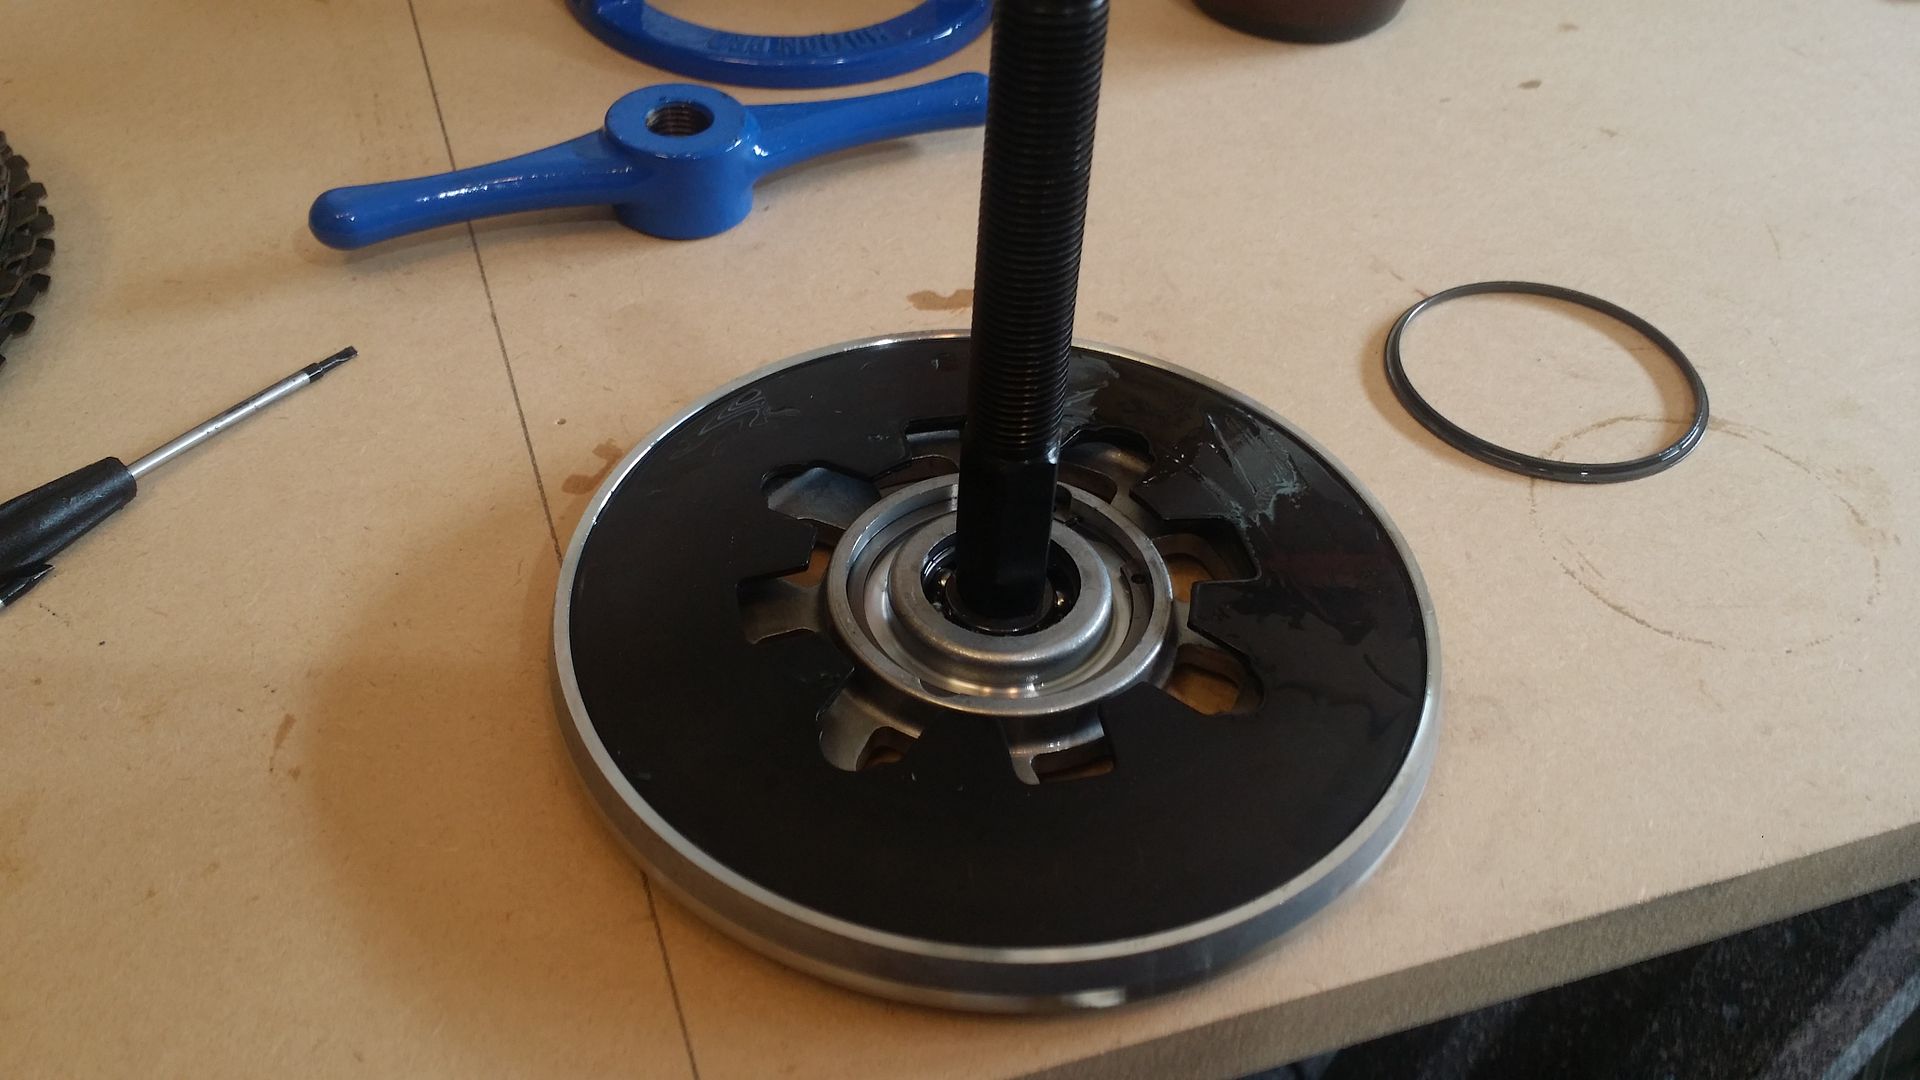
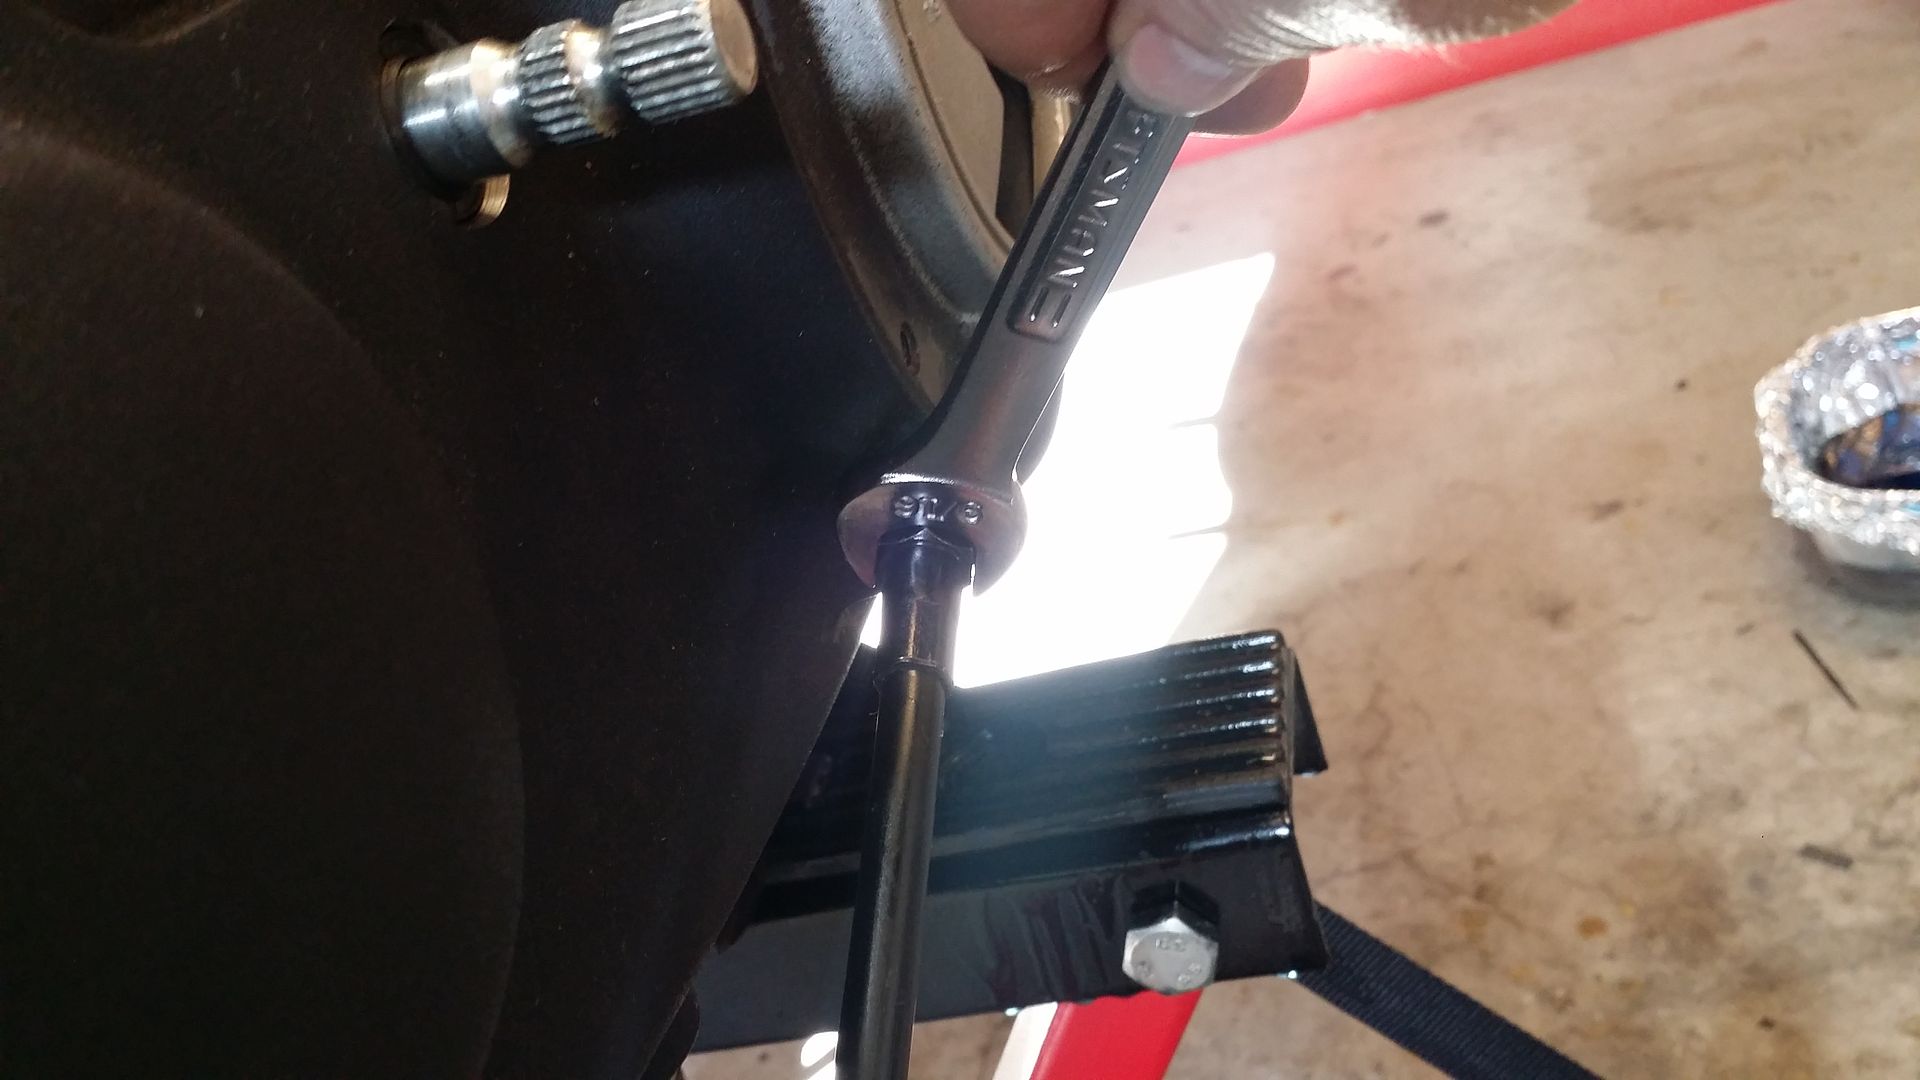
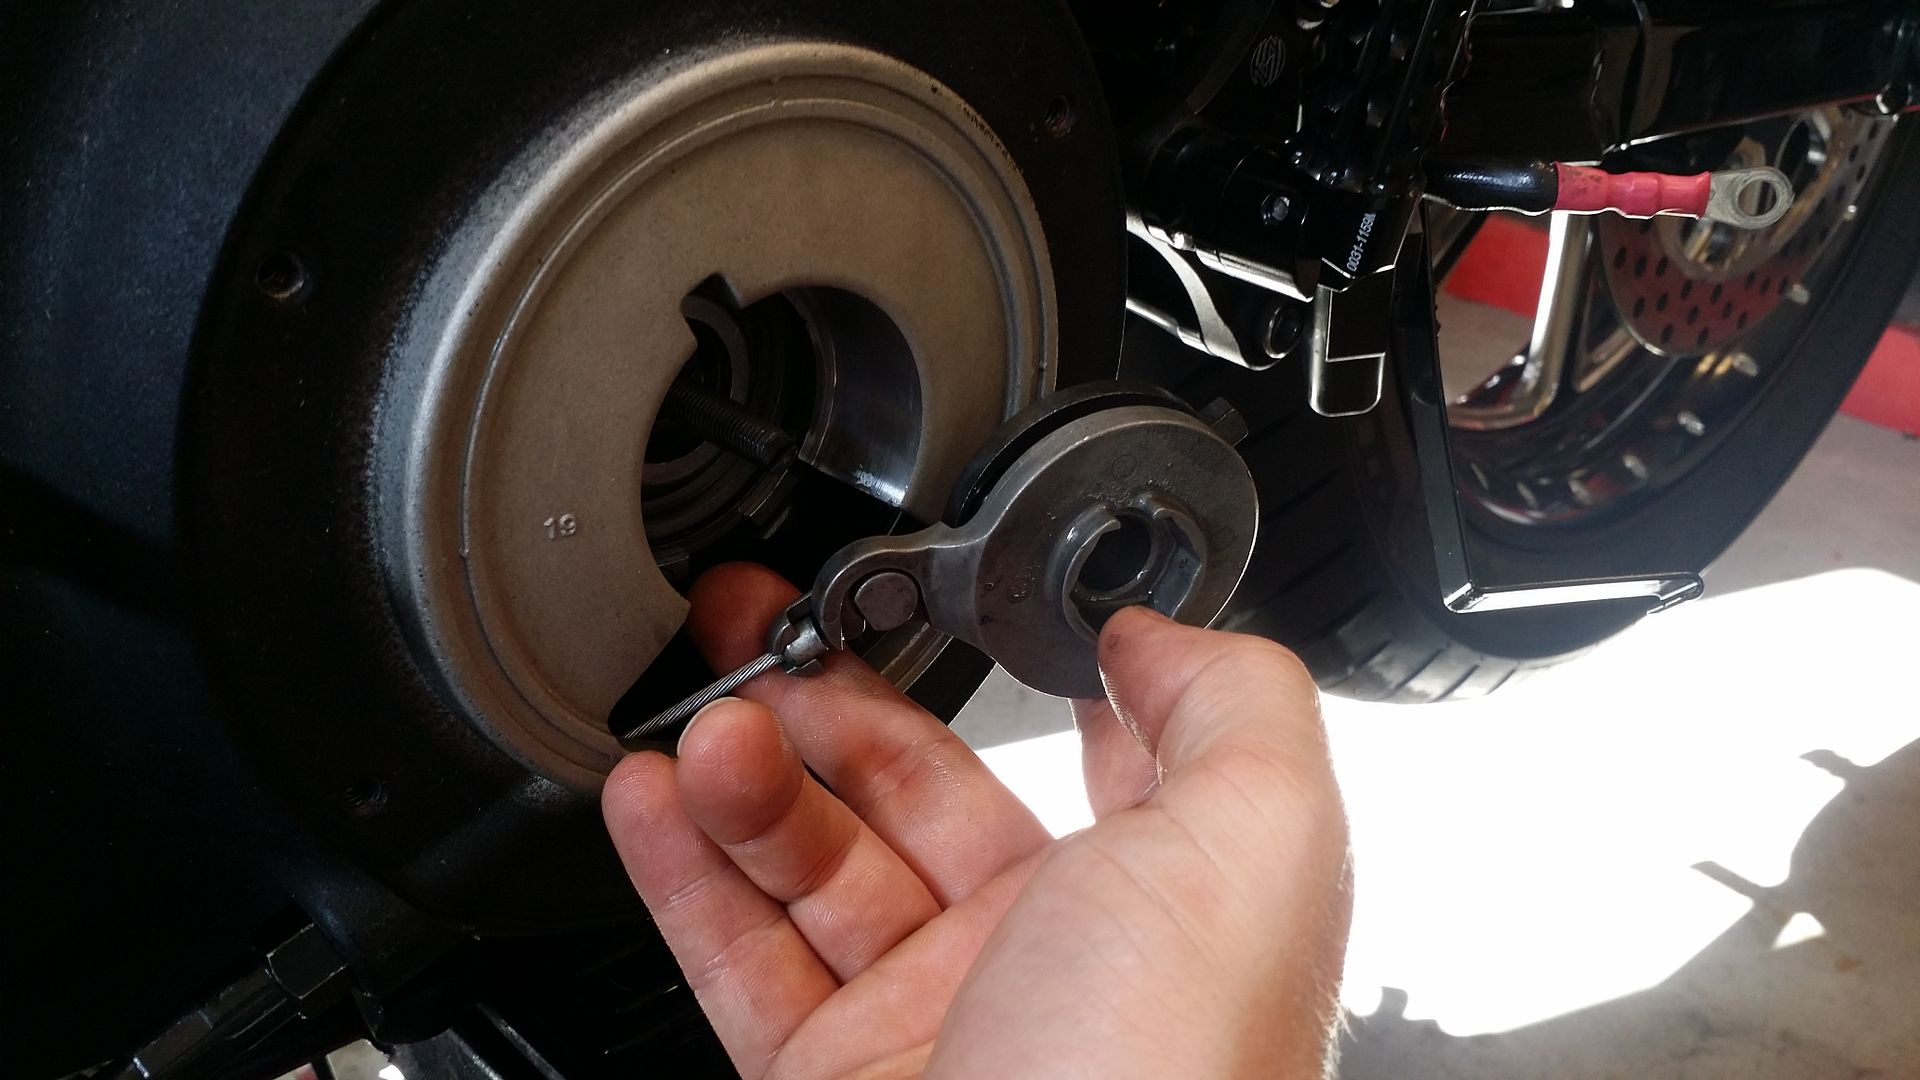
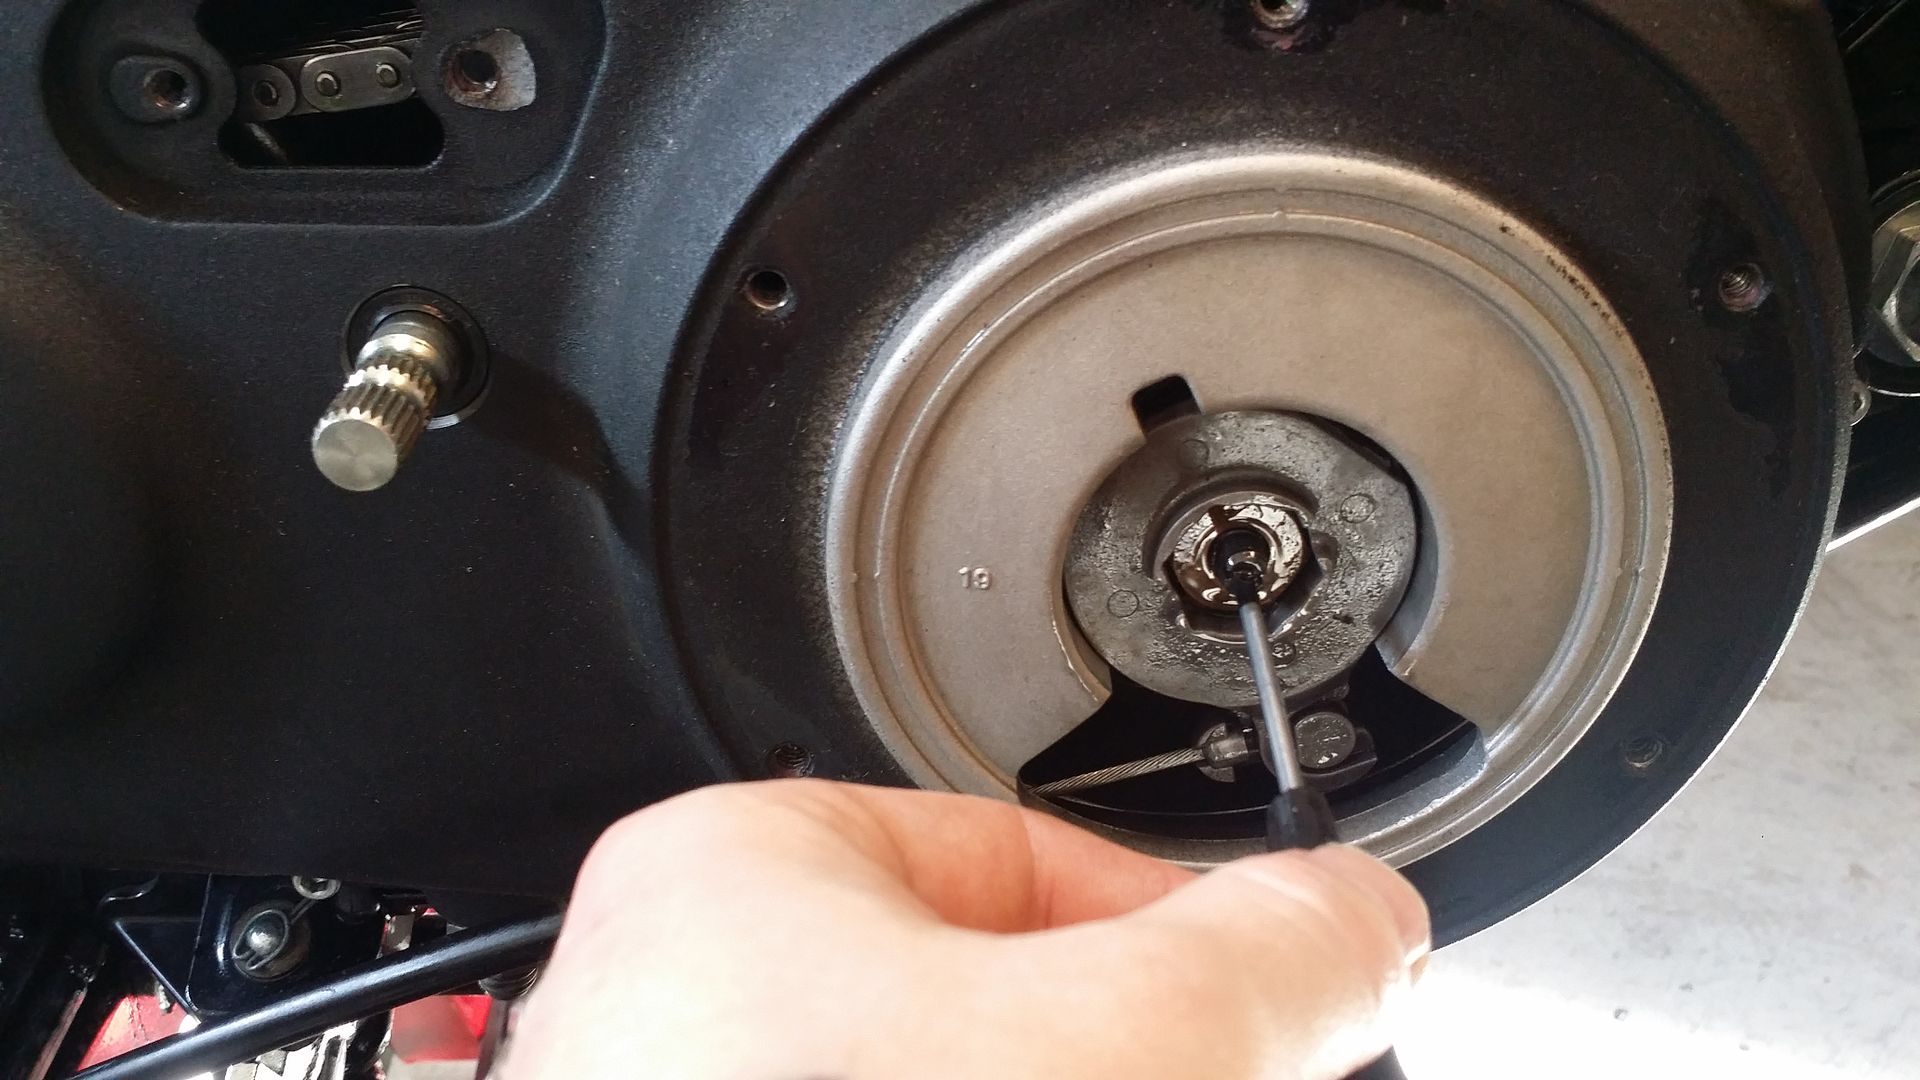
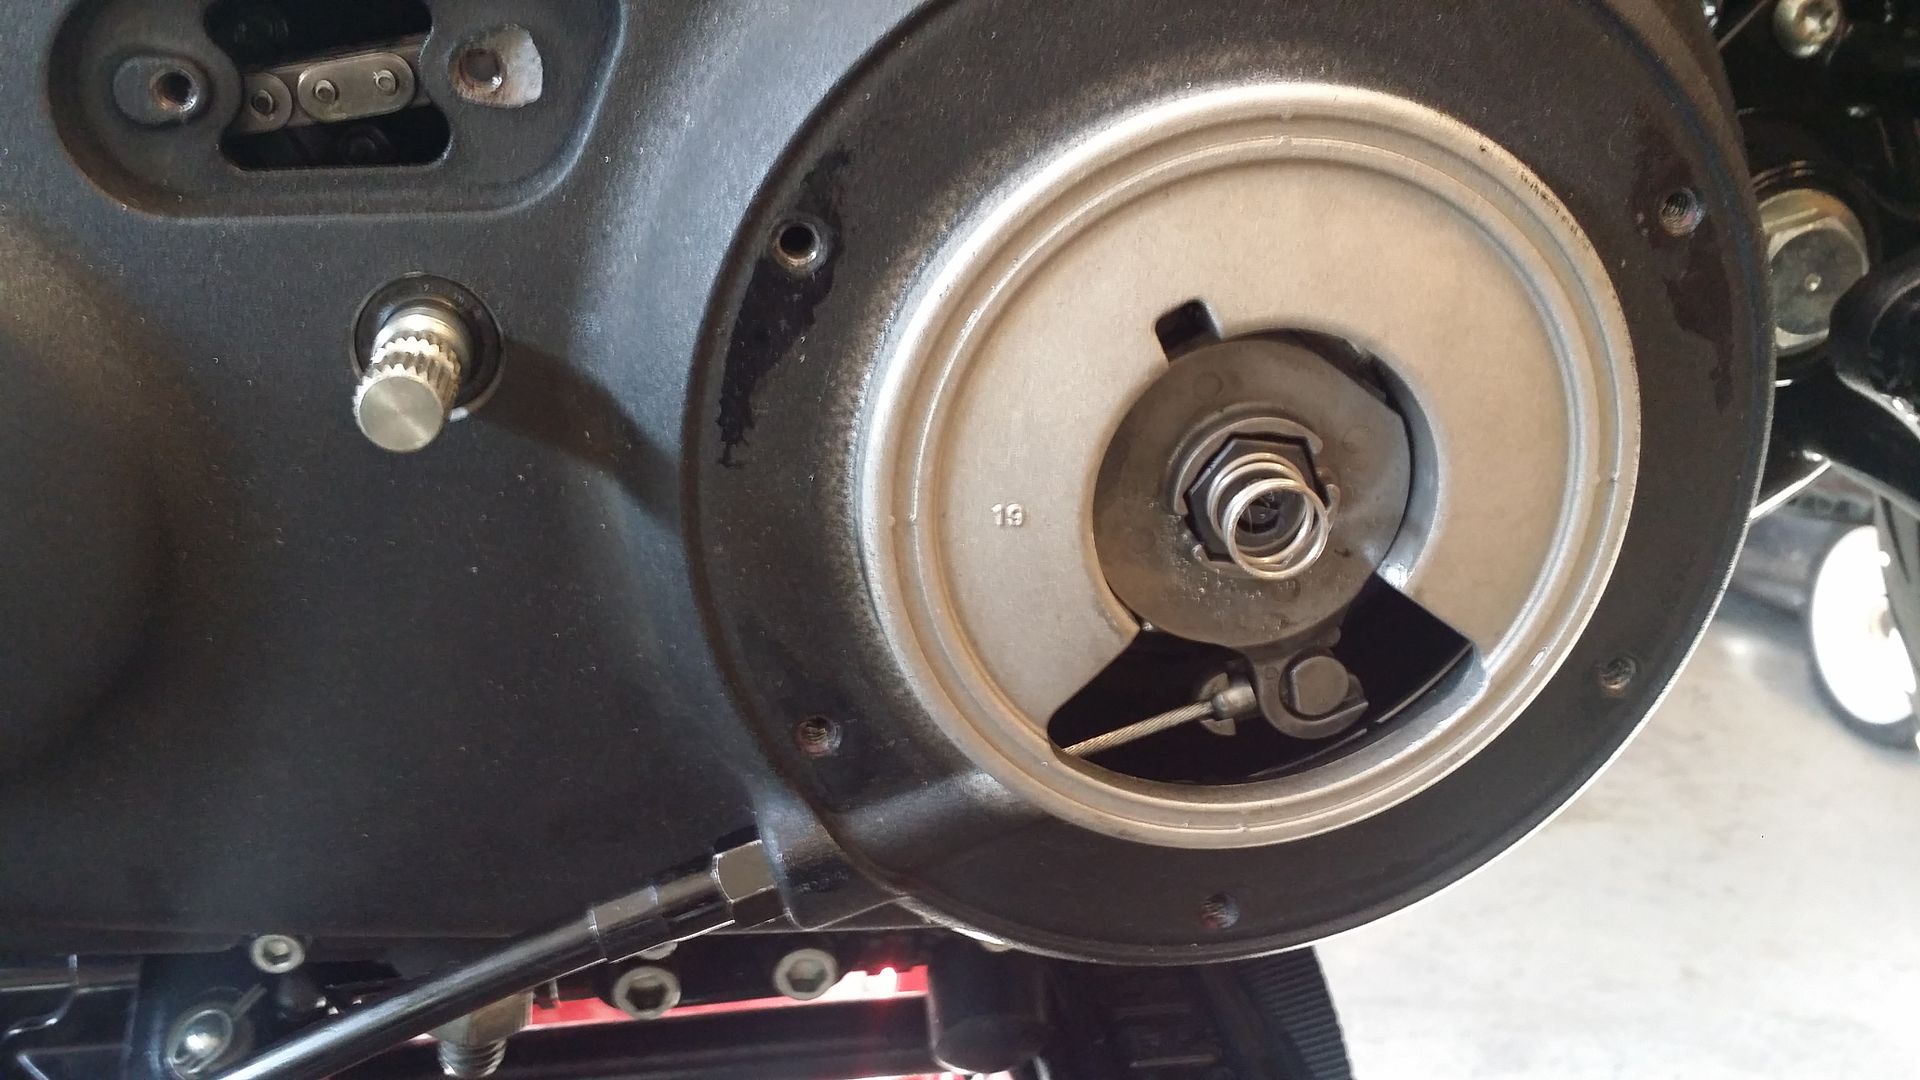
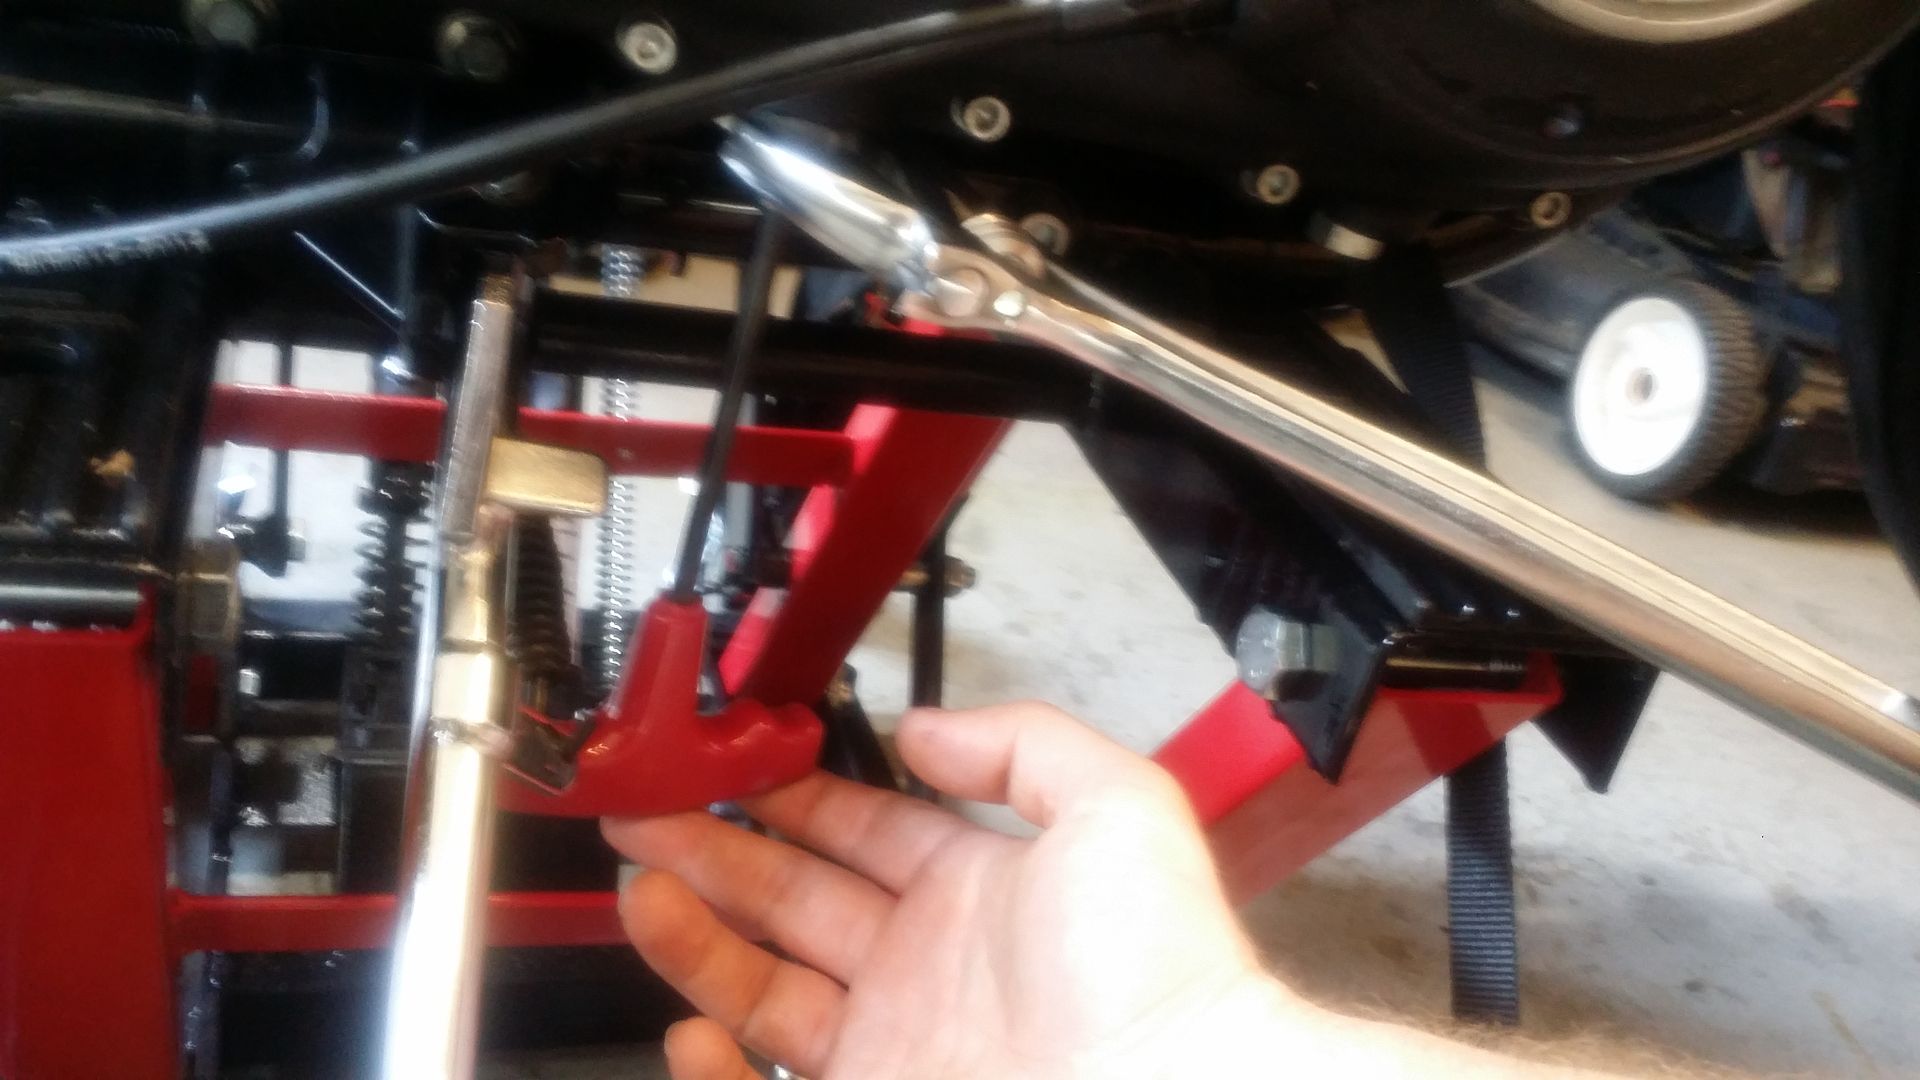
Next I used the Diaphram Compression Tool to compress the spring and remove the retaining ring in order to remove the clutch pack
As you can see I threaded the bolt on to the clutch stem and used a 9/16 wrench to hold in place while I turned the compression tool wheel putting pressure on the spring.
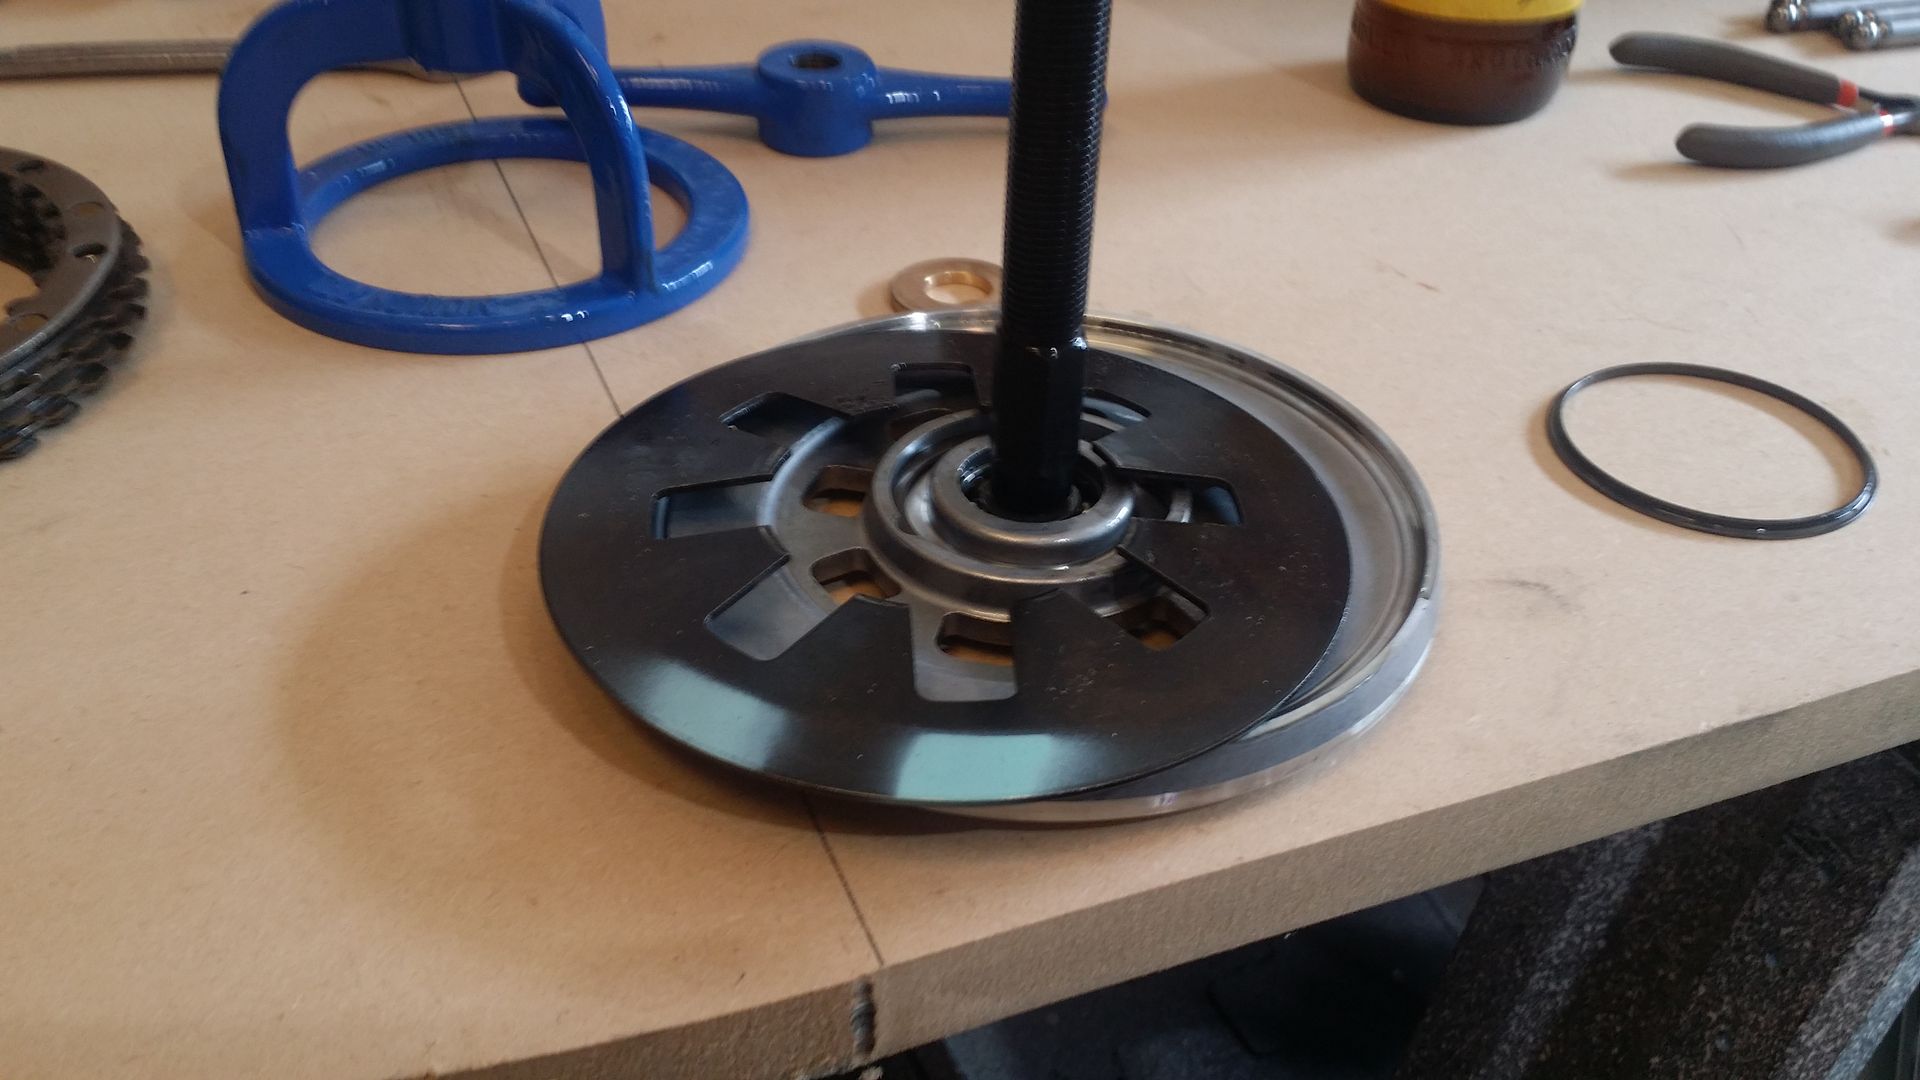
The clutch pack just came right out.
Next I removed the old diaphram spring to be replaced with the 15% stronger spring
I installed the new plates that were soaking into the clutch. Friction Plate - Steel
Plate and so on.
Installed new diaphram spring
Then buttoned it all up...fyi the retaining spring is a pain in the *** to get back in ...
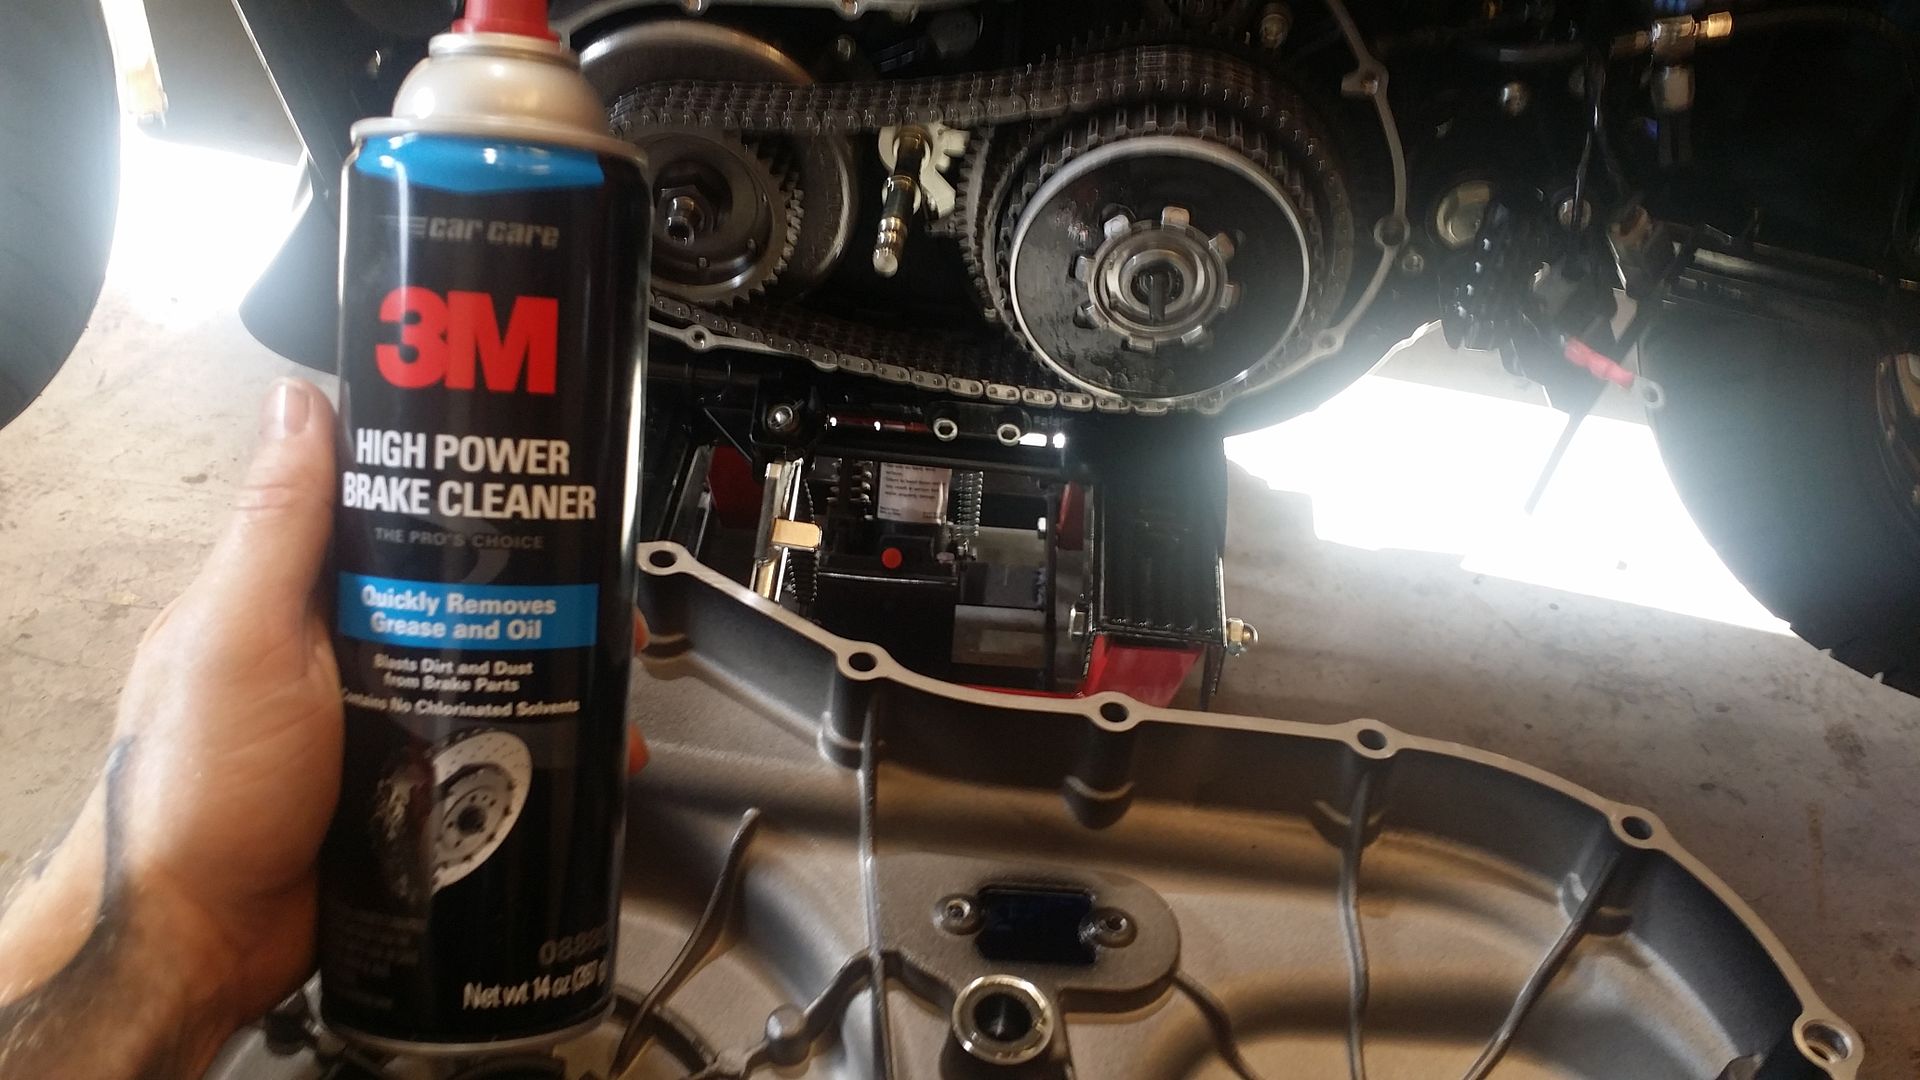
Used some brake cleaner to clean the primary gasket area.
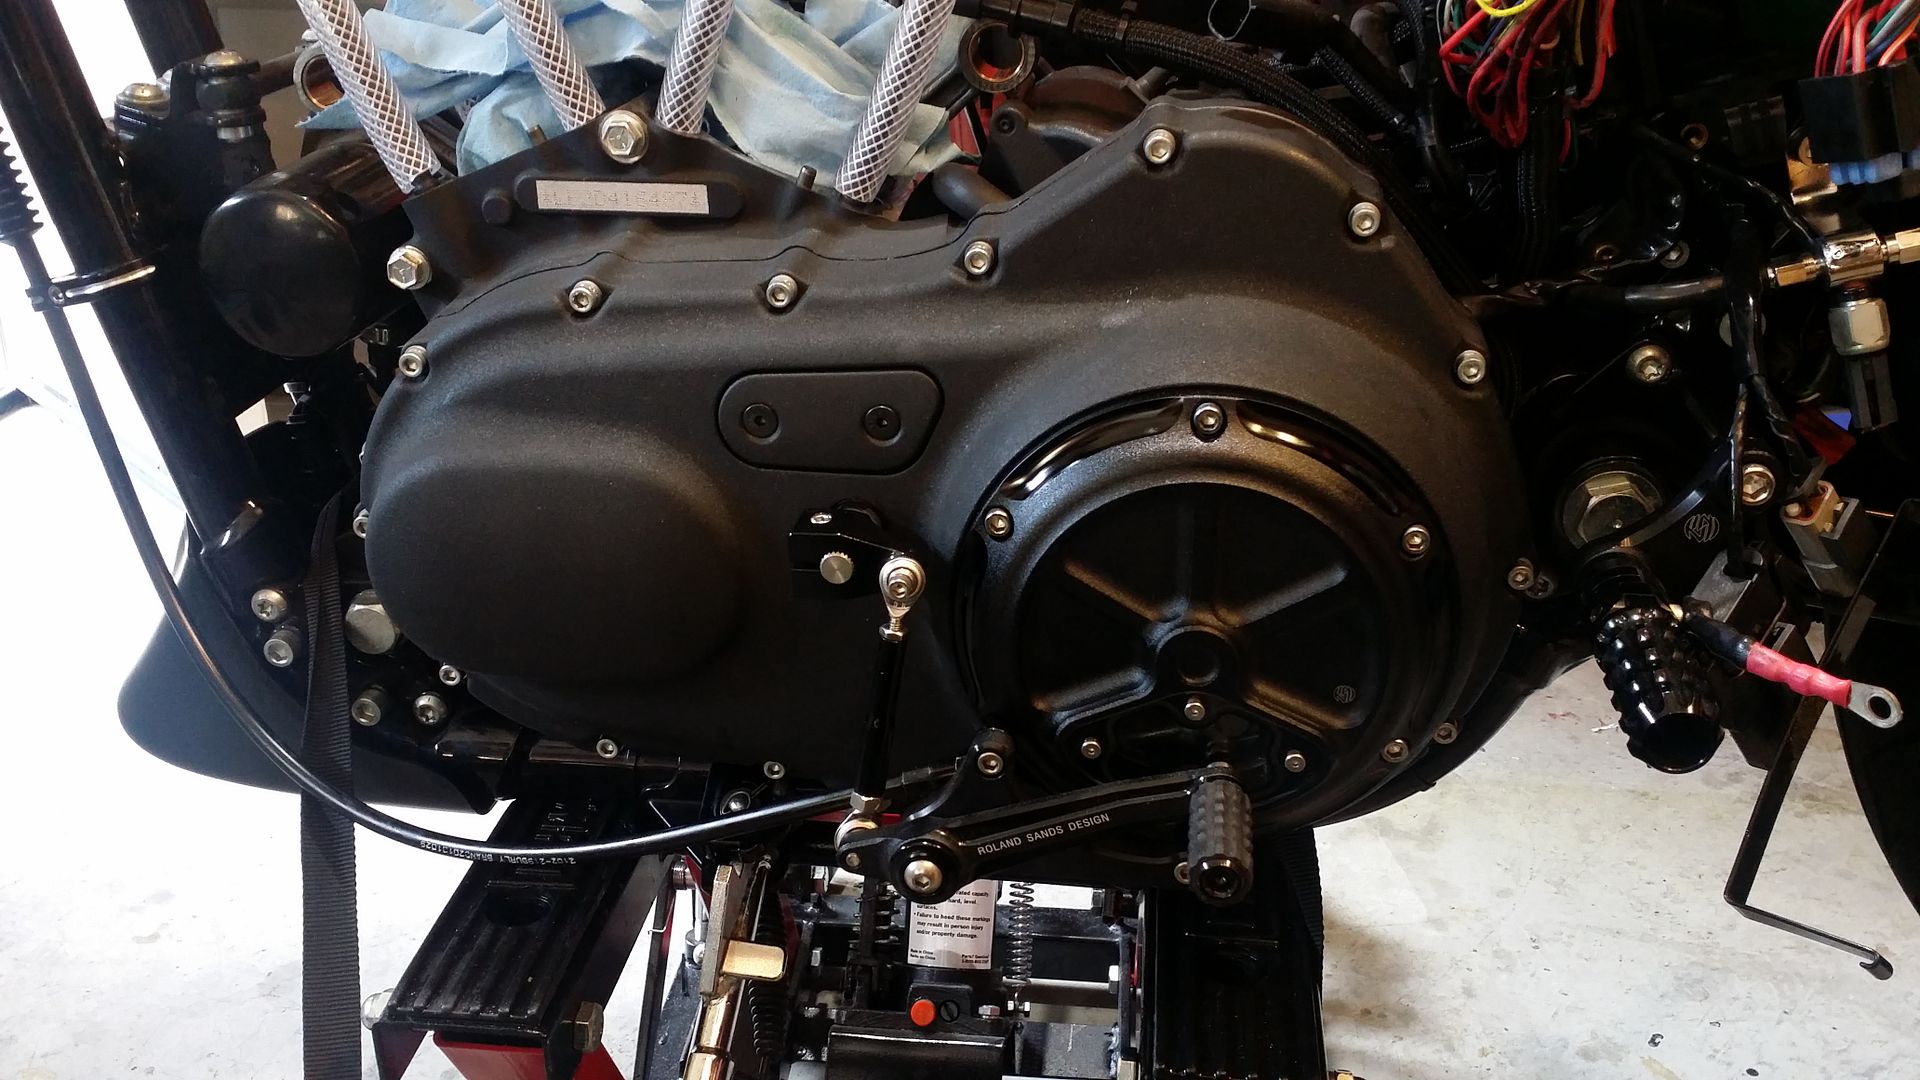
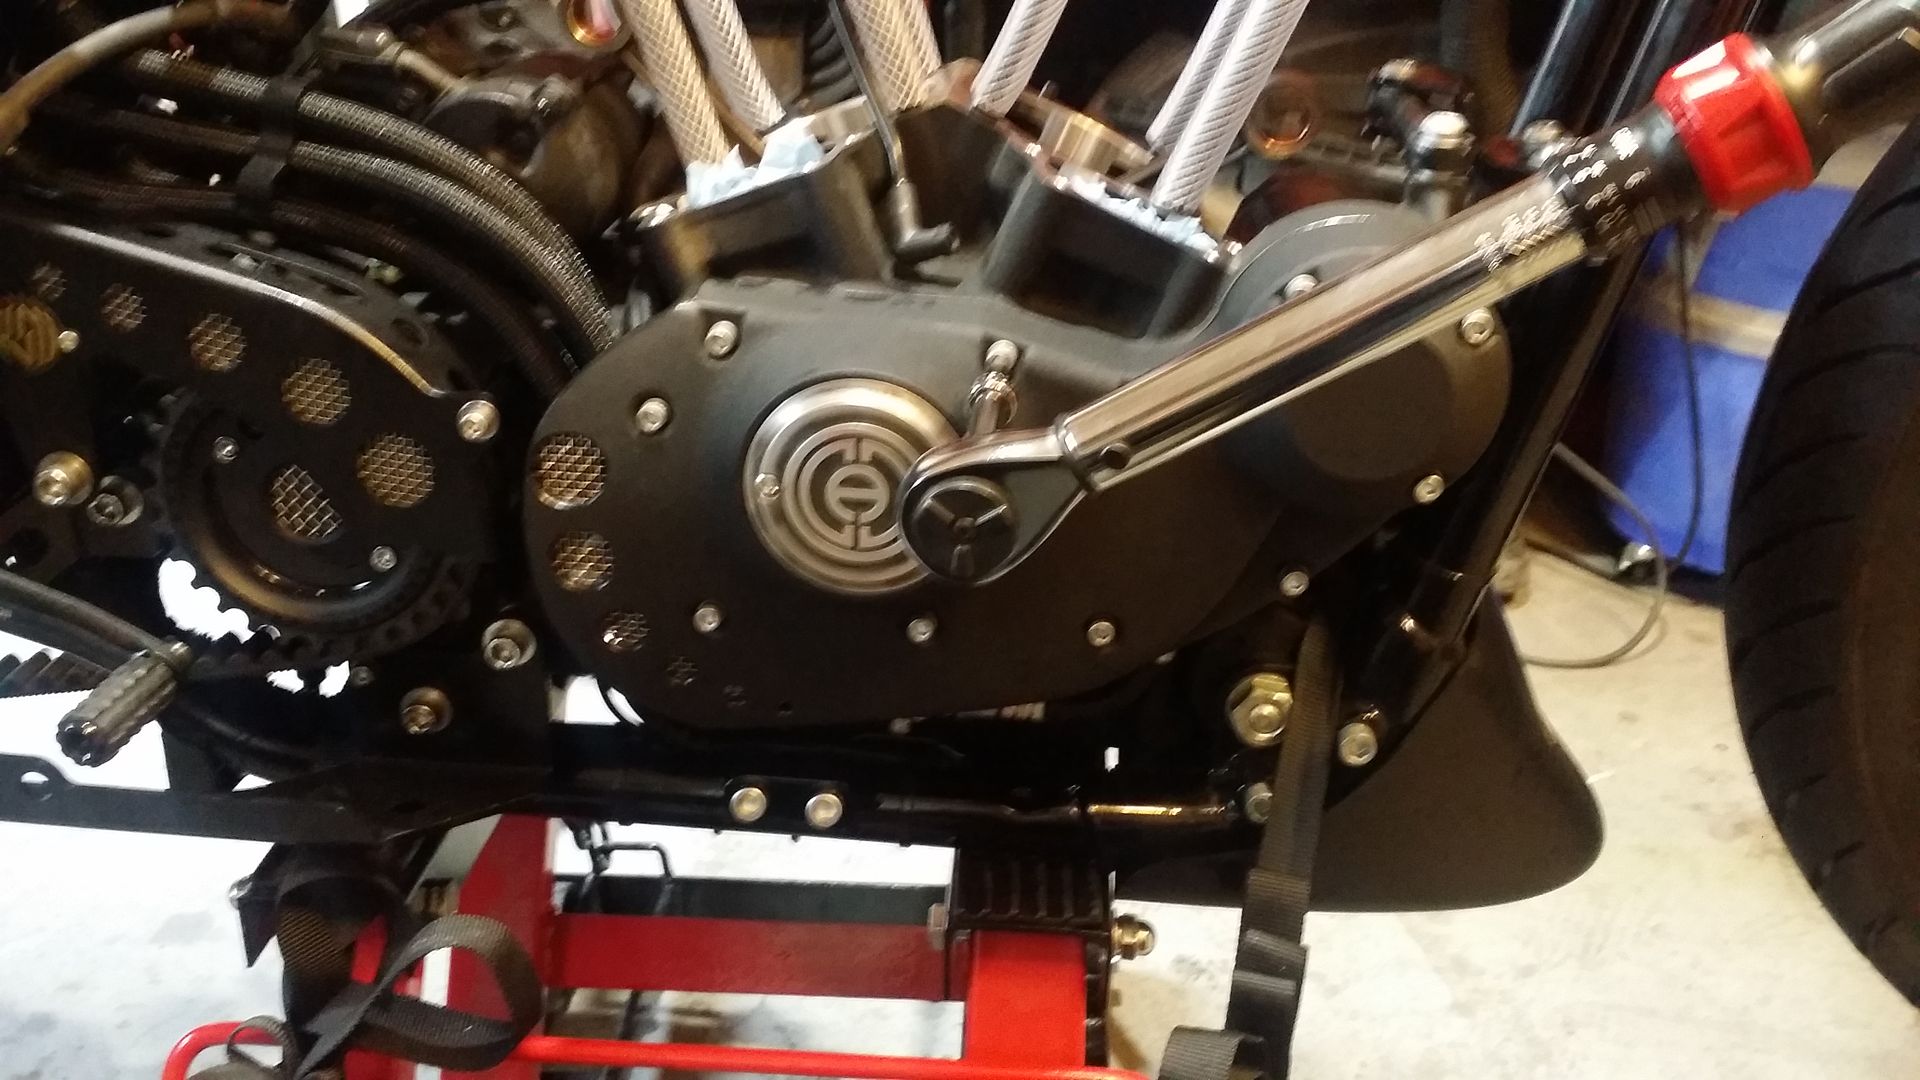
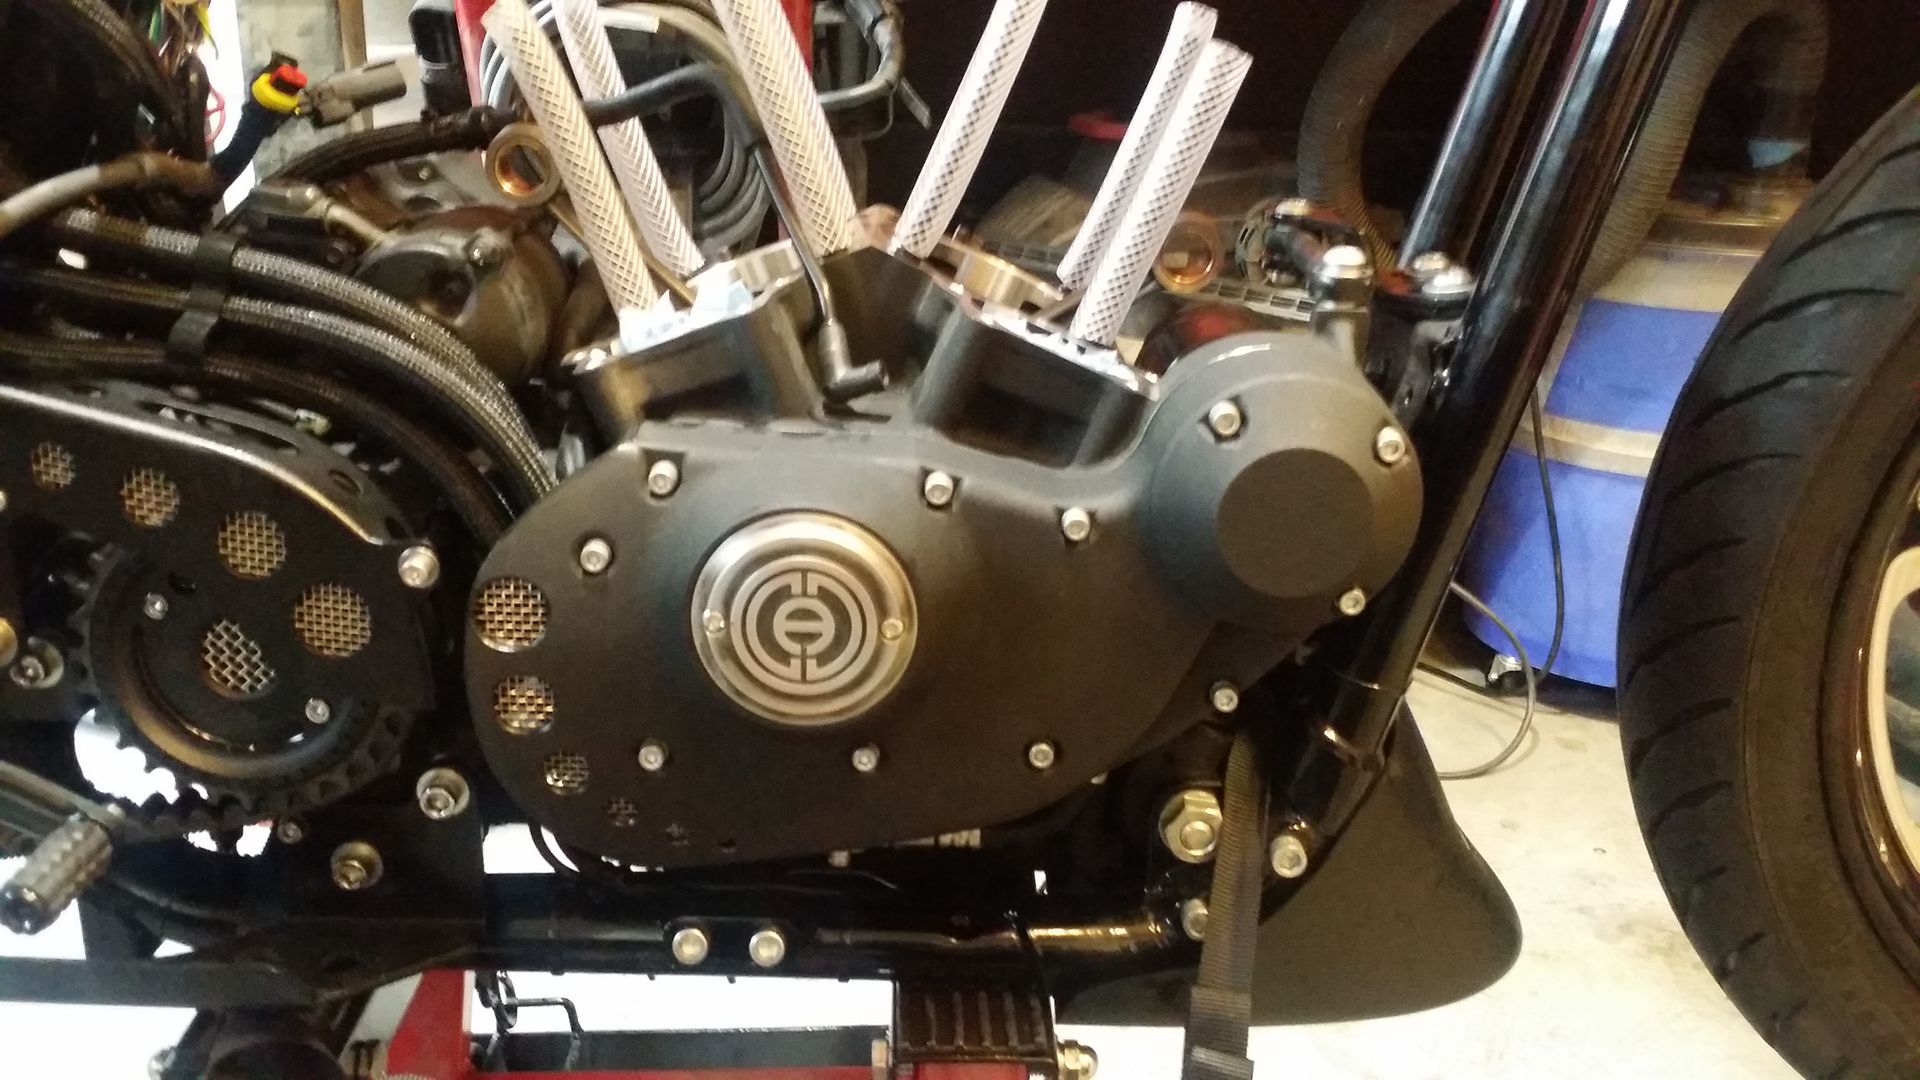
Carefully placed the primary cover back on the bike, watching to make sure the gasket seated properly.
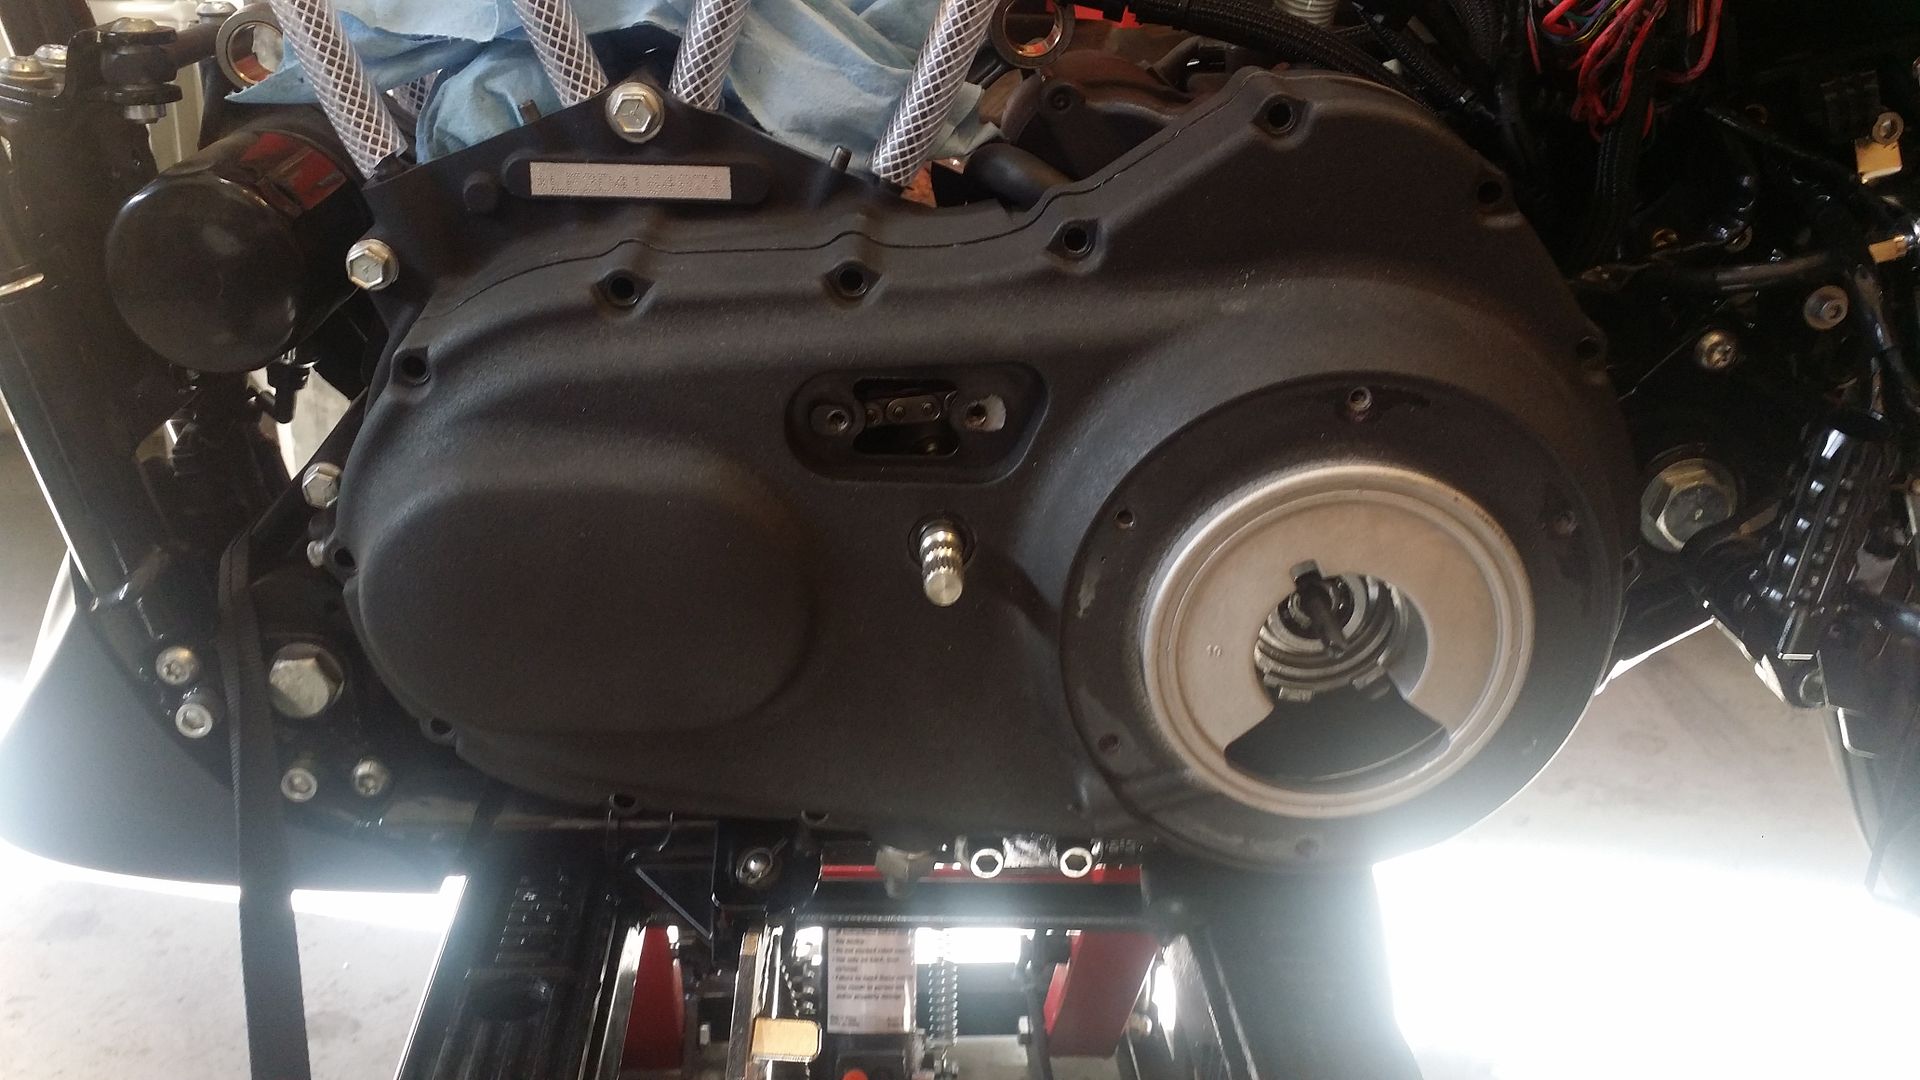
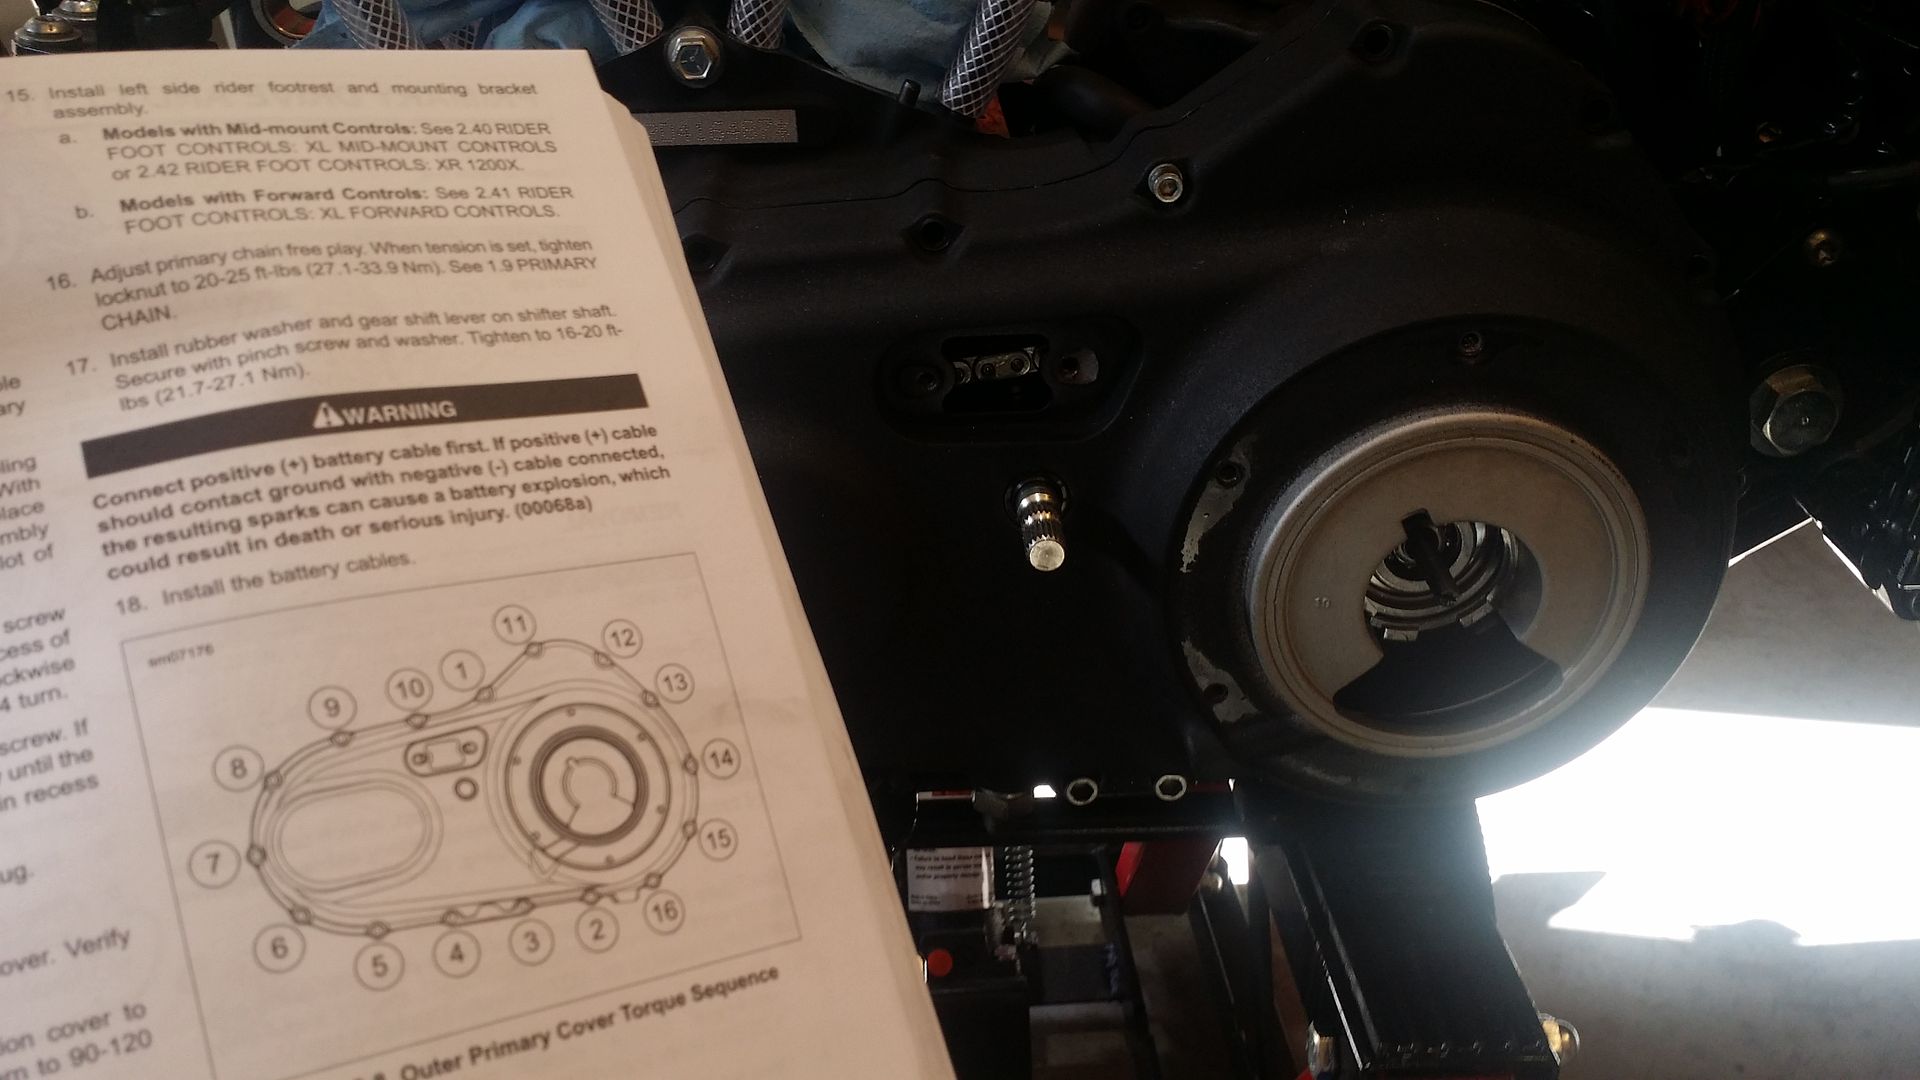
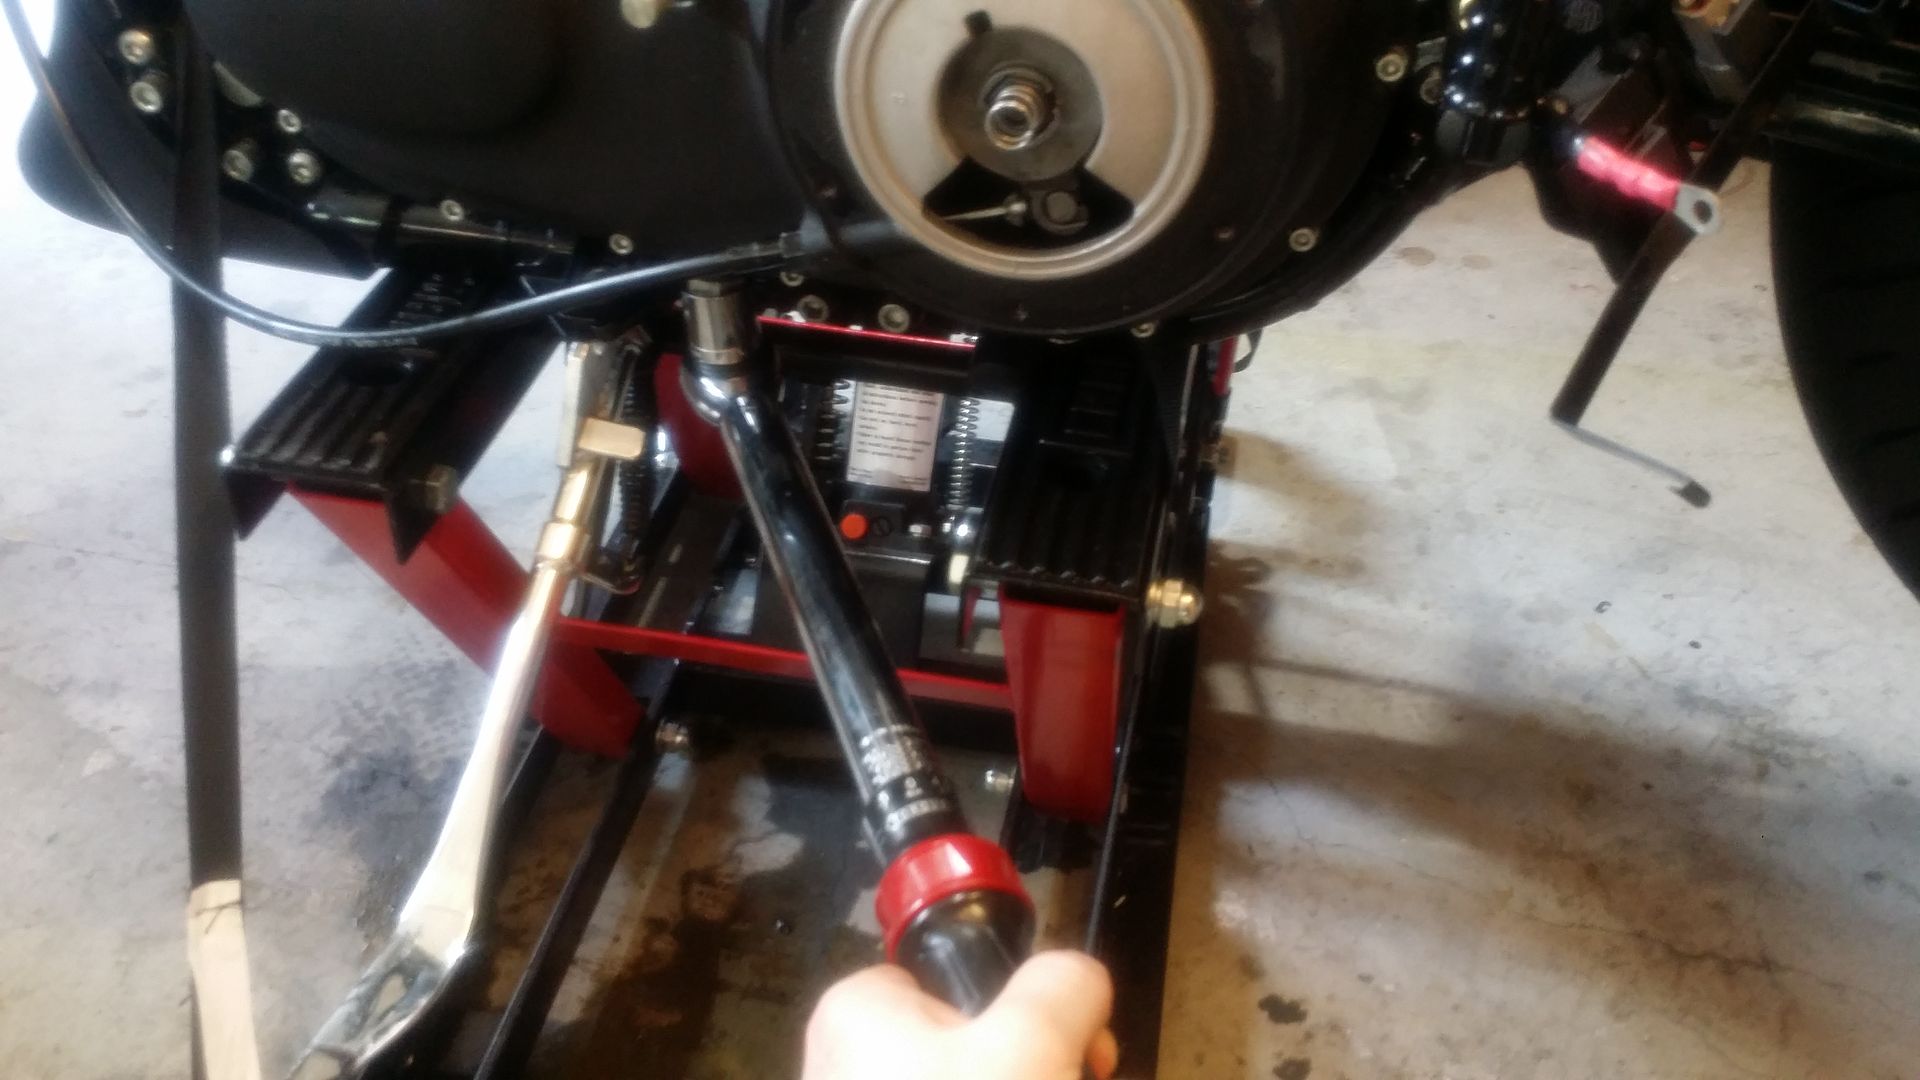
Installed all bolts and torqued as directed by the service manual and used blue locktite.

Cleaned and installed drain plug using blue locktite and a 5/8 in wrench
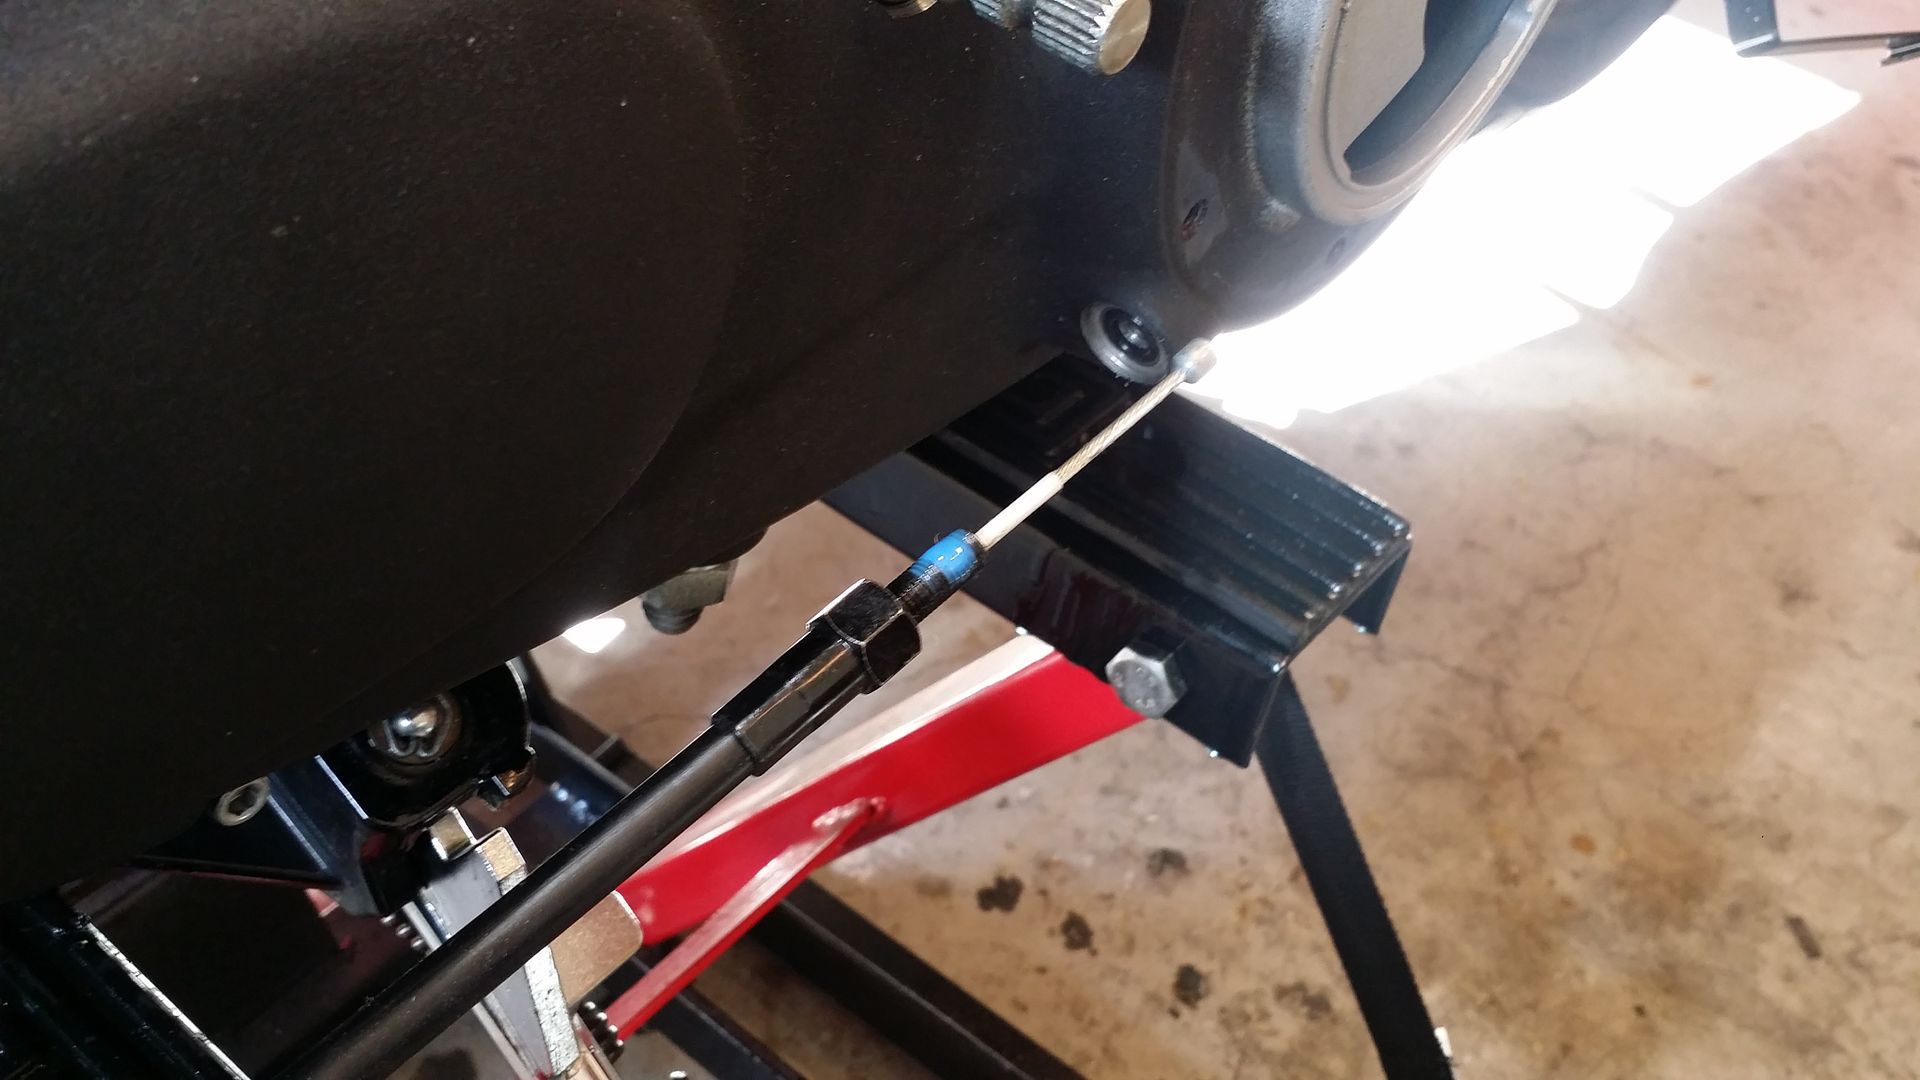
Reinstalled the clutch cable. I also used blue locktite and checked the o ring. Tightened down with a 9/16 in wrench.
Reinstalled the clutch ramp assembly
Next I did a clutch adjustment and clutch cable adjustment as per HD Service Manual
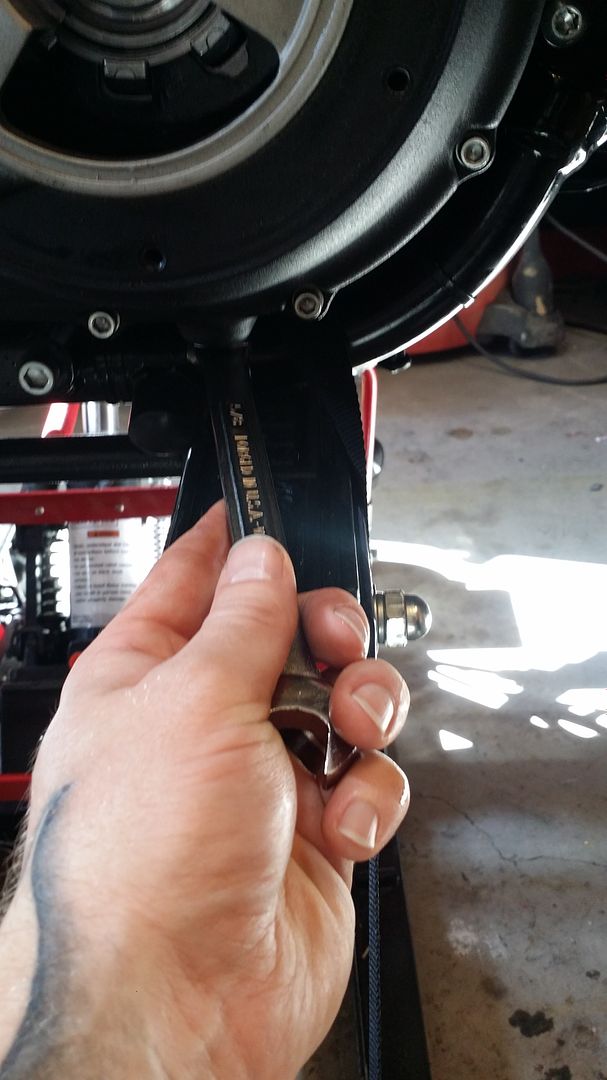
Next using a cresent wrench and a 6mm hex t-handle I did a primary chain adjustment as per the service manual. Then torqued down the locking nut using a 7/8 in socket to 25 ft lb.
First I soaked all the plates it B&M Non-Synthetic Trick Shift ATF as per instructions from Energy One.

Next I used the Diaphram Compression Tool to compress the spring and remove the retaining ring in order to remove the clutch pack
As you can see I threaded the bolt on to the clutch stem and used a 9/16 wrench to hold in place while I turned the compression tool wheel putting pressure on the spring.

The clutch pack just came right out.

Next I removed the old diaphram spring to be replaced with the 15% stronger spring

I installed the new plates that were soaking into the clutch. Friction Plate - Steel
Plate and so on.


Installed new diaphram spring

Then buttoned it all up...fyi the retaining spring is a pain in the *** to get back in ...

Used some brake cleaner to clean the primary gasket area.

Carefully placed the primary cover back on the bike, watching to make sure the gasket seated properly.

Installed all bolts and torqued as directed by the service manual and used blue locktite.


Cleaned and installed drain plug using blue locktite and a 5/8 in wrench

Reinstalled the clutch cable. I also used blue locktite and checked the o ring. Tightened down with a 9/16 in wrench.


Reinstalled the clutch ramp assembly

Next I did a clutch adjustment and clutch cable adjustment as per HD Service Manual


Next using a cresent wrench and a 6mm hex t-handle I did a primary chain adjustment as per the service manual. Then torqued down the locking nut using a 7/8 in socket to 25 ft lb.


#64
01-28-2015, 04:59 PM
Next added the Trick Shift fluid to the level described in the manual which is just to the top of the bottom of the grooves on the plates
Reinstalled the derby cover and gasket and torqued down to 120 in lbs.
ALL DONE with the Primary side.
Now moving on to the Cam Side....More to come...

Reinstalled the derby cover and gasket and torqued down to 120 in lbs.

ALL DONE with the Primary side.
Now moving on to the Cam Side....More to come...
#65
01-28-2015, 07:06 PM
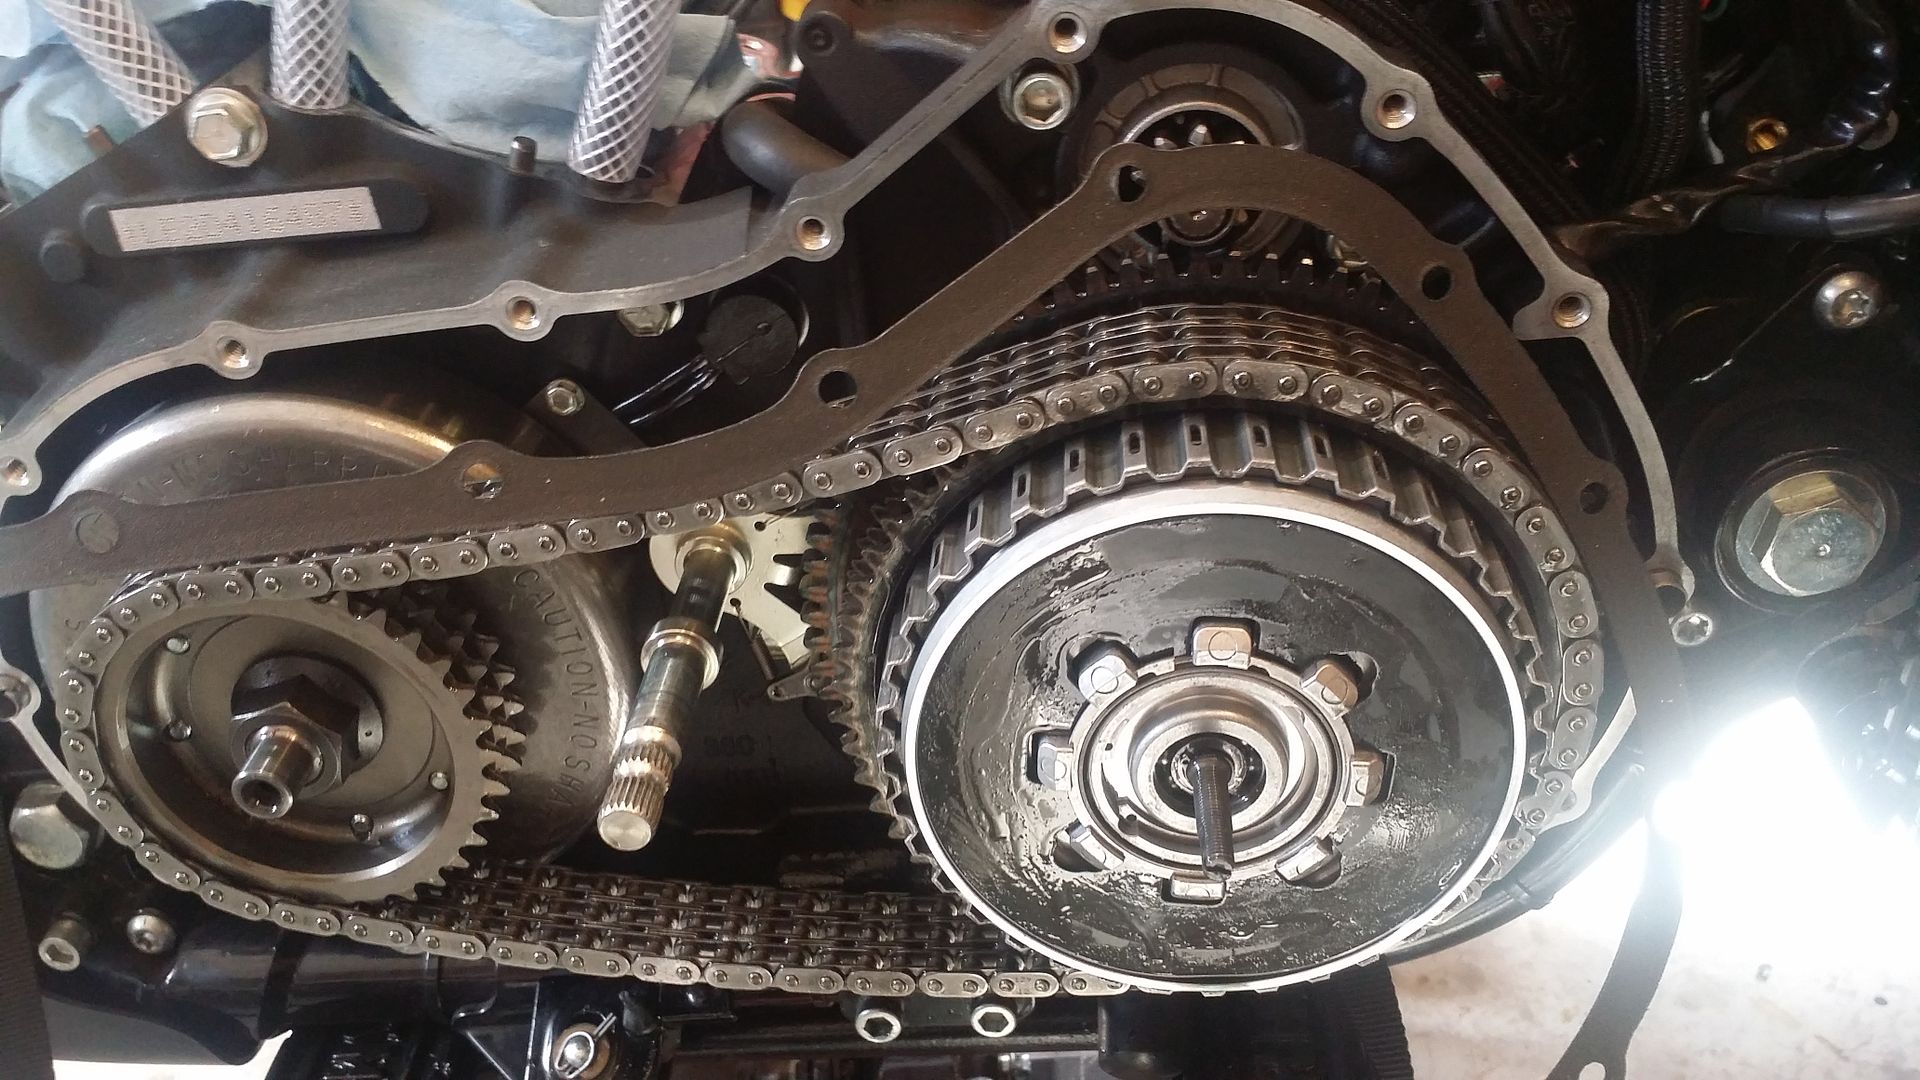
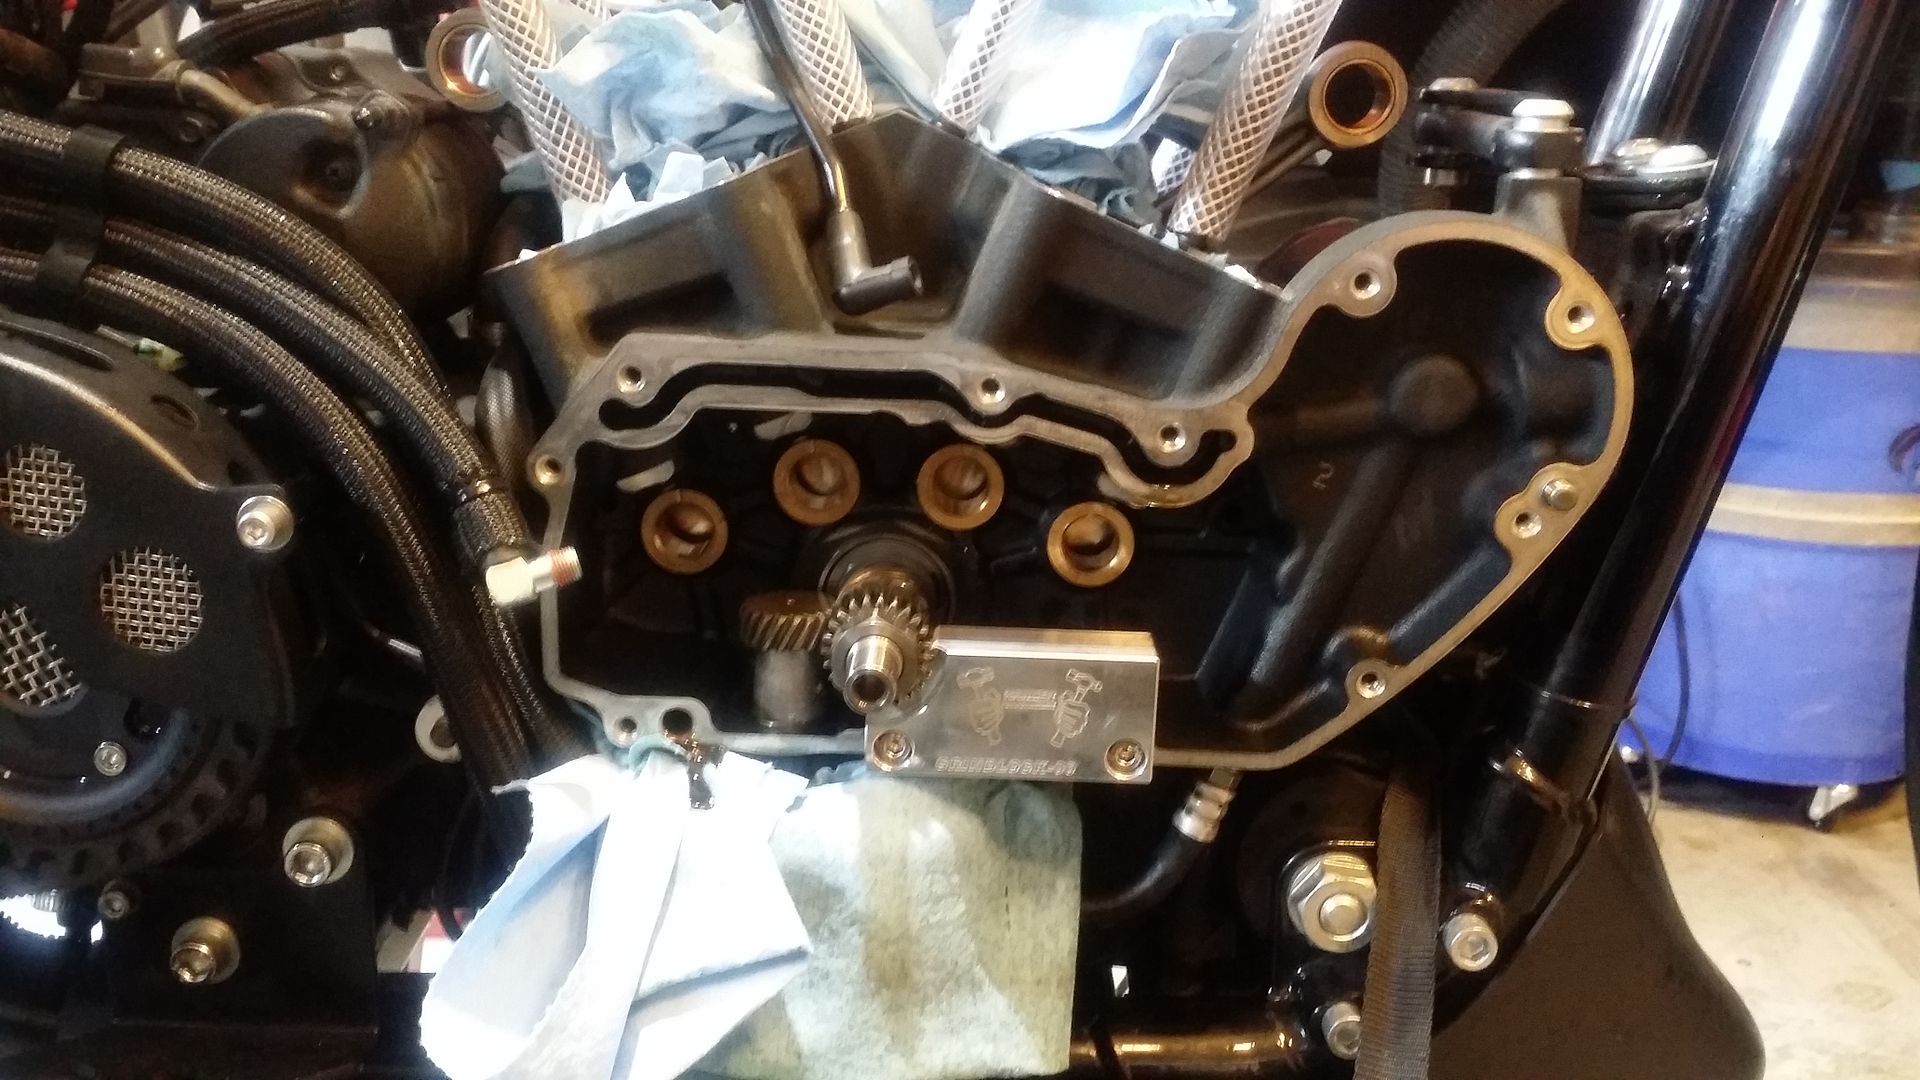
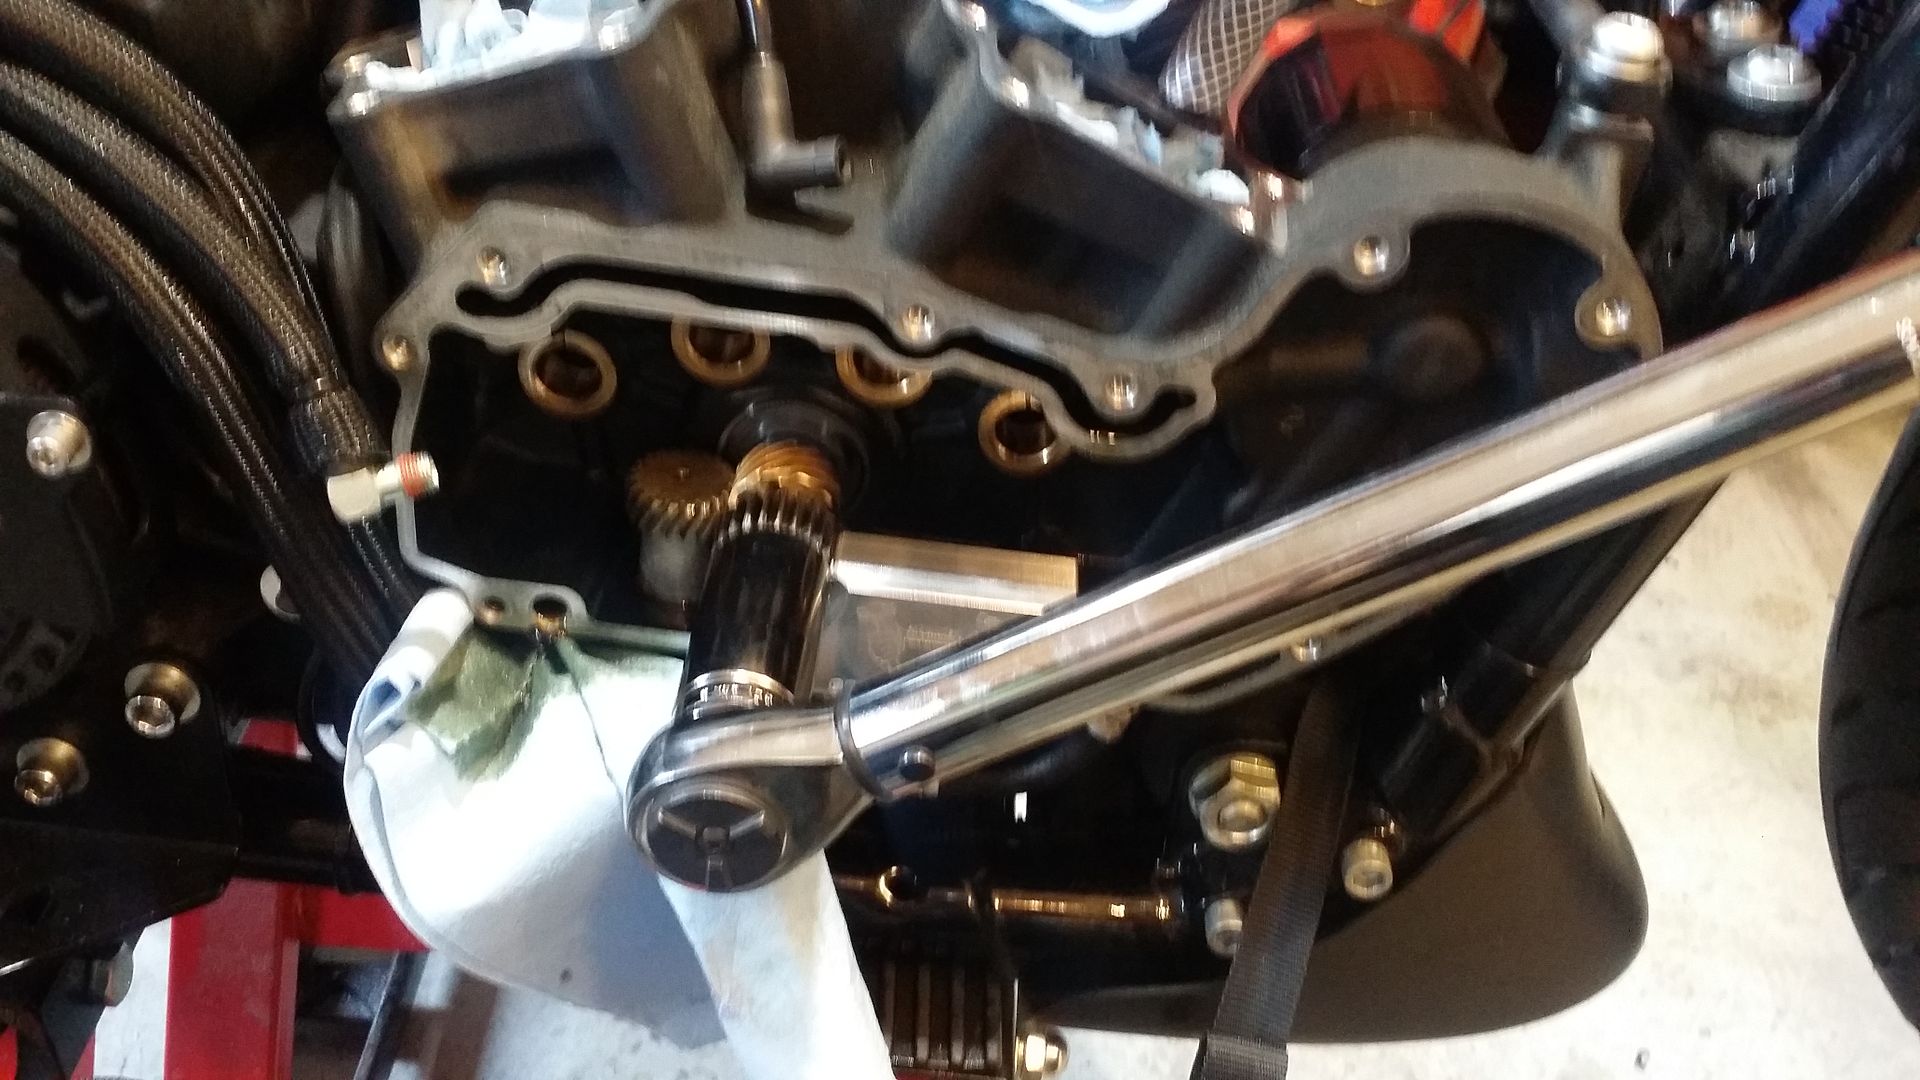
Started the cam side by removing pinion gear locking nut and pinion gear and oil pump gear.
I installed the Grindlock tool and used a 15/16 in deep well socket to remove the nut
Once the locking nut was off the pinion and oil pump gears simply slid off. Maybe I was lucky but I needed no tools for this.
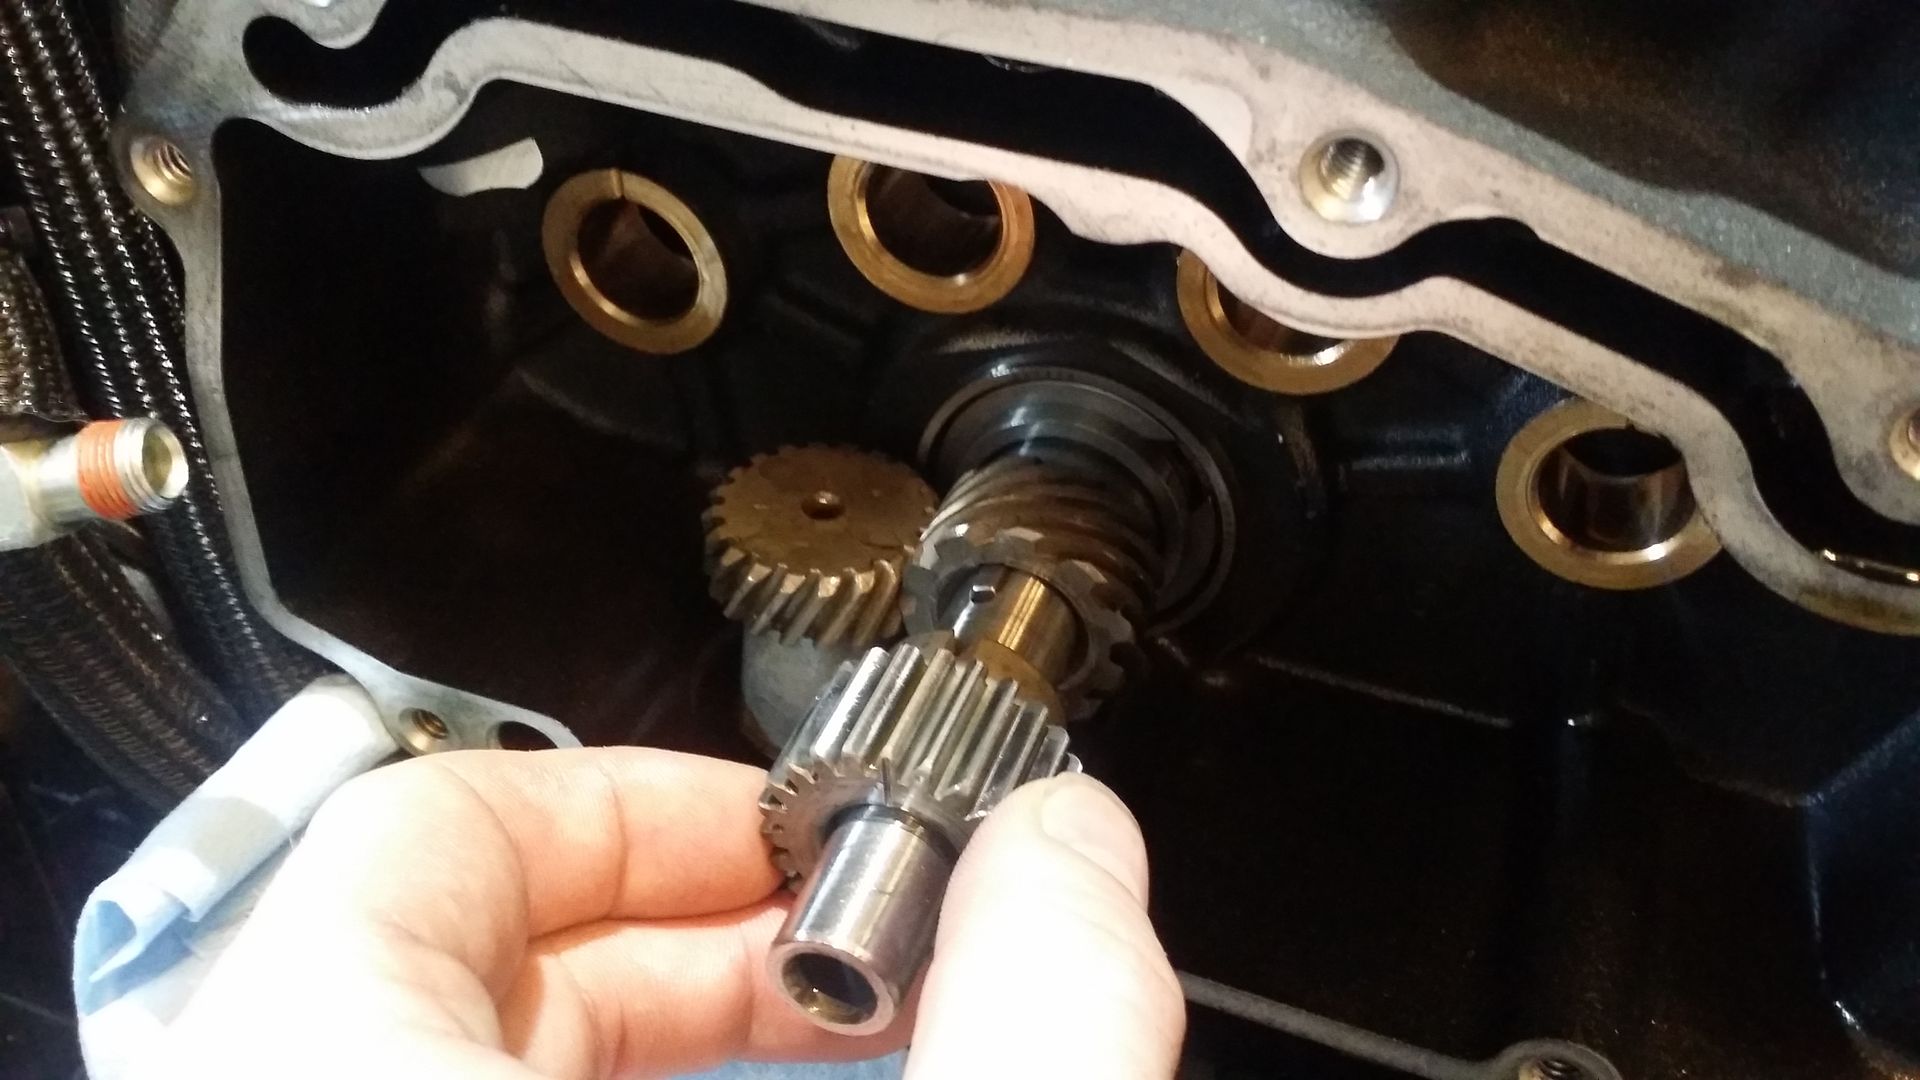
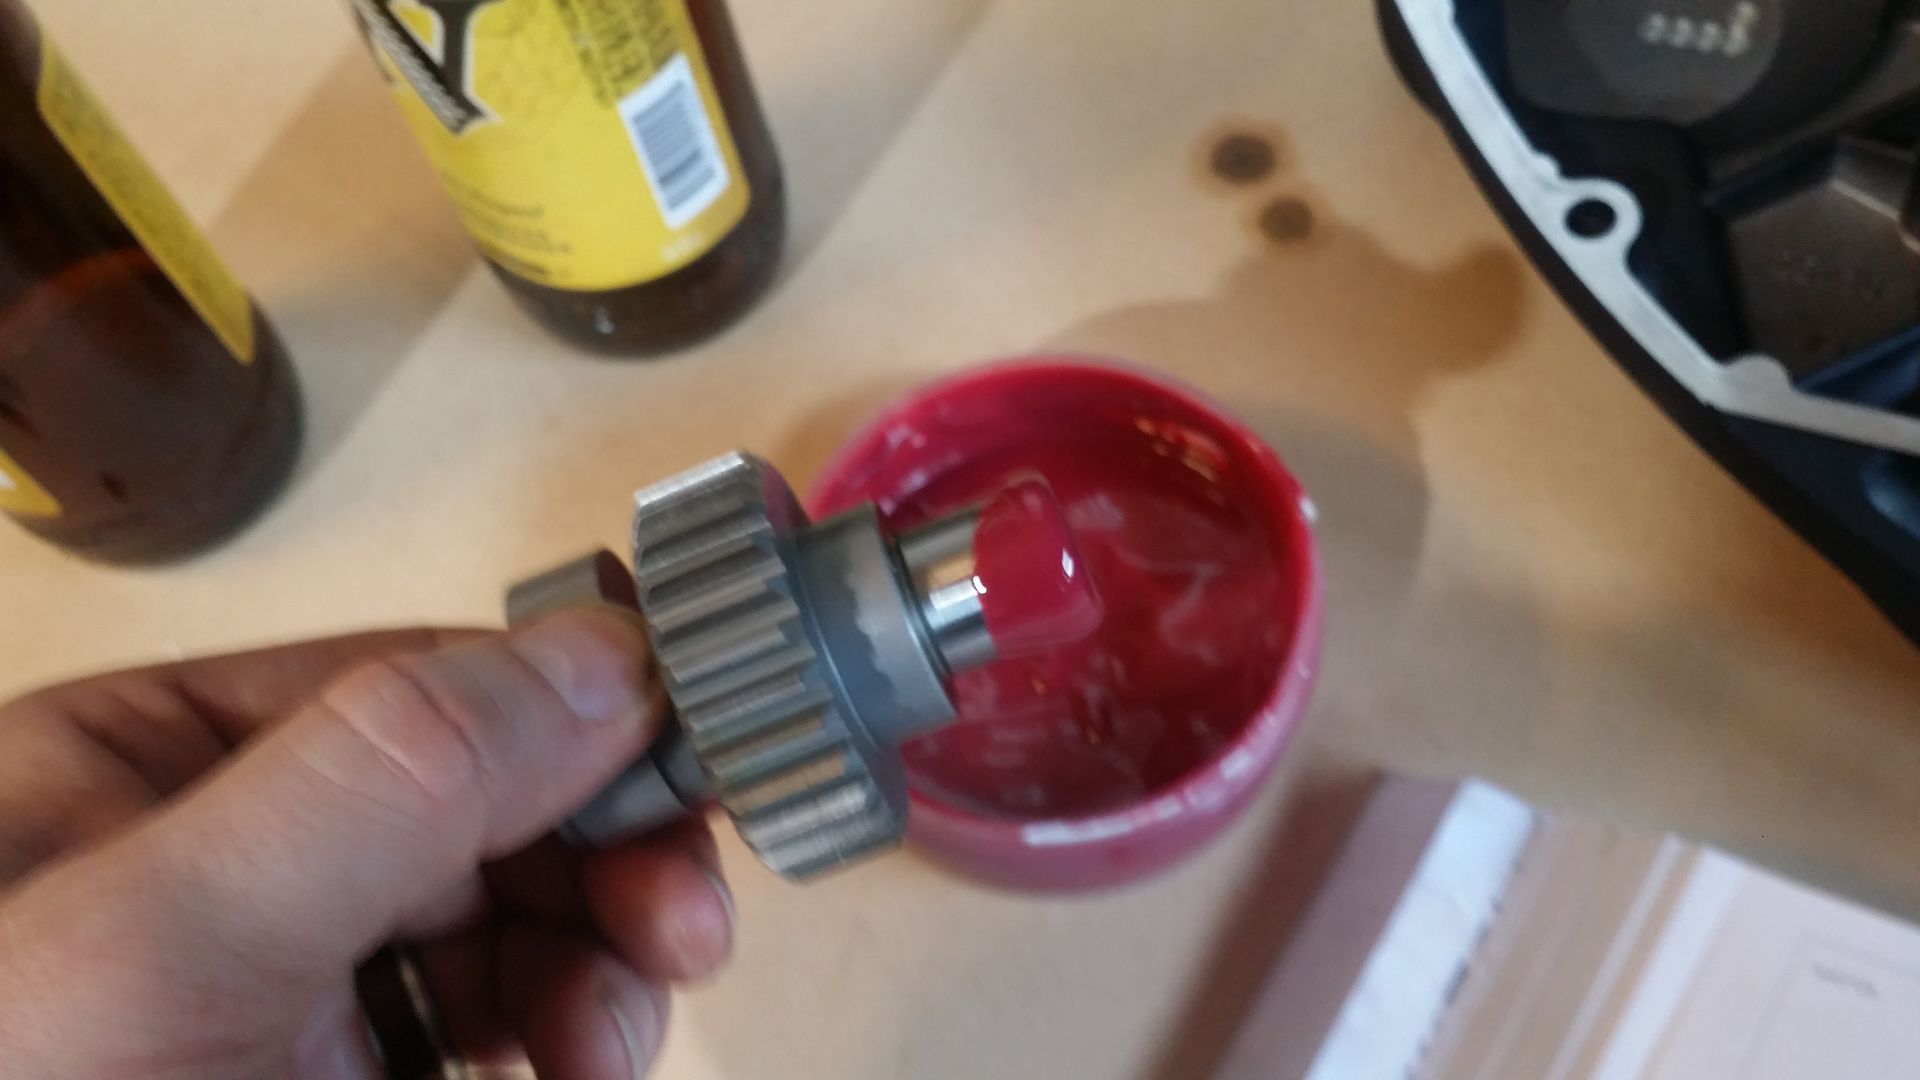
Installed the new Hammer Performance bronze oil pump gear. Just twists into place.
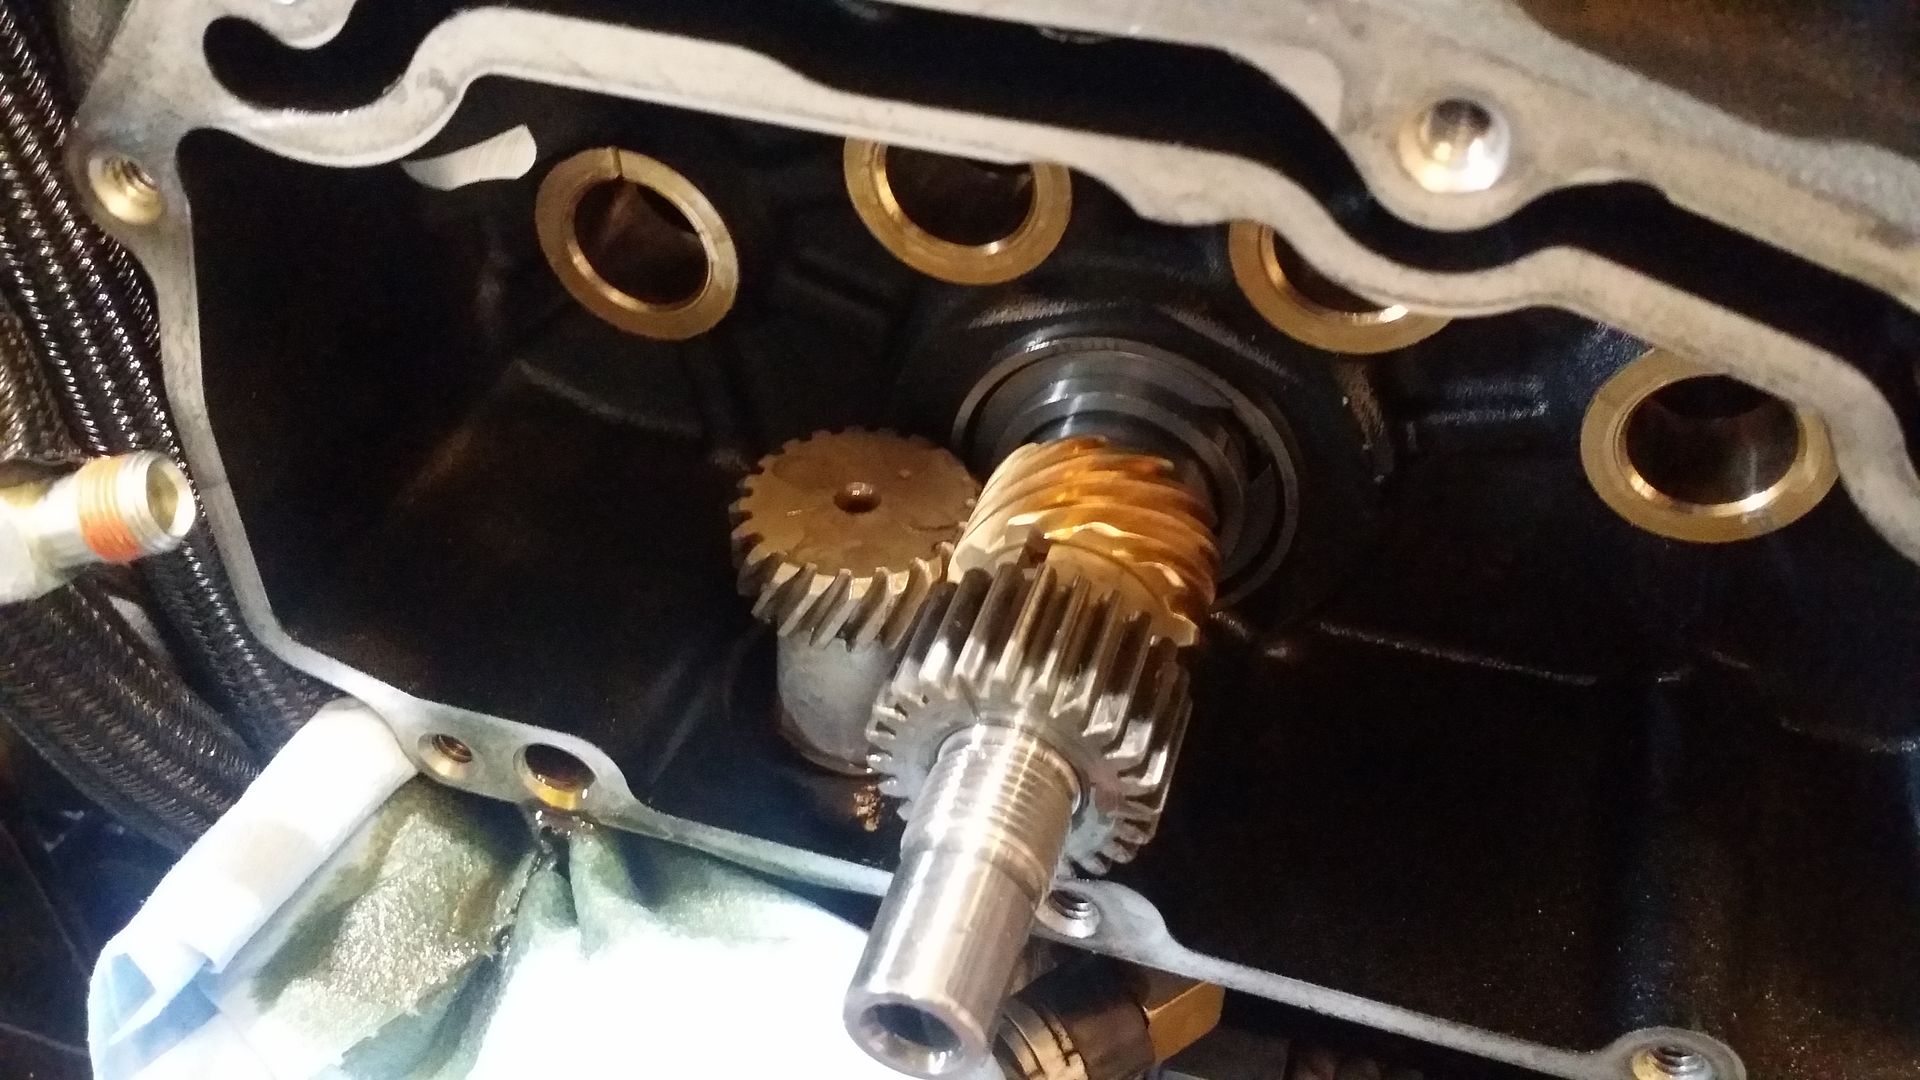
Used red locktite and installed the pinion gear and locking nut. I torqued down to 70 ft lbs as per Hammer Performance instructions
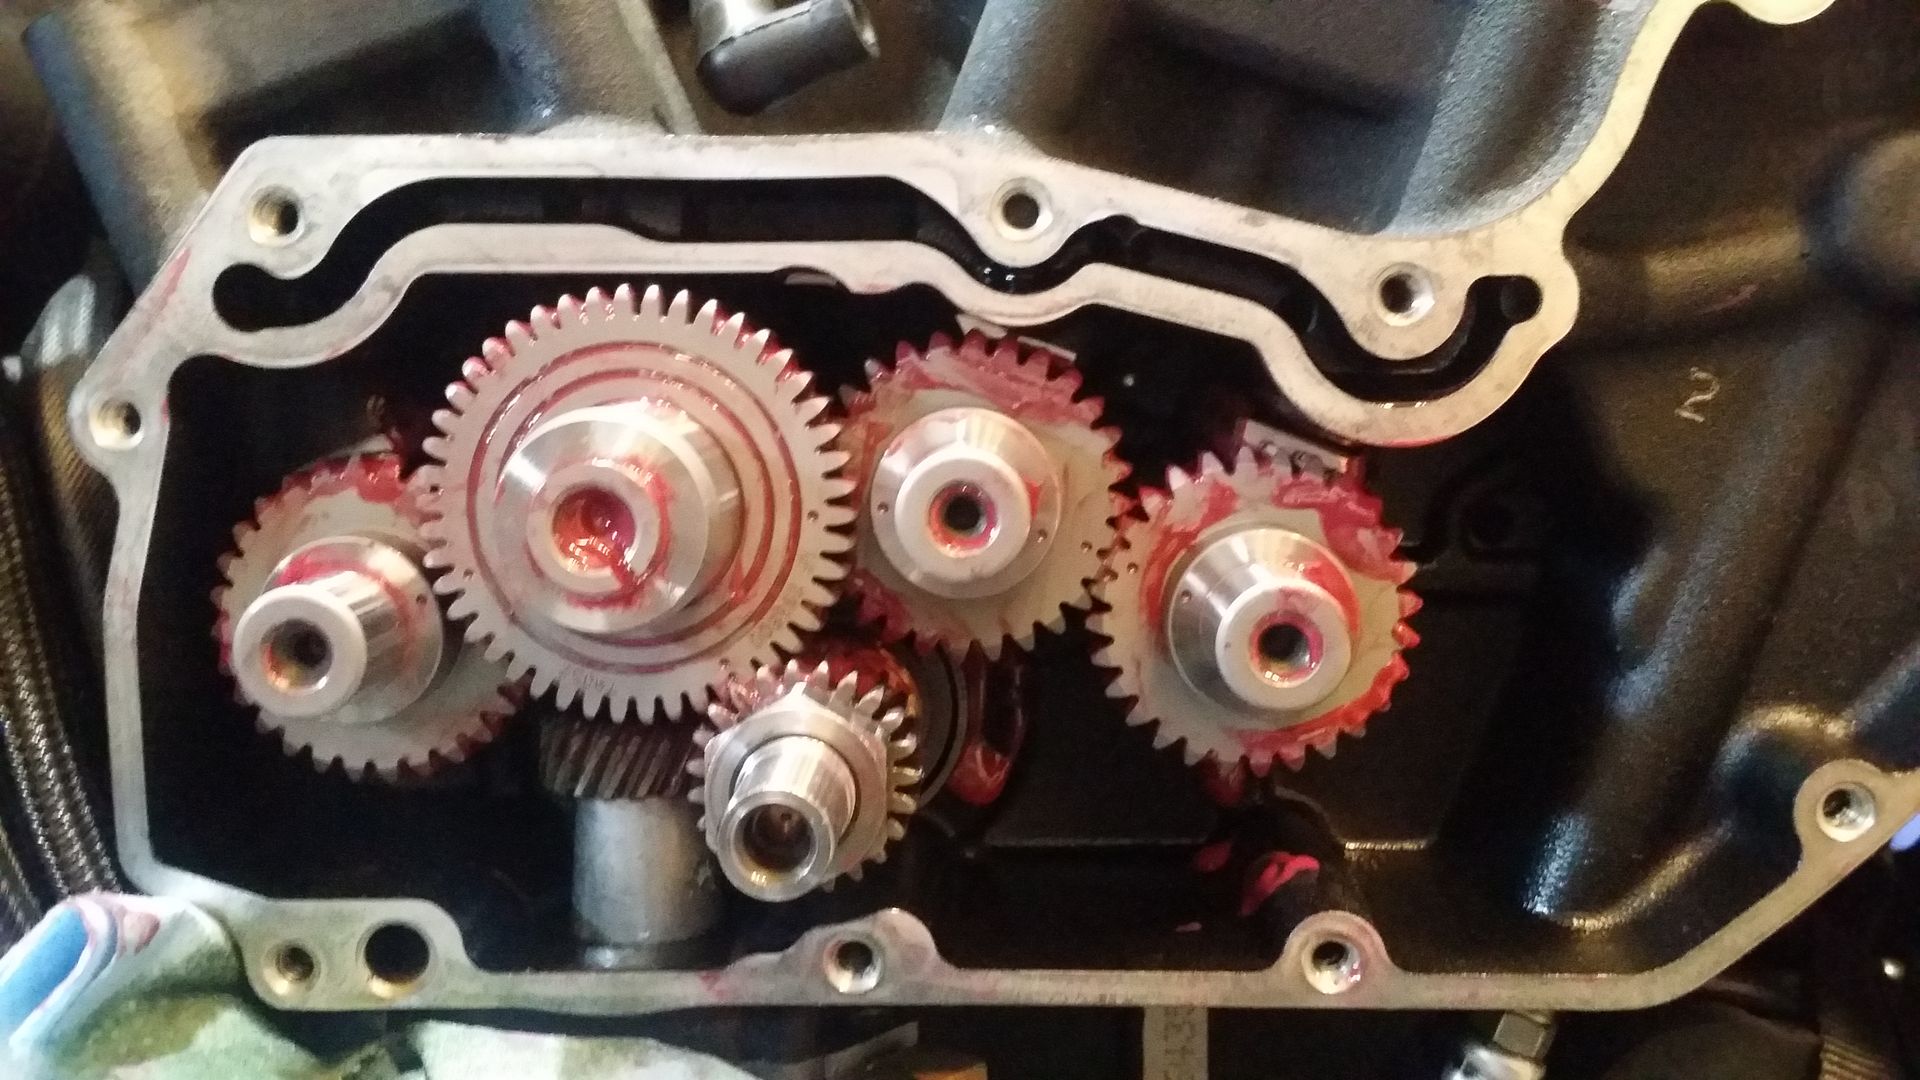
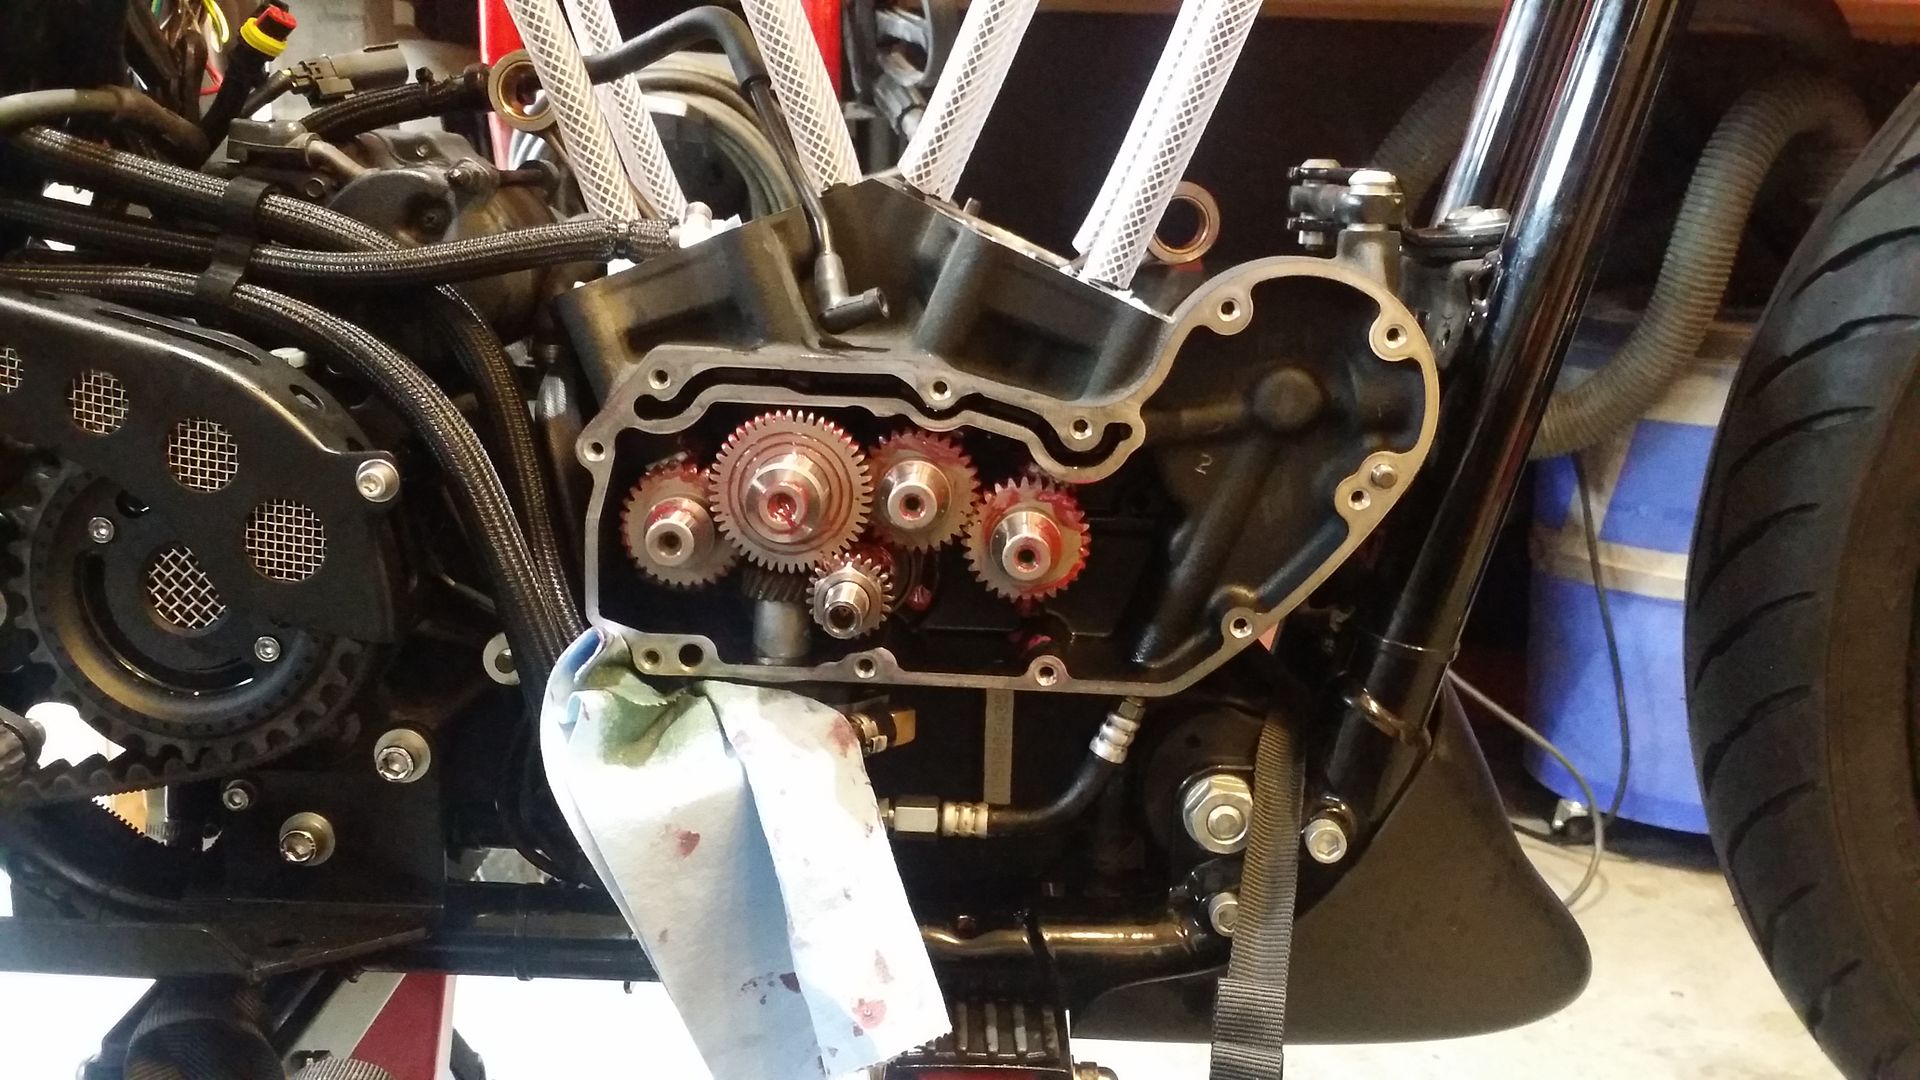
Dipped the outer edge of the cams in some assembly lube and temporarly installed them into the gear case cover to make sure all turned ok
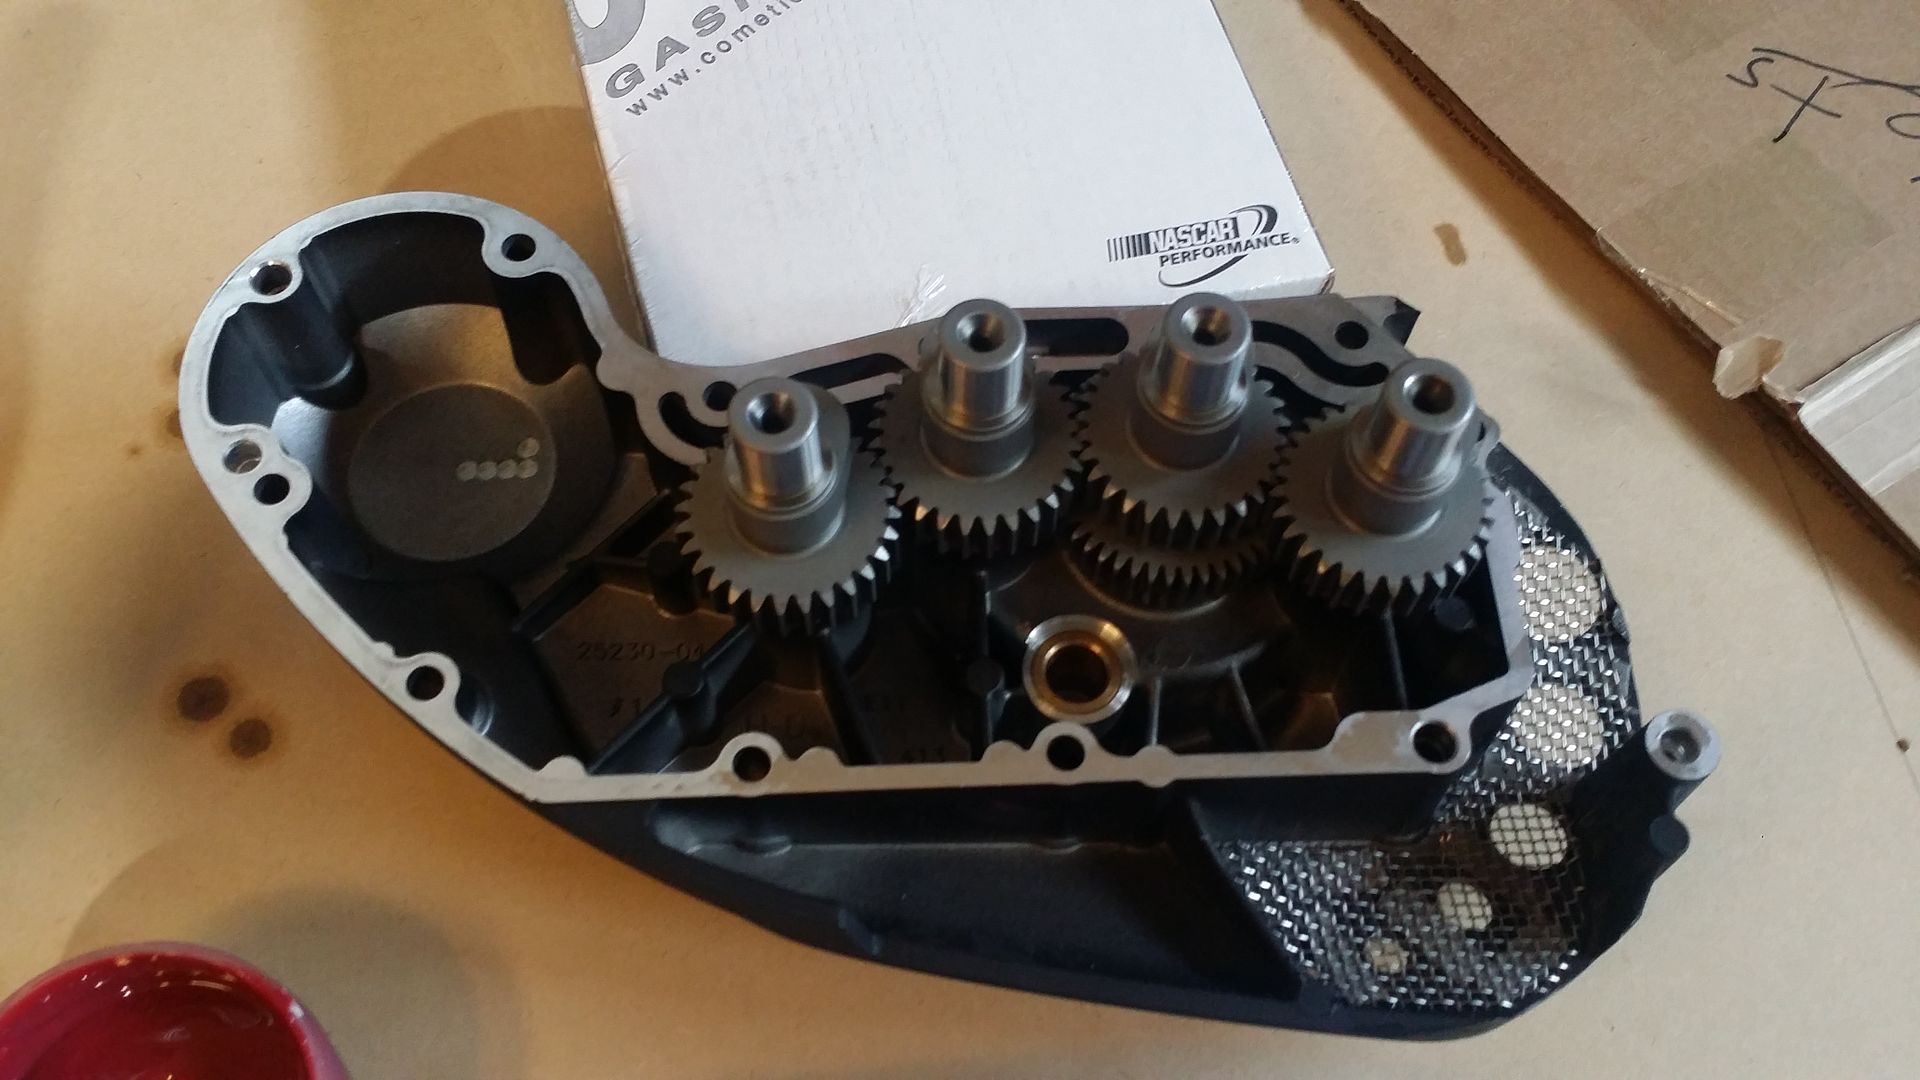
Installed the cams in order 1 - 3 - 4 and finally 2 making sure to line up the dots on the gears with the line on the pinion gear
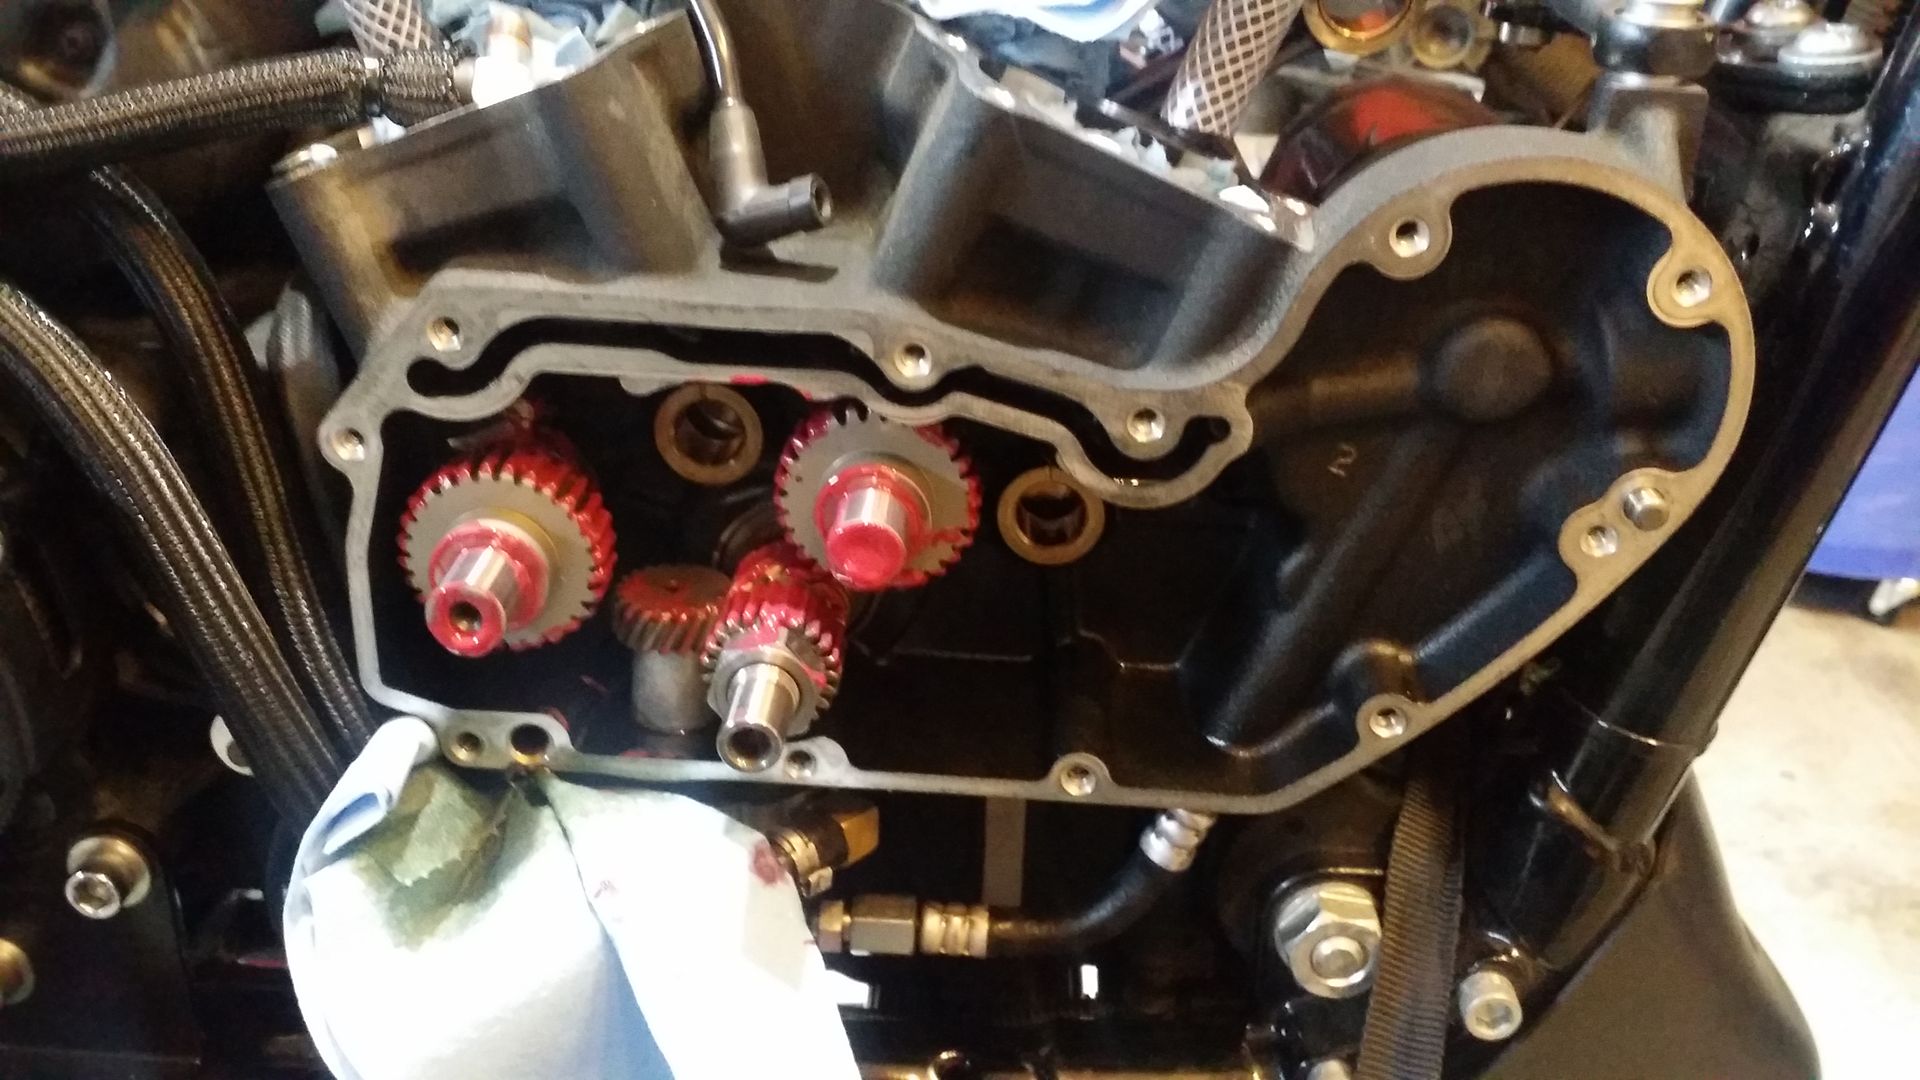
All done with the cams next installed the case. I used a 3/16 allen t-handle and hand tightened them in the order in the service manual. I used blue locktite.
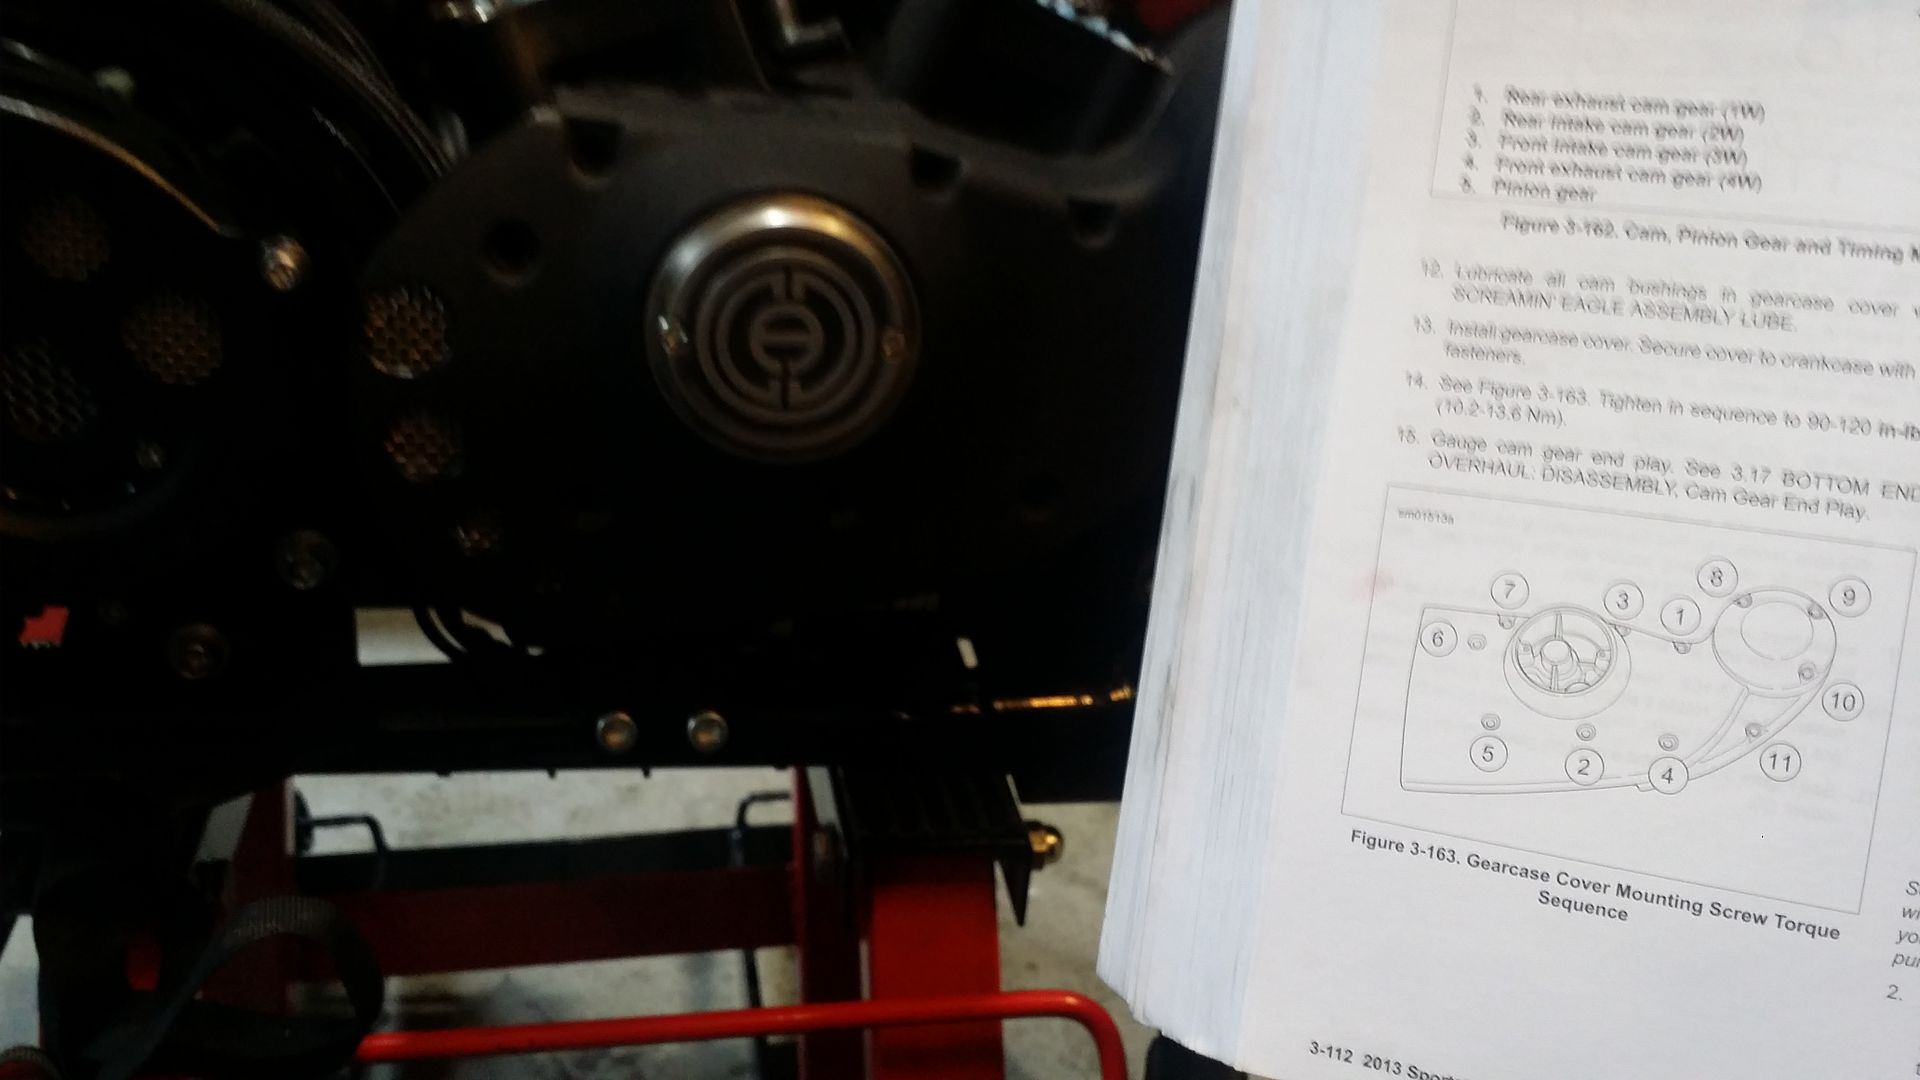
Next torqued everything down in the same order first to 90 in lbs then to 120 in lbs.
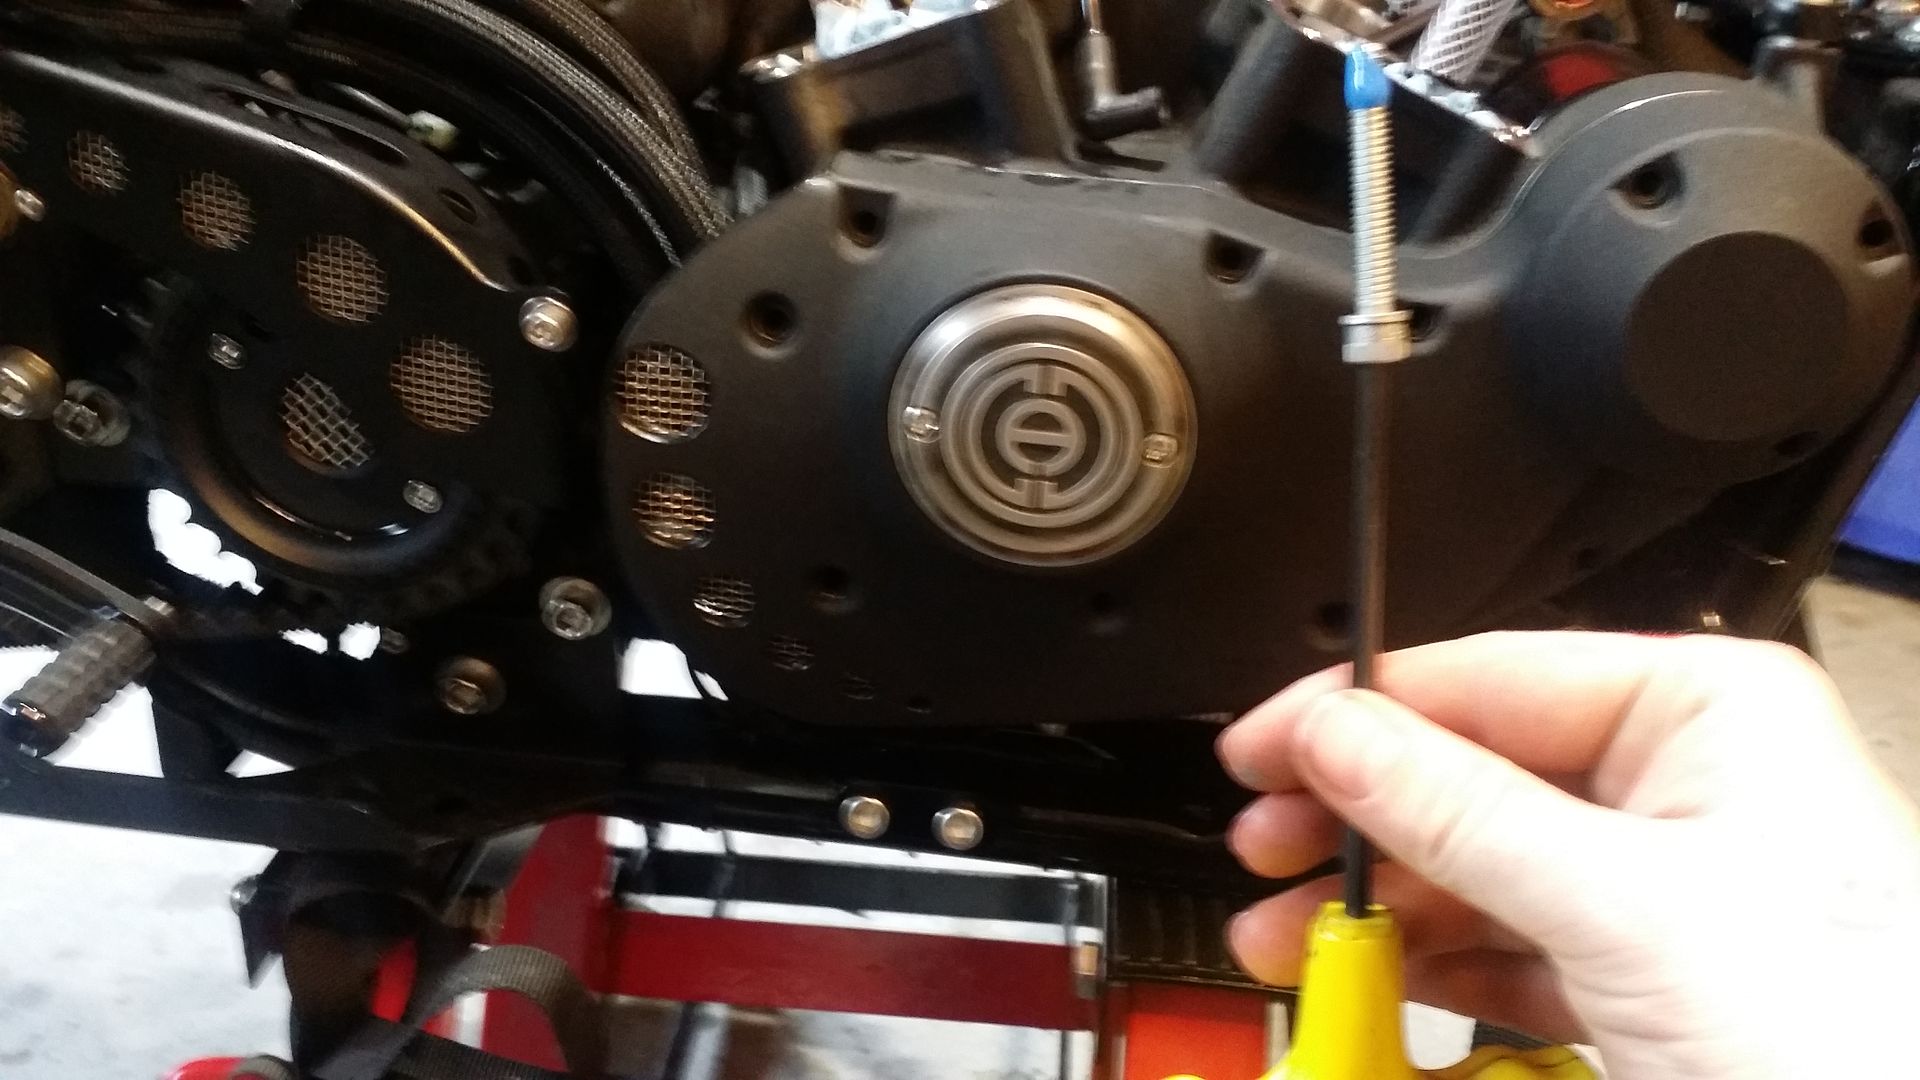
All done!!!!
I will start and finish the top end starting next Tuesday. Cant wait to get this thing done so I can finally put some miles on her. Its been a very long process.
I installed the Grindlock tool and used a 15/16 in deep well socket to remove the nut

Once the locking nut was off the pinion and oil pump gears simply slid off. Maybe I was lucky but I needed no tools for this.

Installed the new Hammer Performance bronze oil pump gear. Just twists into place.

Used red locktite and installed the pinion gear and locking nut. I torqued down to 70 ft lbs as per Hammer Performance instructions

Dipped the outer edge of the cams in some assembly lube and temporarly installed them into the gear case cover to make sure all turned ok


Installed the cams in order 1 - 3 - 4 and finally 2 making sure to line up the dots on the gears with the line on the pinion gear


All done with the cams next installed the case. I used a 3/16 allen t-handle and hand tightened them in the order in the service manual. I used blue locktite.


Next torqued everything down in the same order first to 90 in lbs then to 120 in lbs.


All done!!!!
I will start and finish the top end starting next Tuesday. Cant wait to get this thing done so I can finally put some miles on her. Its been a very long process.
#66
01-29-2015, 05:23 AM
I thought reverse dome were the dished ones
they call them reverse
#67
01-29-2015, 06:07 AM
Club Member
#68
01-29-2015, 06:24 AM

is removing the clutch cable from the cover (unscrewing it) really necessary?? can you remove the clutch actuator from the end of the cable while the cable without removing the cable from the cover...
I am getting ready to do the same work to my bike and really like the write up and pics...thanks..
I am getting ready to do the same work to my bike and really like the write up and pics...thanks..
#69
01-29-2015, 12:52 PM
is removing the clutch cable from the cover (unscrewing it) really necessary?? can you remove the clutch actuator from the end of the cable while the cable without removing the cable from the cover...
I am getting ready to do the same work to my bike and really like the write up and pics...thanks..
I am getting ready to do the same work to my bike and really like the write up and pics...thanks..
No it is not really necessary I just did it because I didn't want the cable flopping around while I had all the parts off.
