I had already swapped the OEM pads for Lyndall's, and they still look good.
I wanted more stopping power, which I feel is something people often neglect when doing upgrades.
With the help of Cvaria on the forum I ended up going with:
EBC Contoured floating rotors front and rear.
EBC SS line for rear
Drag Specialties 4 over SS line for front (4 over to accommodate the fork extension).
As luck would have it, my rear brake light switch went out a few days prior to this project. I was able to source a new switch from the local HD Dealer and install it on the new SS line prior to swapping it onto the bike. That made the job a lot easier to access.
Also picked up one of these one man brake bleeding deals. That made things easier vs. the first time I changed brake fluid.
Again, follow the FSM and Delboy's videos to make it an easy job. Only tip I can add is once you're done changing brake fluid - zip tie the front brake lever overnight and put a brick or something heavy on the rear pedal. That will help get any bubbles that may be hiding in the line still out of there and in the morning both will feel less "squishy".
Rear SS line
That silver nut behind the rear Master Cylinder is the rear brake light switch. You can access on the bike, but way easier with the line off.
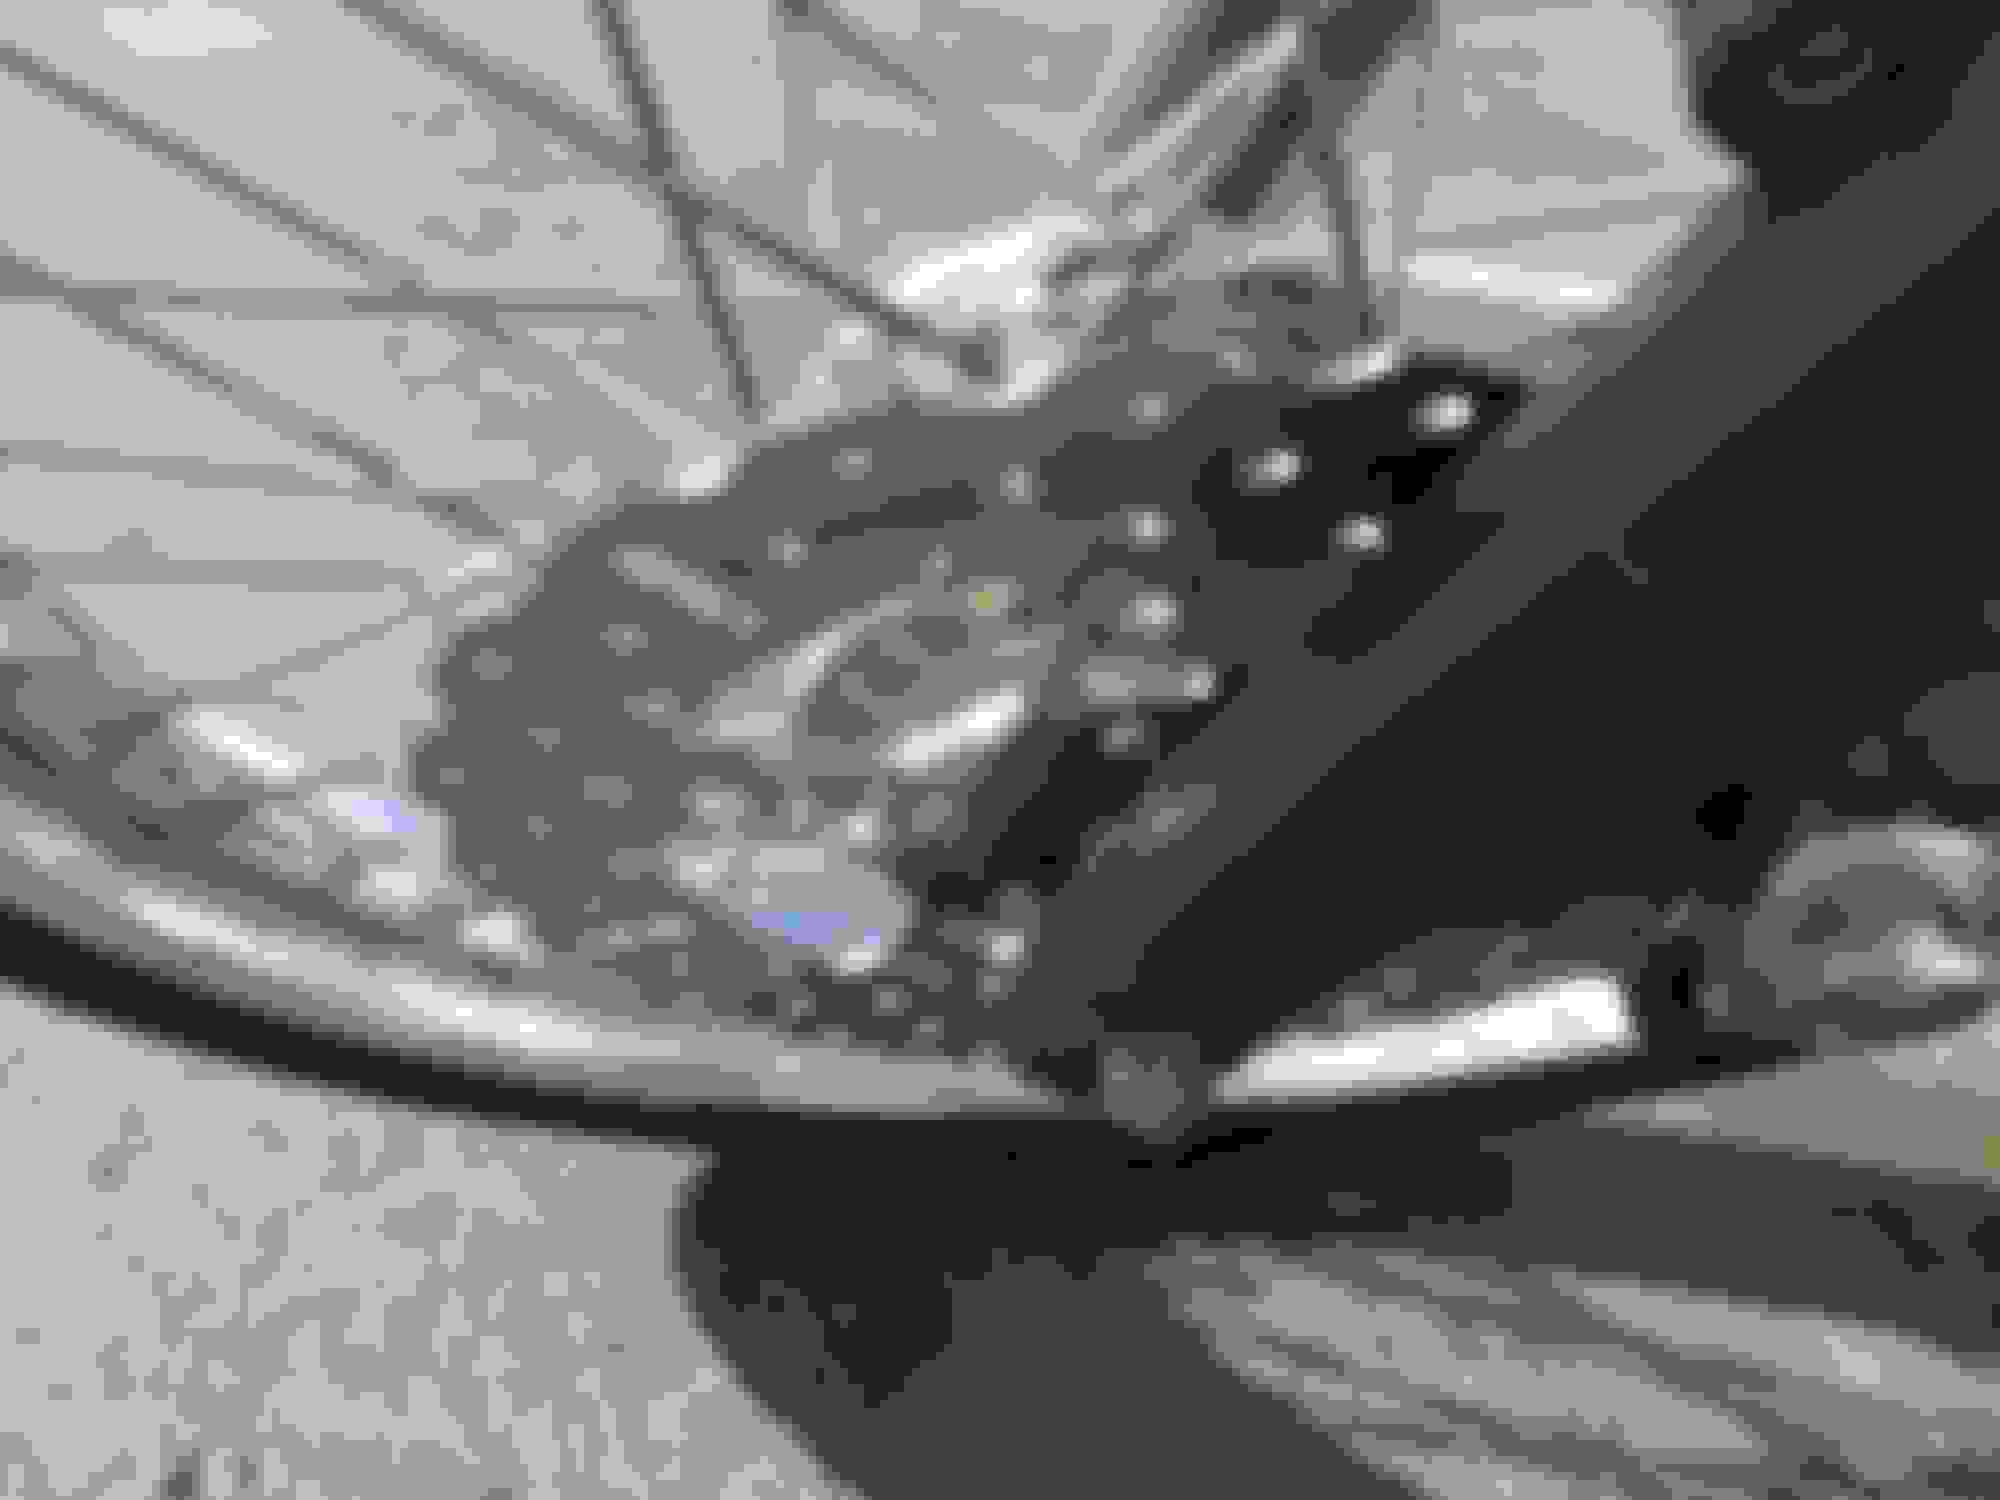
Rear rotor
Front rotor
Eventually I'll upgrade calipers too, but I'm happy with this setup for the time being.
Last edited by deadrubberboy; 01-04-2017 at 02:12 PM.
DK Sells one of these here. They claim some HP gains with it, but I'm not able to back up that claim. Never dyno'd, and can't say my seat of the pants dyno felt anything.
That said, I really like the look, never having to buy another filter, and I've read enough positive reviews about temp drops that I took the plunge.
While I was at it, I also swapped my Primary drain plug with a Gold Plug. It has a far stronger magnet (how do those work?) than the OEM one. I put both against the frame and the gold plug stuck while the OEM fell to the ground.
Last edited by deadrubberboy; 01-04-2017 at 02:28 PM.
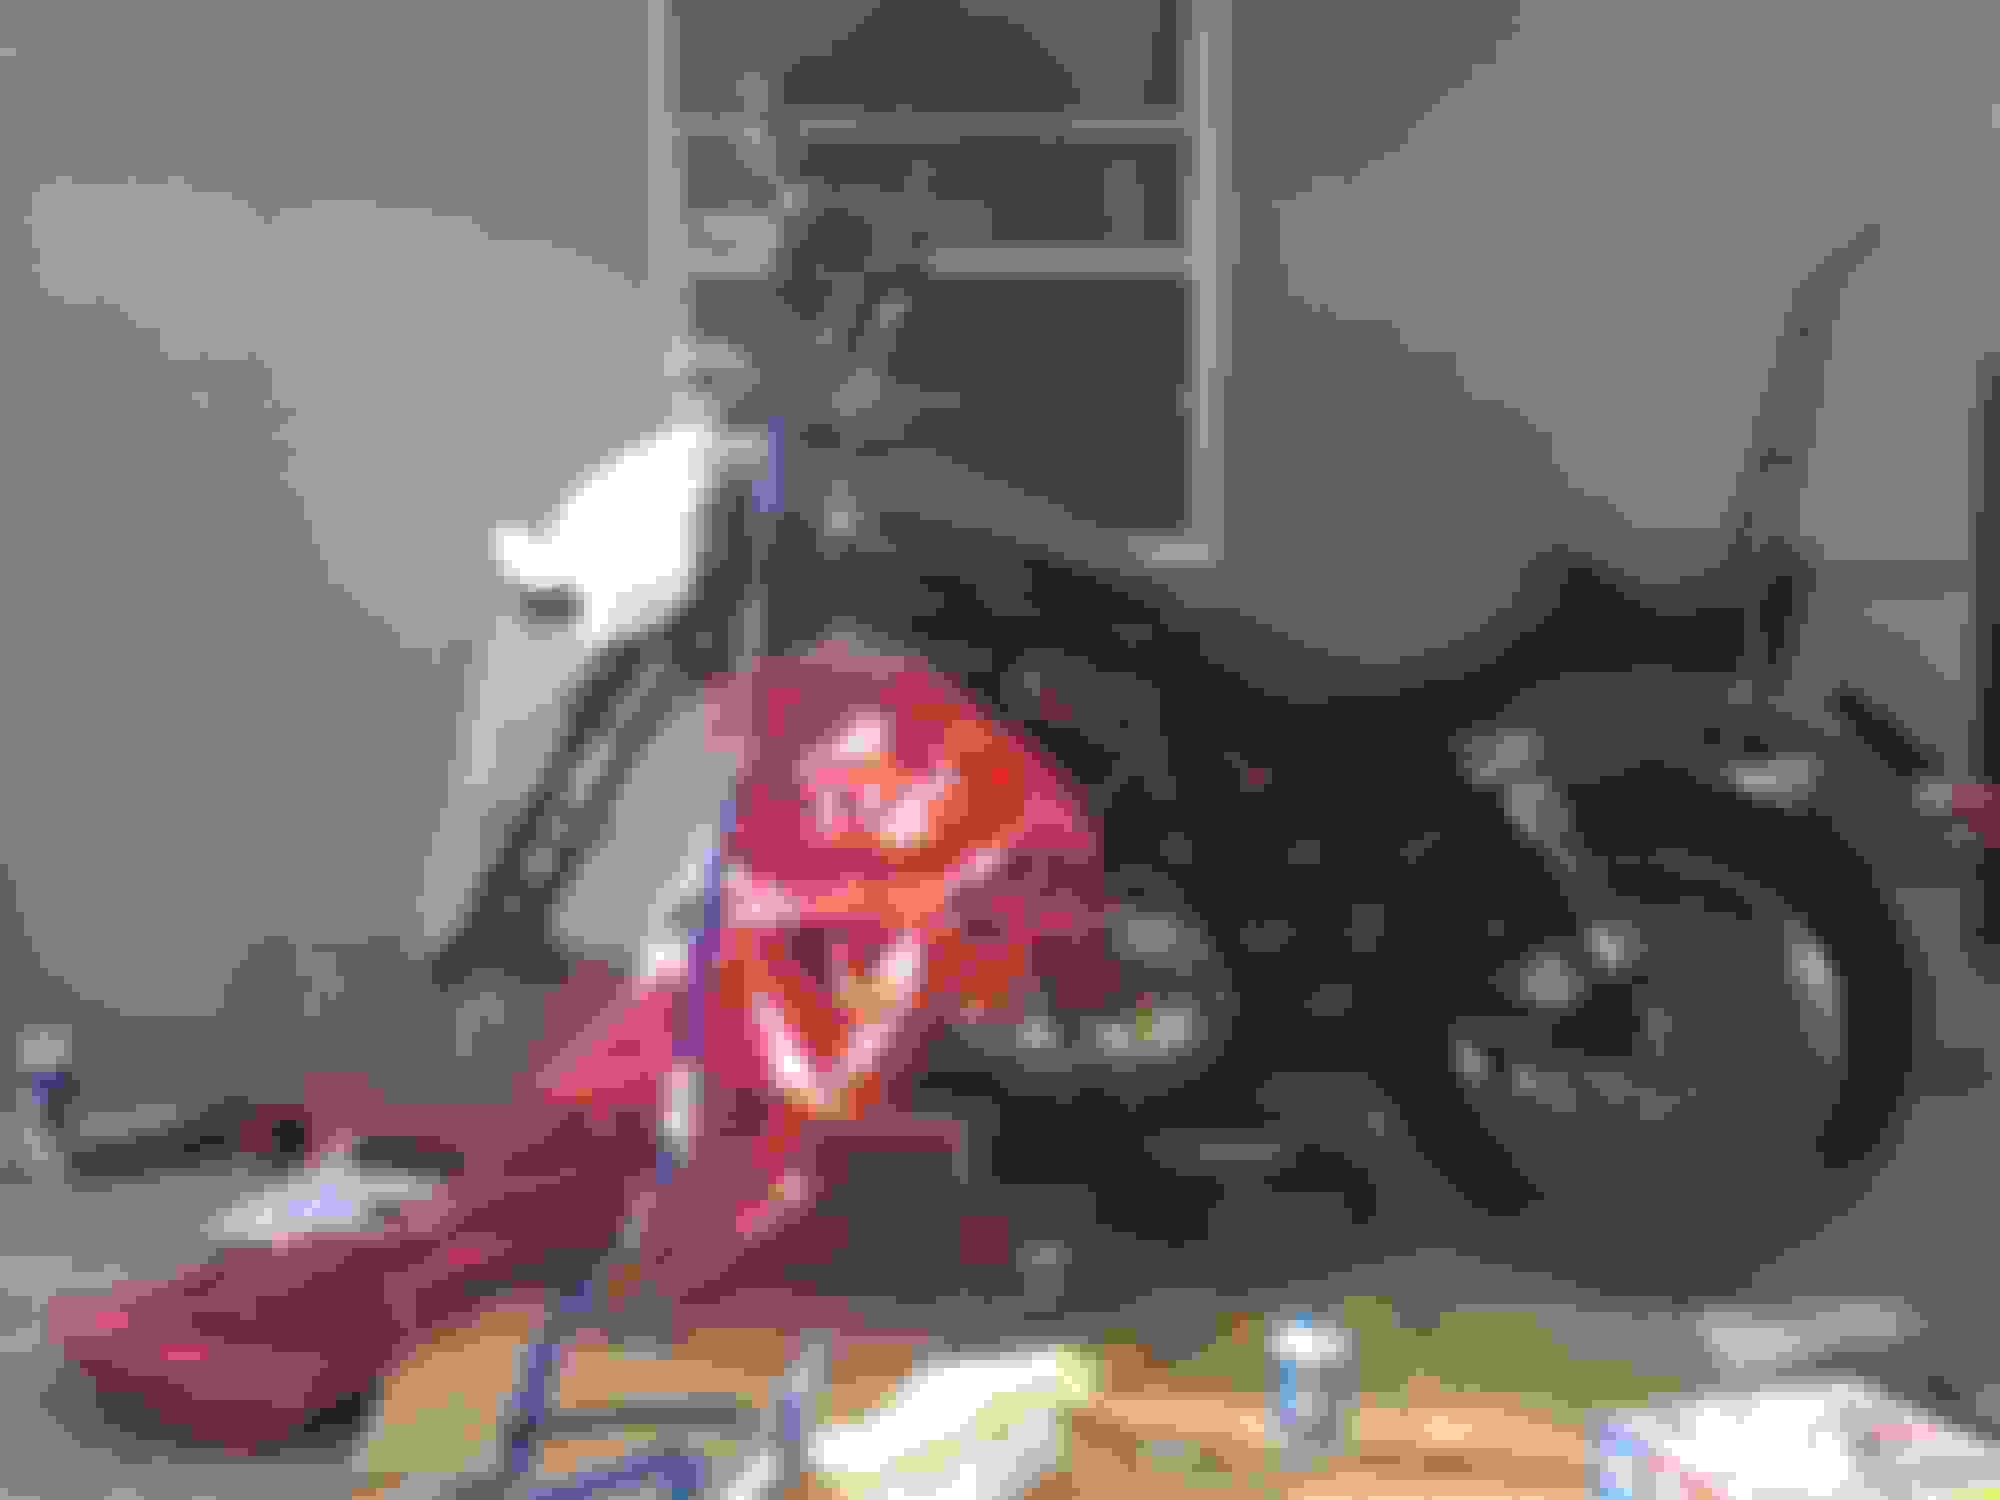
My fork lowers looked pretty dull and scratched up. Being too lazy to sand them down, and thinking black would look good I decided to PlastiDip. I considered Appliance Epoxy as some others have done, but again, it seemed like a LOT more work.
I removed the wheel and fender.
Masked off where I didn't want overspray.
Then I did 3 light coats of black plastidip 20 mins apart.
Finished off with 3 light coats of PlastiDip Glossifier, also 20 mins apart.
Happy with the results. Here are progress pictures.
Wheel Off
Coats going on
Last edited by deadrubberboy; 01-05-2017 at 11:01 AM.
Swapped out the Short Shots for the black ceramic Patriot Defender. VERY happy with the upgrade. Sounds better (deeper), and is actually lower volume (to my ear - AND I had the quiet baffles in the SS's) even with the butterfly in the "full open" position. Pulls better through all gears. Needs some auto tune runs to dial it in and eliminate decel pop.
Originally Posted by deadrubberboy
Before
Heat shields off
SS's gone
After
Last edited by deadrubberboy; 01-05-2017 at 11:02 AM.
I wanted to ditch my fork bag so I could do the second headlight. Since I kept some tools, fuses, registration/insurance in there I was looking for a new place to store that stuff.
Fitted it last night, and for 25$ I think I dig it so far. See pics. I was able to fit registration/insurance (comes with adhesive pouch), a few bucks, spare fuses (not quite thick enough to fit spare relay unfortunately), and helmet lock inside. It "locks" but it's plastic, so it's certainly not secure other than someone might not notice it. Considering I kept that stuff in unlocked fork bag before, I'm not concerned.
Also replaced my speed sensor, but haven't been able to test yet due to tropical storm (thanks jesus ).
OK. Here's pictures of it installed. As stated earlier I used the wires that came with the switch out of fear of breaking it trying to remove them. I wired:
Red/grey and red/black to the white wire on switch.
Red wire to red wire on switch.
Black from switch to ground point.
Done. The "jumper" came pre set to light up only when button is pushed to "on" position.
Striped are the ACC and Ignition wires (output). Solid red (center) is power (input).
To make button fit, I used a hand file to make the hole slightly more "round" after removing the lock cylinder. Not much filing at all to accomplish maybe 2 mins to do.
Lock removed
Hardest part was getting the nerve to cut those three wires. FYI - to remove the lock cylinder I put a rag on some pliers and spun the silver nut on the face of it. That is the "nut" that holds the lock in place. The new button comes with a nut that twists on the back. I used needle nose pliers to reach in and spin it tight from behind. It also comes with an o-ring.
On to the money shots...
View from distance.
Close up - Off in daytime
Close up - On in daytime
Close up - On at night
In conclusion: I can now walk up with FOB in pocket, push the button, turn on the kill switch (wait for check engine light to go out so fuel pump is happy), and hit start. Love it.
Note* if you (or anyone else) push the button without the FOB the bike WILL power on. The alarm will sound, but if left that way I presume you'll come back to a dead battery in short time. I have enough faith in both humanity, and the hope that no one would notice it anyway, that it's not a concern. I'll still use fork lock and/or brake disk lock if I'm parking somewhere I deem sketchy.
Again, thank you to Andrew, KCCO-48 and everyone else who contributed knowledge to make this happen. Really happy with the results.
Handle bars are Biltwell Frisco's. They are dimpled, but not drilled for internal wiring. They have almost zero pullback. Since my "C" riser has a good bit of pullback and I have long arms they are great for me. I dig the look too.
No wires were extended or cables changed to make the bars fit. I did have to straighten out the bends in the front OEM brake line to gain a little length. Later, I got a longer brake cable when I did the extended forks.
Funny/embarrassing story... I decided I was going to drill and internally wire them when doing the install. I took apart the HD wire connectors, taped all of the wires together good with electrical tape and wiped them down with dish soap to lube them. There's a 90 degree bend at the bottom, and as expected, it gave me troubles. I fished a string through by tying a washer to it as a weight. That was easy. So I tie the string to the wires and start pushing/pulling to get them through. Takes a while, and I'm really fearing that I'm bending the crap out of the connector pins the whole time. Boom! It finally gets past the 90 degree turn and I am able to successfully get them out the bottom center. I'm happy! Until... remember I said there's almost no pull back? Well there is a slight amount of pullback, and I successfully managed to get the right hand control wires fished through the left bar handle. DOH!
So I pulled them back out. Straightened back out the pins that had bent, and removed what was left of the destroyed electrical tape (now sticky slimey with soap). Gave up on internally wiring at that point. Might try again one day, they're already drilled after all... but not until the memory fades more.
See this post for before pic and most other pics in the thread for after.
Last edited by deadrubberboy; 01-05-2017 at 11:25 AM.
After lengthening the rear shocks to 13"'s the bike had more of lean than I was comfortable with. I swapped to the XR stand and it stood it up properly again. Now that I've done the longer fork tubes I'm back to having a mean lean. Researching solutions now...
Here are pictures of the swap and a comparison of the two lengths while off the bike. I used "the penny trick" and it was SUPER easy.
Just jack up bike
Put stand down
Insert pennies in between the springs
Raise the stand and the spring will drop right off.
Remove the pin and stand
Attach spring to new stand and reattach
Lower the stand again (while still on jack) and the pennies will fall out onto the ground.
You're done! Lower the jack and check it out.
Before - Lean with XL stand and 13" rear shocks
Ready to insert pennies
Pennies inserted
Stand up, spring falls off
Comparison of XL vs XR stands
New stand on and lowered = pennies fall out
After - New lean angle. *note this was PRE fork extension.
Received the fork brace I ordered (V-Twin part #24-0841 - fraction of the cost of a SuperBrace and I can't see how it'd be any less functional). Unsure if I'll end up keeping it or not.
I'm still chasing down a small "thunk" (too strong of a word - just noticeable enough to bug me and slowly drive me nuts) in my front end. Feel it in the bars on speedbumps etc but no other time. Replaced my handlebar screws, since I had previously stripped the head on one more than I was comfortable with. That didn't get it.
Next weekend I plan to put it on the jack and replace all 4 pinch bolts/check torque on the rest of the front end to see if I can scare it away. Fork brace will go on and be tested then. Not sure I'll like the look of it.
Replaced all 4 pinch bolts, and re-torqued the stem nut. Still have a "clunk".
Next, I'll re-check my torque on the damper bolts, and start playing with my spacer length and fork fluid level. Never got around to testing the fork brace. I want to sort out the "clunk" before adding more variables.
After that is sorted, I plan to do a "preventative" replacement of the riveted clutch plate. Thinking
Looked pretty hard at the motogadget mini to replace my speedo, but I wrote them and they confirmed you lose the ability to enter the alarm PIN manually, and I don't like losing that functionality. Haven't needed it yet, but...

 01-04-2017, 02:05 PM


 ).
).