Iron 883, Ignition Coil/Switch Relocation - my take
#1
Join Date: Mar 2009
Location: Vallejo, California
Posts: 1,403
Likes: 0
Received 52 Likes
on
36 Posts
Hey fellas, in relocating the the spark plug coil I realized that the coil assembly is a pretty nice looking one, with HD logo and all, so I decided to more prominently display the coil by installing it in a sort of “standing up” position, uhm… how to accomplish this? Looking at the approach from other fellow forum members, I saw the use of the huge Torx screws at the top of the cylinder fins, but although a laying down installation of the coil is fine when it comes to engine vibration, my approach required a much sturdier and complicated metal bracket construction, probably in the shape of a thick inverted T, not an encouraging idea… so, looking at the original coil bracket assembly, I came up with a simple idea, lift the tank 1.5 inches, rotate the coil bracket 90 degrees, then securely attach it to the chassis tubing running on top of the engine by using four hose clamps and a 6 inch long by 1 inch wide metal piece, first pic is the resulting installation:

Here we go with the installation procedure, first, remove the seat, remove the front gas tank screws, disconnect the quick release gas hose (don’t you worry, it will not leak gas) and then proceed to lift the tank as far as you can paying special attention to the electrical cable that connects to the tank, then secure a piece of wood or similar between the handlebar and the tank using a towel to avoid scratching the handlebar, believe me, the extra minutes you will invest in this procedure will save you a lot of time and simplify the coil installation and cable relocation enormously, here is the idea:


The coil will be reattached to the bracket, but rotate it 90 degrees first, this means that only the top screw will go through both the coil and the bracket, connecting to the threaded assembly, the bottom screw will connect directly to the threaded assembly. For the top screw I recommend a lock washer between the coil and the bracket, I prefer a lock washer of the external tooth type around the circumference of the washer; for the bottom screw a couple washers are necessary to cover the gap between the coil and the bracket, this is how it should look:


Next, wrap about 6’’ of the chassis tube right on top of the fuel injector section with electric tape, this helps in attaining better grip of the hose clamps and avoids scratching of the tubing, also cover the flat metal piece with either shrinkable cable tubing or electric tape, for both better grip and looks. Now, use two cable tie wraps for the initial installation of the bracket + flat metal piece, although the tie wraps are not necessary, they help with the initial installation and adjustment of the bracket prior to the installation of the hose clamps, here:


So far so good, the chassis pipe is 2.2 inches in diameter, so try to find the closest hose clamps for that diameter, if they are too big it will complicate the installation and it won't look good. Now, install all four hose clamps covering both chassis tubing and flat metal piece, two on each side of the bracket, make them a little bit tight and then proceed to adjust /center the coil, once satisfied, finish tightening the hose clamps and then cover them with electric tape, if you are wondering why I used four hose clamps instead of two, it gives me peace of mind to have backup hose clamps, but two are enough… :-).. well, here I am in the process of wrapping the hose clamps in electric tape (I removed the coil to facilitate the process), also, please notice the location and orientation of the ignition bracket at the center of the assembly: :


For better looks, I bought ready to assemble spark plug cables and cut them to size...
UPDATE:
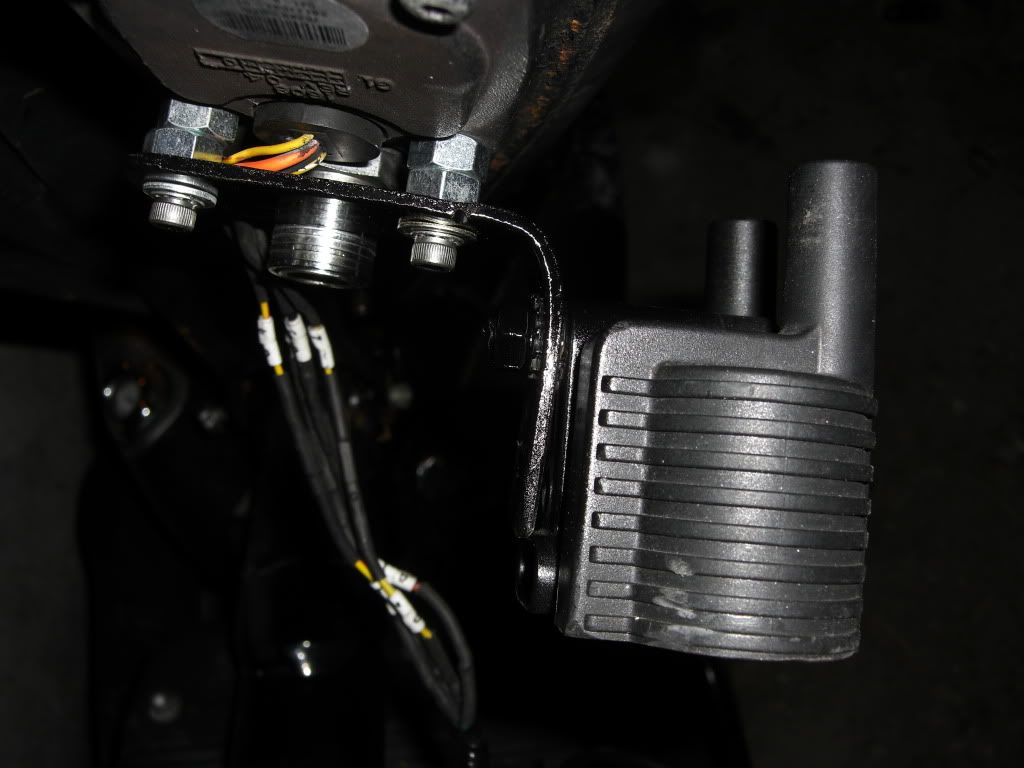
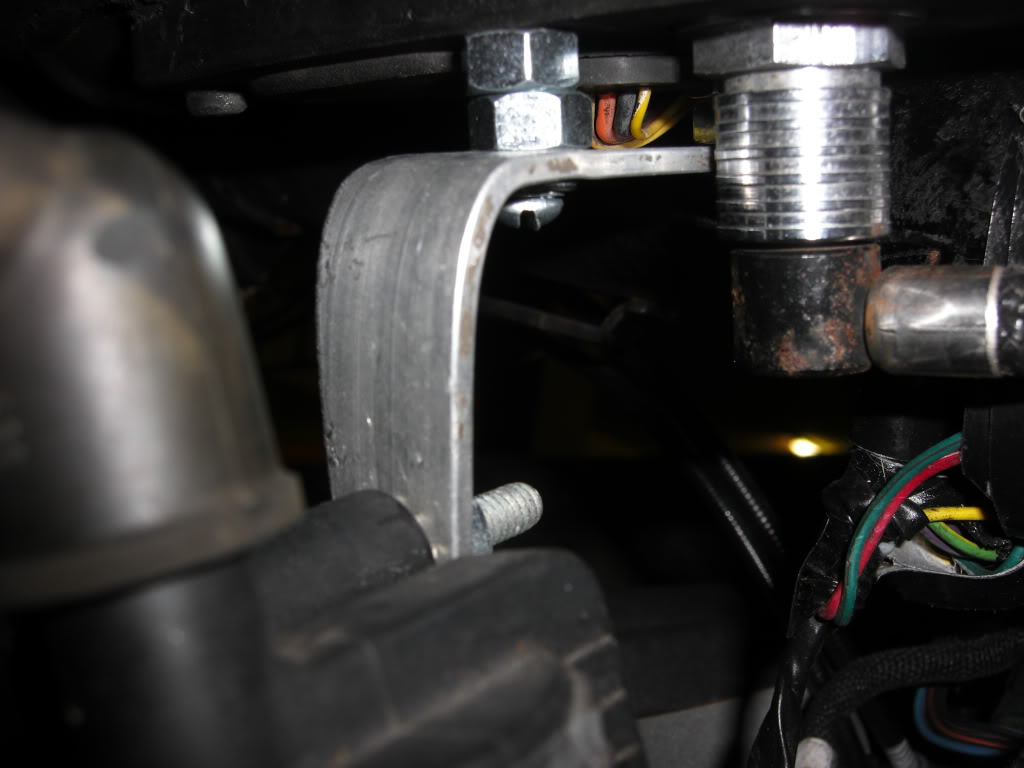
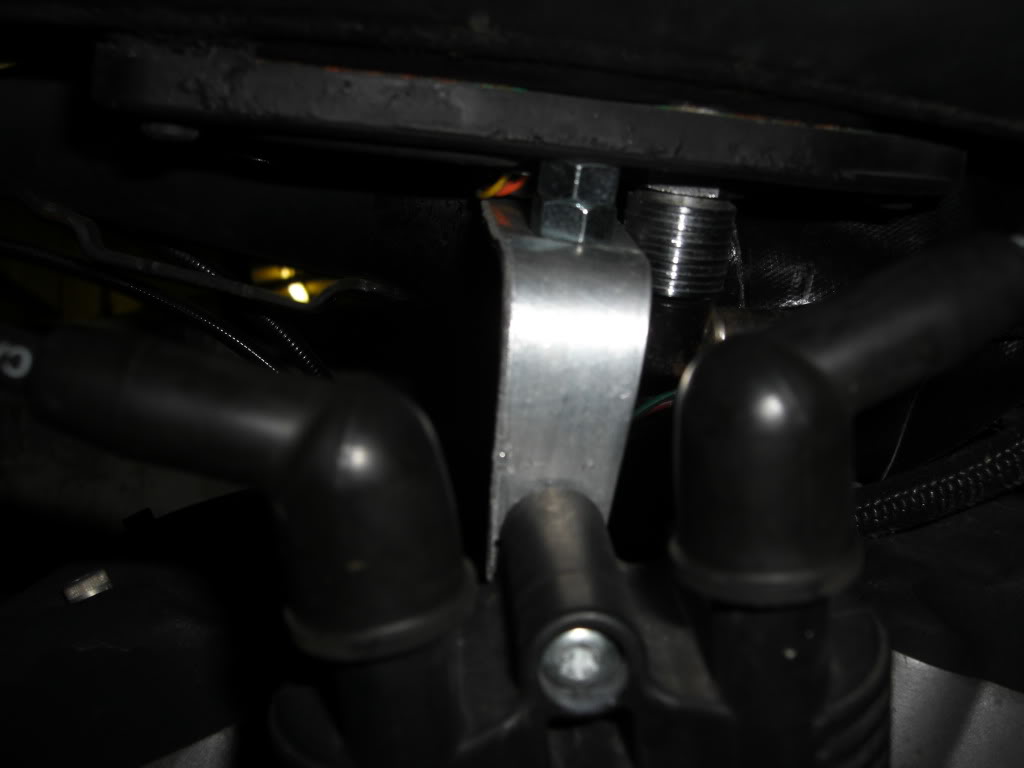
I recently came up with another take on the ignition coil relocation bracket.. it is ridiculously simple (specially compared to my original idea posted above)... basically it is a typical metal L bracket (let's say 3x3 or 4x4) drill two holes (2'' eye to eye on one end) then get 1 1/2 stainless steel 10-24 Allen bolts.. remove both of center fuel pump screws.. then using larger nuts as spacers (let's say 3/8 nuts) secure the L bracket using the new screws on the center fuel pump holes so the the L bracket faces forward and downward (the reason for using nuts as spacers is that the fuel pump cables are coming out right in the middle)..... then attach the ignition coil to it facing forward... Here are a couple pictures:


For the tank lift, nothing special, I just bought a couple brackets for 1.5 inch pipes, and I used the flat metal piece that comes with it, here is the bracket:


I wrapped the metal pieces in shrinkable tubing and installed them (or, if you are an out of control perfectionist like MichaelMartin, you can cut/grind/sand your very own piece and then powder-coat it.. LOL!!) ..... some cable relocation around the handlebar lock switch was required, here it is:


For the ignition switch relocation, I used a simple 1.5’’ X 1.5”” L shaped bracket and attached it to the bolt that is used for the electrical ground motor connection. I removed the nut, and then I installed the L shaped bracket with the ignition switch assembly already attached to the L bracket, nut back in place, done.!... IMPORTANT NOTE: there is sort of a hole in the back of the crankcase right next to the ground bolt, you need to clog it up with paper towel in order to avoid a washer or nut falling in there… here is the result:


Questions?... just ask fellas!

Here we go with the installation procedure, first, remove the seat, remove the front gas tank screws, disconnect the quick release gas hose (don’t you worry, it will not leak gas) and then proceed to lift the tank as far as you can paying special attention to the electrical cable that connects to the tank, then secure a piece of wood or similar between the handlebar and the tank using a towel to avoid scratching the handlebar, believe me, the extra minutes you will invest in this procedure will save you a lot of time and simplify the coil installation and cable relocation enormously, here is the idea:


The coil will be reattached to the bracket, but rotate it 90 degrees first, this means that only the top screw will go through both the coil and the bracket, connecting to the threaded assembly, the bottom screw will connect directly to the threaded assembly. For the top screw I recommend a lock washer between the coil and the bracket, I prefer a lock washer of the external tooth type around the circumference of the washer; for the bottom screw a couple washers are necessary to cover the gap between the coil and the bracket, this is how it should look:


Next, wrap about 6’’ of the chassis tube right on top of the fuel injector section with electric tape, this helps in attaining better grip of the hose clamps and avoids scratching of the tubing, also cover the flat metal piece with either shrinkable cable tubing or electric tape, for both better grip and looks. Now, use two cable tie wraps for the initial installation of the bracket + flat metal piece, although the tie wraps are not necessary, they help with the initial installation and adjustment of the bracket prior to the installation of the hose clamps, here:


So far so good, the chassis pipe is 2.2 inches in diameter, so try to find the closest hose clamps for that diameter, if they are too big it will complicate the installation and it won't look good. Now, install all four hose clamps covering both chassis tubing and flat metal piece, two on each side of the bracket, make them a little bit tight and then proceed to adjust /center the coil, once satisfied, finish tightening the hose clamps and then cover them with electric tape, if you are wondering why I used four hose clamps instead of two, it gives me peace of mind to have backup hose clamps, but two are enough… :-).. well, here I am in the process of wrapping the hose clamps in electric tape (I removed the coil to facilitate the process), also, please notice the location and orientation of the ignition bracket at the center of the assembly: :


For better looks, I bought ready to assemble spark plug cables and cut them to size...
UPDATE:
I recently came up with another take on the ignition coil relocation bracket.. it is ridiculously simple (specially compared to my original idea posted above)... basically it is a typical metal L bracket (let's say 3x3 or 4x4) drill two holes (2'' eye to eye on one end) then get 1 1/2 stainless steel 10-24 Allen bolts.. remove both of center fuel pump screws.. then using larger nuts as spacers (let's say 3/8 nuts) secure the L bracket using the new screws on the center fuel pump holes so the the L bracket faces forward and downward (the reason for using nuts as spacers is that the fuel pump cables are coming out right in the middle)..... then attach the ignition coil to it facing forward... Here are a couple pictures:


For the tank lift, nothing special, I just bought a couple brackets for 1.5 inch pipes, and I used the flat metal piece that comes with it, here is the bracket:


I wrapped the metal pieces in shrinkable tubing and installed them (or, if you are an out of control perfectionist like MichaelMartin, you can cut/grind/sand your very own piece and then powder-coat it.. LOL!!) ..... some cable relocation around the handlebar lock switch was required, here it is:


For the ignition switch relocation, I used a simple 1.5’’ X 1.5”” L shaped bracket and attached it to the bolt that is used for the electrical ground motor connection. I removed the nut, and then I installed the L shaped bracket with the ignition switch assembly already attached to the L bracket, nut back in place, done.!... IMPORTANT NOTE: there is sort of a hole in the back of the crankcase right next to the ground bolt, you need to clog it up with paper towel in order to avoid a washer or nut falling in there… here is the result:


Questions?... just ask fellas!
Last edited by joebotics; 05-02-2011 at 10:36 AM.
#3
#7
Trending Topics
#10
Join Date: Mar 2009
Location: Vallejo, California
Posts: 1,403
Likes: 0
Received 52 Likes
on
36 Posts
Hey fellas, thanks much for all the positive feedback, I though this coil relocation was a practical, nice looking and affordable approach, and I wanted to give back to this great forum by writing a detailed procedure document!.. if you have specific questions about the procedure, please do not hesitate to either post them here or private message me anytime... thanks again!
Last edited by joebotics; 10-04-2010 at 03:02 PM.


