
Street Glide air shocks
#1
 04-08-2010, 03:27 PM


I know this has been talked about alot just need some clarification. I am buying a set of air shocks off a steet glide to put on my 2006 Sportster1200L. Both shocks measure 12" eye to eye. Is this just as simple as taking one set off and bolting the other set back on or do I need to do anything else? They are coming with the airlines attatched to it. Should I take the airlines off and just use schraeder valves? Where would I get those at? Last but not least is the ride difference as noticeable as everyone says it is and what air pressure are you using. I weigh about 195 and my wife when she is with me comes in at at whopping 115 pounds. Thanks in advance for your help.
#2
04-08-2010, 03:51 PM

From searching this topic lately I can tell you that you want to remove the lines and go to a hardware or auto parts store and get the schraeder valves. Second, you will need 2-3 washers top and bottom on the inside of the shock to offset it a little. My question is, how does one change shocks without a jack? Just one at a time?
#3
04-08-2010, 03:55 PM
#4
04-08-2010, 04:27 PM
#5
04-08-2010, 04:44 PM

Cruiser
Join Date: Aug 2009
Location: central CT
Posts: 161
Likes: 0
Received 0 Likes
on
0 Posts
They will work either way. It just might sit a tiny bit higher in the rear. I have 13" RK shocks on my 1200N and had to modify part of the exhaust bracket to clear the belt. 12" shocks wont have that same problem. With the rear higher though i noticed there is more weight on the front end and it handles amazingly now.
Last edited by Fingernip; 04-08-2010 at 04:46 PM.
#6
04-08-2010, 04:59 PM

I installed the SG shocks on my bike. Plus I got rid of the schraeder valves and went with the air lines. Switching between single and 2 up riding requires changing the air pressure. Difficult to get at the valves with saddle bags on. All I had to do was add 2 washers to the inside of the right shock. That way it cleared the belt guard.
Here is thread I started about the air lines: https://www.hdforums.com/forum/sport...he-sporty.html
Here is thread I started about the air lines: https://www.hdforums.com/forum/sport...he-sporty.html
#7
04-08-2010, 05:09 PM
Trending Topics
#9
04-08-2010, 05:38 PM
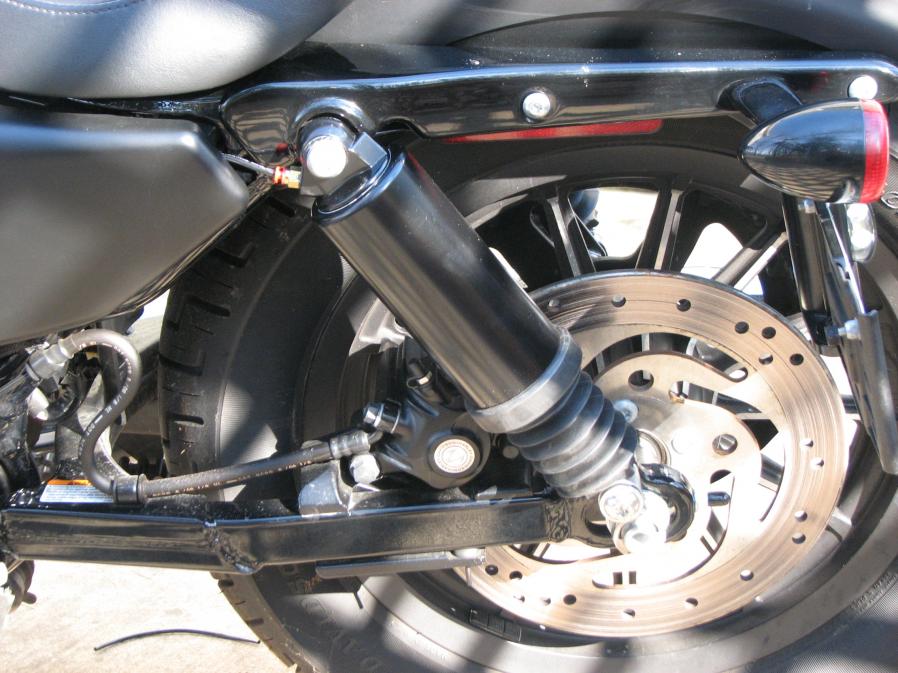
Mounted 12" RK shocks on my Iron with airlines.
Bought an extra 3' of airline from the dealer and that was more than enough to run the lines. Have extra now as the factory "long" line was enough then just cut some to replace the "short" line.
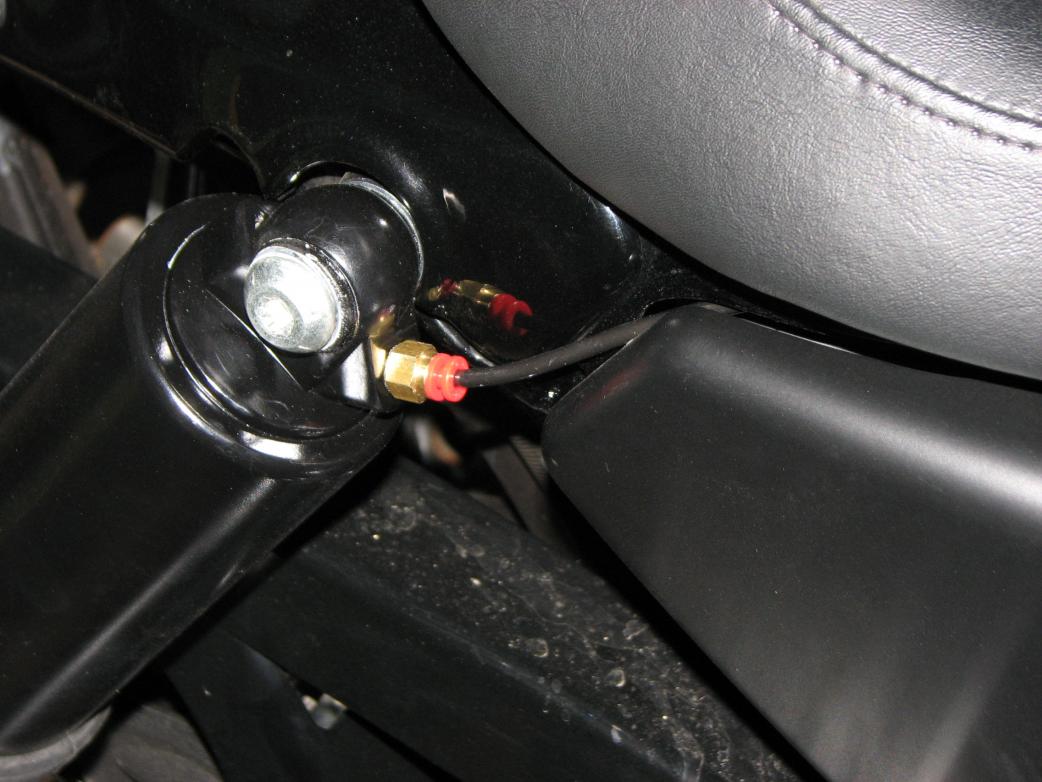
Ran the line behind the side covers to the valve mounted on the frame.
Valve was mounted just ahead of the seat on the frame. In fact you have to pull back the tip of the seat to add air. Let go of the seat and the valve is hidden. Hope the pics help and as for the ride it is completely night & day (of course I'm 240lbs so ride was very stiff before) I am running 5lbs of air and that is where I feel it is good for me. BTW to mount the valve I did not use the metal bracket, just drilled a hole for a screw and put it on. Now the valve should be safe from any damage as my leg does not press against it at all.
Attached Thumbnails


Bought an extra 3' of airline from the dealer
and that was more than enough to run the lines. Have extra now as the factory "long" line was enough then just cut some to replace the "short" line.Ran the line behind the side covers to the valve mounted on the frame.
Valve was mounted just ahead of the seat on the frame. In fact you have to pull back the tip of the seat to add air. Let go of the seat and the valve is hidden. Hope the pics help and as for the ride it is completely night & day (of course I'm 240lbs so ride was very stiff before) I am running 5lbs of air and that is where I feel it is good for me. BTW to mount the valve I did not use the metal bracket, just drilled a hole for a screw and put it on. Now the valve should be safe from any damage as my leg does not press against it at all.
Attached Thumbnails


#10
04-08-2010, 05:45 PM