
My winter mods (lots of pics)
#1
 04-14-2011, 10:59 PM

Join Date: Oct 2007
Location: Villa Ridge, MO
Posts: 79
Likes: 0
Received 0 Likes
on
0 Posts
Here are the mods I have done over the winter. Ive been done several weeks and am just getting around to posting pics. Im still working on the rear fender, Im in the process of repainting it now. I post this in several post since I dont know how many pics can be posted in one post.
NRHS 1250 kit and Energy One extra plate kit, and Thunderheart Ign
Coil relocation
Ignition switch relocation
Ignition module relocation
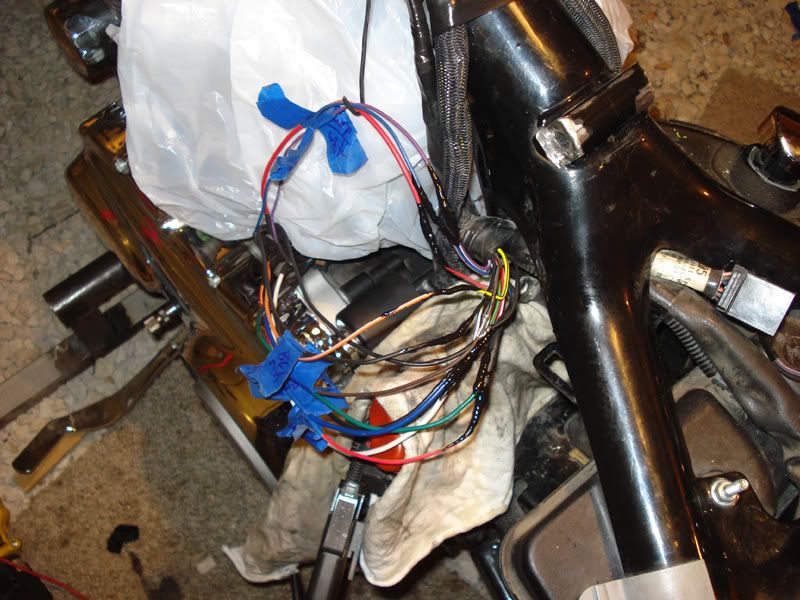
wire tuck
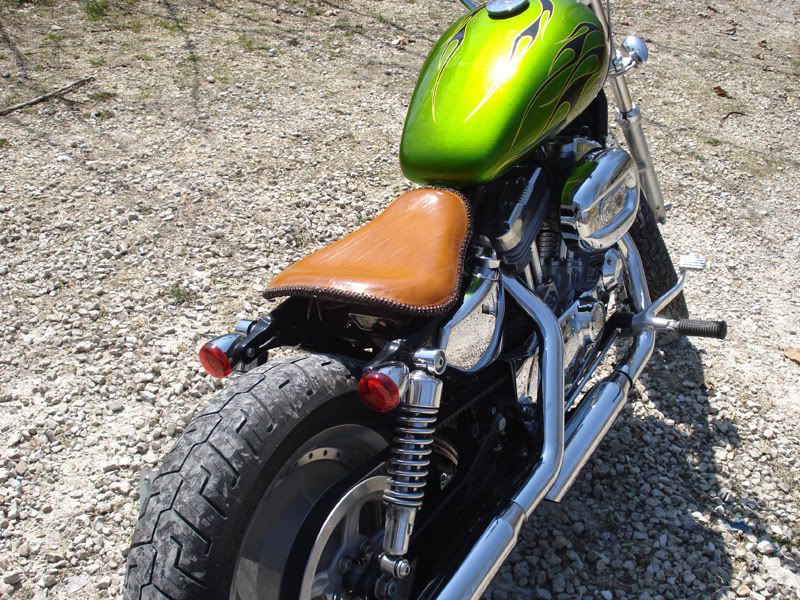
Self-built seat
Self-made solo bag
Eliminated Custom riser for 1 1/8 riser and diffent speedo mount
switched from mini apes to 14 inch apes
upper belt guard removed
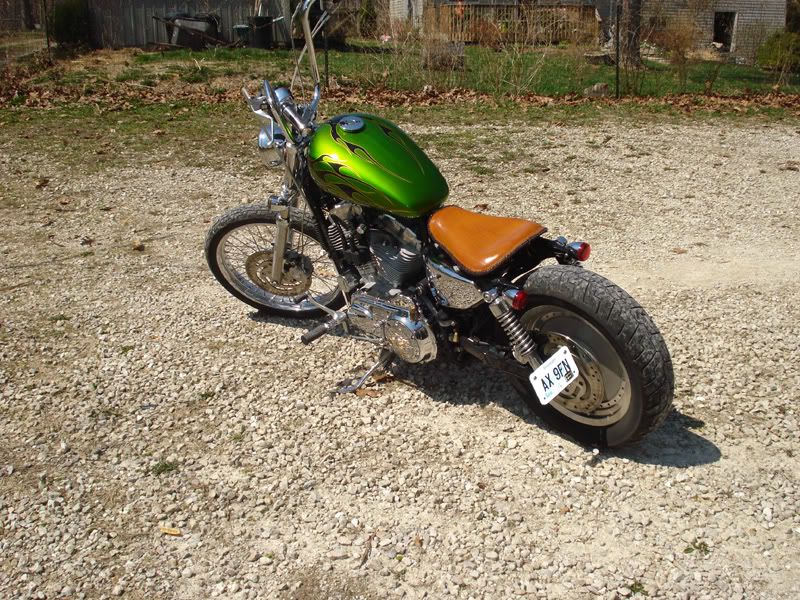
cut rear struts, mounted turn sigs on remaining strut, run/stop module installed
relocated lic plate bracket
fender chop and slam
dropped front fender 3/4"
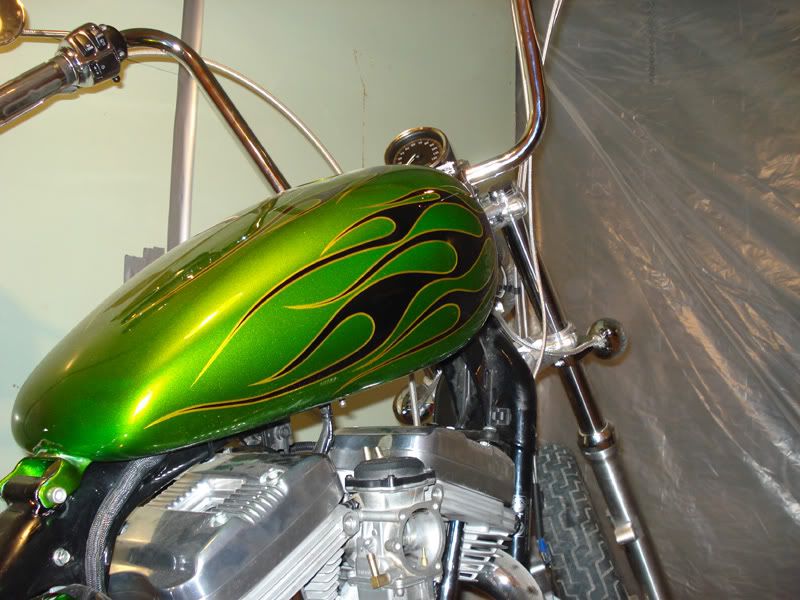
tank lift
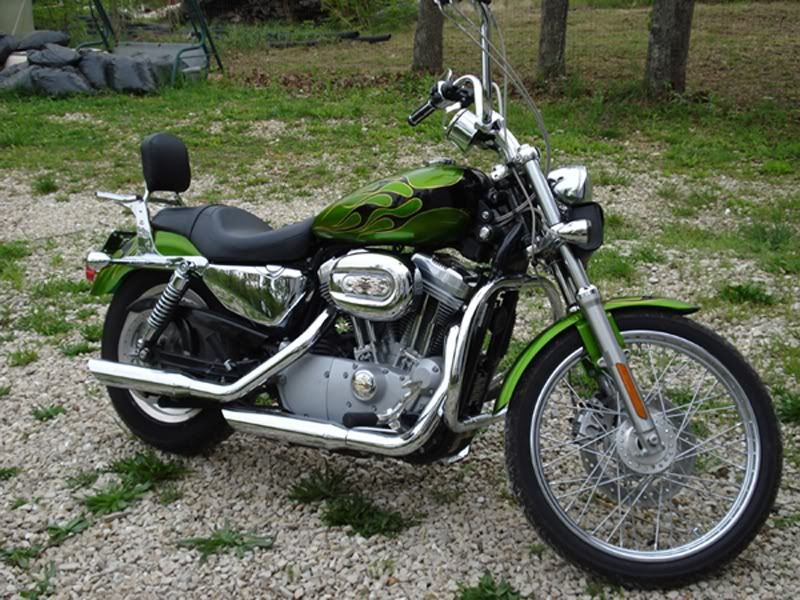
when I first got her in 07

before mods, i painted it in 08
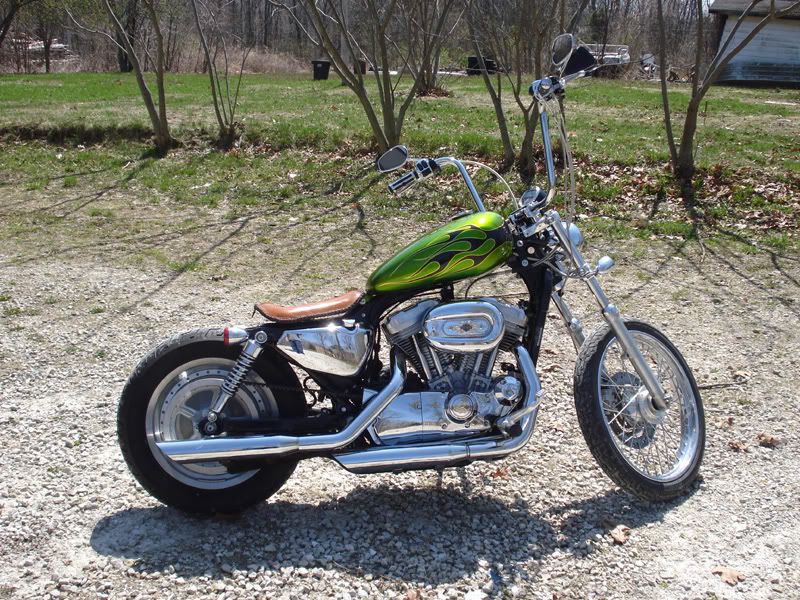
after mods
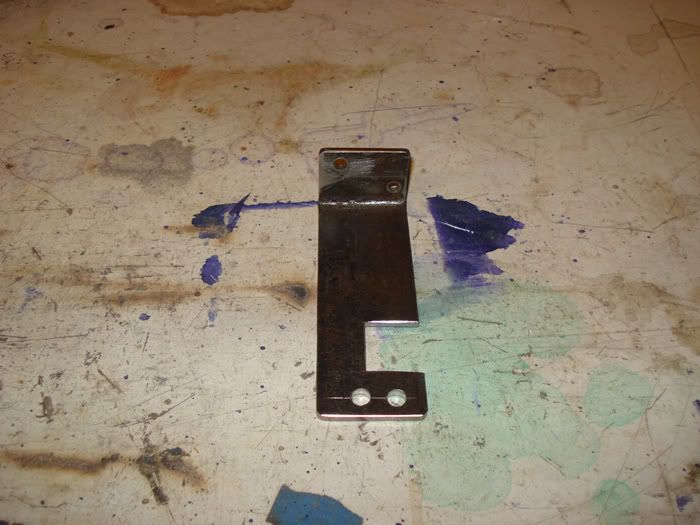
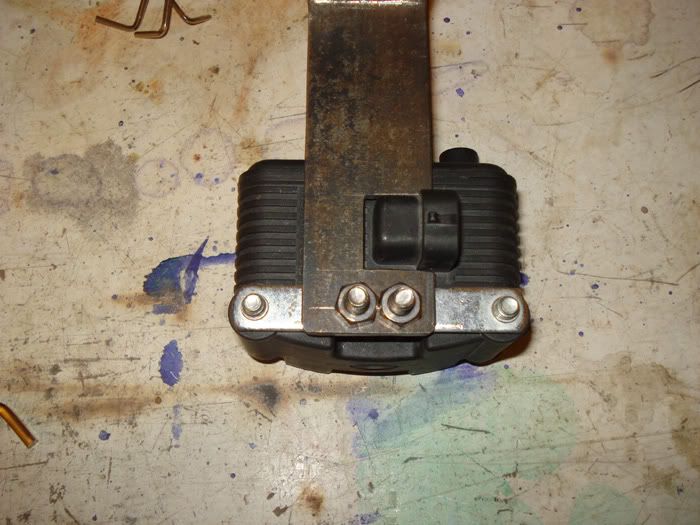
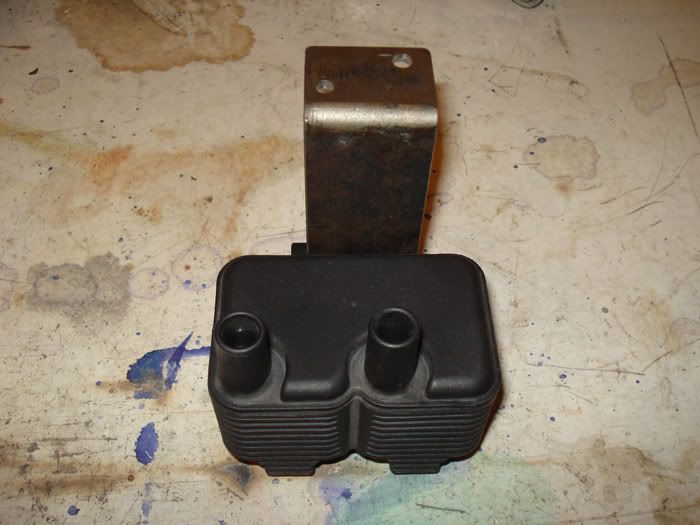
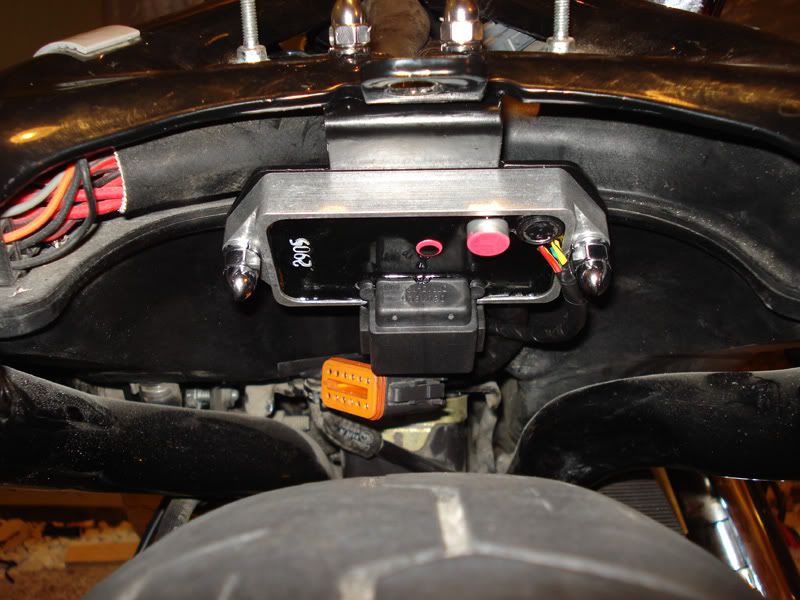
coil relo
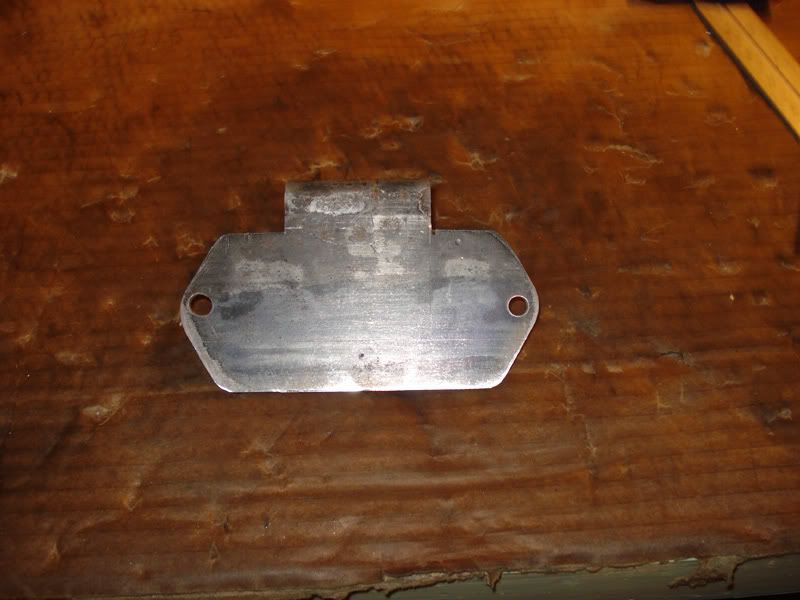
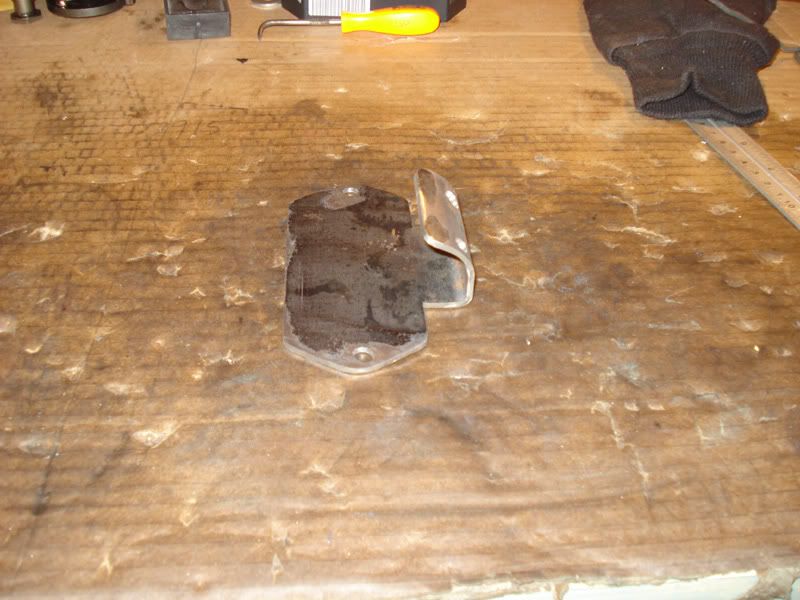
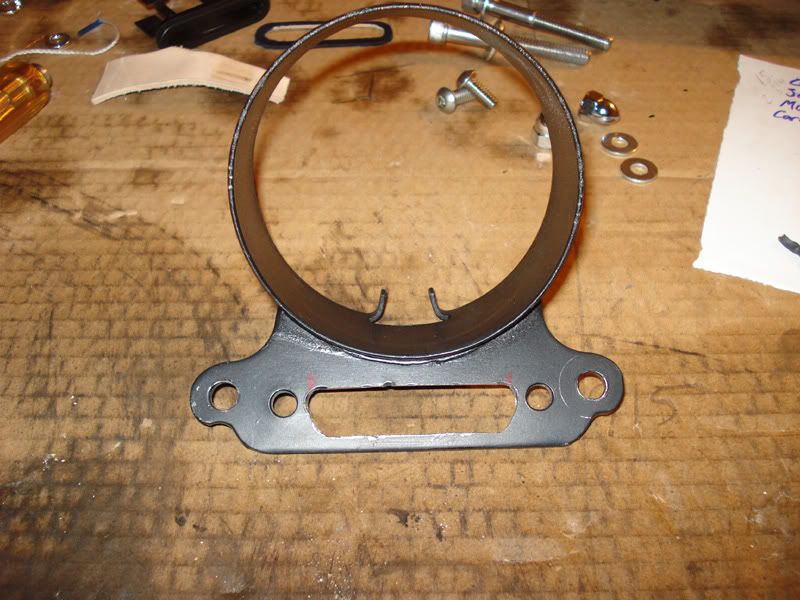
I fabbed this bracket out of 1/8 steel plate and mounted it to the enricher bracket using the holes to which the smaller enricher bracket was bolted to, moving the enricher over slightly using the hole for the plastic spark plug clamp which was aleady threaded at 5/16 but powder coated over. I modified the smaller enricher bracket and reused it for mounting.

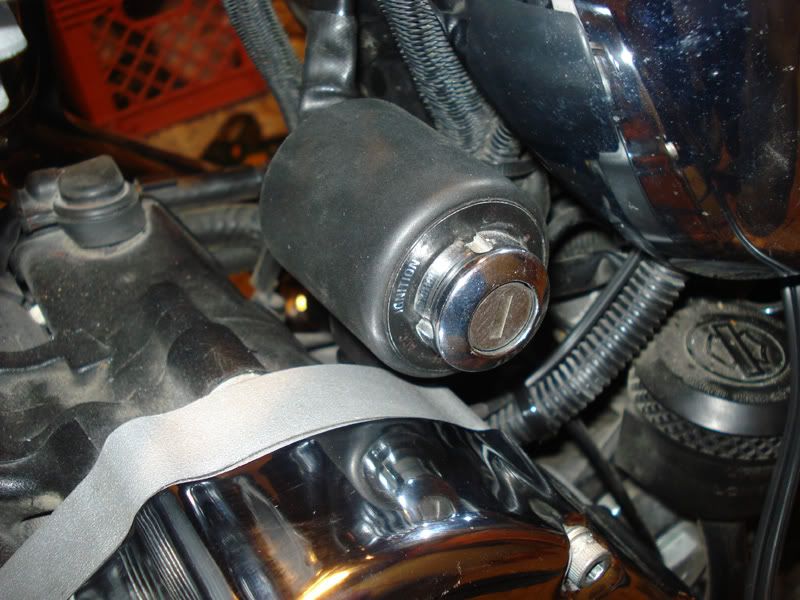
I relocated my ignition switch on the left side, fabbing a small bracket for this purpose. I used a small rubber washer between the switch and bracket to help minimize vibration.
The ignition module was relocated on the frame under the seat by a bracket I fabbed and wires had to be extended for this.
NRHS 1250 kit and Energy One extra plate kit, and Thunderheart Ign
Coil relocation
Ignition switch relocation
Ignition module relocation
wire tuck
Self-built seat
Self-made solo bag
Eliminated Custom riser for 1 1/8 riser and diffent speedo mount
switched from mini apes to 14 inch apes
upper belt guard removed
cut rear struts, mounted turn sigs on remaining strut, run/stop module installed
relocated lic plate bracket
fender chop and slam
dropped front fender 3/4"
tank lift
when I first got her in 07
before mods, i painted it in 08
after mods
coil relo
I fabbed this bracket out of 1/8 steel plate and mounted it to the enricher bracket using the holes to which the smaller enricher bracket was bolted to, moving the enricher over slightly using the hole for the plastic spark plug clamp which was aleady threaded at 5/16 but powder coated over. I modified the smaller enricher bracket and reused it for mounting.
I relocated my ignition switch on the left side, fabbing a small bracket for this purpose. I used a small rubber washer between the switch and bracket to help minimize vibration.
The ignition module was relocated on the frame under the seat by a bracket I fabbed and wires had to be extended for this.

#3
04-14-2011, 11:17 PM
Join Date: Oct 2007
Location: Villa Ridge, MO
Posts: 79
Likes: 0
Received 0 Likes
on
0 Posts
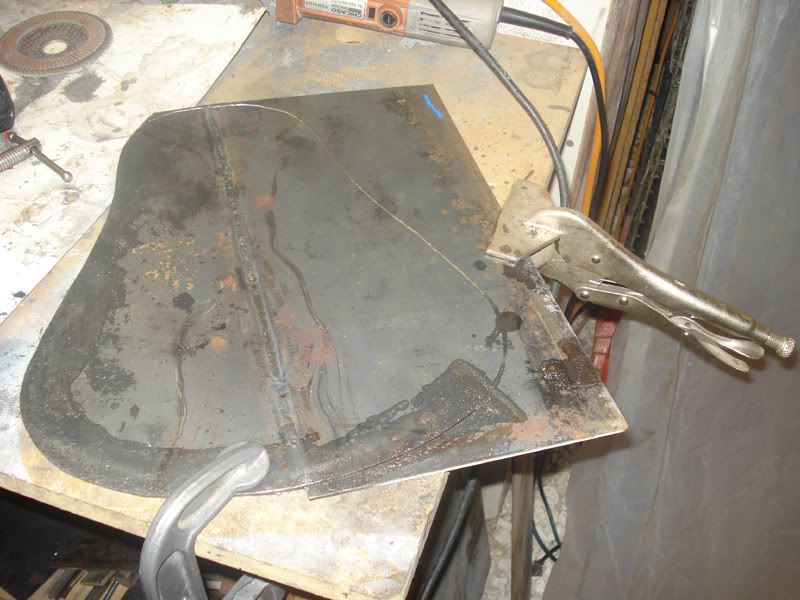
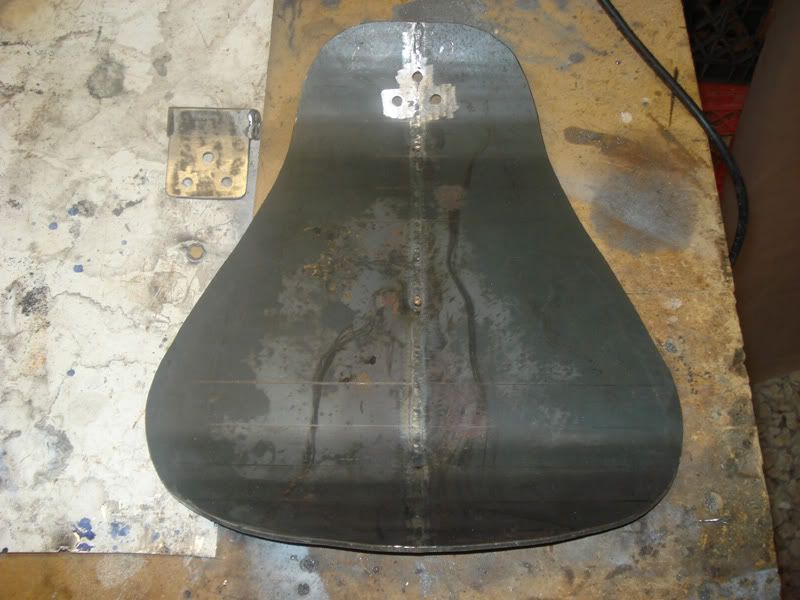
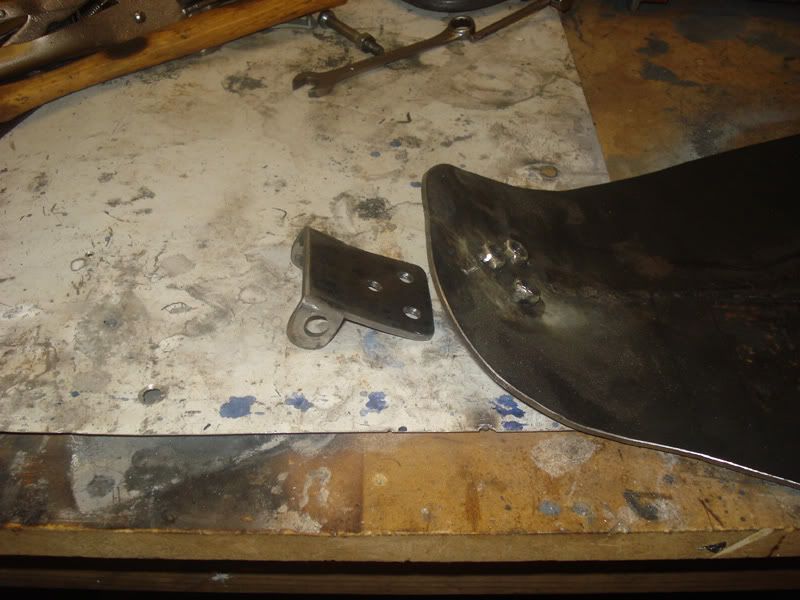
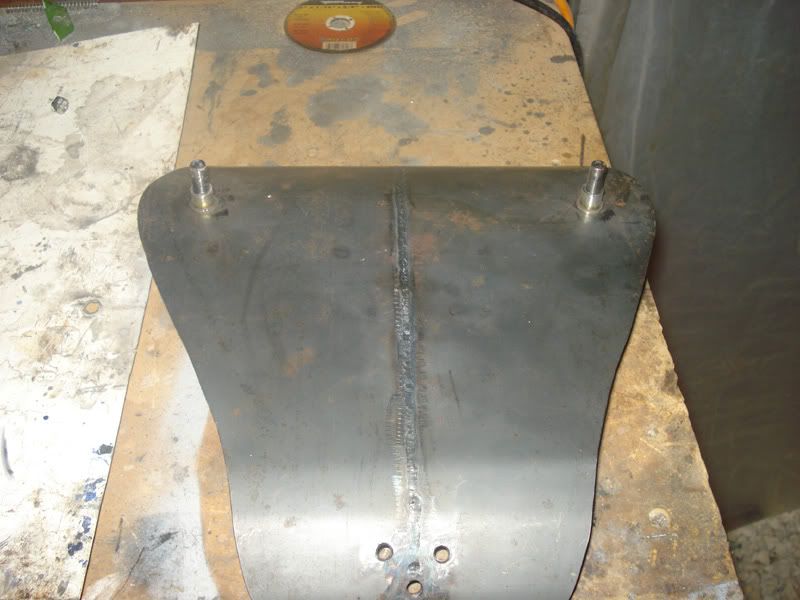
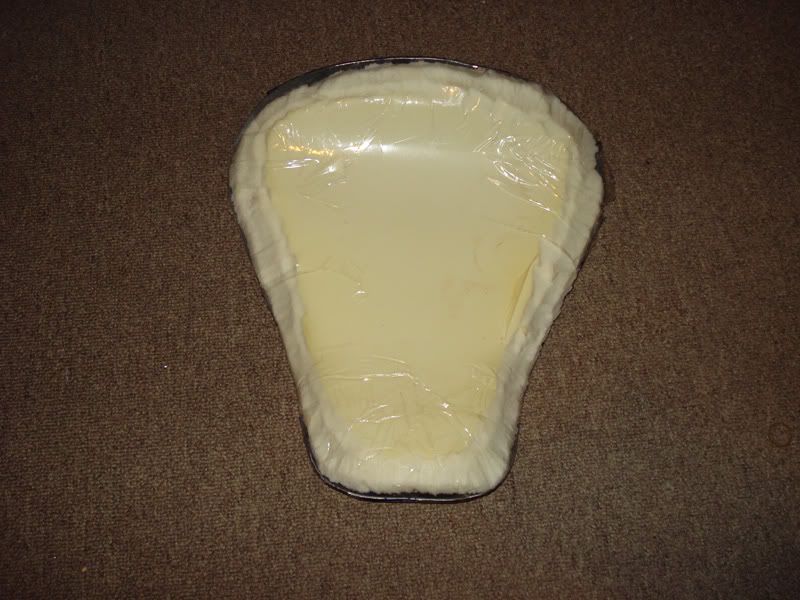
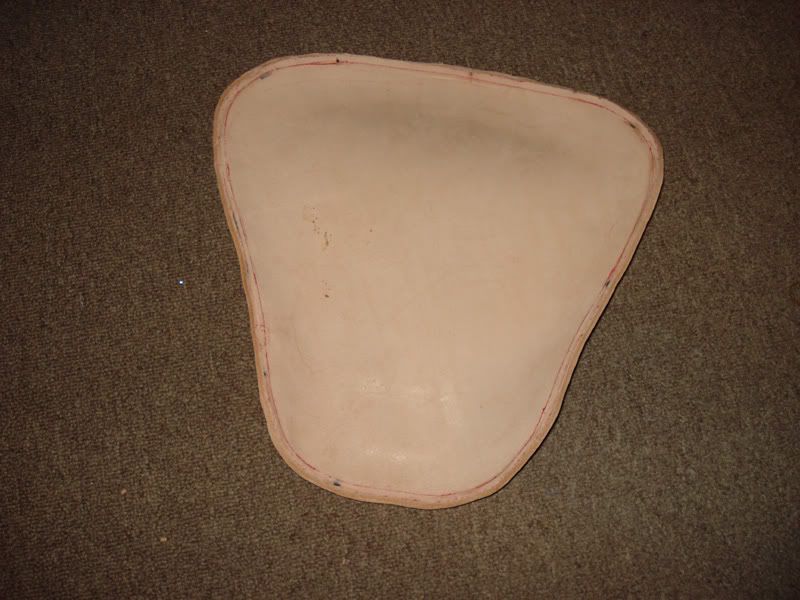
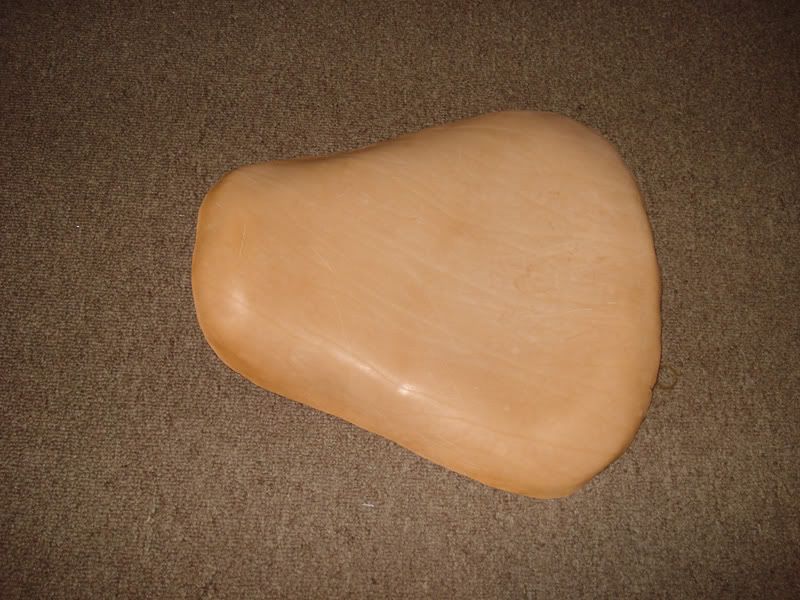
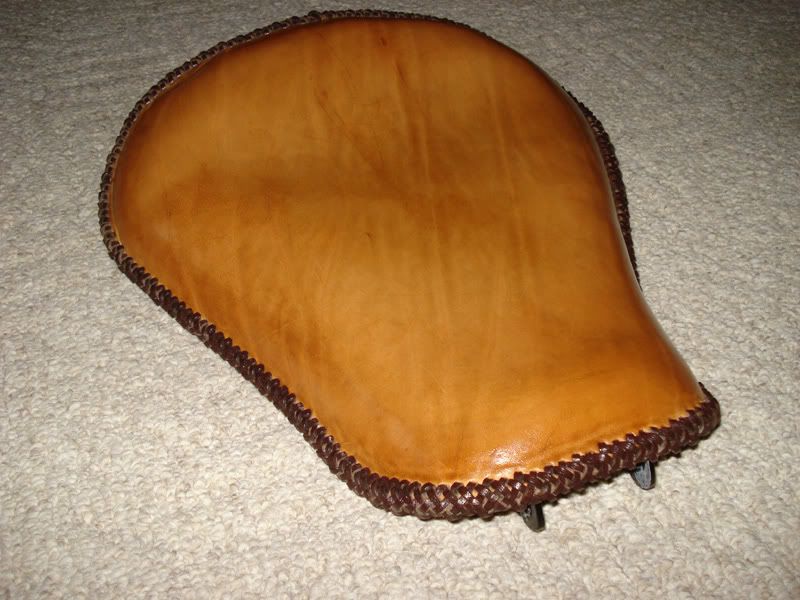
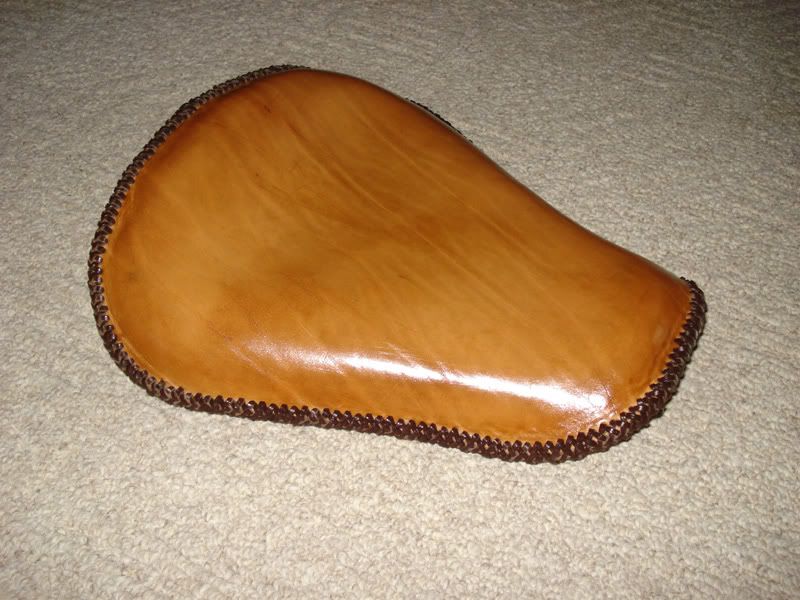
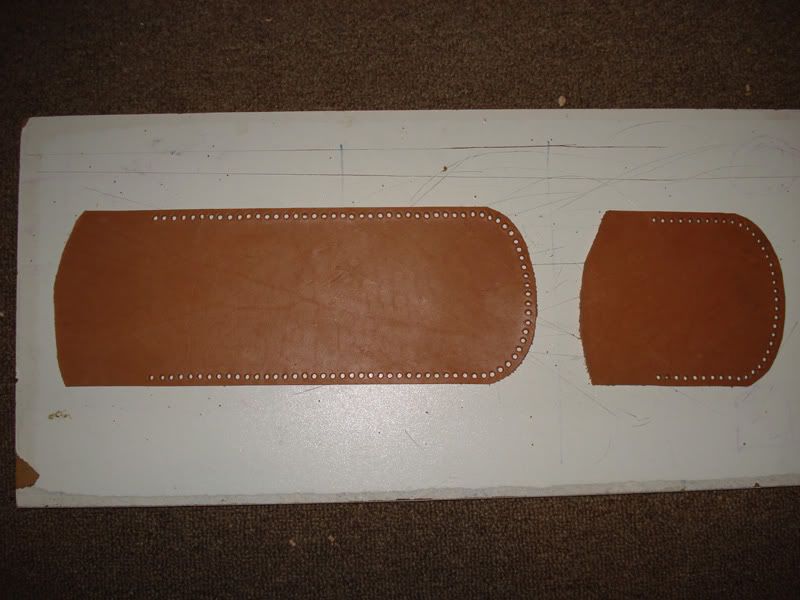
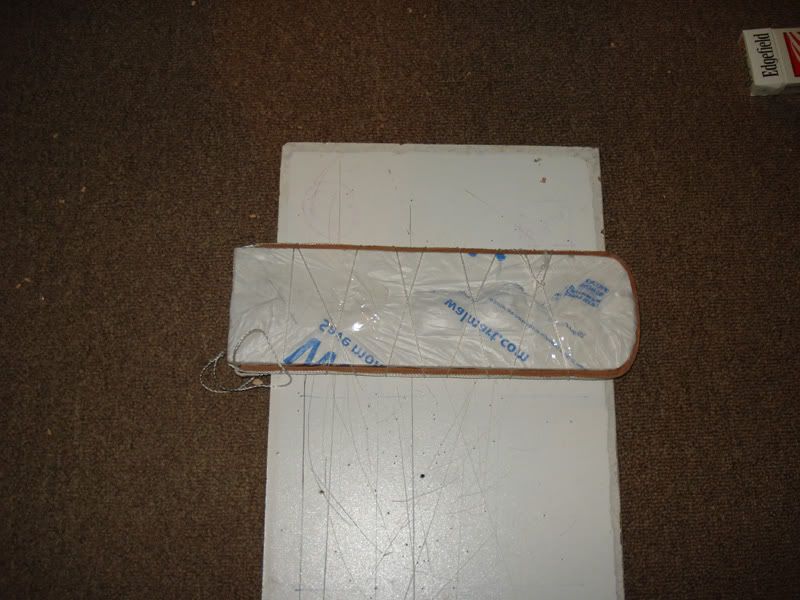
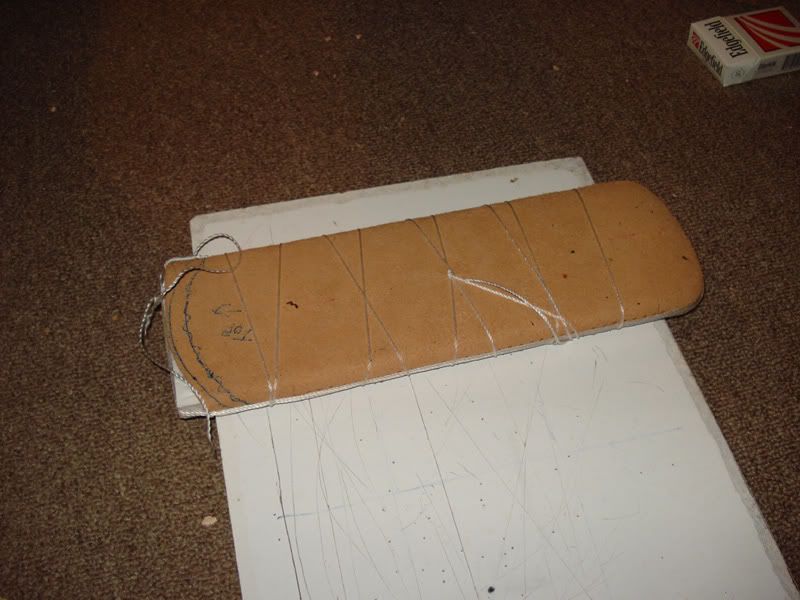
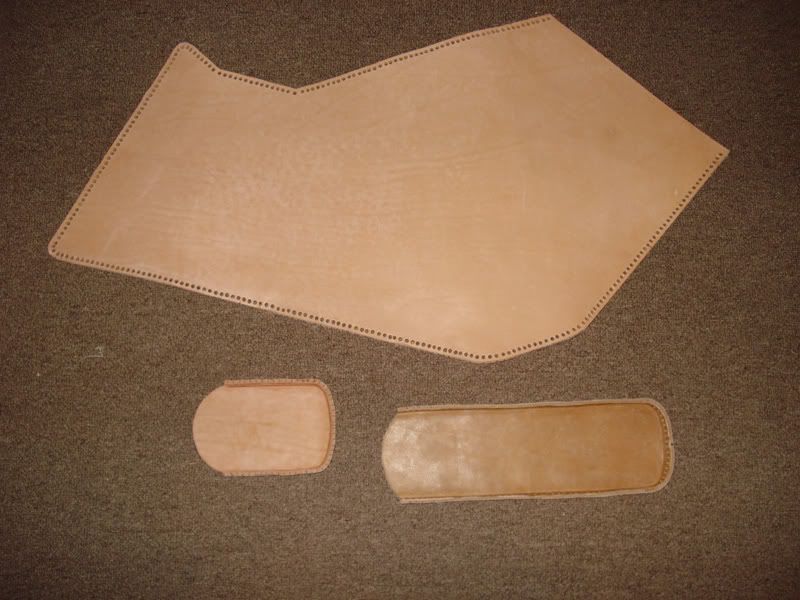
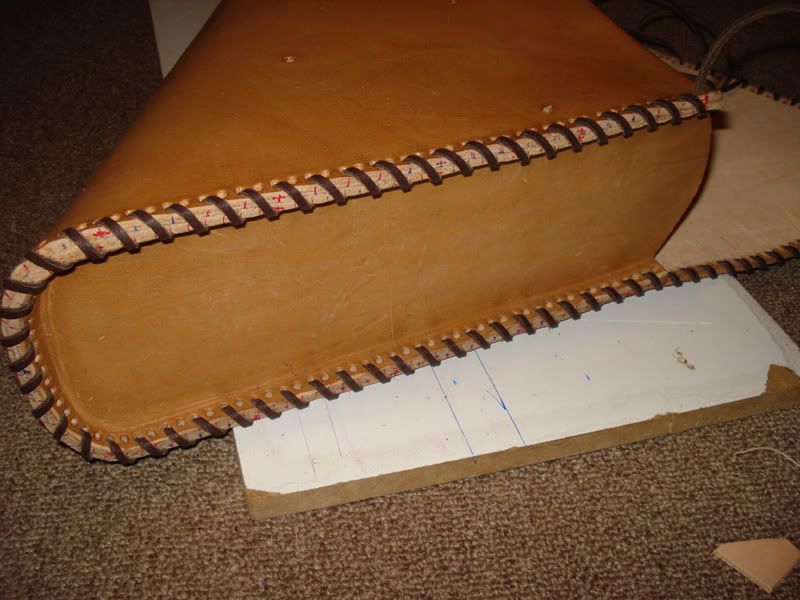
The seat (my first leather project) was made by me using 1/8 steel plate. I didnt have a piece wide enough so I had to cut the piece I had and weld it together side by side. I bent the pan using a 20 ton press and some 1.5 inch round bar stock, and fabbed the mounting bracket to mount it to the tank mount. To mount the bracket I welded some 5/16 nuts to the seat, to allow the mount to bolt to the seat after covered with the leather. I butchered the foam on my factory two up to use. I got the leather at Tandy (10-12 oz). on sale due to imperfections.I got a 10 sq ft piece and had enough to make the solo bag and a tool bag currently in the works. I molded the top piece using the pan. I bought leather dye but didnt care for the color it came out to be so i actually used minwax wood stain in golden oak then applied 2 coats of linseed oil 24 hrs apart and a final finish of resolene for water protection. I fasten the top and bottom leather pieces with a round edge braid using a chocolate colored lace.

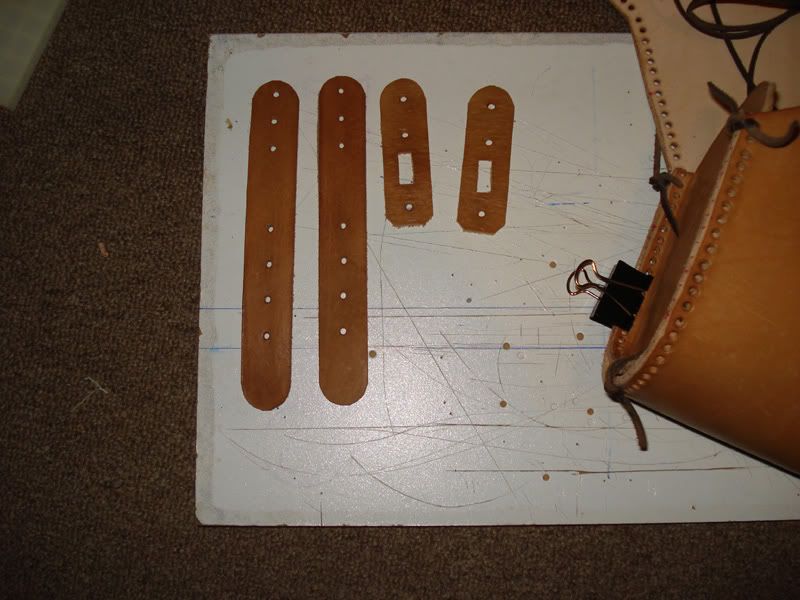
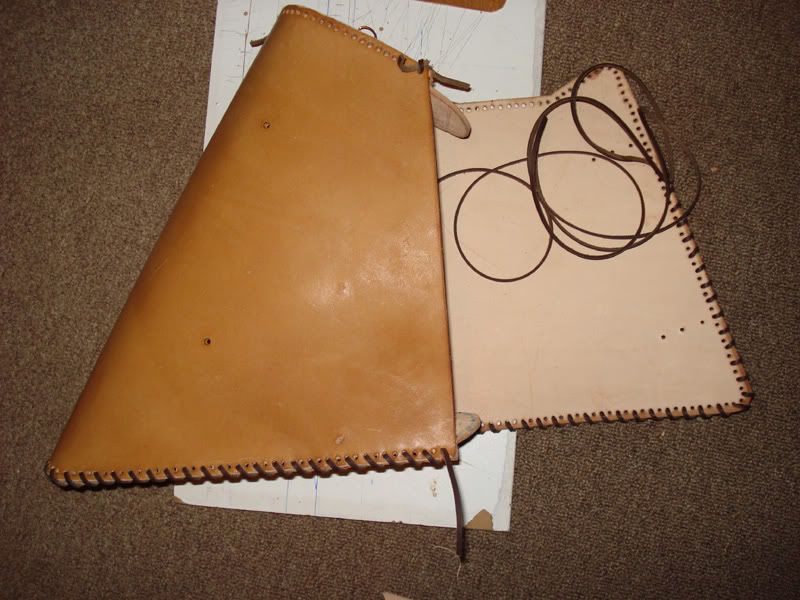
The solo bag was designed off of pics from the net to resemble the solo bags I have seen. It was finished in the same manner as the seat. For 100 dollars I made my seat, solo bag and a tool bag (still working on)that all match.
I made this bag as I was making the seat for my sporty (which I posted a week or two ago), but finally last week finished assembly and finishing. The color was a little different than the seat initially due to the weeks between finishing, but it is quickly beginning to match.
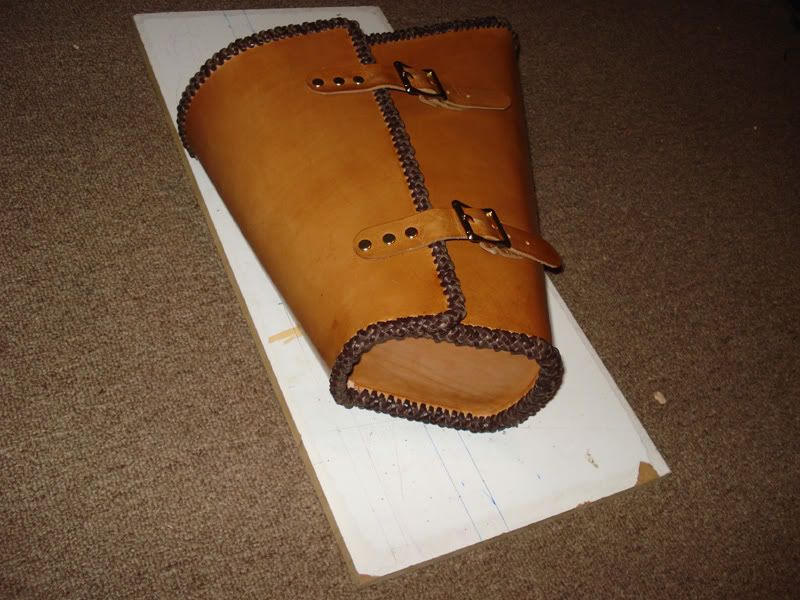
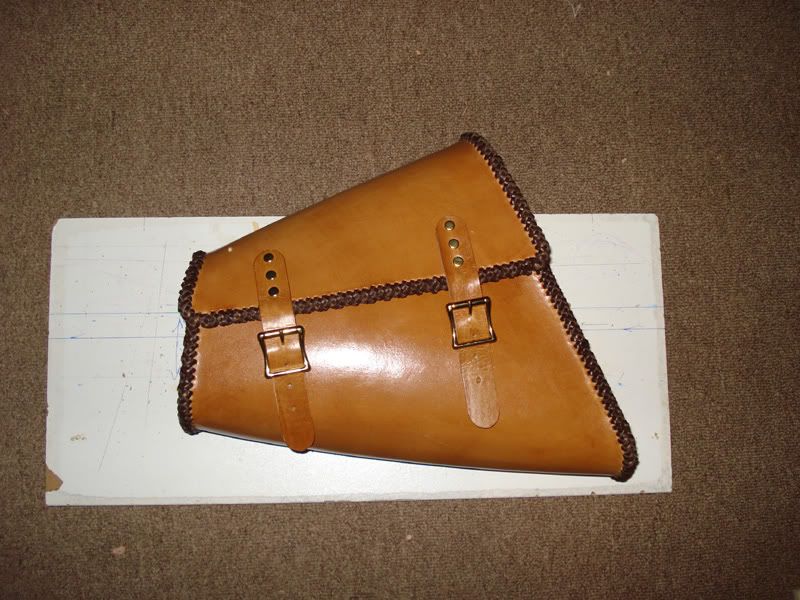
#6
04-14-2011, 11:41 PM
Join Date: Oct 2007
Location: Villa Ridge, MO
Posts: 79
Likes: 0
Received 0 Likes
on
0 Posts
I def agree about the fender. Im hopin to get it done in the next week or so.
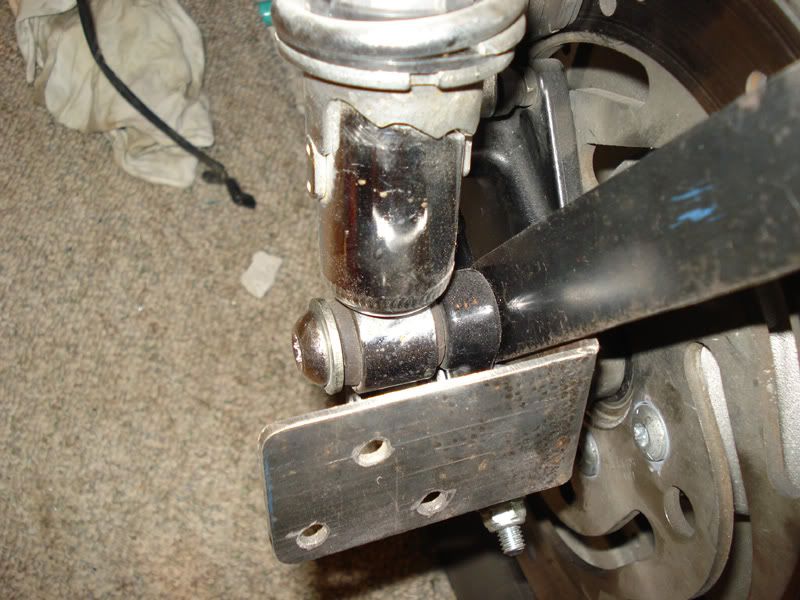
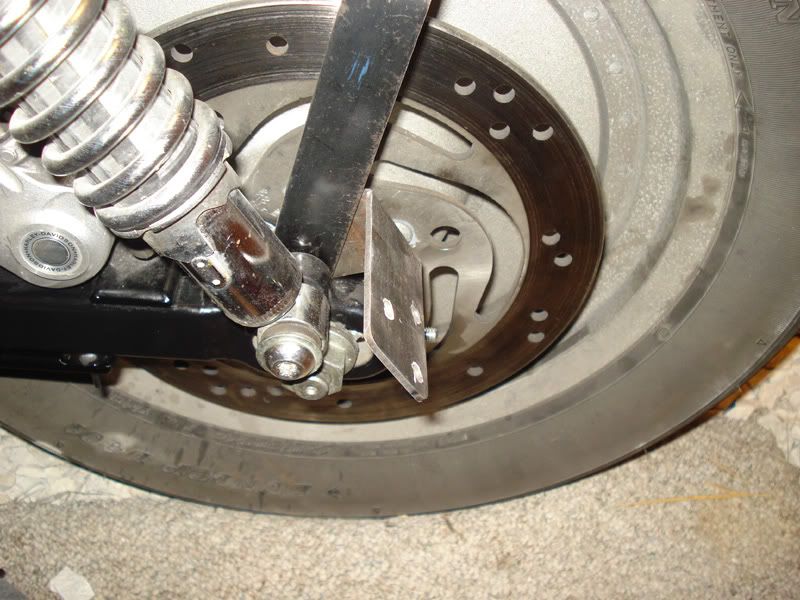
I fabbed this lic plate bracket out of the same metal used for other brackets and mounted it to the back of the lower shock mount bolt. On it mounts a JP Cycles brand layback plate mount.
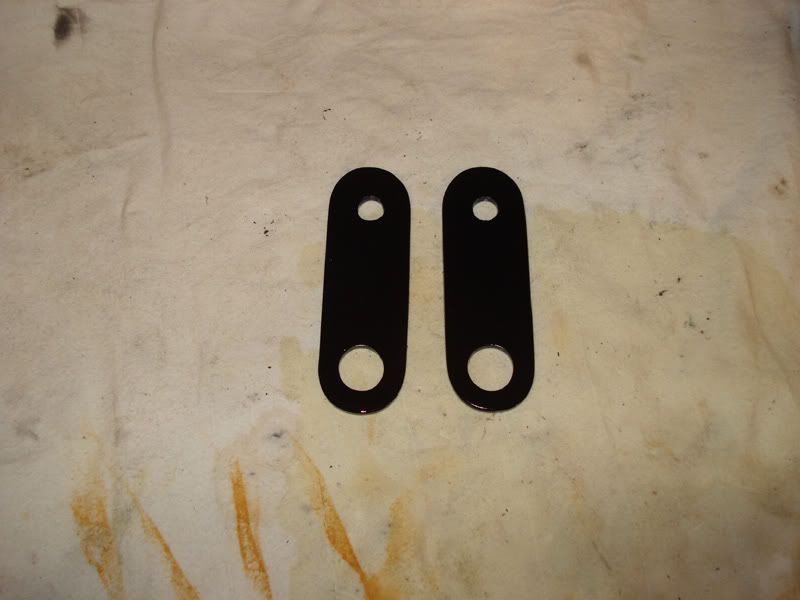
I got rid of the custom riser, went with an 1 1/8 riser, and switched to 14 in apes from mini apes w/o having to change cables. A member of another forum was kind enough to give me the speedo housing. I coundnt locate any warning light parts so I modded it to use the ones frm my custom riser. The riser I chose, wouldnt accommodate the mount so I had to fashion some spacers and mount it using the tree facia bolt holes and had to purchase longer bolts.
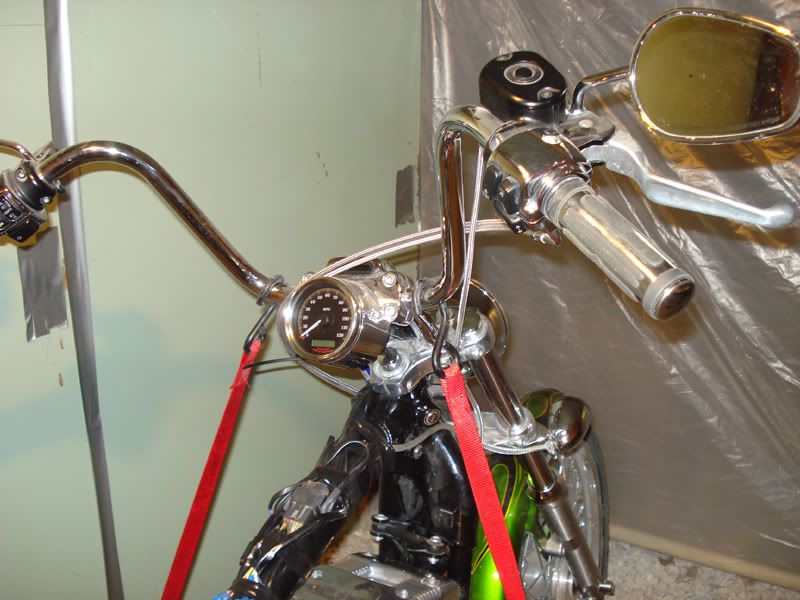
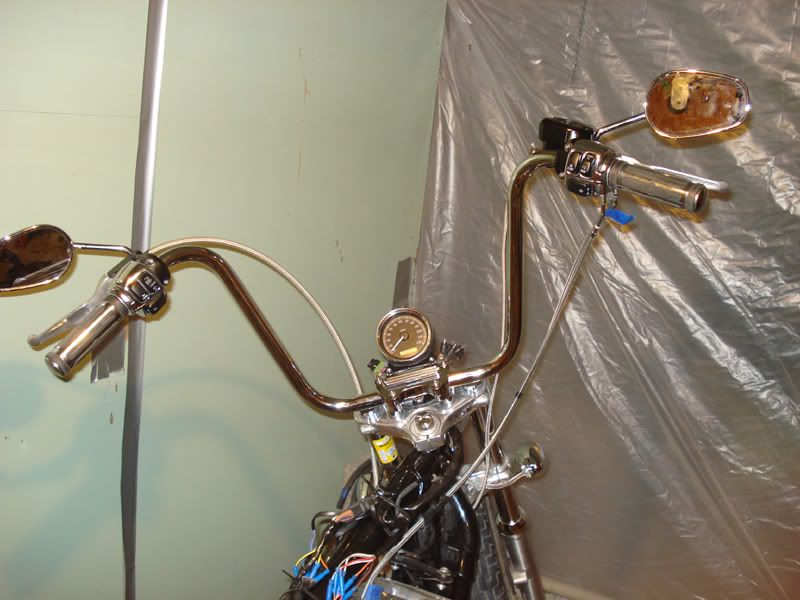
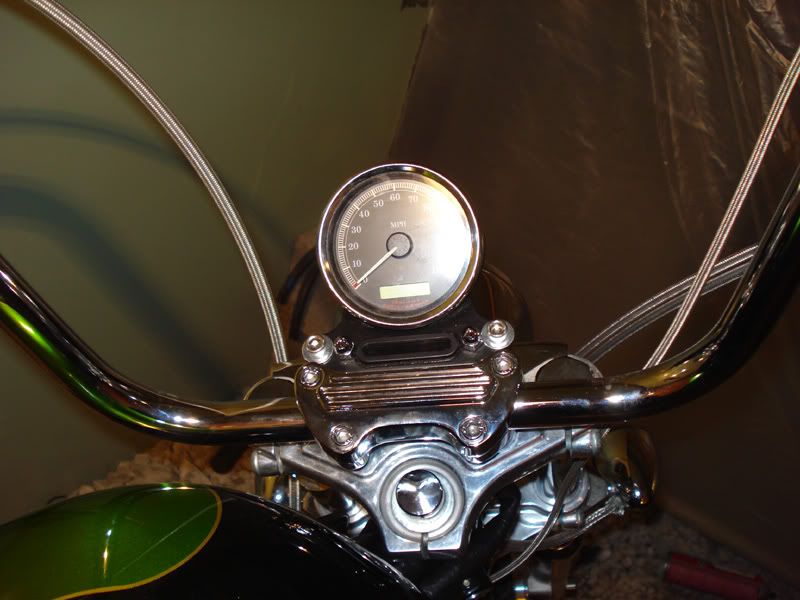
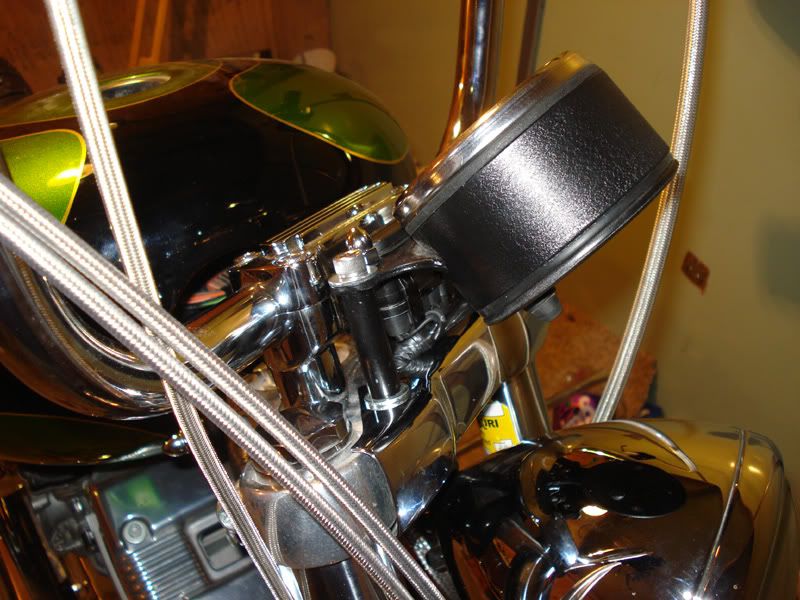
I was trying to avoid new bars and riser so my original lift brackets I made were one inch which put my tank 1/8 inch below the custom speedo mount, I wanted it higher so I went ahead with bar/riser change and gave it a 2 3/4 inch lift.
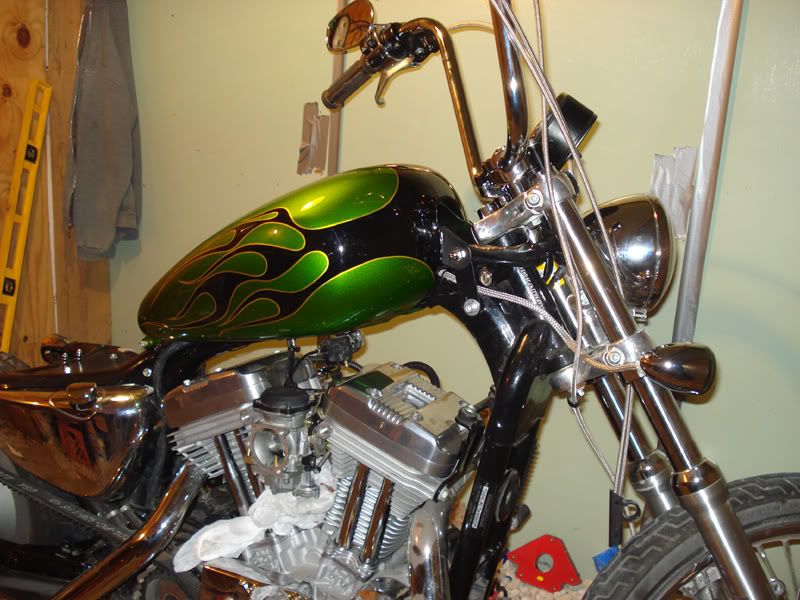
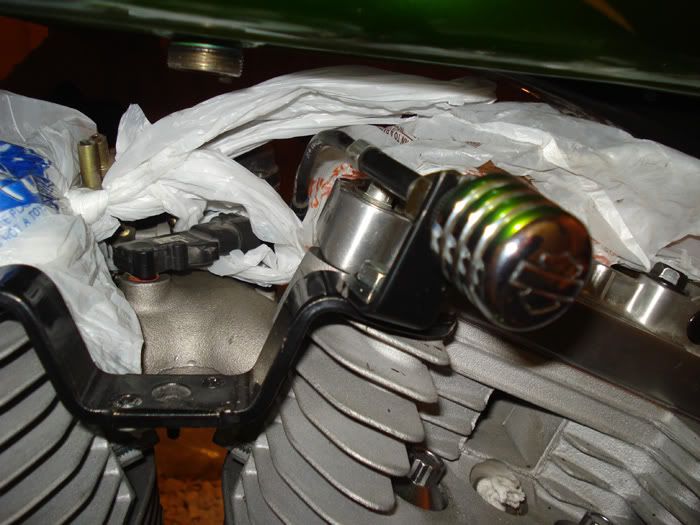
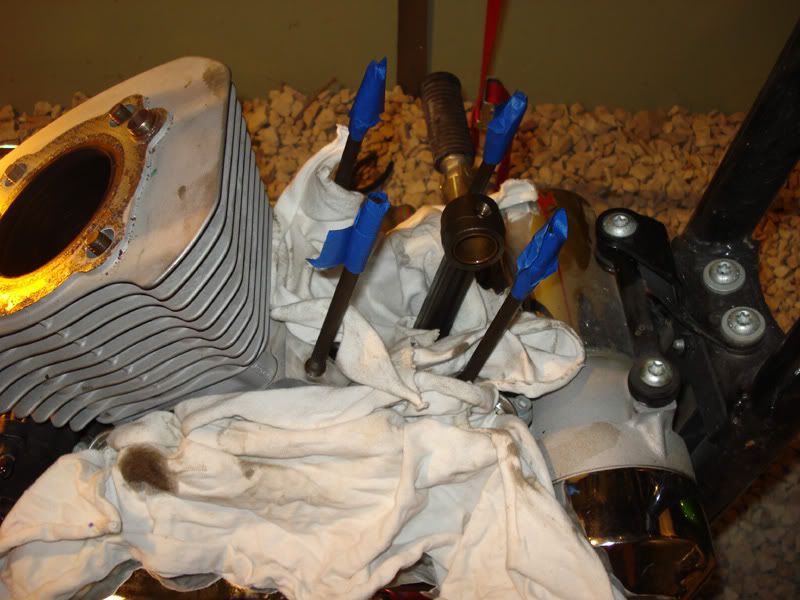
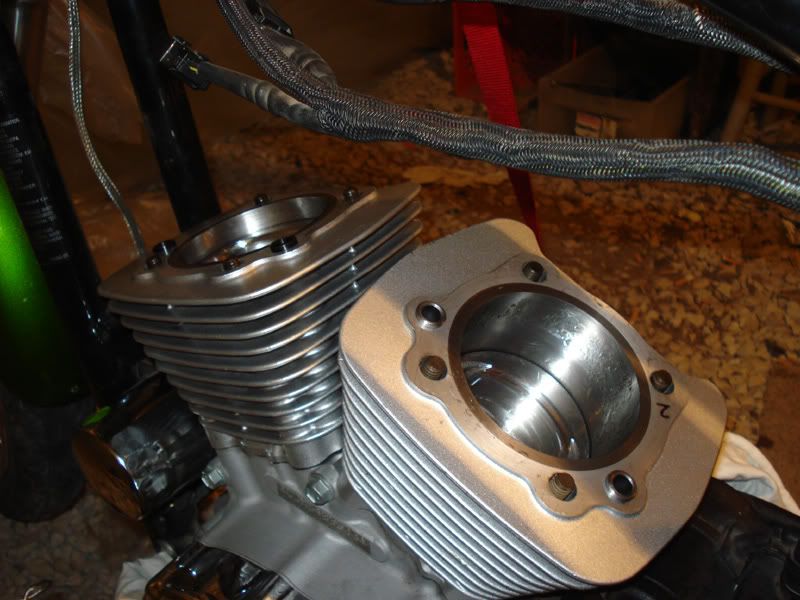
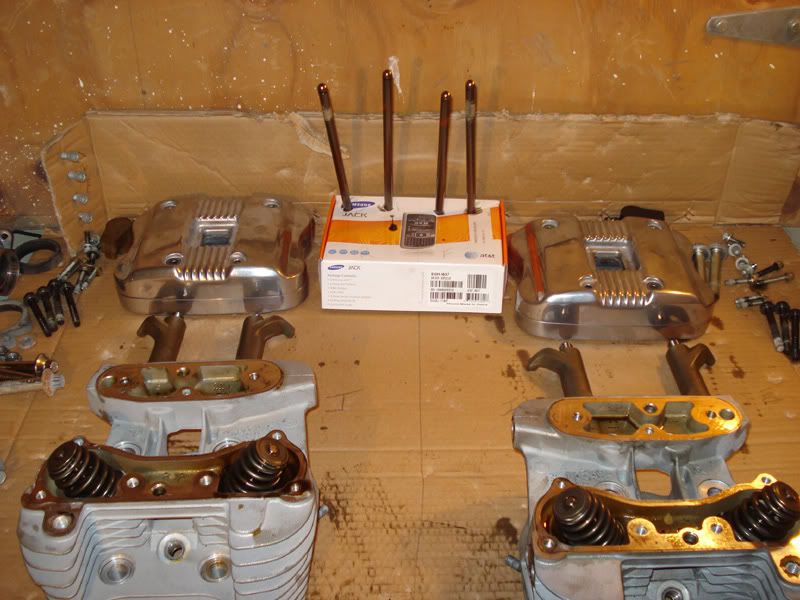
Couple 1250 conversion pics
Ill have my breakin miles done on the next ride. I still working on the program for the Thunderheart ign, which Im happy with. I wanted a TC88a but funds didnt allow, but I feel this one is adequate, I get no pinging with the factory settings but I dialing it in a little closer to timing that others with 1250s are running.
Ill post pics once I get my rear fender finished off. Thanks for looking.
I fabbed this lic plate bracket out of the same metal used for other brackets and mounted it to the back of the lower shock mount bolt. On it mounts a JP Cycles brand layback plate mount.
I got rid of the custom riser, went with an 1 1/8 riser, and switched to 14 in apes from mini apes w/o having to change cables. A member of another forum was kind enough to give me the speedo housing. I coundnt locate any warning light parts so I modded it to use the ones frm my custom riser. The riser I chose, wouldnt accommodate the mount so I had to fashion some spacers and mount it using the tree facia bolt holes and had to purchase longer bolts.
I was trying to avoid new bars and riser so my original lift brackets I made were one inch which put my tank 1/8 inch below the custom speedo mount, I wanted it higher so I went ahead with bar/riser change and gave it a 2 3/4 inch lift.
Couple 1250 conversion pics
Ill have my breakin miles done on the next ride. I still working on the program for the Thunderheart ign, which Im happy with. I wanted a TC88a but funds didnt allow, but I feel this one is adequate, I get no pinging with the factory settings but I dialing it in a little closer to timing that others with 1250s are running.
Ill post pics once I get my rear fender finished off. Thanks for looking.
#7
04-15-2011, 05:49 AM
Ultimate HDF Member

Trending Topics
#10
04-15-2011, 10:45 AM
Road Captain