
Which fairing?
#1
 07-19-2013, 09:34 AM

Join Date: Aug 2011
Location: Bay Area
Posts: 107
Likes: 0
Received 0 Likes
on
0 Posts
Cant seem to decided which fairing to put on. Hopefully some of you fellas can help me out. Pros and cons on the following fairings, Conely's Accessories Retro Quarter Fairing, Arlen Ness Bolt On Fairing or the Memphis Shades Gauntlet Fairing? Anyone running any of these? Thanks for any advice yo can give.

#4
08-04-2013, 08:28 AM

6th Gear
Join Date: Mar 2013
Location: Camp Lejeune
Posts: 11
Likes: 0
Received 0 Likes
on
0 Posts
Seeing how few posts have replied to your question i assume that sportsters with fairings are not too popular. I like them...usually. It beats having a bulky windshield and adds a very unique style.
I dont like the HD visor or whoever has that 883 iron above. It is way too "Sons of Anarchy".
The retro qtr fairing is cool but the arlen ness is clean. I'm afraid the retro will come out looking like a cafe cruiser. my two cents.
The gauntlet is pretty slick too.
I dont like the HD visor or whoever has that 883 iron above. It is way too "Sons of Anarchy".
The retro qtr fairing is cool but the arlen ness is clean. I'm afraid the retro will come out looking like a cafe cruiser. my two cents.
The gauntlet is pretty slick too.
Last edited by marine_zl; 08-04-2013 at 08:59 AM.
#5
08-04-2013, 09:08 AM

Advanced
Join Date: Jul 2013
Location: Texas
Posts: 74
Likes: 0
Received 0 Likes
on
0 Posts
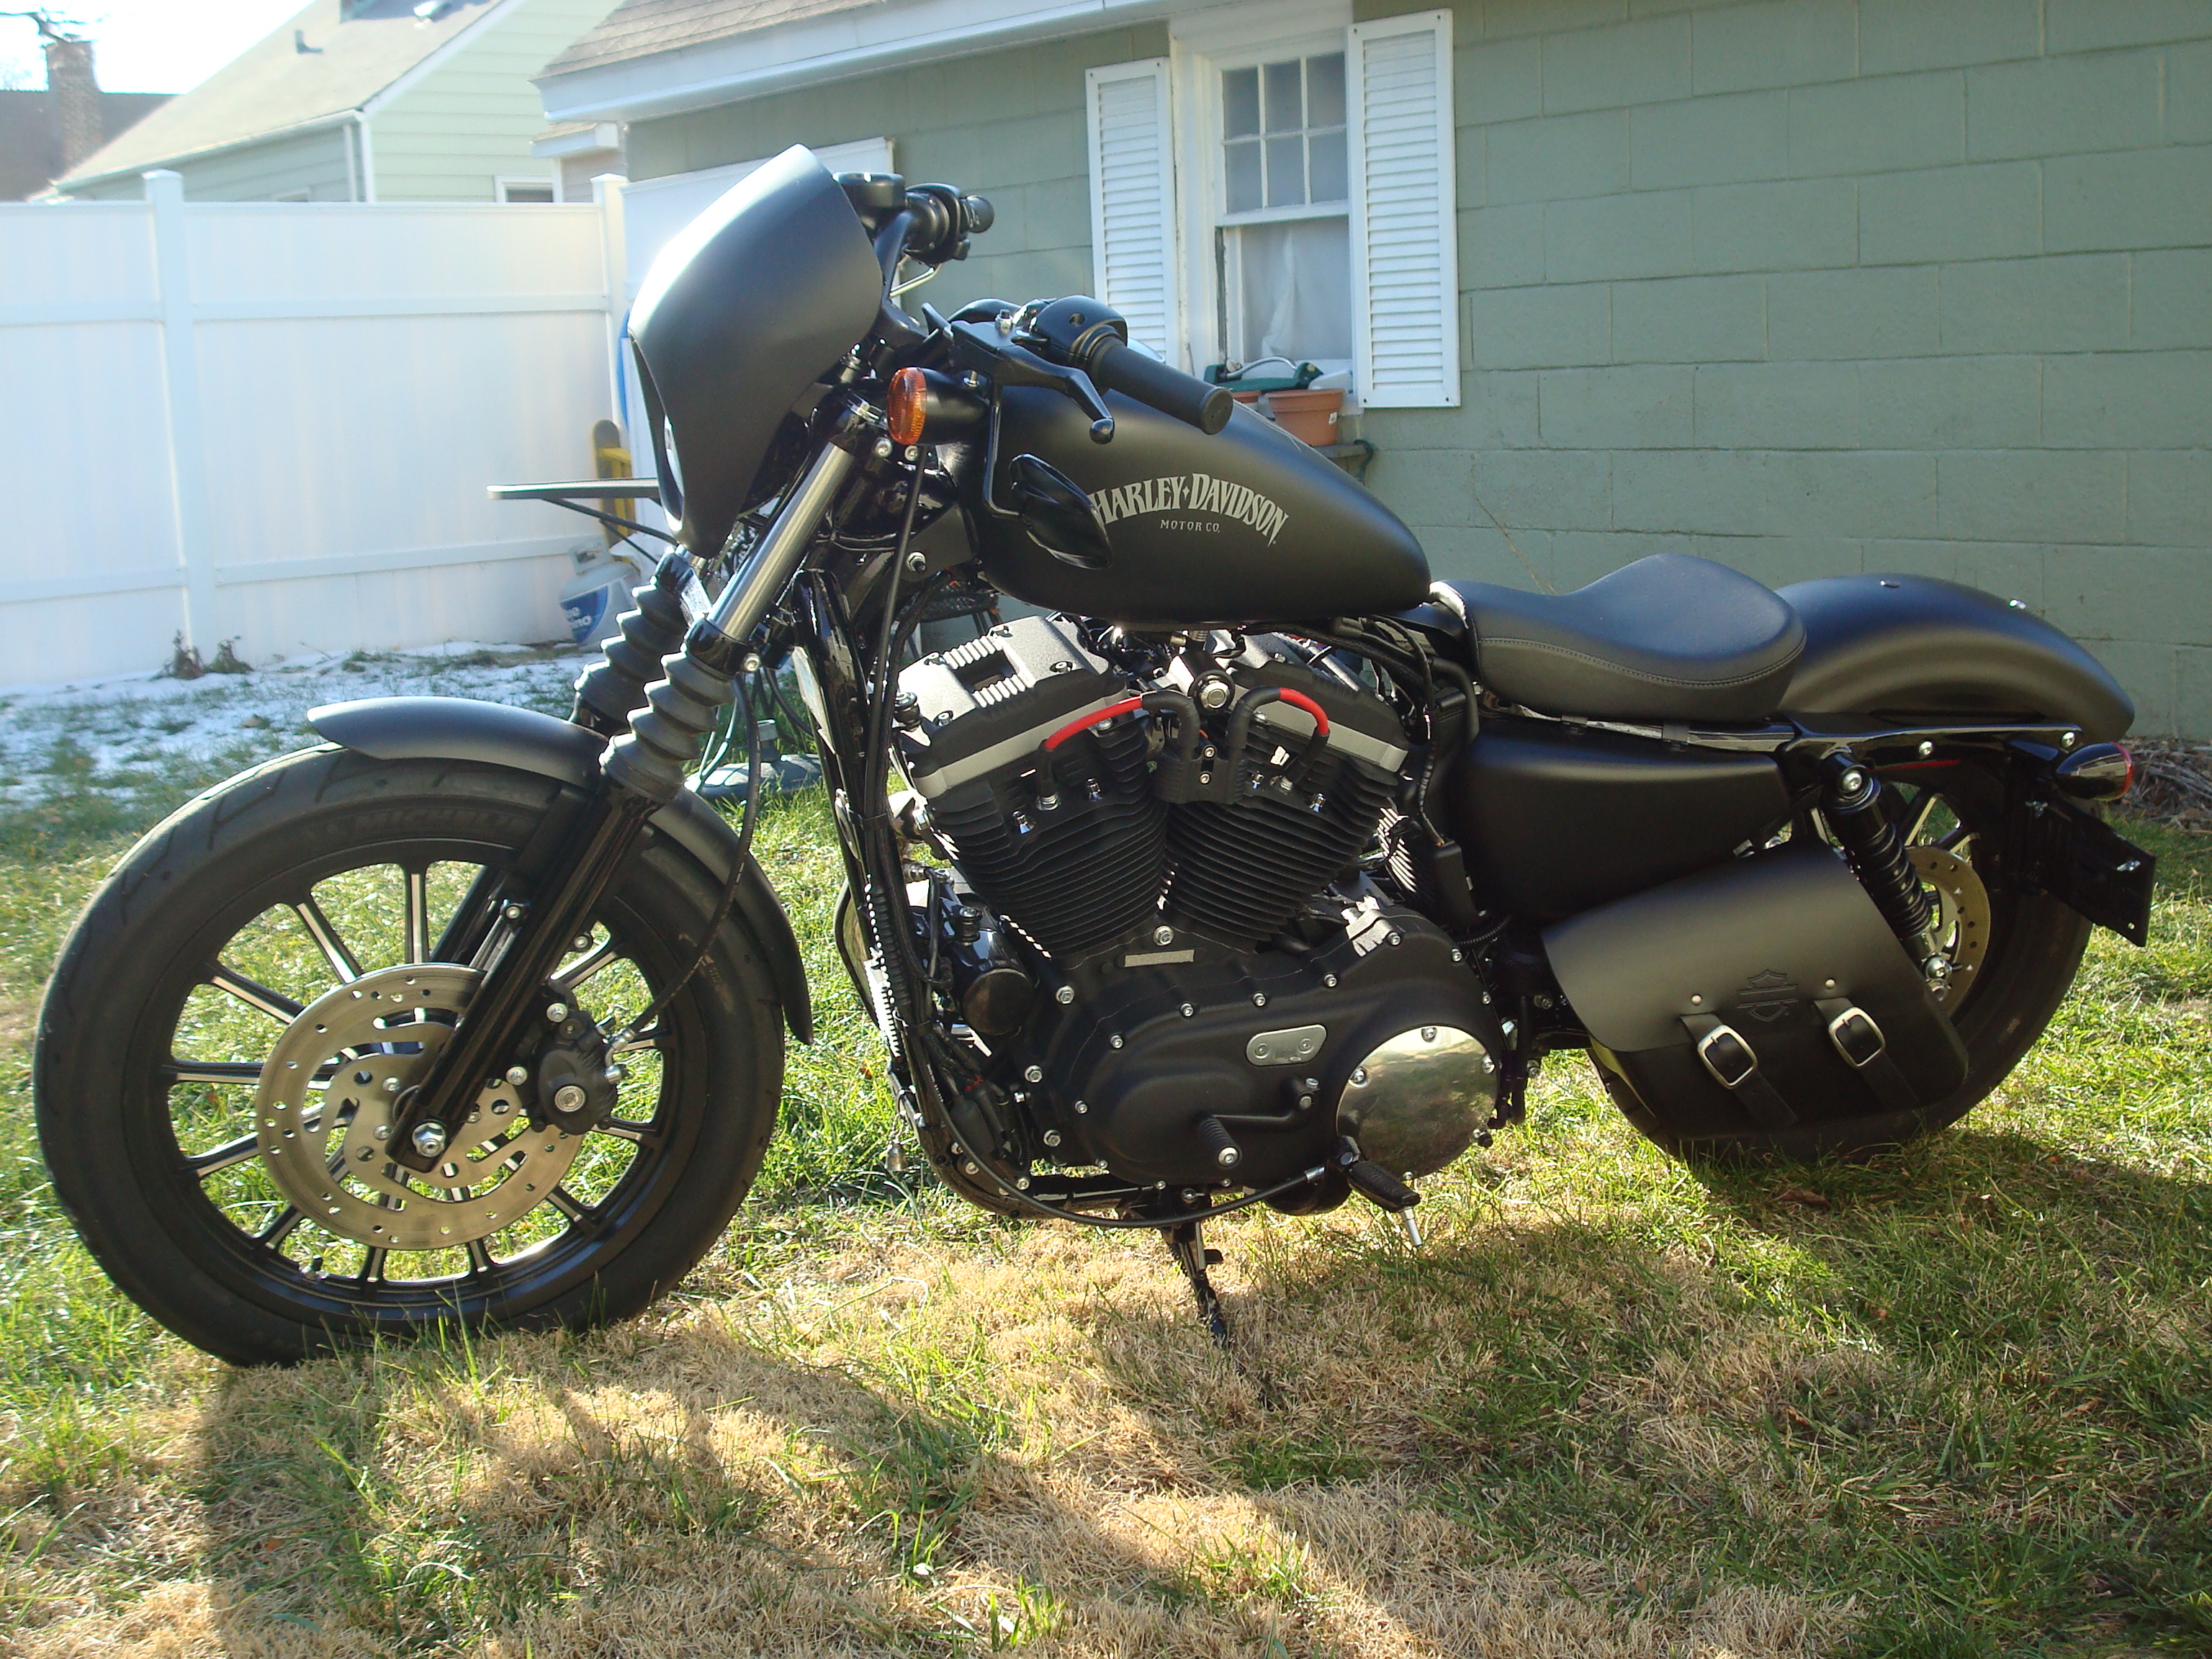
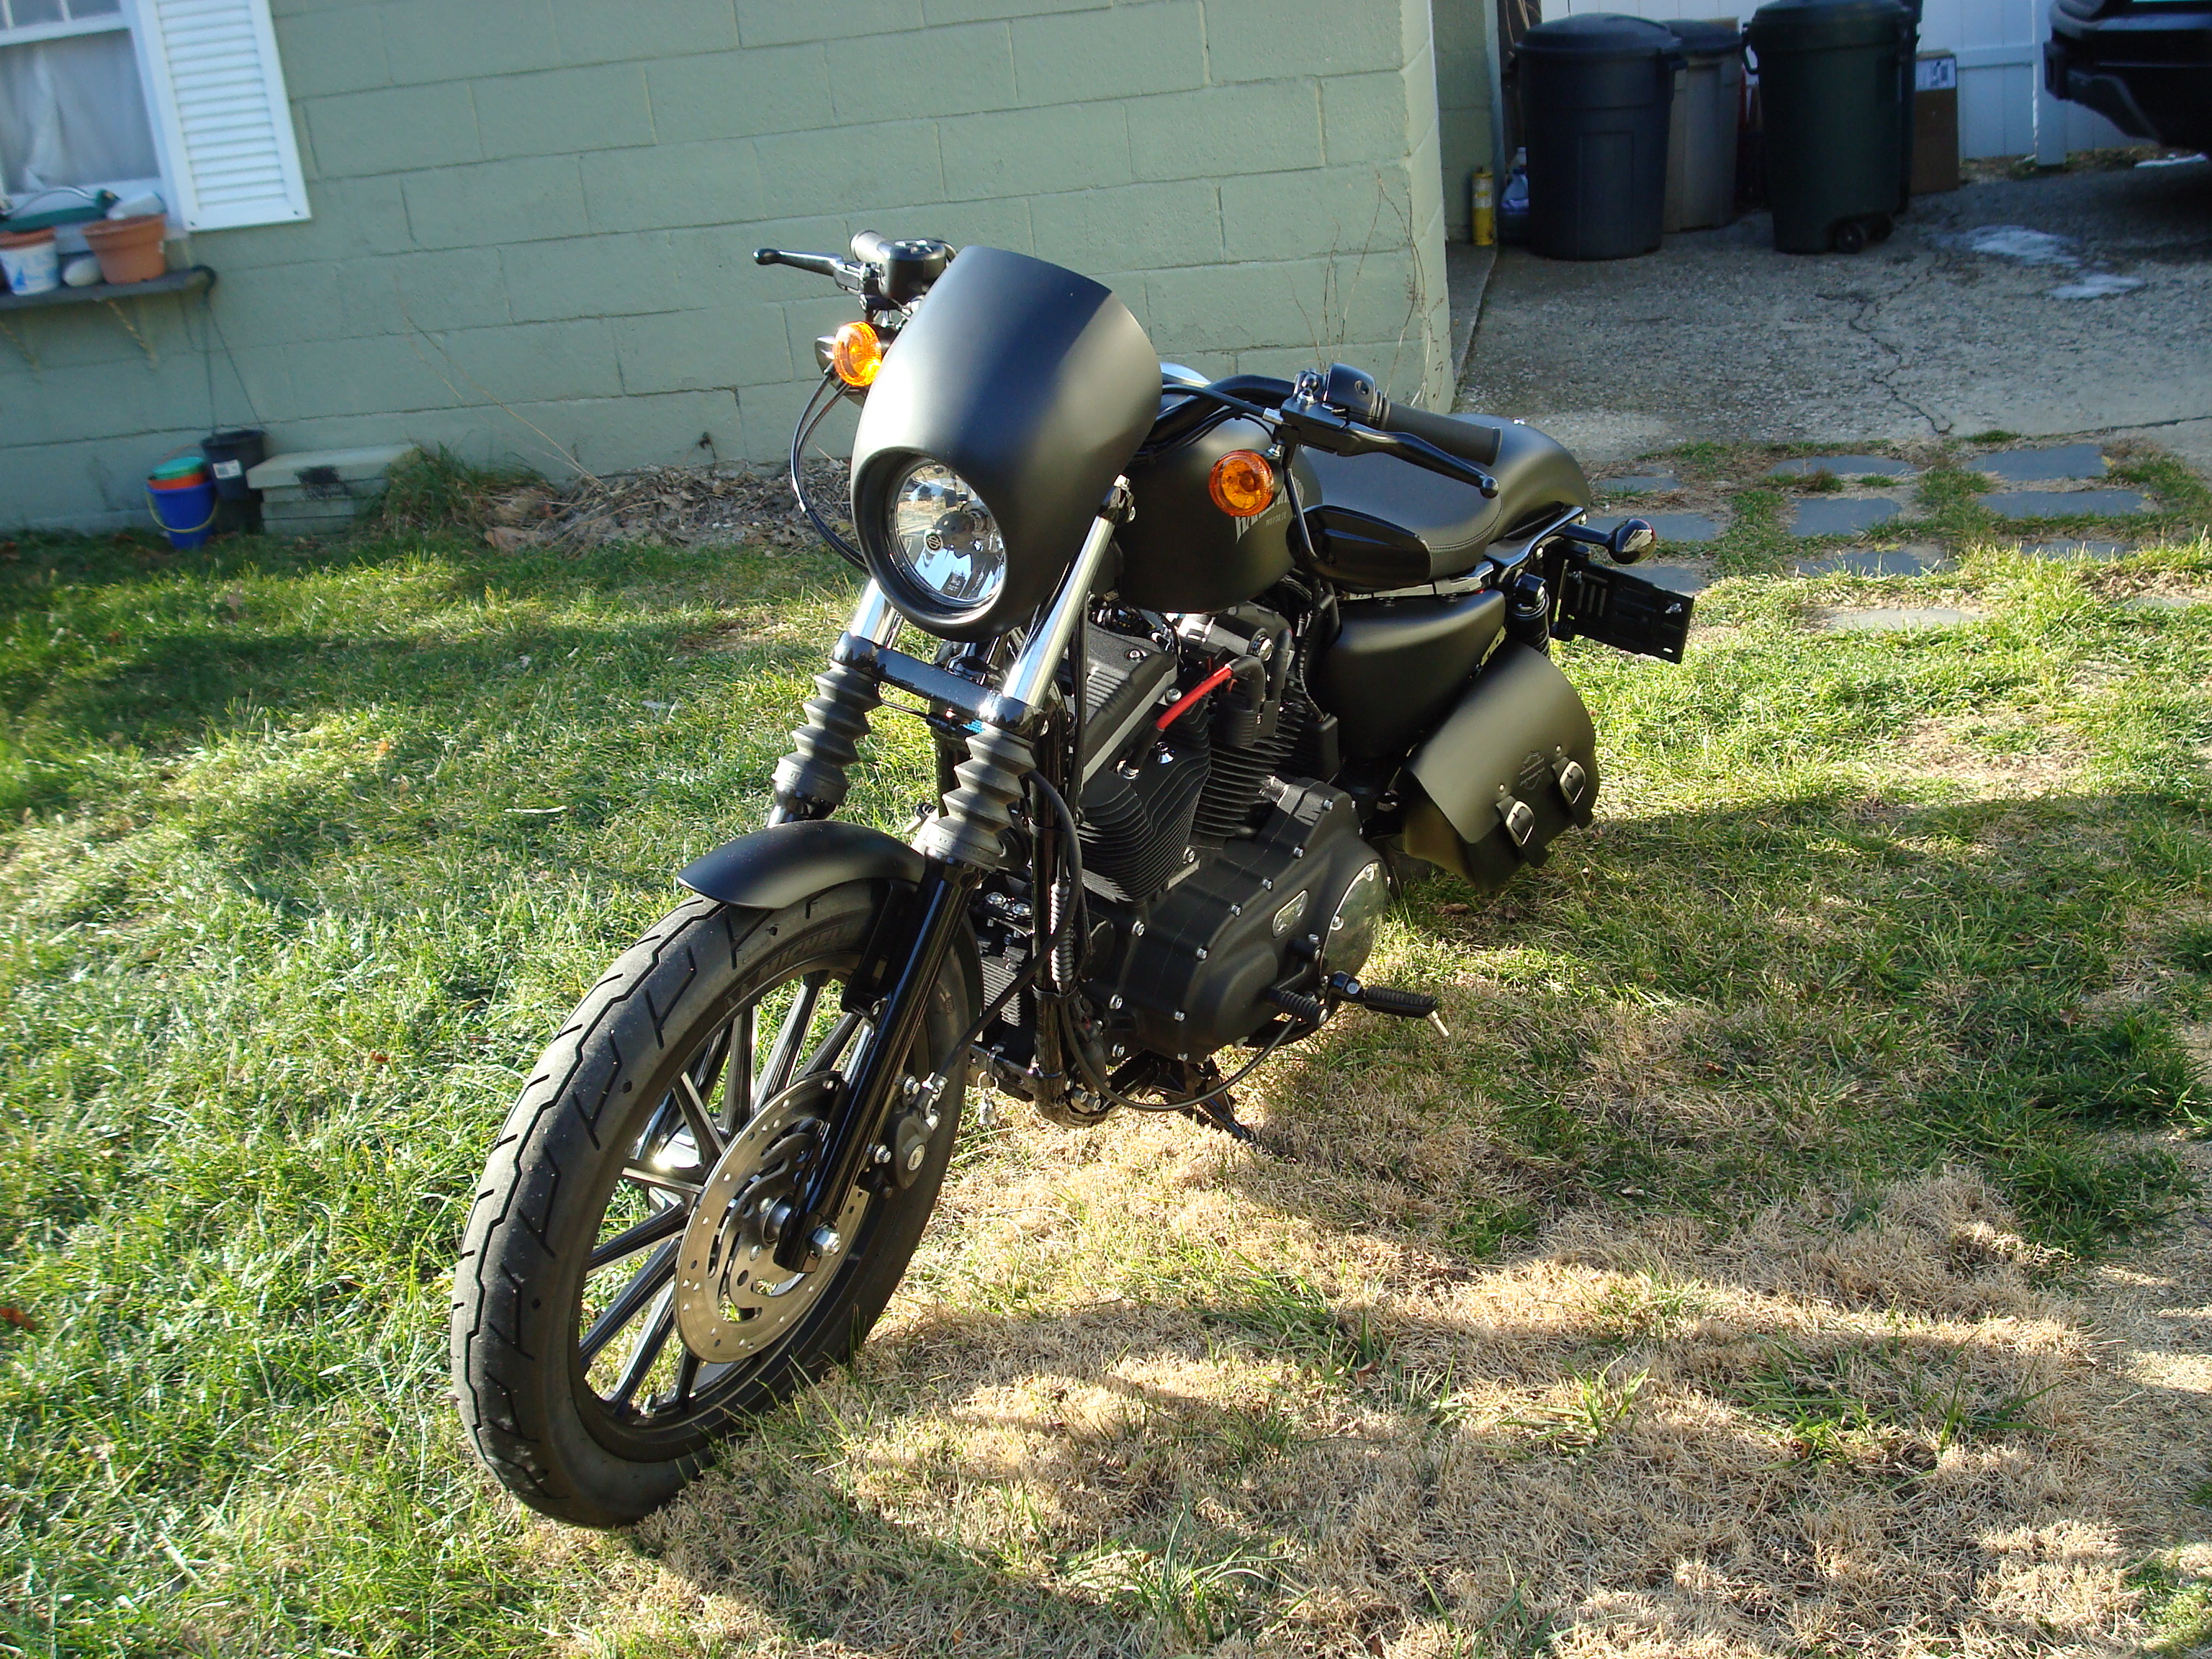
I think the Memphis looks best on 48s with that big tire. For the thinner fronts I like the look of the ness.
Dont make the same mistake I did. I ordered the cheap $200 kit from JP thinking itd work. turned out I had to switch and get the $350 kit and return the other because the cheaper kit mounted to close to the bars. Hitting just about every cable without being cut.
The pricier kit relocates your headlight about 3 inches forward. Comes with all the wiring and hardware.
#6
08-04-2013, 09:15 AM
Outstanding HDF Member
If he likes the fairing, he should consider it without people bringing up that show.
I'm sick to death of hearing about it.
#7
08-04-2013, 09:20 AM
Outstanding HDF Member
I think the Memphis looks best on 48s with that big tire. For the thinner fronts I like the look of the ness.
Dont make the same mistake I did. I ordered the cheap $200 kit from JP thinking itd work. turned out I had to switch and get the $350 kit and return the other because the cheaper kit mounted to close to the bars. Hitting just about every cable without being cut.
The pricier kit relocates your headlight about 3 inches forward. Comes with all the wiring and hardware.
Dont make the same mistake I did. I ordered the cheap $200 kit from JP thinking itd work. turned out I had to switch and get the $350 kit and return the other because the cheaper kit mounted to close to the bars. Hitting just about every cable without being cut.
The pricier kit relocates your headlight about 3 inches forward. Comes with all the wiring and hardware.
I am getting ready to order the same one as elfnyc for my 48... I like that look...

Trending Topics
#8
08-04-2013, 09:25 AM
Advanced
Join Date: Jul 2013
Location: Texas
Posts: 74
Likes: 0
Received 0 Likes
on
0 Posts
Also to the OP if you were wondering. I haven't run into any problems with headlight relocation. I was concerned that having the light that much farther out may make cornering at night a little harder to see. But it didn't, and also didn't make the headlight vibrate anymore than normal. Mines nice and smooth. just fyi
#9
08-04-2013, 09:30 AM
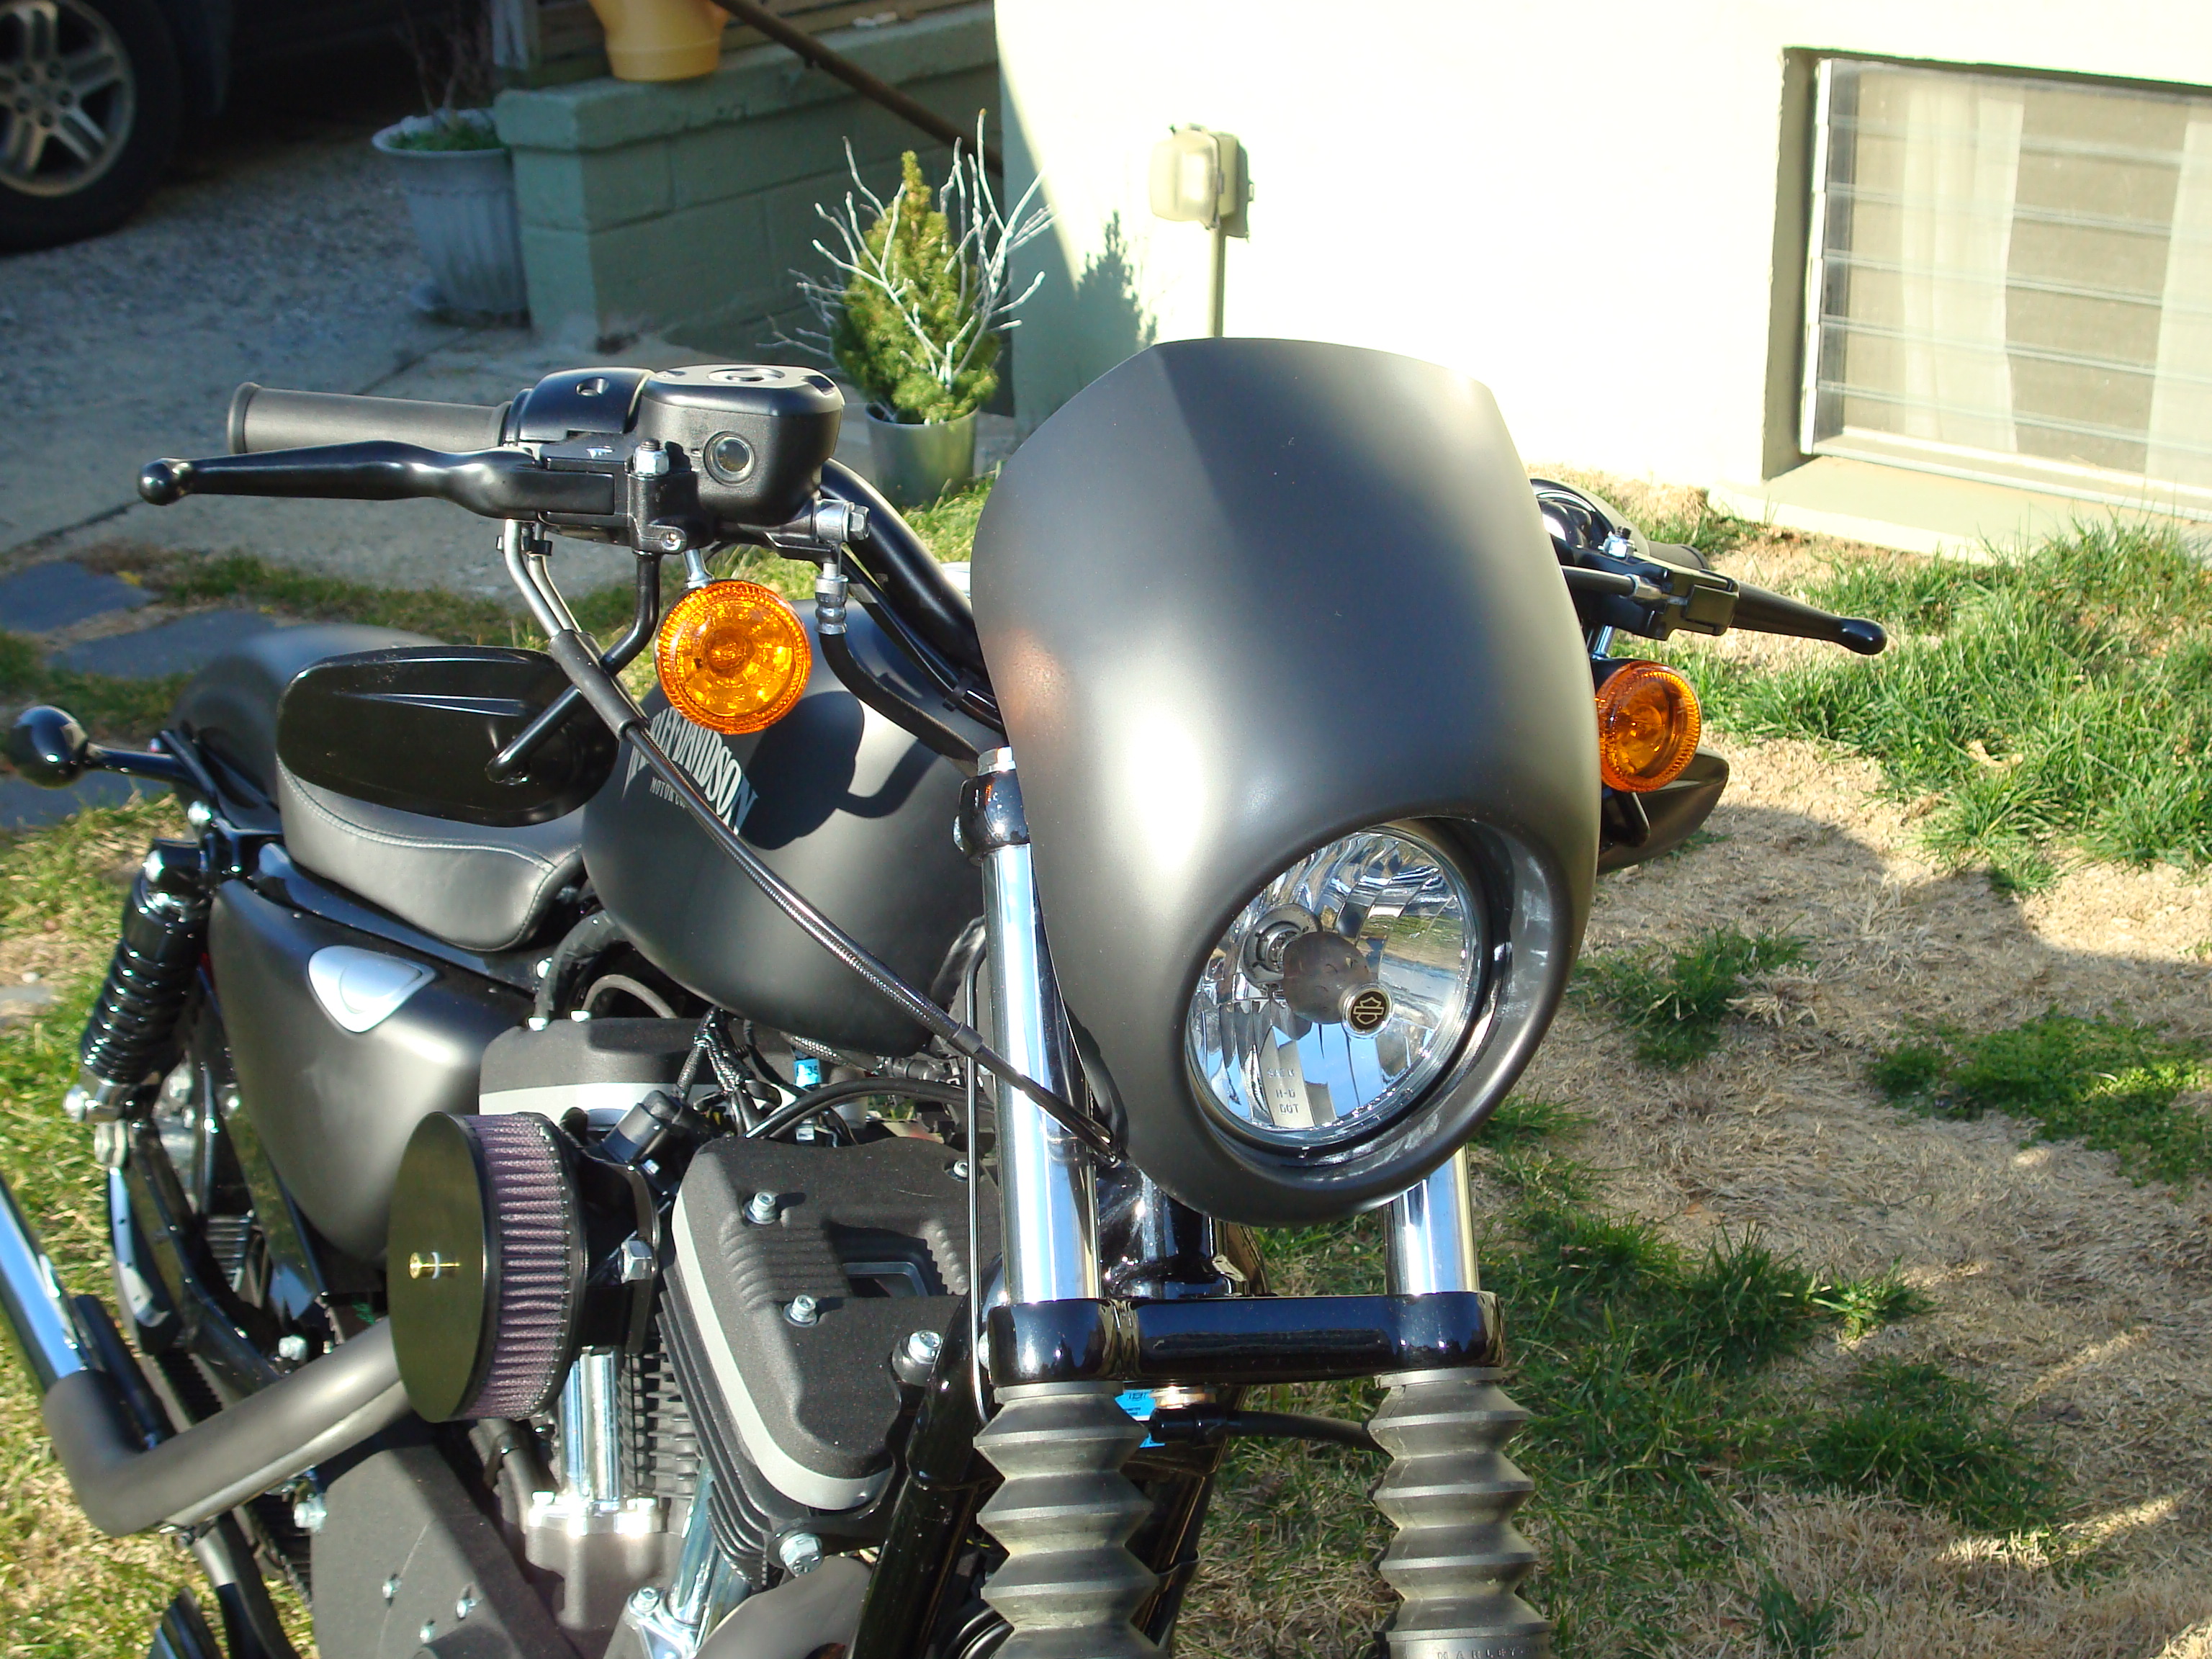
sorry guys i forgot i posted here lol ---- its not the HD one --- its the ebay version
45$ or something ike that
to get the paint to match - i used a matte clear coat over the fairing
i didnt paint it a matte black, theres no need to ,
i just used the matte clear coat and it will match perfect
no longer have it - i went in another direction -- but im a short guy , that little fairing helped out alot with the wind .....
even though it looks like it would do nothing ! for me it took the wind off my chest and put it near my 4head
http://www.ebay.com/itm/Sportster-Fa...5f9f3e&vxp=mtr
Last edited by elfnyc; 08-04-2013 at 09:32 AM.
#10
08-04-2013, 09:34 AM
Advanced
Join Date: Jul 2013
Location: Texas
Posts: 74
Likes: 0
Received 0 Likes
on
0 Posts
arlen ness part number, 06-037 jp part number is 690-779.
the copy of the instructions they send is in terrible shape. http://www.jpcycles.com/instructions/pdf/690-779.pdf heres a pdf of a color one thats ledgable.
This should only take like 45 minutes max..
Also I used medical paper tape on the insides of the fork brackets (sticky side facing the bracket, not the fork.) That will allow you to move the fairing up or down without scratching the forks while your centering it around the headlight. Also they advise you use tie-wraps to hold the brackets in place while affixing the fairing to them, Dont, its much easier and less frustrating to just hold them in place and one by one screw them on. The brackets shift as you tighten then causing the tie-wraps to a fall off and then you have to start over. And torquing down the lower bracket bolts was a little tricky because with the fairing on, theres not much space to get tools in there. I took my bars and speedo off to do the headlight relocating portion of this, which made accessing the headlight bolts much easier with my limited hand tools.
The instructions say to remove the whole tank, thats totally unnecessary. Just loose the back tank bolts and remove the front bolt. You can tilt the tank back and prop it up with a small piece of wood/tool bag whatever and it gives you plenty of room to access the wiring harness.
Last edited by Holywater; 08-04-2013 at 09:51 AM.