
UK 2013 Harley Sportster 883 Iron - Build Thread
#1
 05-23-2014, 11:51 AM

Join Date: May 2014
Location: NORWICH, UK
Posts: 33
Likes: 0
Received 0 Likes
on
0 Posts
Hey, Dan here from the UK. I wanted to share the progress of my Harley build so created this thread. I will update as and when progress is made, but I have many plans for the bike, keeping it simple as it should be.
Here is the bike when I took delivery, totally stock standard bar a couple of crappy little parts (fuel tank cap being one of them):
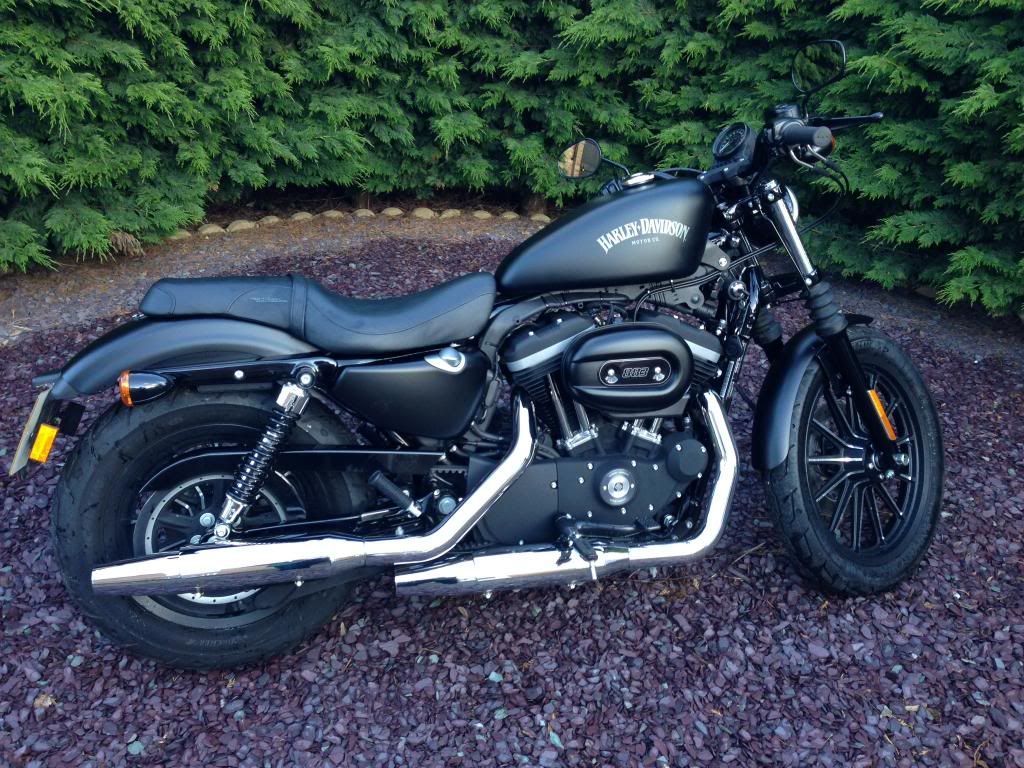
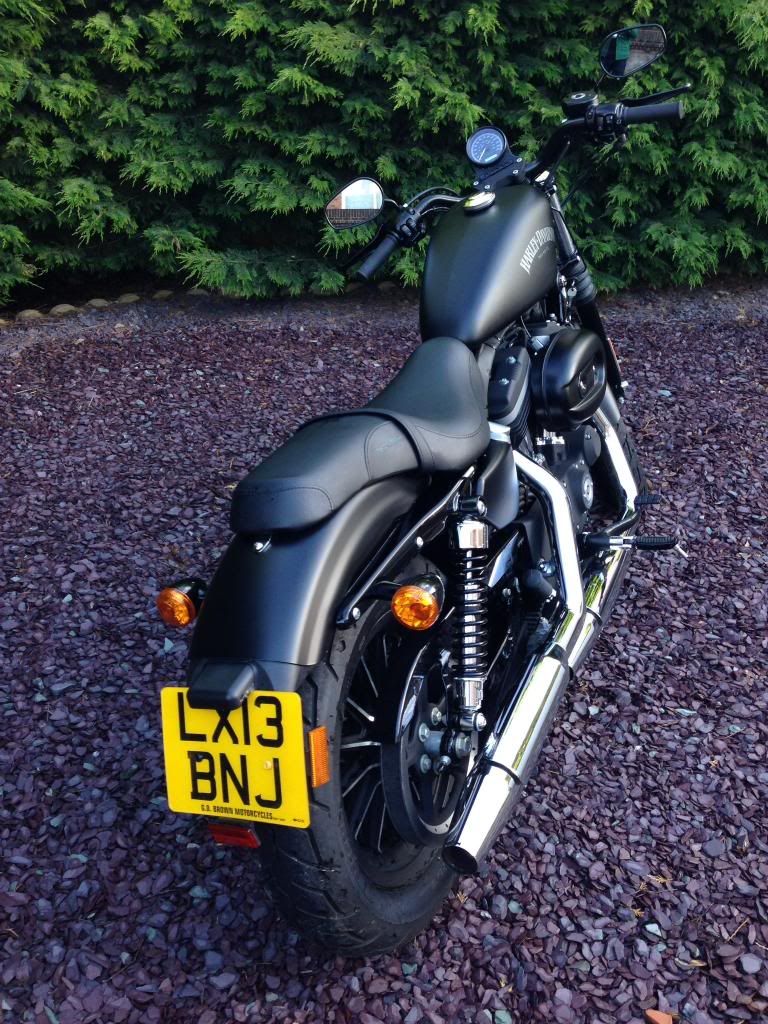
Here is the bike when I took delivery, totally stock standard bar a couple of crappy little parts (fuel tank cap being one of them):


#2
05-23-2014, 12:10 PM
Join Date: May 2014
Location: NORWICH, UK
Posts: 33
Likes: 0
Received 0 Likes
on
0 Posts


#3
05-23-2014, 12:25 PM
Join Date: May 2014
Location: NORWICH, UK
Posts: 33
Likes: 0
Received 0 Likes
on
0 Posts
Off came the passenger pegs, and the twin seat replaced by a La Pera solo seat. Really nice quality seat although need to dull it down. I do have plans for a springer seat soon though!
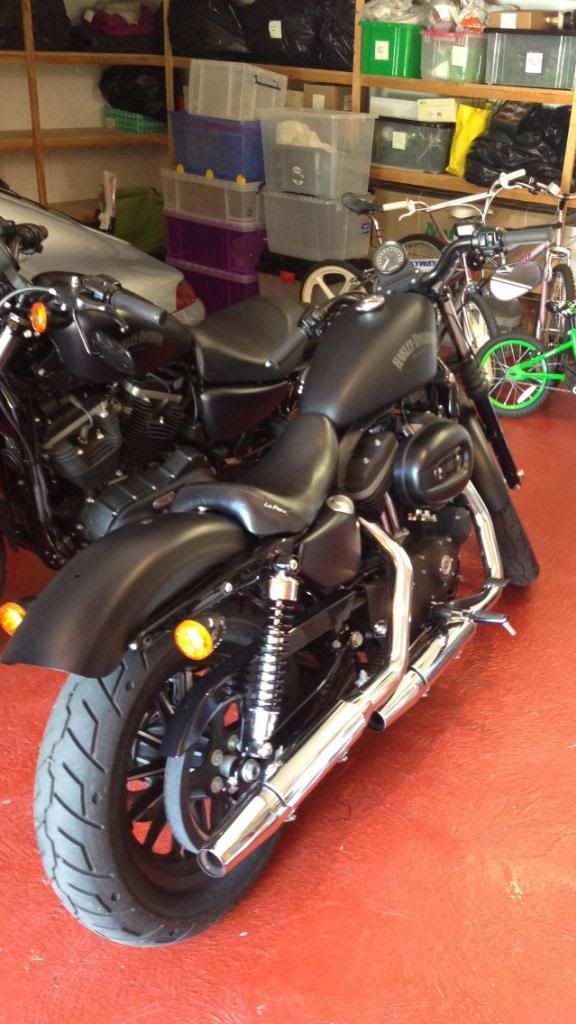
Then came time to fit my v&h short shots, v&h fuelpak and k&n air filter. I forgot to get a photo before stripping the rear fender but here's one for now:
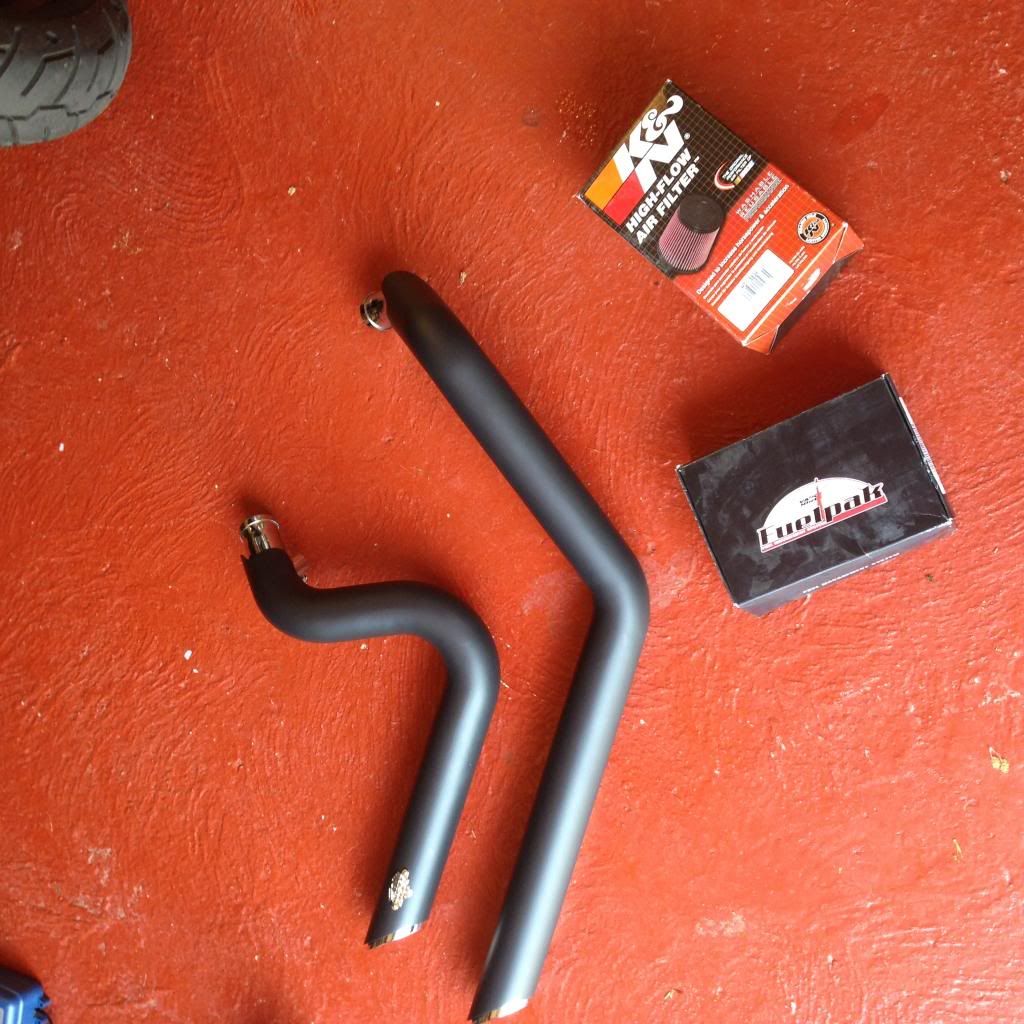
I must add the quality of these items are superb. The exhaust was superb fitment and quality. The air filter obviously was as it should be and the fuelpak made a big difference even on idle when I entered all the values for my set-up!

Then came time to fit my v&h short shots, v&h fuelpak and k&n air filter. I forgot to get a photo before stripping the rear fender but here's one for now:


I must add the quality of these items are superb. The exhaust was superb fitment and quality. The air filter obviously was as it should be and the fuelpak made a big difference even on idle when I entered all the values for my set-up!
#4
05-23-2014, 12:30 PM
Join Date: May 2014
Location: NORWICH, UK
Posts: 33
Likes: 0
Received 0 Likes
on
0 Posts
I have my own powder-coated so got these parts finished off in a fine black to match the casings already on the bike:
Derby cover:

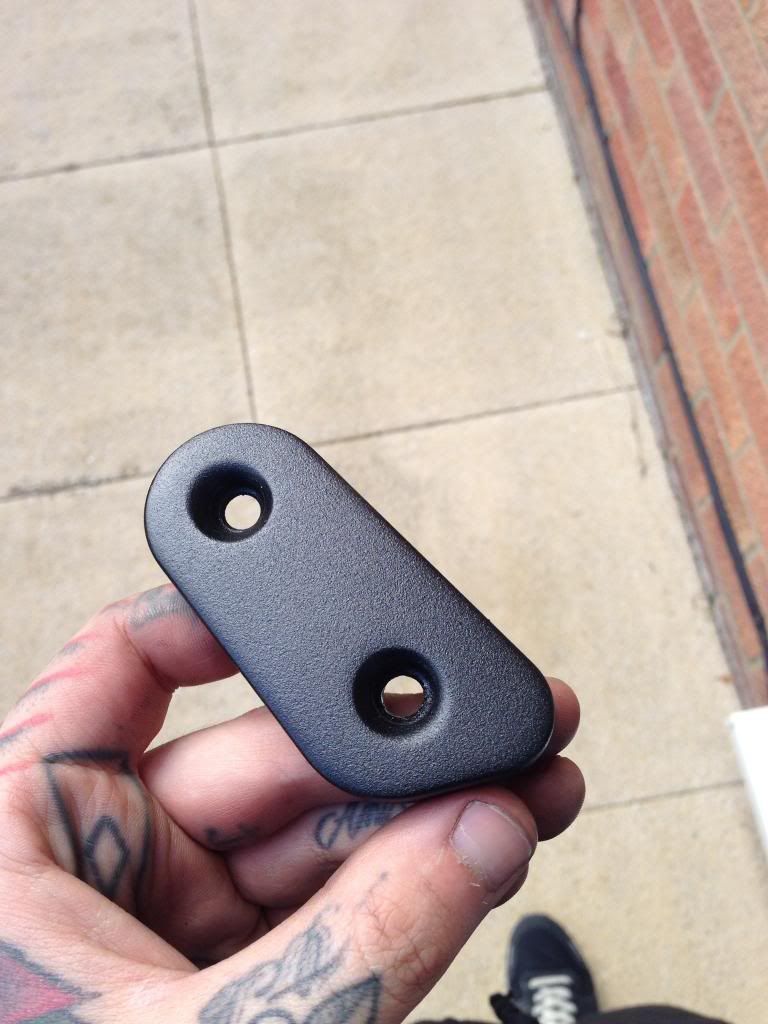
Inspection cover:
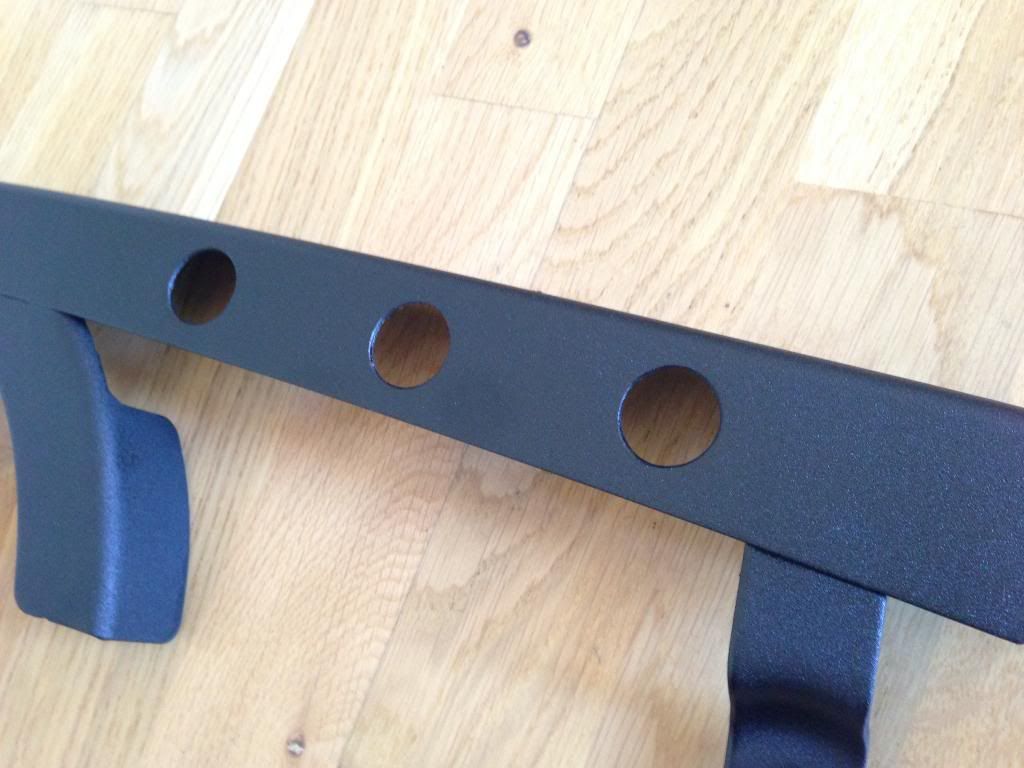
Also drilled and coated the belt guard. Not sure if ill even put this on at all though:
And made this mock bracket. Also powder coated. With the 5x7 plate:

Derby cover:

Inspection cover:

Also drilled and coated the belt guard. Not sure if ill even put this on at all though:

And made this mock bracket. Also powder coated. With the 5x7 plate:

#5
05-23-2014, 12:42 PM
Outstanding HDF Member

#6
05-31-2014, 02:28 PM
Join Date: May 2014
Location: NORWICH, UK
Posts: 33
Likes: 0
Received 0 Likes
on
0 Posts
Been working a lot the last week so been stuck for time, but managed to get an afternoon off to work on the bike. Here is the progress:
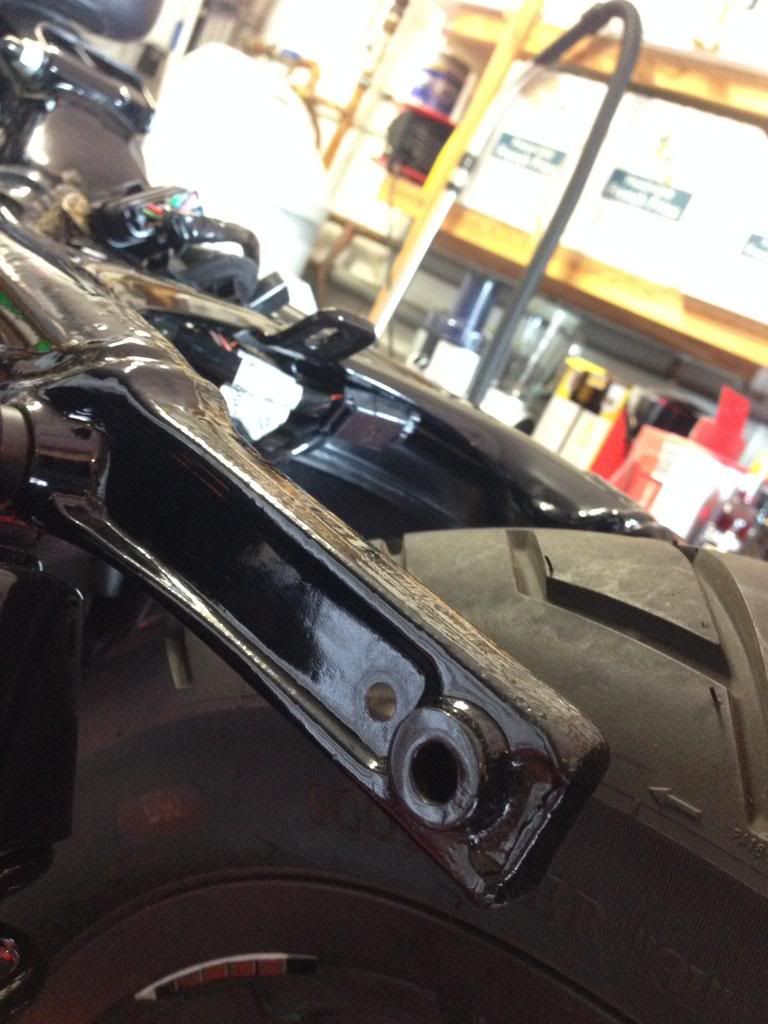
Stripped read for fender strut chop
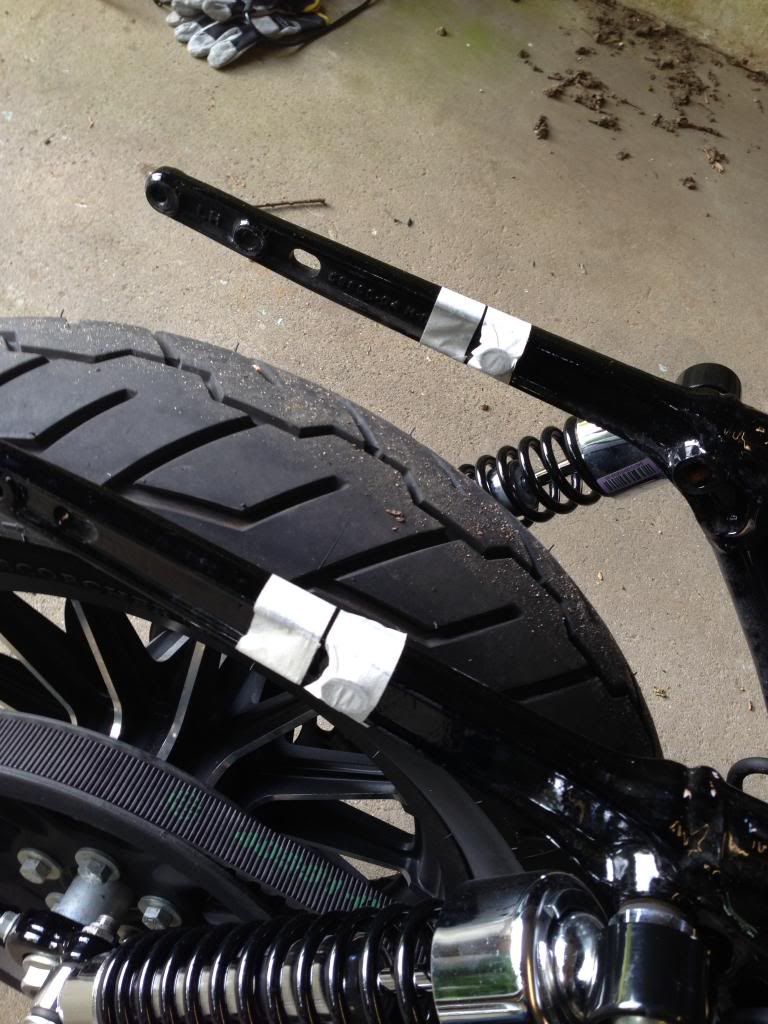
Painted the ends up to match in with the frame black came out really well and the chop isn't noticeable against the harley finish..
Stripped read for fender strut chop


Painted the ends up to match in with the frame black came out really well and the chop isn't noticeable against the harley finish..

#7
05-31-2014, 02:32 PM
Join Date: May 2014
Location: NORWICH, UK
Posts: 33
Likes: 0
Received 0 Likes
on
0 Posts
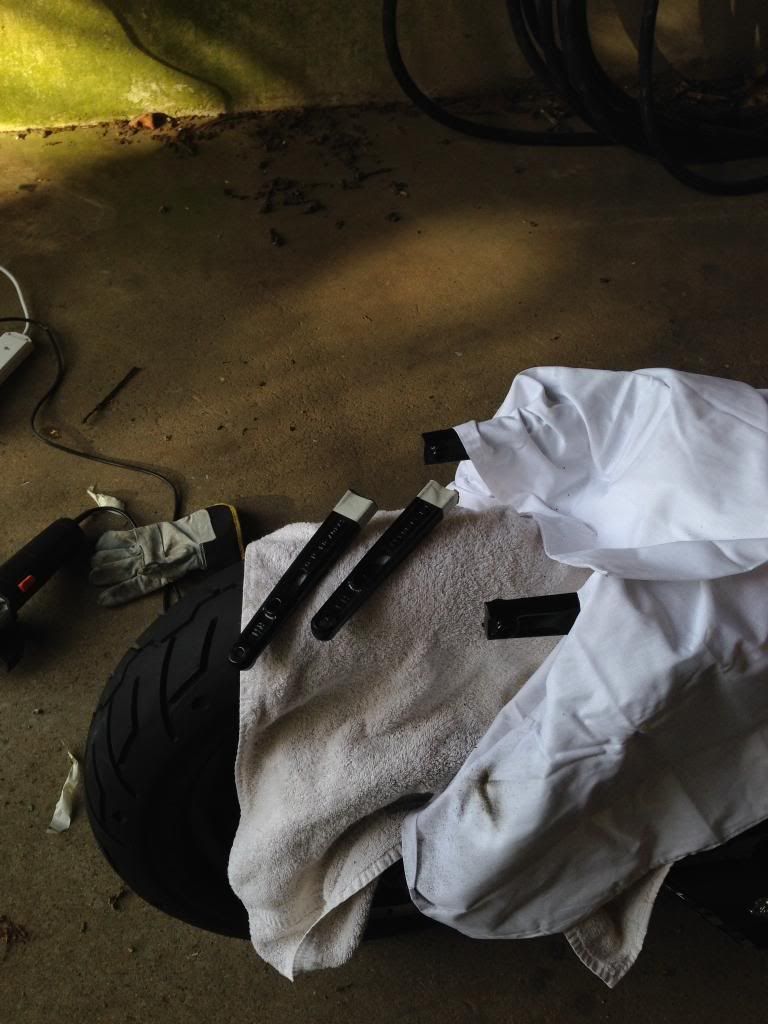
Next I stripped the side plastics out from the fender, drilling the rivets out as these will not be out back after. Then masked up my cut lines and went to town:
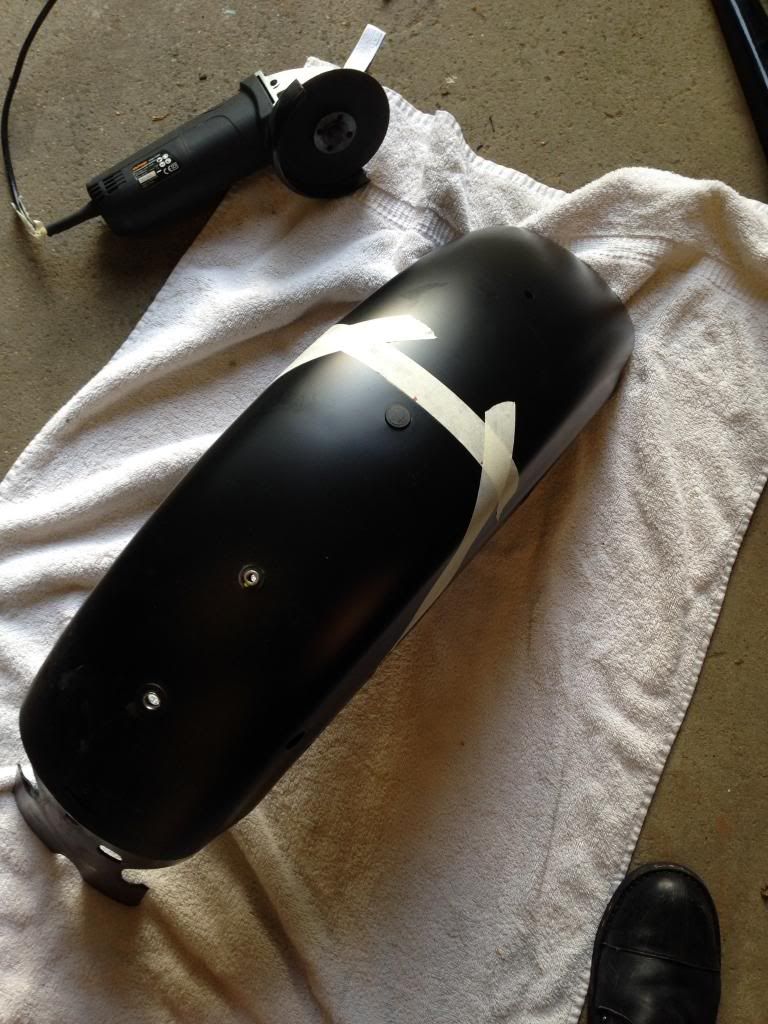
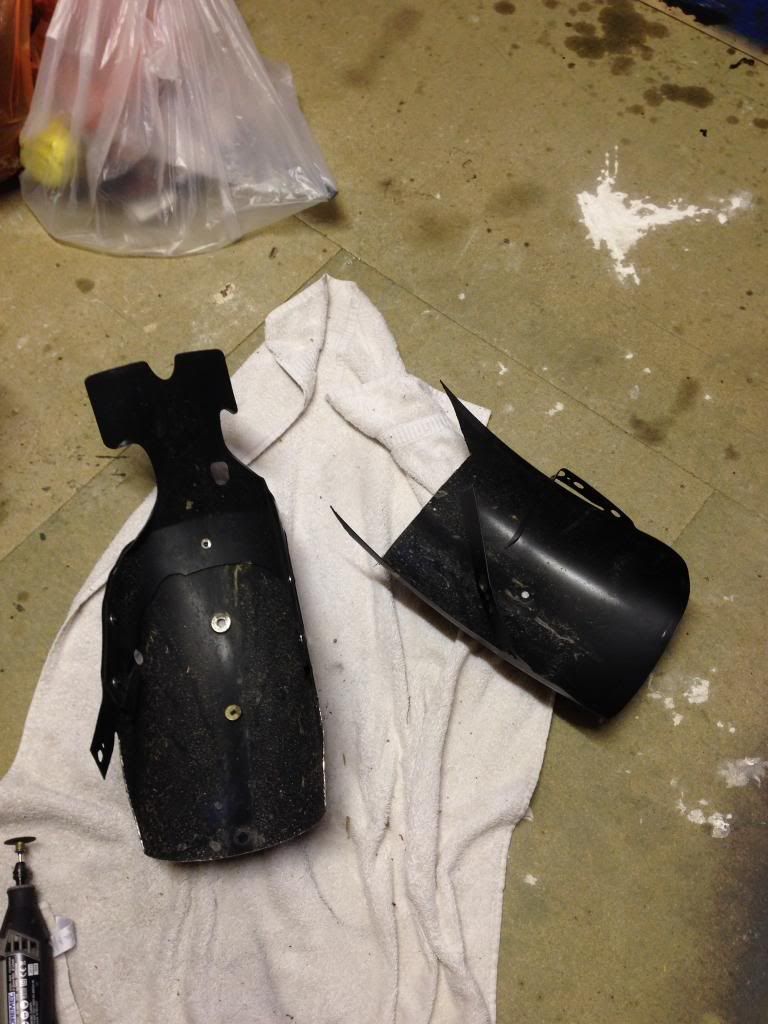
It came out well, I masked up after cutting and smoothing and used some Matt black spray to touch up the edge, flattened down and matches in perfectly.


It came out well, I masked up after cutting and smoothing and used some Matt black spray to touch up the edge, flattened down and matches in perfectly.
Trending Topics
 I wish had them ....
#9
05-31-2014, 02:44 PM
Join Date: May 2014
Location: NORWICH, UK
Posts: 33
Likes: 0
Received 0 Likes
on
0 Posts
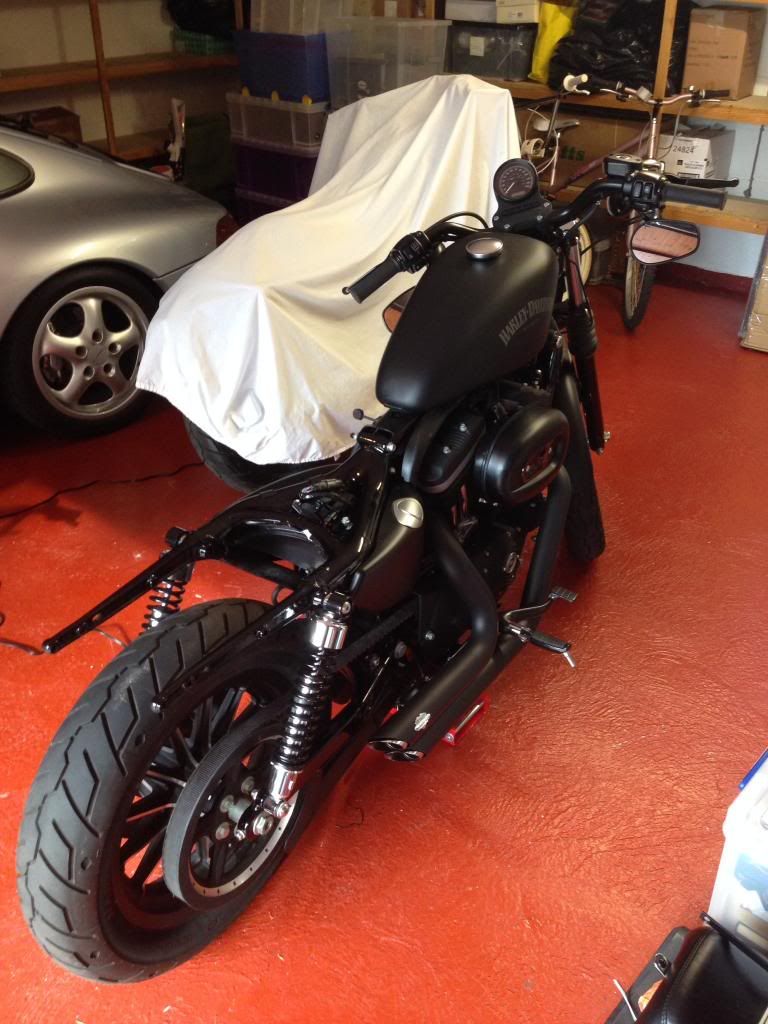
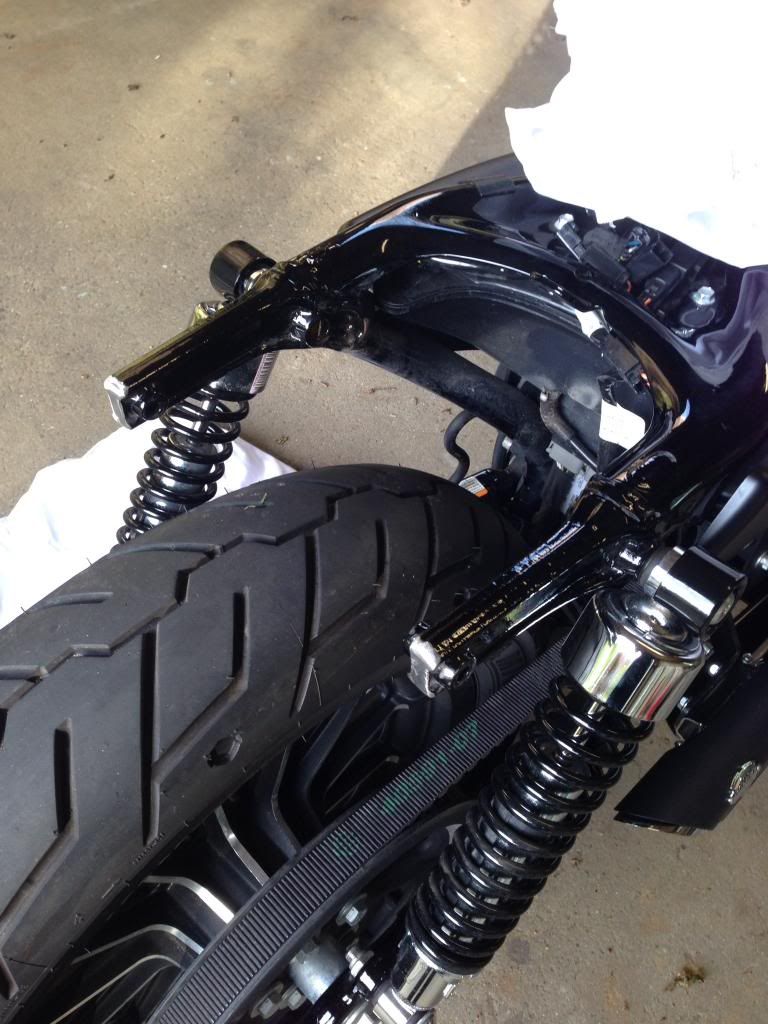
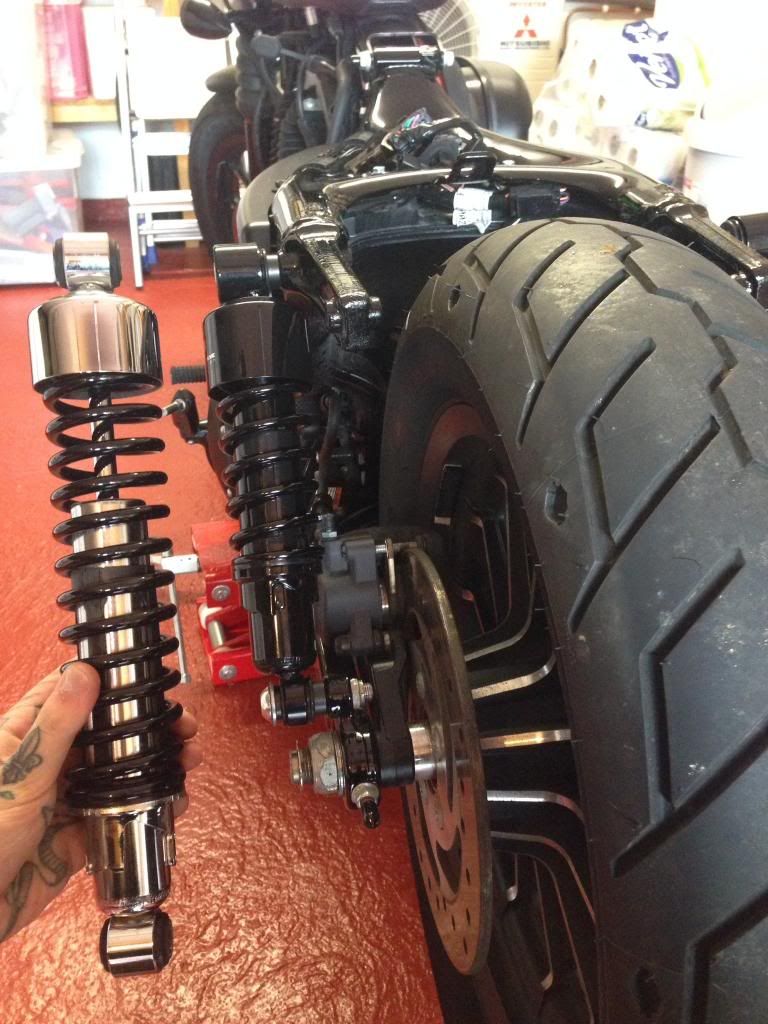
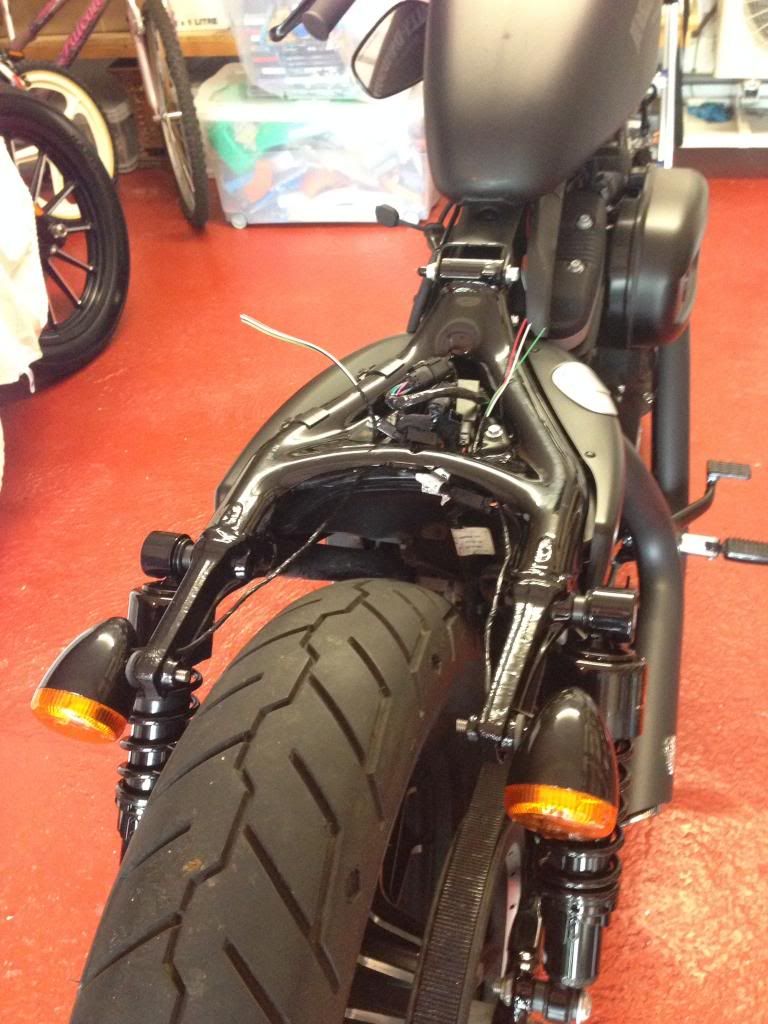
Progressive 11" shocks fitted, really nice quality and perfect fit in ten mins flat:
Next up was to re-fit the rear lights. Drilled out a hole for the wiring as I wouldn't be using the fender strut covers again and want to hide the wiring.
Used some threaded bar to fix the light units. And re wrapped the wiring with harness tape:
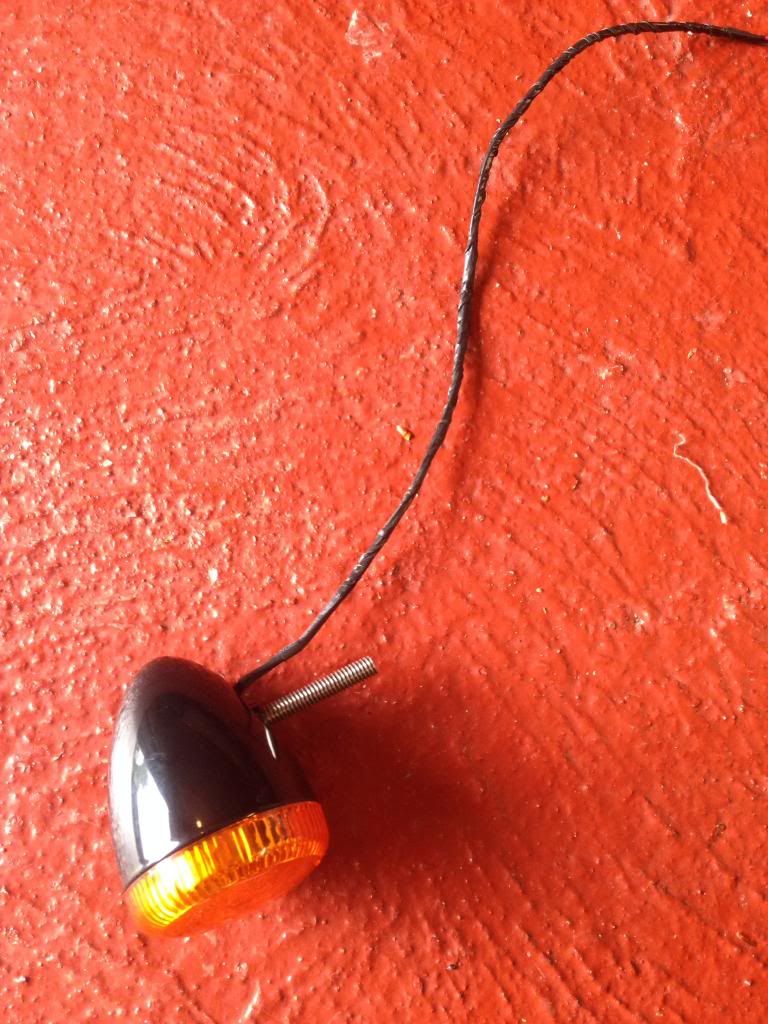
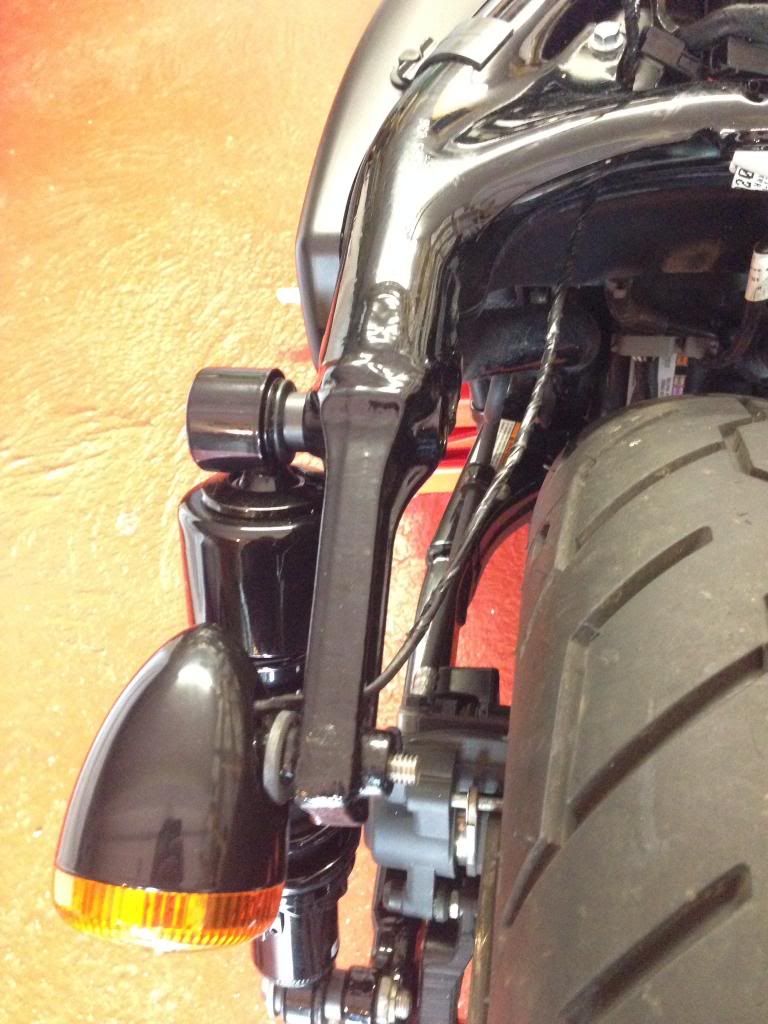
I used some thick rubber washers between the struts and the light units. They seated against the struts nicely.
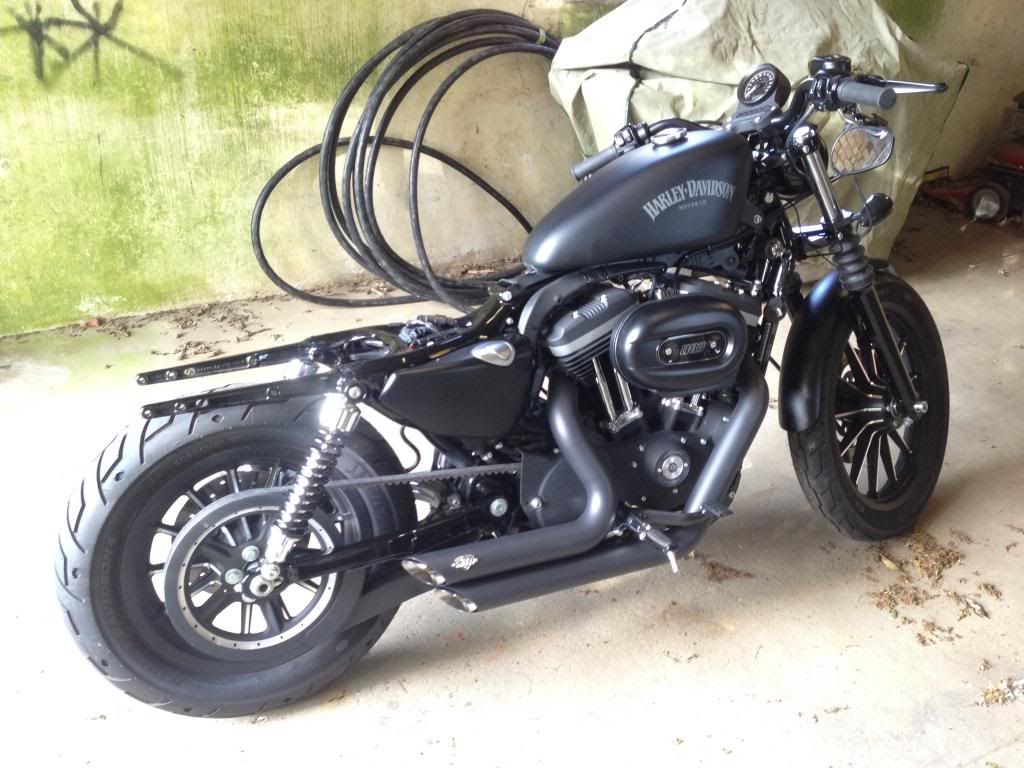
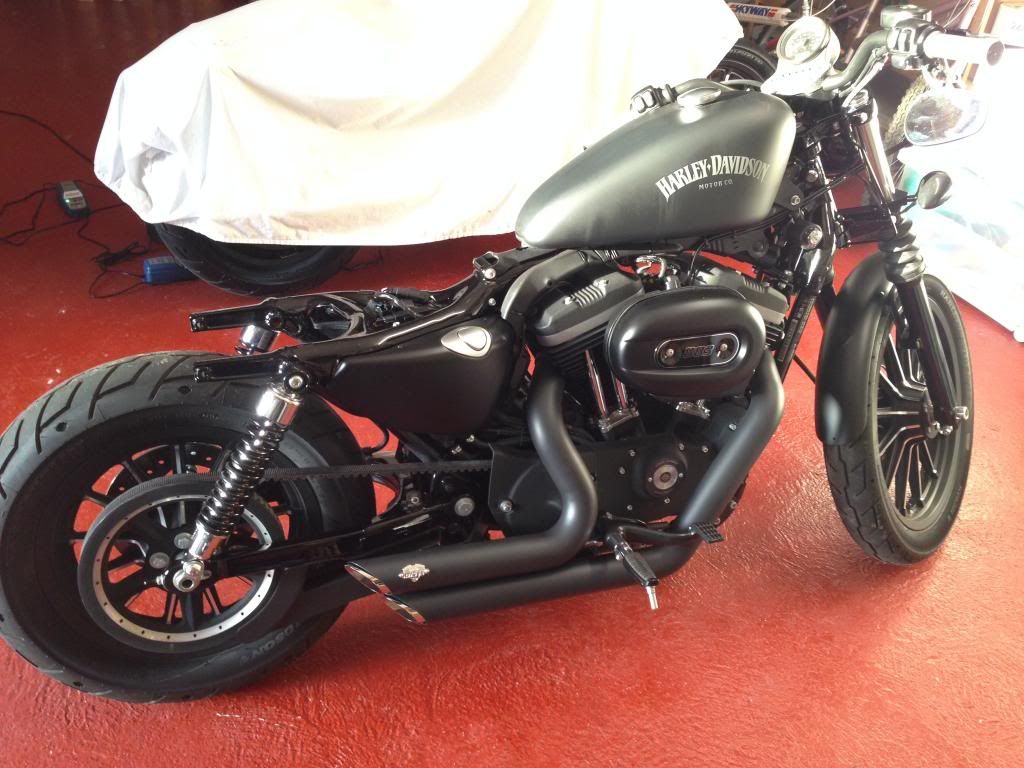
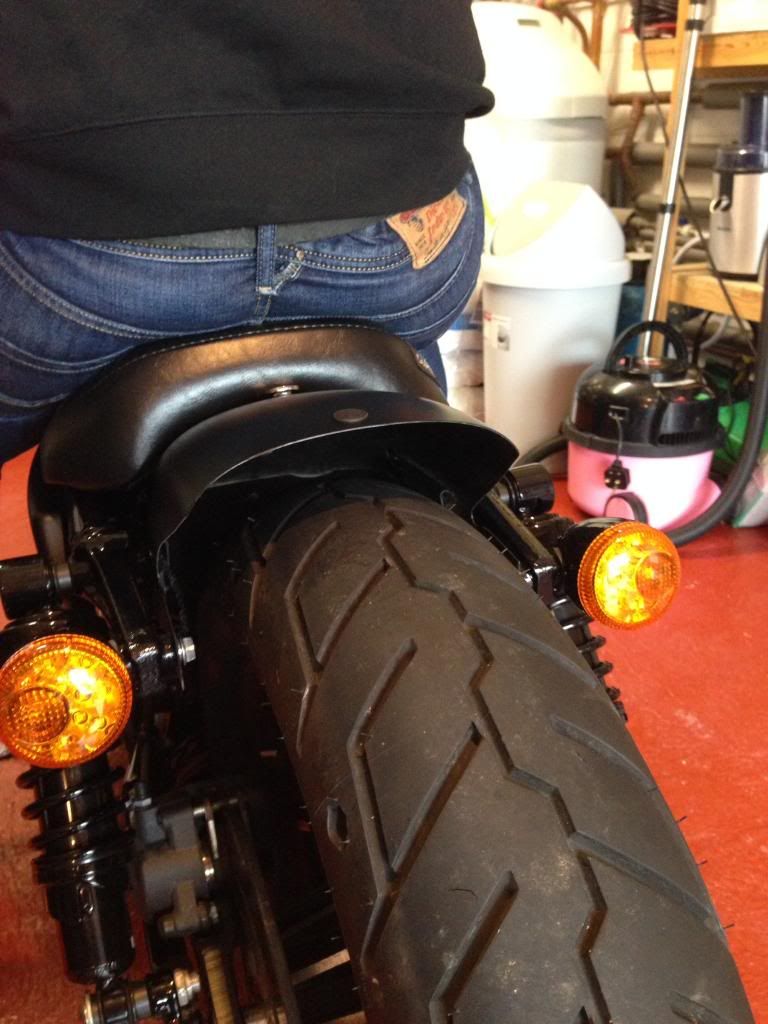
Fitted the fender and tucked the wires up. Refitted seat and this is how it all sat when loaded. I will be lowering another inch on lowering brackets when they arrive.

Next up was to re-fit the rear lights. Drilled out a hole for the wiring as I wouldn't be using the fender strut covers again and want to hide the wiring.

Used some threaded bar to fix the light units. And re wrapped the wiring with harness tape:


I used some thick rubber washers between the struts and the light units. They seated against the struts nicely.
Fitted the fender and tucked the wires up. Refitted seat and this is how it all sat when loaded. I will be lowering another inch on lowering brackets when they arrive.

#10
05-31-2014, 02:47 PM
Join Date: May 2014
Location: NORWICH, UK
Posts: 33
Likes: 0
Received 0 Likes
on
0 Posts

