Harley Davidson Softail: Exhaust Review and How to Install New Pipes
Harley Davidson is arguably the definition of what a motorcycle should be, but owners still look to make it uniquely their own. One of the most popular modifications you can do to your Softail is change the exhaust to your particular style.
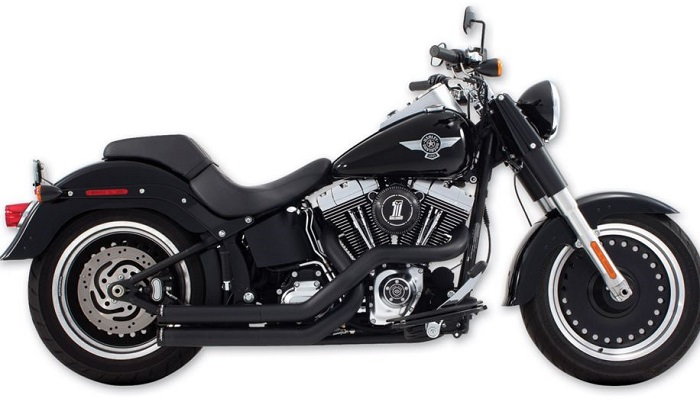
This article applies to the Harley Davidson Softail.
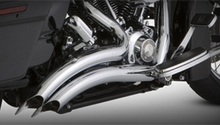
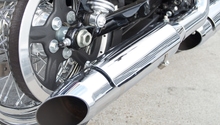
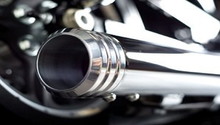
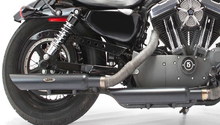
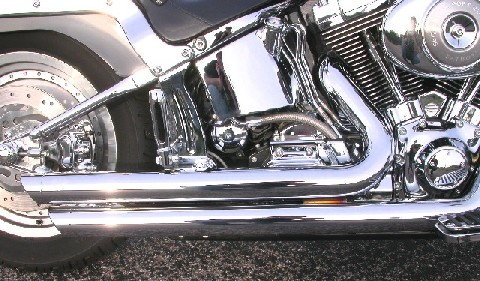
You have the quintessential motorcycle. What more could you want? Motorcycle enthusiasts in the world love to tinker and make changes to their rides that define who they are. One of the most popular modifications is to the sound and looks of the pipes. The entire characteristic of the Softail can change in an instant with just the right pipes. Are you looking to make heads turn with a sound-defying roar, or do you love the low tones of a rumbling monster coming down your street? Pipes make such a big difference, and choosing just the right one for you is a monumental task.
Owners often times look to the web for sound bites to try and find just the right notes, but PC speakers just can't do them justice like you can get standing behind a bike to hear the roar in person. While this is not always possible, how can you find what you are looking for? Read on for some reviews of the most popular brands of pipes and how to install them in order to, hopefully, make your buying decision easier. While pipes are generally fairly expensive, you can save several large bills putting them on yourself rather than having a professional do it for you, which can charge you a hefty fee. Installing pipes are easy enough for the complete novice to complete in about an hour, so read on, pick your pipes, and get down to work.
Table of Contents
How to Install New Pipes

Materials Needed
- 3/8" wrench
- 9/16" socket and ratchet with extension or impact wrench
- 1/2" wrench
- Allen wrenches
Step 1 – Remove the pipe mounting bolts
If you look at the tail end of your stock pipes close to the tips, you'll see a bracket with four 3/8" bolts, two for each pipe. Use a wrench to remove these four bolts. They are a little difficult to get to and you should take care to not scratch those beautiful pipes when removing. Many owners will save these stock pipes and put them back on before they sell their bike because pipes are such a personal preference to the individual owner. There are two additional 9/16" bolts that are located below and just forward of the tips. Use a long extension on your ratchet or impact wrench. There are also spacers and washers that come off with these larger bolts. This is all you need to do if you are only purchasing slip-ons. The tails will now slip off with a little elbow grease.
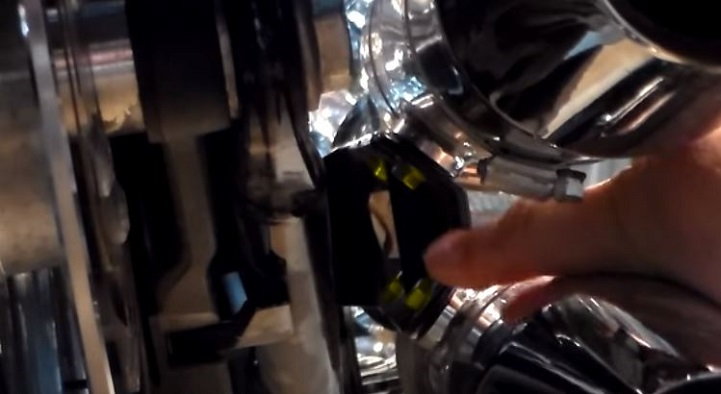
Figure 1. Use a 3/8" wrench to remove the four bolts from the pipe mounting bracket. 
Figure 2. Remove the two 9/16" mounting bolts just forward of the tails.
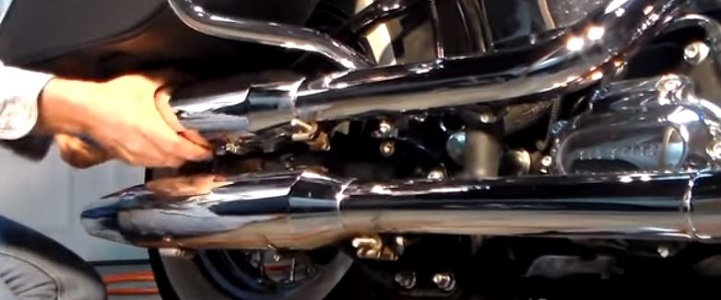
Step 2 – Remove the tails (for slip-ons)
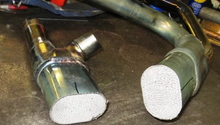
If you are adding slip-ons, you are essentially done. You just need to use a little effort to pull off the tails. If you have an older bike, they could be rusted pretty good and will take some effort and maybe a little shot of penetrating oil.
Step 3 – Remove the rest of the pipe
If you are doing more than just slip-ons, you have a few more bolts to remove.
- There are 9/16" bolts on the bracket that is mounted to the same bar that supports your saddle bags if you have the Heritage Classic.
- For the dual exhaust setup, you will need to remove the crossover pipe from the bottom of the bike that supports the exhaust on both sides.
- The foot rests will also need to come off. Flip the foot rest up and remove the two bolts holding it in place. You will need a 3/16 Allen and a 7/16 socket.
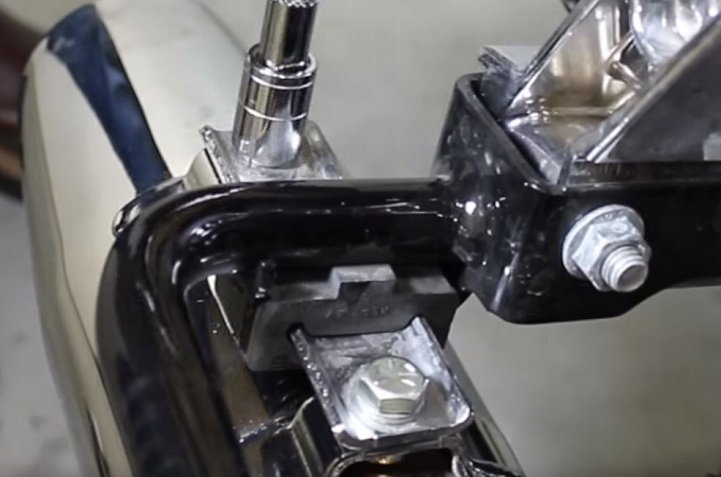
Figure 4. Remove the additional bracket bolts when replacing the entire exhaust end-to-end. 
Figure 5. Remove the crossover pipe clamp with a 5/8" socket on both ends. 
Figure 6. You will also need to remove the crossover mounting bolt (1/2") that holds the pipe up. 
Figure 7. Flip the foot rest up and remove the bolts to take it off, then set aside.
- Use a flat head screwdriver or small socket to loosen the hose clamps that hold the heat shield to the pipe. The heat shields are in two pieces along the pipe and up to the heads. Remove all four sections of heat shields.
- Remove right side cover to get to the O2 sensor wiring.
- Disconnect O2 sensors. Gray should be front and black is the back sensor; the order does matter.
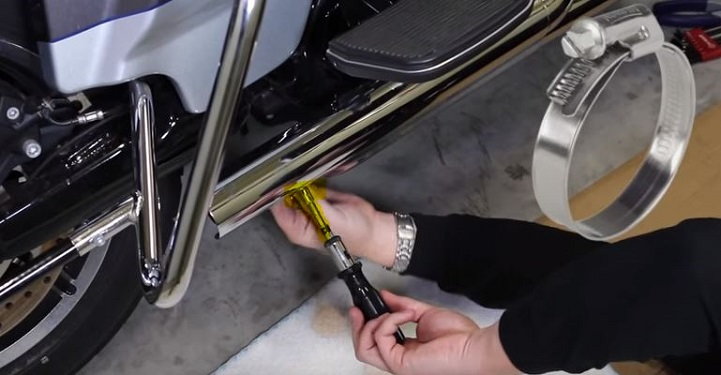
Figure 8. Follow the pipes and remove the two hose clamps with a flat head screwdriver. 
Figure 9. Make sure to remove both sections of heat shield. 
Figure 10. Remove the right side cover to get access to the O2 sensor wires. 
Figure 11. Disconnect the O2 sensors and don't get them confused. Gray is normally front and black is rear.
- Remove the bolts on the bracket at the junction where the 2 into 1 pipes meet.
- Remove the exhaust manifold bolts at the forward and rear headers. The rear is much more exposed and easier to work with. For the front, use a 1/2" box wrench for clearance.
- Use a 5/16" Allen wrench to remove the front support arm for the pipes just below the headers.
- The pipes can now be completely removed from the bike.

Figure 12. Remove O2 sensors from the pipes. 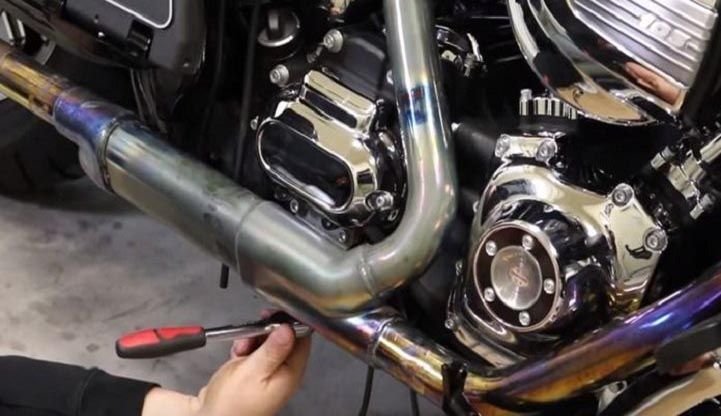
Figure 13. Remove the 9/16" socket on the clamp at the junction where the 2-into-1 pipes meet. 
Figure 14. Remove the 1/2" bolts connecting the pipes to the header. The rear is much easier than the forward. 
Figure 15. Remove the front support arm for the pipes with a 5/16" Allen wrench. 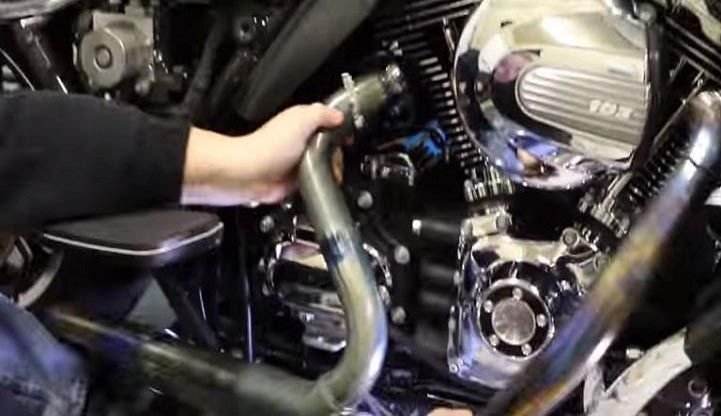
Figure 16. Wiggle and work the pipes back and forth and they pull right out.
Step 4 – Install your new pipes
Follow the manufacturer's installation instructions. They may have their own specific brackets to install for support. The removal instructions only guided you through removing the pipes from those brackets, but not the brackets themselves, so you will need to closely follow the installation instructions for your new pipes and be sure to reinstall your O2 sensors onto the new pipes in the correct locations. It is important to note that when you install the new pipes to the headers, tighten the bolts to the manifold together rather than bolting one down tight and then the second. You need a good, even seal for proper performance and to not have any leaks.

Featured Videos: Exhaust Pipes Installation
-
How to Install Slip Ons 2013 Harley Softail Deluxe
-
Install Vance and Hines Pro Pipe Exhaust on Harley Davidson
Exhaust Reviews
Finding that perfect match between sound and performance can be a daunting task when choosing the right pipes for your bike. There are about just as many proponents of one set of pipes as there are for any other. It is difficult to choose, especially when you are looking for the right notes that appeal to you the most. Here are a few of the most popular pipes that you can put on your Softail.
Vance and Hines Big Shots |
Samson Longtails |
Hooker Long Shots |
Rineheart Cross Back |
Thunderheader | |
|---|---|---|---|---|---|
Price |
$600 | $400 | $100 (Pre-owned) | $900 | $700 |
Sound |
Loud (optional quiet baffles are available) |
Very deep and loud |
Very Loud |
Very low growl, not as loud | Louder and much deeper |
Slip-on? |
No | Yes | Both | No | No |
Pipe Diameter |
2.5" | 2.25" | 2" | 2.5" | 2.25" |
Pipe Design |
2 into 2 | 2 into 2 | 2 into 2 | 2 into 2 | 2 into 1 |
Vance and Hines Big Shots

Price – $600
Sound – Loud
Slip-on – No
Pipe Diameter – 2.5"
Pipe Design – 2 into 2
If you are looking for a big meaty sound without the big meaty price, the Big Shots might be for you. These easily bolt right in and look great on your Softail. If black is your thing, they also come in a blacked-out version. They are still pretty loud even with the quiet baffles. Recommended for anyone who wants a very loud pipe to let everyone know they are coming.
Samson Longtails

Price – $400
Sound – Very deep and loud
Slip-on – Yes
Pipe Diameter – 2.25"
Pipe Design – Slip-ons, or 2 into 2 with headers
If you are only looking for a slip-on that will give you a great boost in mileage and HPs without all the work, these pipes might be just the thing you are looking for. The sound is a very deep rumble that can be made louder by removing the baffles. Sampson also offers true crossover header pipes if you are looking for a complete change. These tails can go up to 36 inches in length for a classic look. Recommended if you want to change the looks and get a very deep sound with minimal work.
Hooker Long Shots
Price – $100 or more (pre-owned)
Sound – Very loud
Slip-on – Both
Pipe Diameter – 2"
Pipe Design – 2 into 2
Unfortunately, Hooker doesn't make pipes any longer for the Harley lovers. These were a classic set of pipes that are truly straights, and they did not come with baffles, so they are extremely loud. Recommended for those who want a low to mid-range boost, but a shockingly loud ride.
Rineheart Cross Backs
Price – $900
Sound – Very low growl, not as loud
Slip-on – No
Pipe Diameter – 2.5"
Pipe Design – 2 into 2
Rineheart stopped making slip-ons in 2011. Their current offering is a nice look, in either chrome or blacked-out that gives a very low roar. This is a classic shorter look to compliment your ride. Recommended if you want a lower growl without all the noise that also gives a great boost in performance.
Thunderheader

Price – $700
Sound – Medium loud
Slip-on – No
Pipe Diameter – 2.25"
Pipe Design – 2 into 1
If you are looking for an increase in raw power and sound, these are the pipes for you. Some folks have a bit of a challenge with tuning their bike with this setup because of this increase in power. This is a classic 2 into 1 look that will make your Softail stand out from the crowd. Recommended if you want a clean 2 into 1 look with a generous boost in HP and torque, as well as a very loud and very deep sound.
Related Discussions
- Removing Vance and Hines Baffles? - HDForums.com
- Making Vance and Hines Pipes Louder - HDForums.com
- Let's See Some Exhaust Pics - HDForums.com
- Thunderheader Exhaust System - HDForums.com
- Louder? V&H or Thunderheader? - HDforums.com
- Rineheart Slip Ons - HDFroums.com