10 Things to Check Before Your First Spring Ride
You can't just roll your bike out on the first warm clear day and hop on after a winter of hibernation. Make sure your Motorcycle is ready for a season of riding, before jumping the gun and roaring off, weather this year has been brutal...


Make Sure Your Bike is Ready for That First Ride
We know this isn't your first rodeo, but even veteran pilots have a pre-flight checklist they need to follow before getting their wheels up. Here is a handy, easy to follow 10 point list:
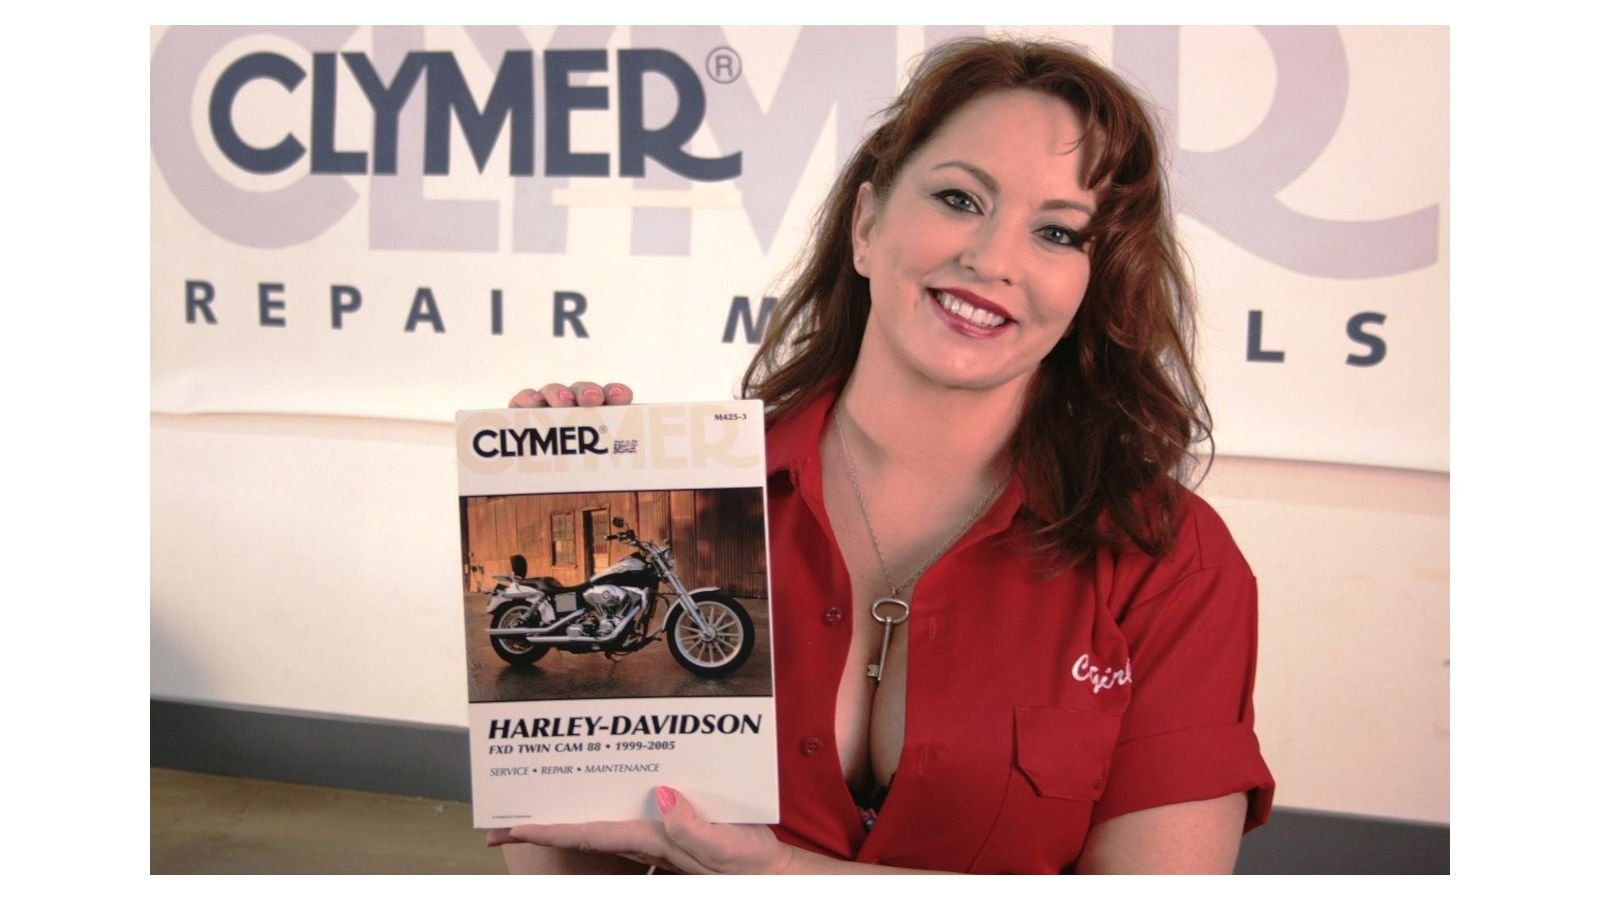
1. Service Manual
2. Oil Primary and Transmission
3. Tires
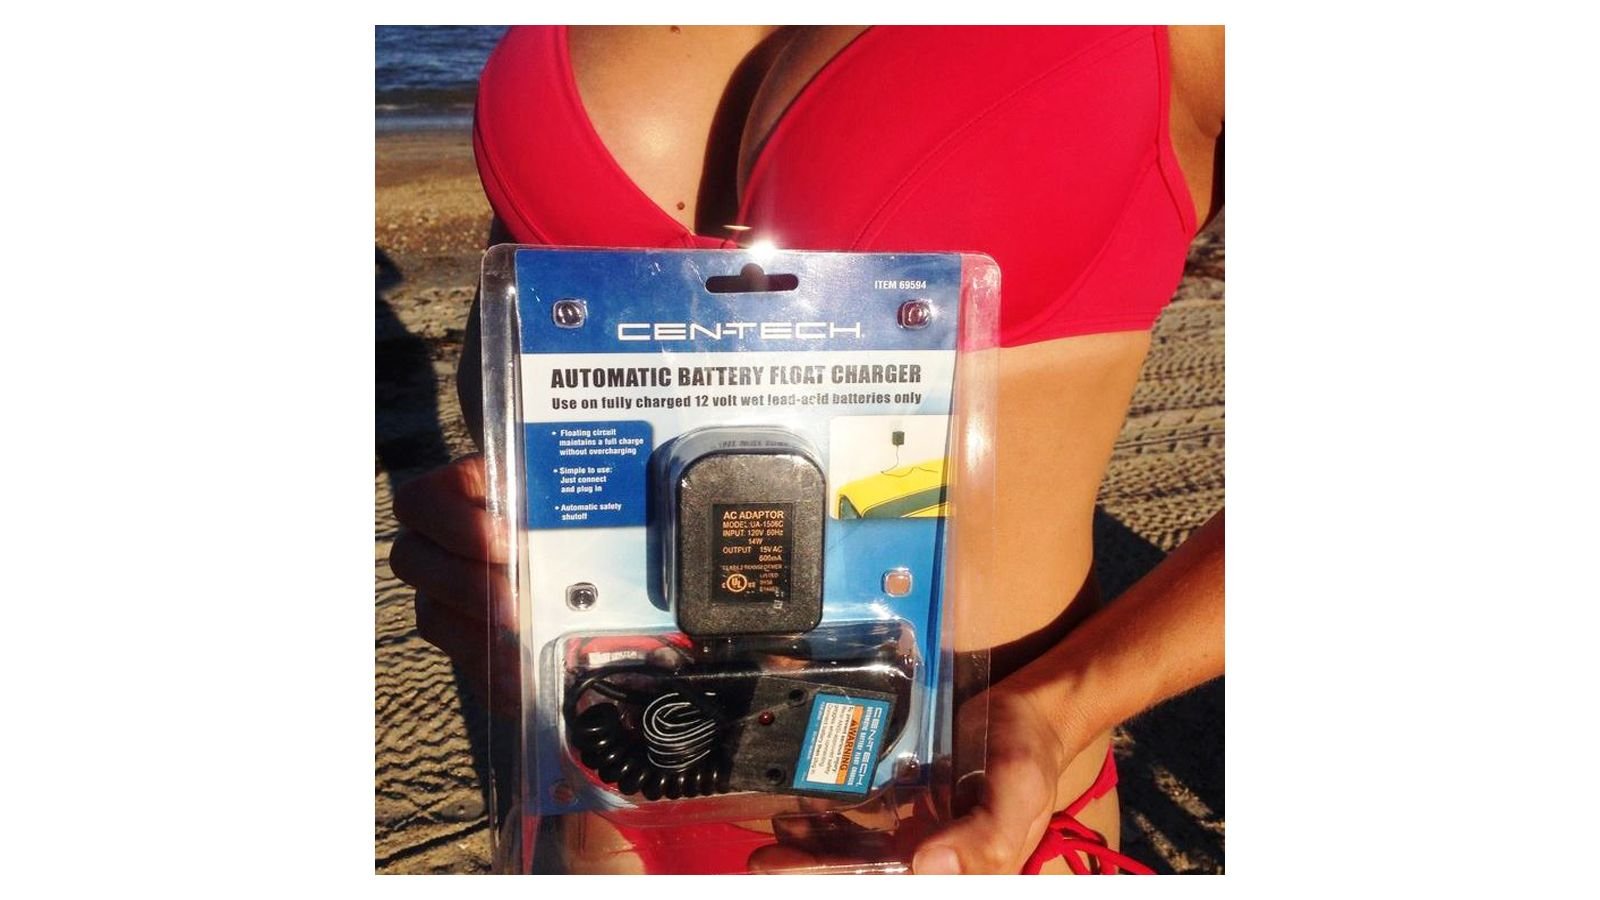
4. Battery
5. Charging System
6. Gas
7. Brakes, Suspension and Steering
8. Engine
9. Self Diagnosis
10. Riding Gear
To find out the proper way to store your bike for the winter, Please check out, "7 Ways to Make Sure Your Harley Survives the Winter".
1. Find and review your Service Manual
Find your service manual and so you can review all important sections. Also check hdforums.com and our helpful how to section for additional information on Harley service topics.
2. Know your Fluid Levels
3. Check Condition and Inflation of Tires
1. Proper tire pressure with an accurate gauge is one of the most important tire maintenance procedures you can do. Properly inflated tires will extend the life of your tires substantially, and make your bike more enjoyable to ride.
2. Too much pressure could result in a sudden tire failure and loss of control, but for every 4 psi a tire is under inflated you loose up to 80 lb. of load carrying capacity. Under inflated tires also run hotter and wear faster
3. After checking and adjusting the pressure, inspect each tire for foreign objects, cuts and gouges that may cause lost of pressure or punctures. Also, look closely for cracks in the tread and sidewall that could mean the tire is too old, even if it has plenty of tread left.
4. Make Sure Your Battery is Fully Charged
A voltmeter test will provide a general indication of a battery's health. If the voltage reading between the terminals is below 12.7V, charge the battery. Do not charge at more than 5 amps, and stop charging if it gets to volts. An automatic, floating battery charger, often referred to by the brand name Battery Tender should be a regular friend to your bike. Your bike will feel the energy and all your electrical gadgets will function correctly and your infotainment system will keep its presets. Clean the battery terminals and make sure they are clean and tight once at least once a year, and before Spring is a great time to do it.
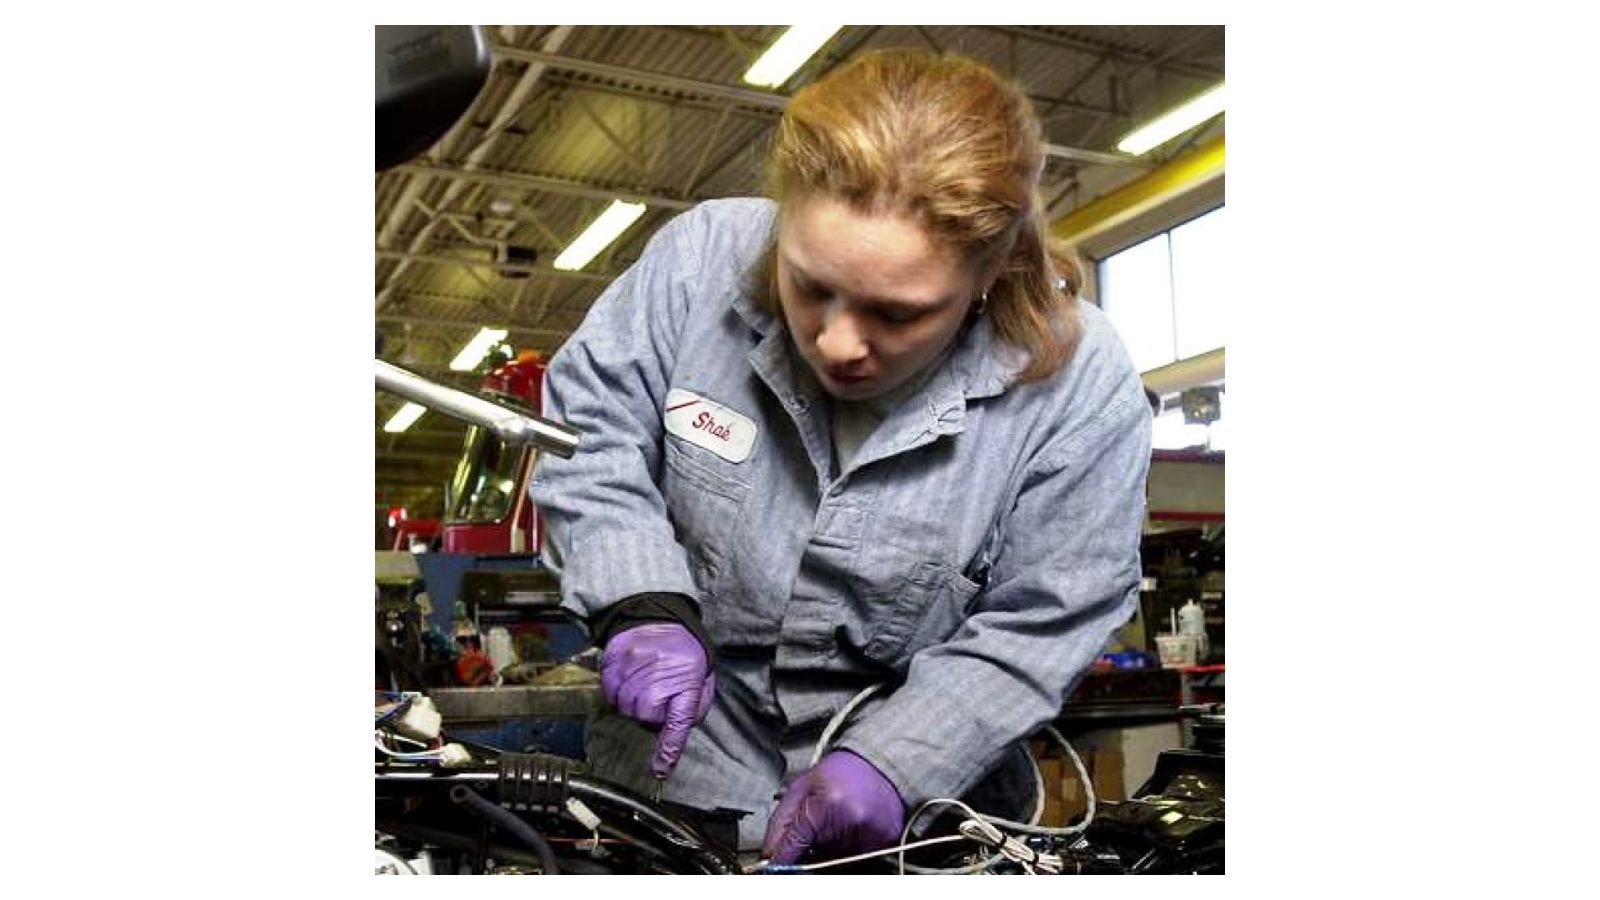
5. Look for Loose Connections
Harleys all vibrate, and things get loose. While the bike is in the garage, and you are in no hurry, take the seat off, look under the side covers, feel under the tank, and try to find any wiring that may have worked its way loose.
1. Check Connections/Wires on the charging system - Inspect the regulator/stator plug.
2. Check for broken wires, shorted wires and burned out light bulbs. Make sure your brake light, and turn signals all work.
6. To Drain or Not to Drain
Modern gas can go bad in as little as 30 days without a stabilizer. The tank should be drained before parking the bike for Winter if you did not use a stabilizer. Bad gas can become gummy, and cause real problem, especially for older carburated bikes. Condensation can also build up during the hibernation which can harm your injectors and fuel pump and be very costly. Whether you drained the tank, or left a few gallons in it, top it off with fresh gas before starting it.
7. Stop--Go, Left--Right
View the brake master cylinder reservoir sight glass on the front and rear brake, and top it off if it is low. Brake fluid should be flushed and changed ever 2 or 3 years. Check the thickness of the brake pads. If the fluid is low and brake lever feels spongy, that is a sign the pads are probably worn. Minimum brake pad thickness is 1/64 of an inch, but that is really cutting it close, and if it is 1/16 or thinner now is the time to change them. If you replace the pads, the fluid level should return to its normal level. While you are looking over the brakes, this is a great time to check the suspension for leaks or lack of damping, and the steering bearing for any notchiness or resistance.
8. Engine and Service Items
Remove the spark plugs put a few drops of oil in each spark plug hole followed by a couple of turns of the crank with the plugs out to coat the cylinder walls and rings during those first few revolutions. When you pull the plugs, check the gap. If you haven't serviced it during the winter, check the rest of those engine service items. (air filter,coolant level, drive-line, drive line fluids, exhaust system and fuel lines. Check highway pegs, wheels and all critical fasteners for tightness. Refer to your owners manual for the proper toque values. Inspect the drive belt for nicks, scratches and signs of wear.
9. Self Diagnosis
After you've completely check over your bike, now it's time for the bike to do a self diagnosis. This will check the Electronic Control Module, Ignition Control Module, Turn signal, turn signal security module Speedometer Tachometer. You can find the secret Harley method of getting the bike to give up the trouble code in How to Obtain, Identify, and Clear Trouble Codes (this details the Dyna, but others are similar). Check with how to section on HDForums.com for your specific model and what the trouble codes mean. This is also a good time to refresh yourself on the manual security override for your bike, if the key fob stops working.
10. Gotta Be Lookin Good!
After making sure the bike is operating properly and safe. Now it's time to make sure your gear is still looking and working good. Their is a wide range of attire and gear to fit your needs on any ride, but make sure it still fits properly, and that the leather or fabric has not deteriorated so it still protects you. Also, if your helmet is more than 10 years old, you should consider replacing it because the impact absorbing foam can deteriorate.
For help with any repair or maintenance needs, check out the how to section of the HDForums.com
