When you click on links to various merchants on this site and make a purchase, this can result in this site earning a commission. Affiliate programs and affiliations include, but are not limited to, the eBay Partner Network.
Dyna Glide ModelsSuper Glide, Super Glide Sport, Super Glide Custom, Dyna Glide Convertible, Super Glide T-Sport, Dyna Glide Police, Dyna Switchback, Low Rider, Street Bob, Fat Bob and Wide Glide.
Since I wasn't supposed to ride for about six weeks recently while a bone was healing, I knocked out a few lingering projects. Nothing major, basically just these three things:
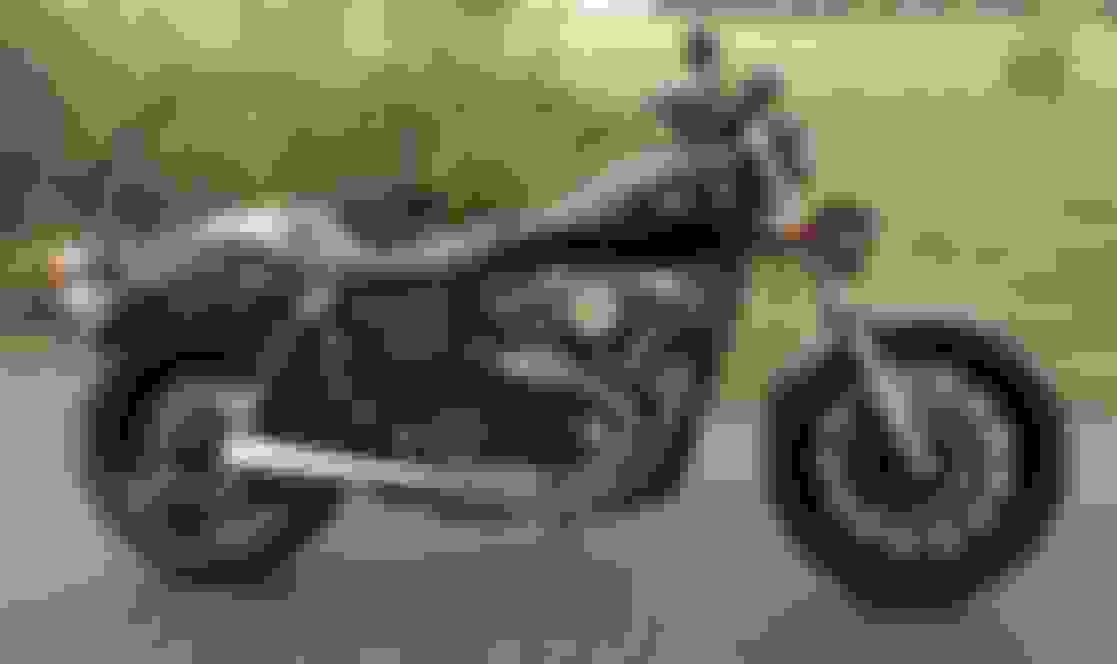
Straighten out handlebar controls - I recently went to a Flanders Cafe Bar, which is a little bit lower than stock on the FXDX. Existing cables and brake line ended up too long.
Powder Coating - Just a bunch of odds and ends that I thought made my bike look old (which it is).
Clutch - I've never noticed mine slipping, but I've always thought the original clutch pack should probably be upgraded to match my engine build.
The good news is... I pretty much got it all done, and I've been riding a lot over the last couple of weeks. My surgeon gave me the go ahead at the beginning of the month, but suggested I ease into seat time a bit...
Despite the trend towards T-Bars, I really like more of a "low slung" look to my bike. I also like sitting with my hips bent slightly forward. I tried a Biltwell low bar, but it didn't have enough pullback and sat way too far forward. I really like the Flanders Cafe bar, which is what I ended up installing. I chose lines and cables from Magnum Shielding, because I like their "Black Pearl" finish and the brake line can match all of the cables. Working with Magnum was great, a woman named Maria was extremely helpful with custom-length stuff (their website didn't accommodate all of the shorter lengths I needed). But I'm not sure that I really love them... But I like them enough. I had a set of Barnett throttle/idle cables that I really liked. The Magnum cables are actually a little bit thicker overall, and look a little bit bulkier. I have Tokico calipers up front, and had custom lines from Spiegler, which are very nice. I just changed the upper line as it's the only one that's now too long, and I wanted it to match everything else. The length ended up just fine, but honestly the Magnum line is not as nice as the Spieglers. It's certainly good enough for my needs (and for most of us), but when compared side to side with the Spiegler... I guess you can just say there's a reason you see Spiegler brake lines all over race bikes, but not Magnum Shielding. I don't want to say they aren't good... They are. And they do look nice. Just not "Competition Grade..." I actually really like the Magnum clutch cable. It's very nice looking, and the adjuster setup looks great (although only having two flats makes it a little bit awkward). The "Black Pearl" isn't a true black, it has more of a carbon fiber look to it. I hoped it would match my front fender, which it does. With the cables off, I took the opportunity to install the Oberon adjustable levers I ordered over the winter, as well as a new set of Biltwell Torker grips that have been in my garage for awhile. I love the levers!
Old grips and levers:
New grips and levers (I like how they match the seat):
Despite changing the transmission oil once a year, I found remnants of ancient oil sludge in the cover while changing the cable (so I assume it's everywhere).
I cleaned out whatever was visible from the cover and the end of the transmission, but it's annoying knowing that stuff is in there...
Powder coating consisted of the following: Kickstand (which was a fresh chrome piece, acquired from Mchad last year), foot peg mounts, brake pedal, rear brake rod, shifter, and removeable backrest. I went with a high gloss metallic black. I get tired of "murdered out" stuff where everything is the exact same black, but I like having different black textures and finishes all over the bike. I have gloss, flat, wrinkle, metallic, leather, vinyl, rubber, and carbon fiber in different places. A "Thread Restorer" set is handy for cleaning up newly plated parts before install (as opposed to actual taps).
With the mounts off anyway, I picked up a set of Speed Merchant front foot and shifter pegs. I like them. I also added more ARP polished stainless from AlloyBoltz all over the place...
Changing the clutch pack was super easy (other than my stupid mistake). I've never done one before, so I wasn't really sure what to expect. I also got really confused as to what I should actually change... Just the friction plates, plates and spring, VPC, full basket, etc. My bike never sees the strip and doesn't make stupid horsepower, so I decided a lot of people's "input" seemed like overkill. I pretty much decided on a Barnett extra-plate kevlar set along with a stiffer spring, but decided to call Barnett for advice. They recommended against changing the spring right away, suggesting I start with just the friction plates. They didn't think it would be a problem below 120 hp on a street ridden bike, so why make the lever harder to pull? Easy to change the spring later if needed... So that's what I did. Just the friction plates. I usually make one bone-headed move per project, and I made it with the clutch, but I think it's rectified... Barnett recommends soaking the friction plates in whatever primary oil you're using for five minutes prior to install. I use Redline w/Shockproof in the tranny, and Redline Primary on the other side. I drained and refilled the tranny when I did the cable, and did the clutch the next day. It was easily 100 in my garage, and I've been tired and stressed lately... I totally forgot that I found an extra bottle of the tranny oil in my garage the day before, and didn't end up opening the new bottle. I also forgot that my new primary oil was still in an Amazon box in the house... I saw the fresh Redline bottle, opened it, placed the fresh friction plates in a completely clean new plastic bucket, opened the bottle and poured it in. It never occurred to my addled brain that the primary oil isn't red. I put the whole thing together and went to bed. The next morning I found the real primary oil in my living room. At least I never started it... I felt a little better after calling Barnett... I was worried the Shockproof additive might be really bad for the kevlar. They suggested I take everything out, dry the plates as well as possible with cloth, resoak them, and put it back together. It seems completely fine. I'll change the oil again soon just to be sure...
The original friction plates actually looked really good (roughly 21,000 miles):
New twice-soaked kevlar plates:
But anyway, this was really simple. The clutch felt perfect right away. Primary chain tension was correct, and with a freshly adjusted clutch and cable the gear box feels good.
One day I'll do something without having to do part of it twice...
Okay, I tried... It's raining, so I couldn't pull the bike out of my crowded garage for better "After" pictures, and I had to search through old shots and do some cropping and zooming for "Before," but I think this gives the idea...
Before:
After:
Originally Posted by cggorman
Do you quick disconnects for the tank lines?
Yes, I added one on the cross-over the first time the tank was off, a few years ago. In fact, I think you may have pointed me at the time to the company that makes them for Motion Pro. I think I'll change to one of the metal Goodridge units soon, though. This one is getting increasingly difficult to disconnect and connect easily, which sometimes results in a few drops of spillage. It's still a completely necessary mod, as far as I'm concerned... I've had the tank on and off numerous times over the last few years. I can't imagine having to drain it every time... On the outlet side, I usually just close the petcock and if nothing is taken apart, I'll run the carb dry. Otherwise I just jam a large bolt into the fuel line when it comes off the petcock.
Slideshow: Jason Momoa's latest restoration project blends 1920s Harley-Davidsons with modern electric technology, creating some of the most unusual hybrid motorcycles ever built.
Harley-Davidson Fat Boy Becomes a Dark, Decepticon-Inspired Custom
Slideshow: Killer Custom's latest build relies on styling changes rather than performance upgrades, giving the cruiser an entirely different personality.
7 Surprising Harley-Davidson Products that Are Not Motorcycles
Slideshow: The bar-and-shield logo shows up on far more than motorcycles, some of the company's most unexpected products have nothing to do with riding.
Slideshow: From the troubled AMF years to modern misfires, these bikes earned reputations for reliability issues, questionable engineering, or disappointing performance.
Crazy Bunderbike Build Looks Amazing, But Is It Impossible to Ride?
Slideshow: The Swiss custom shop has taken a Harley Softail and stretched it into something so long and low that it looks closer to a rolling sculpture than a conventional motorcycle.