When you click on links to various merchants on this site and make a purchase, this can result in this site earning a commission. Affiliate programs and affiliations include, but are not limited to, the eBay Partner Network.
Dyna Glide ModelsSuper Glide, Super Glide Sport, Super Glide Custom, Dyna Glide Convertible, Super Glide T-Sport, Dyna Glide Police, Dyna Switchback, Low Rider, Street Bob, Fat Bob and Wide Glide.
Sorry about the world's slowest fork rebuild... I just have no time and have also had to stop and wait for parts a couple of times... And it's not about to get much quicker, as I'm out of town next week. My plan at the beginning was to be riding before the end of April, so I don't really think I'm late (yet)...
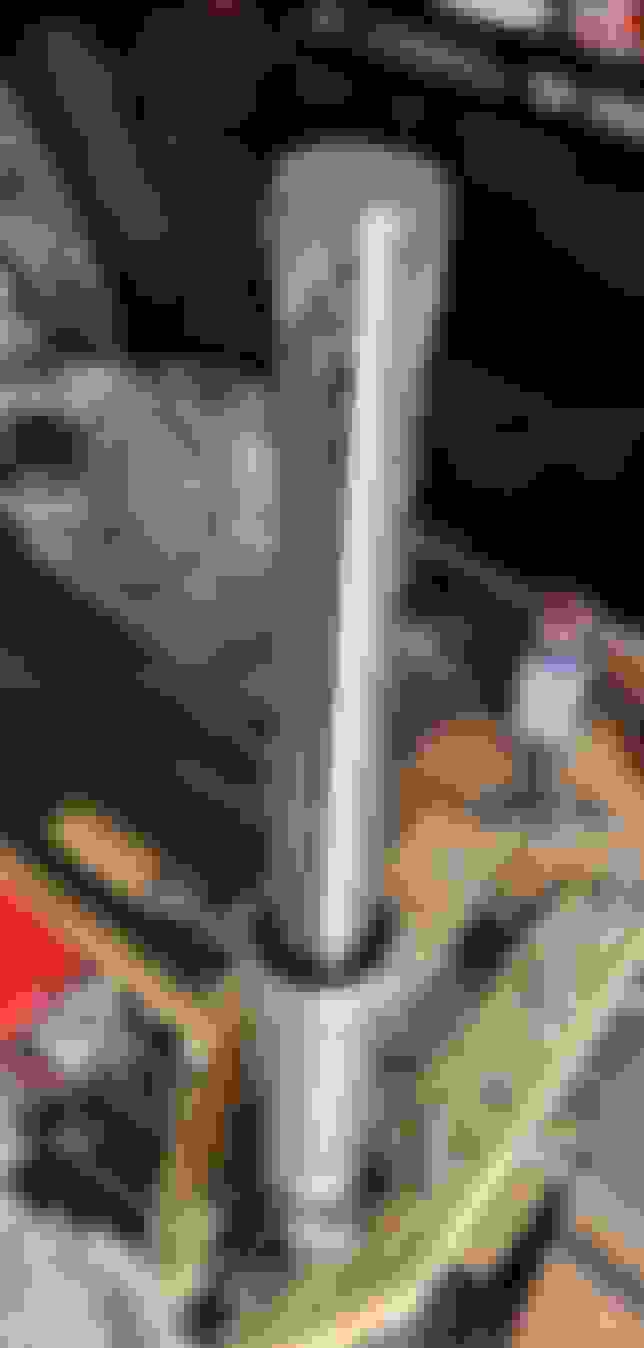
Looking at the new Traxxion springs and aluminum spacers, I started to get a little concerned about correct alignment being maintained all the time. the spacer has a very thin wall, and even though the spring/cartridge assembly can never be fully unloaded once installed, I didn't want to risk hitting a pothole and having one spring or spacer ending up cockeyed, possibly even causing interference against the inside of the fork tube. The factory "spring collar" at the top is very similar to the aluminum stock the Traxxion spacers are made from, and has a flat washer on each side to give it a better mating surface against the spring. My initial plan was to do the same thing with the spacer, but instead decided to have a set of inserts made for the job. The shadows make it a little hard to see, but here's the spring sitting in line with the spacer:
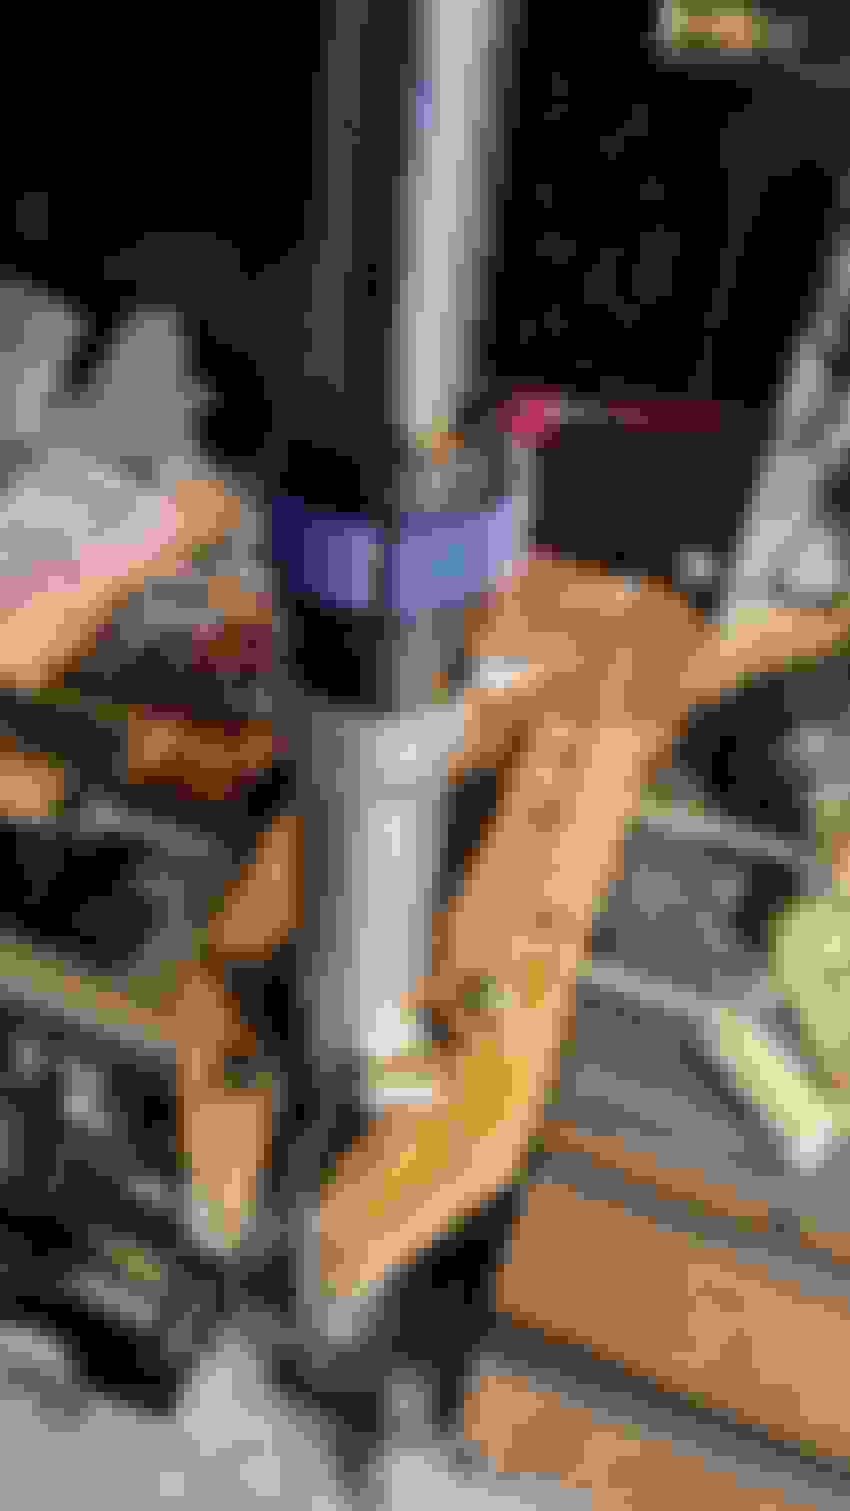
I sketched out what I wanted, and went to a local race car fab shop next to my powder coater (I brought one spring and spacer as well). 24 hours later I picked up a pair of these aluminum inserts:
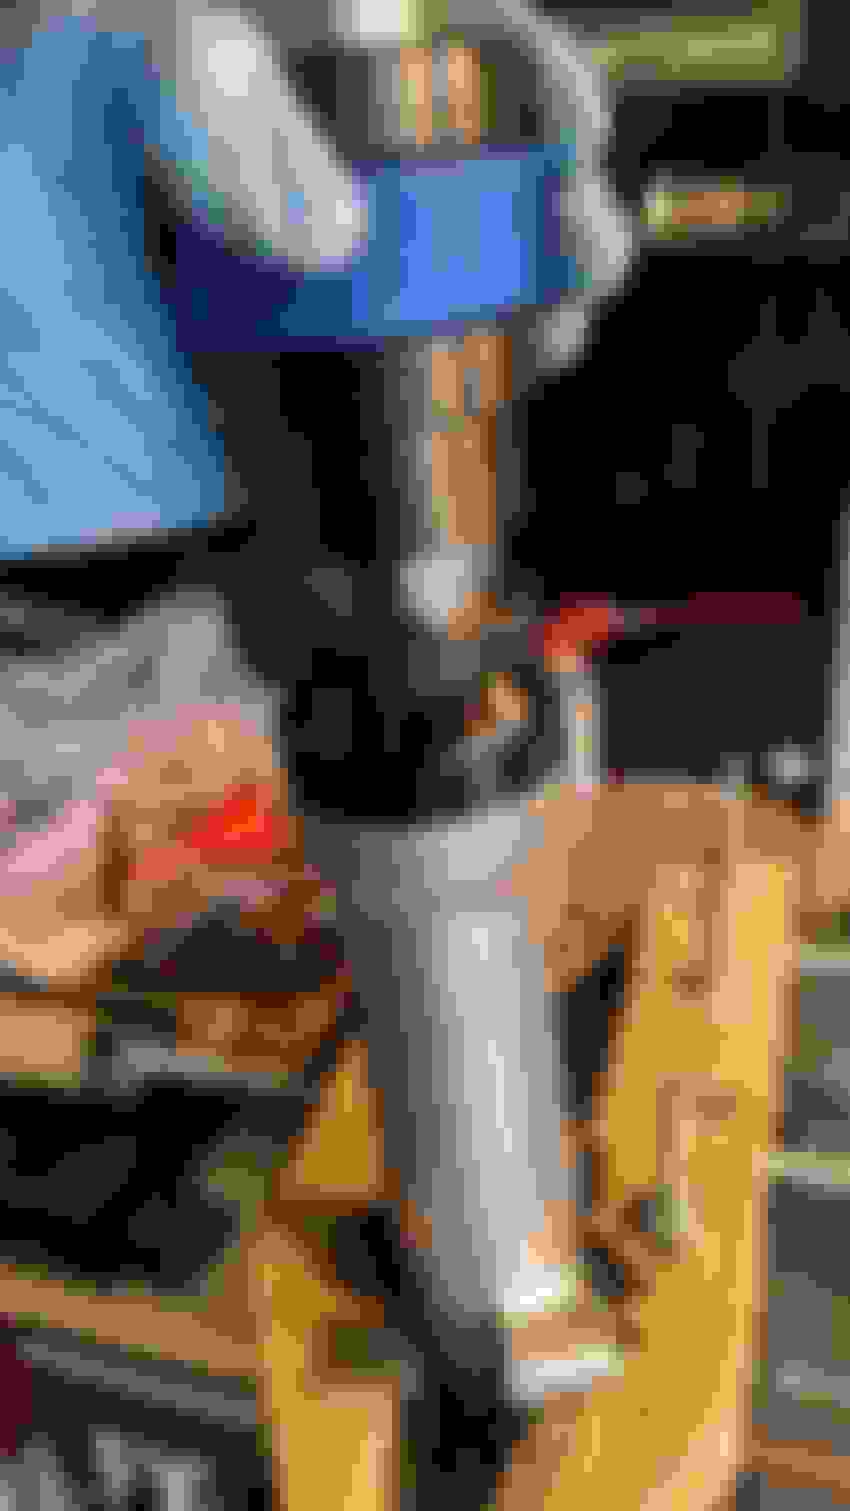
They fit really snugly in the ID of the spring and the spacer, and the damper tube fits inside them. Here's what it looks like installed:
Mocking it up, I realize I should probably have had four made, instead of two. I'm planning on having the spacer sit on the bottom of the spring, leaving the heavy side as far towards the top as possible (Howard's suggestion, to help avoid unnecessary unsprung weight). The spacer doesn't really sit as well as the spring did against the top of the cartridge, and these inserts make it really solid. Once it all seems good, I'll cut the spacers down to make up for the inserts. I may run back up this afternoon to have two more made...
If anyone sees and issue with the way I'm doing this, please let me know!
This would be the order of pieces, from bottom to top: Cartridge, insert, spacer, insert, spring, flat washer, spring collar, flat washer, fork cap/rebound/preload adjuster. Again, if anyone sees an issue with this order of assembly, please let me know!
@Max Headflow , @multihdrdr , @union53 , @FastHarley , I would be happy for any of your thoughts. It makes sense to me, but you guys have a lot more suspension experience than I do.
Also, If I'm have another pair of inserts made, would you replace the flat washer between the spring and spring collar with one? I think that would eliminate any possibility of unwanted lateral movement anywhere in the whole thing...
It looks OK to me. I'd probably prefer a steel washer between the end of the spring and your collar. At the very least make sure the end of the spring does not have any sharp edges that can dig into your collar. I like howards idea of the inner sleeve but if the tube to spring clearance is tight, I doubt that it would help. I do know that the FXD Racetech springs on my FXDX forks squeak as they slide in the tubes. They seem to get better over time..
It should work just fine and I am a Sucker for "Made" parts ...
but I don't think you really "needed" to do all that. If you were mostly concerned with parts shifting and misalignment, then I think you were focusing too much on those internal parts and their ID's and wall thicknesses, whereas their OD's fitting closely to the ID of the Tube is what keeps them in line.
Kind of like what Max was eluding to with the reference to the spring keeping straight because of it's close "fitment" inside the tube
Have you placed the cartridge and spring (can be loose) inside the fork tube and noticed how good they fit?
.
.
Last edited by multihdrdr; Mar 28, 2019 at 09:38 PM.
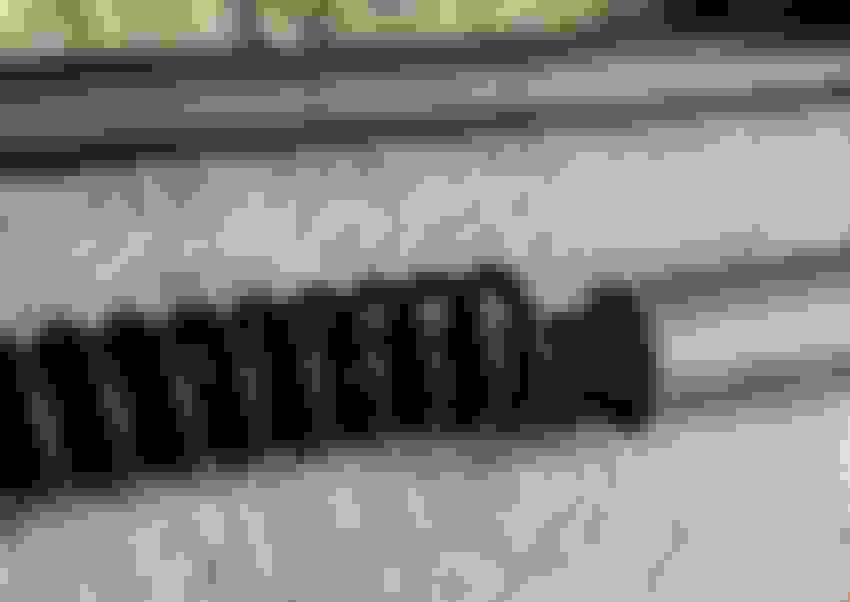
I make or use a spring guide on the shaft and between he spring to prevent the spring from kinking like it does on that cartridge system originally.
That makes sense. I remember you describing it on the phone at some point, but your picture is helpful!
Originally Posted by Max Headflow
It looks OK to me. I'd probably prefer a steel washer between the end of the spring and your collar. At the very least make sure the end of the spring does not have any sharp edges that can dig into your collar. I like howards idea of the inner sleeve but if the tube to spring clearance is tight, I doubt that it would help. I do know that the FXD Racetech springs on my FXDX forks squeak as they slide in the tubes. They seem to get better over time..
Yes, it is tight with 39mm tubes...
Originally Posted by cggorman
Good stuff!
(And I double dog dare you to move slower than me. )
Haha, thanks Chris! I'm not really "late" yet, as my plan was to ride the bike before the end of April... But I am slow (and busy)!
Originally Posted by multihdrdr
It should work just fine and I am a Sucker for "Made" parts ...
but I don't think you really "needed" to do all that. If you were mostly concerned with parts shifting and misalignment, then I think you were focusing too much on those internal parts and their ID's and wall thicknesses, whereas their OD's fitting closely to the ID of the Tube is what keeps them in line.
Kind of like what Max was eluding to with the reference to the spring keeping straight because of it's close "fitment" inside the tube
Have you placed the cartridge and spring (can be loose) inside the fork tube and noticed how good they fit?.
I understand what you're saying... It is a fairly snug fit inside the tube, but I think there is room for something to get dislodged (even though unlikely). My concern (which maybe doesn't make sense) is that if things don't stay completely aligned, something may rub against the inside of the tube causing friction. Also it's fun drawing little bits and having them made! I like Howard's approach, but I really don't think I have room... I think my little "insert things" should keep everything in line...
Well, I FINALLY found some time to get back to this! My initial schedule was that I would be able to ride the bike before the end of April. Even though the forks are now back together, that will be tight (but not impossible).
Reassembling the sliders and tubes was basically the same as with a "conventional" damper rod fork. Two bushings, a spacer, oil seal, lock, dust cover, and slider cap. I always read through the factory service manual when doing stuff, but sometimes I also like referencing my trusty old Clymer book. If I could only have one, of course the FSM wins out. But sometimes Clymer gives you "non-authorized" shortcuts and tips, ways to get around some factory special tools, more photographs, etc. In this case, Clymer had the handy tip of stretching a little bit of plastic wrap over the top of the fork tube, coated with fork oil. This allowed the oil seal and dust cover to be slipped over the top without risk of damage as they go over the top of the tube.
The MotionPro seal driver worked really well to seat everything properly:
Next up, the cartridge assembly gets dropped in and bolted, and Ohlins #5 fork oil is added. I've read that some people have trouble with the cartridge spinning while securing the lower bolt through the bottom of the slider, but I didn't have that problem. Both sides torqued without issue.
The cartridge rod needs to be pumped up and down a bunch of times to properly fill with oil, which seems tricky because when fully collapsed the rod sits well below the top of the fork tube. I jammed the tapered end of a chopstick into the tube, which worked really well. It stayed completely secure while pumping, but was easy to remove when finished.
Oil level needs to be measured from the top of the fork tube, without the spring in place. I've seen people make various types of dipsticks for this, but the Traxxion syringe tool was inexpensive and worked really well.
I forgot to take pictures of the fork cap/rebound adjuster/preload assembly being installed with the spring compressor, but it was basically the same as disassembly, shown earlier in this thread. Installing the slider caps took a little bit of fiddling, mainly due to powder coating (is that actually one word or two?). Since the caps and lowers were coated, fit was really tight. I used some 60 grit paper to remove powder inside the caps and drove them in with the seal driver, using an old oil seal for protection:
As discussed previously, I set one fork to the original height (which may or may not be optimum with the new springs but should be close), and then used the axle to align the second leg. The axle can be freely rotated, indicating good alignment.
7 Surprising Harley-Davidson Products that Are Not Motorcycles
Slideshow: The bar-and-shield logo shows up on far more than motorcycles, some of the company's most unexpected products have nothing to do with riding.
Slideshow: From the troubled AMF years to modern misfires, these bikes earned reputations for reliability issues, questionable engineering, or disappointing performance.
Crazy Bunderbike Build Looks Amazing, But Is It Impossible to Ride?
Slideshow: The Swiss custom shop has taken a Harley Softail and stretched it into something so long and low that it looks closer to a rolling sculpture than a conventional motorcycle.
Engraved Rebellion: Inside Bundnerbike's Glam Rock II
Slideshow: A standard cruiser becomes an intricate metal canvas in the hands of a Swiss custom house known for pushing Harley-Davidson platforms far beyond their factory brief.
Slideshow: Harley-Davidson's challenges aren't abstract; they show up in dropping shipments, shrinking dealer traffic, and strategic decisions that aren't yet translating into growth.


 ...
...