Dyna Glide ModelsSuper Glide, Super Glide Sport, Super Glide Custom, Dyna Glide Convertible, Super Glide T-Sport, Dyna Glide Police, Dyna Switchback, Low Rider, Street Bob, Fat Bob and Wide Glide.
As usual, slow going... I hoped to get more done this past week, but had some unrelated setbacks (like a steam pipe joint letting go in my basement... My heating company wanted $1,400 to replace the pipe. It's a large diameter steam supply pipe, at least ten feet long. They wanted to cut it, remove both ends, manufacture a new two-piece pipe, and install it with a junction in the middle. I've spent decades making fun of JB Weld, always thinking it is to welding what Spam is to steak, but a nicely rolled strip of their putty around the leaking joint has held nicely for several days now... We'll see. Six bucks is better than $1,400!).
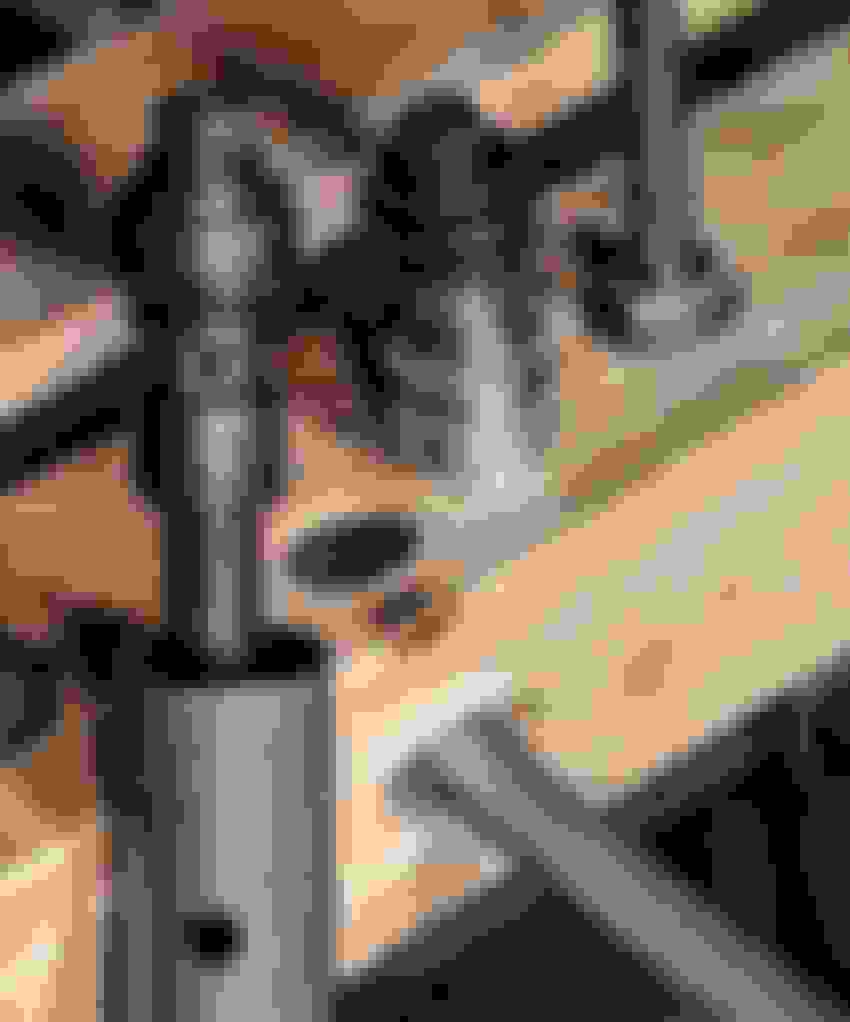
The Motion Pro tool was super simple to use for steering neck race removal. Both of them popped right out:
I tried Multi's suggestion of finding a bearing puller in our shop at work (I work at a car dealer), but everything I found was bulky and seemed like it would interfere with the steering stops in the lower tree. I ended up picking up the Motion Pro tool to remove the race from the steering stem. Again, it worked well with no drama. I ended up placing it in my tube holder, just so I didn't have to hold the tree. the race came right off.
Question: Do I need to pull the stem out of the tree for powder coating, or just have it masked? I can remove the circlip, but it's pressed together and I'm concerned about it going back properly.
I now have both cartridges disassembled. Here's the view of the bottom end. The threaded piece is the compression valve. It needs to be pushed into the cartridge housing a bit, exposing a spring clip of a similar design to the clip on a piston wrist pin. Some people say the locating dimples must be drilled out, others say it's not necessary. Either way, exposing the clip requires about a half inch of clearance. I secured mine in such a way that the flange at the top of the cartridge was held steady by my wood jaws, and gently tapped the end with a 3/8 extension. Once pressed in, a tiny screwdriver easily extracted the spring clip.
And... Here are the two valves from inside the cartridge. Rebound is connected to the cartridge shaft, compression is sitting on the wood jaws.
For fun, you should have said to those Heating Co guys ... "I think I'll just throw some JB Weld on there ... thanks"
Think of all those take-off Trees getting PC'd ... think they're pressing out those stems?
As a side note ... Now that the bearing is off, think about which direction you would have pressed that stem out ... Then measure the diameter of the stem on each side of the Trees and tell me if you just changed your thinking ... Counterintuitive to some. I think it's the Snap Ring that throws them off
Guess you'll just use those as your alignment grooves when going back together
Btw, some/most of the later cartridges don't have those dimples ("later" as in the fairly recent stuff)
Last edited by multihdrdr; 01-28-2019 at 12:24 AM.
I've PCed 2 39mm steering stems by pressing out the centers. They go out the bottom. The first one I tried pressing out through the top and screwed it up. Ended up getting a used one off ebay.. I'd probably just leave it in and get it masked. That way you can get the steel end PCed also. I like the bearing race puller. I just did a front end rebuild on an EVO dyna WG and welded nuts to the race to pull it off. A buddy mentioned that if you hit the race with a bit of heat oxyacetylene, they fall right off but I've not tried it yet.
Okay, I've been out of the country for a bit without a laptop... Just getting back to things now. I'm having a little bit of a dilemma with regard to spring choice. My plan has been to purchase Ohlins springs from Howard, and to follow his recommendation with regard to rate. Unfortunately, going through the Ohlins spec chart Howard sent me, they don't seem to make what he recommended. I'm not heavy at all, about 155 without gear. I ride 2-up at most 20% of the time (probably less). I like a firm, controlled, sporty ride, but not harsh. I enjoy riding the Dyna at a quick pace on twisty roads. OEM FXDX rear shocks are 13.5", and I'll be maintaining stock ride height with Ohlins piggybacks. And not all of our pavement is great around here. Howard's original recommendation (which was heavier than I would've first guessed) was either 9.5 Newtons (.97 Kg) or 9.0 Newtons (.92). I had originally mistyped the outside diameter of my springs earlier in this thread (corrected later in the thread), so Howard wouldn't have noticed that there wasn't such a spring listed from Ohlins.
Here's the stock FXDX spring specs, as far as I can find (if anyone knows better, I'm all ears):
Outside Diameter: 30mm
Length: 432mm (17")
Rate: 6.0 Newtons (.61 Kg)
Closest Ohlins offering I can find:
Outside Diameter: 30mm
Length: 380mm
Rate: 8.0 Newtons (.82 Kg)
Race Tech offers the following:
Outside Diameter: 30mm
Length: 330mm
Rate: 7.1 Newtons (.72 Kg)
Rate: 7.4 Newtons (.76 Kg)
Rate: 7.8 Newtons (.80 Kg)
Rate: 8.1 Newtons (.83 Kg)
Rate: 8.5 Newtons (.87 Kg)
Traxxion offers the following:
Outside Diameter: 30mm
Length: 300mm
Rate: 7.3 Newtons (.75 Kg)
Rate: 7.8 Newtons (.80 Kg)
Rate: 8.8 Newtons (.90 Kg)
Rate: 9.3 Newtons (.95 Kg)
Rate: 9.8 Newtons (1.0 Kg)
Rate: 10.8 Newtons (1.1 Kg)
Now I'm not sure whether I should use the Ohlins offering, or whether I should be looking at Race Tech and Traxxion as well. I'm not sure whether the length differences between brands is a factor at all, since all of them will require spacers, but my not-super-educated mind can't help thinking the longer length of the Ohlins spring may equal more travel than the other two brands (no one seems to list travel in their specs).
Howard, if you're listening, please feel free to chime in! I will call you to discuss, but unfortunately won't be able to for several more days...
Picked up my powder coating. Hard to tell in the picture, but there's a mix of "Mirror Black," "Metallic Black," and "Heavy Silver." As usual, my shop masked everything perfectly and the finish looks great. There's one back rest side plate in there, because I gauged the side of it accidentally after it was originally coated about six months ago. They stripped and recoated it, and it matches the rest of the backrest perfectly. $227 including tax for everything. Nine day turnaround, including counting Saturday and Sunday. I thought that was really reasonable.
I went back and forth on the lower legs... Originally I selected Mirror black to match the trees and covers, but I called the next day and changed them to Heavy Silver. With black wheels, calipers, fork brace and black/carbon fiber fender, I decided I wanted some contrast. I used Heavy Silver on my lower rocker boxes and pushrod covers, so it'll match something. I think it's a pretty cool finish. But I'm a sucker for metal flake. In real life, it's a little lighter than it looks in this picture:
I was considering that, actually! My first plan was to fully remove the ridges completely prior to coating, then drill and tap a series of small holes through the pad area, each holding a small polished button head screw. But I didn't get to it...
I was considering that, actually! My first plan was to fully remove the ridges completely prior to coating, then drill and tap a series of small holes through the pad area, each holding a small polished button head screw. But I didn't get to it...
I filed them but should have modded them before. I was thinking that they would look good more rounded and cut off about 1/2 inch. Coupla holes would have been nice..
Powder work looks great. There is one thing I have learned when dealing with Howard.....it's listen to him. The man knows his stuff and tailors it to your needs.
Powder work looks great. There is one thing I have learned when dealing with Howard.....it's listen to him. The man knows his stuff and tailors it to your needs.
Yes, Howard definitely knows his stuff! Unfortunately, I've just been slow getting everything figured out and ordered... Getting back into the swing of things now...
 01-27-2019, 09:06 PM