Tank Lift Sources
#1
 03-29-2011, 01:46 PM

#2
03-29-2011, 01:55 PM
#3
03-29-2011, 01:55 PM

Cruiser
Join Date: Jan 2011
Location: Pacific NW
Posts: 178
Likes: 0
Received 0 Likes
on
0 Posts
This is a link to one of jackyl's kits...not the right one but you can send a msg to him about correct one.
http://cgi.ebay.com/ebaymotors/HARLE...item20b82cf0b9
http://cgi.ebay.com/ebaymotors/HARLE...item20b82cf0b9
#5
03-30-2011, 08:38 AM
#6
03-30-2011, 08:56 AM

Road Master
Join Date: Apr 2007
Location: USA
Posts: 1,197
Likes: 0
Received 0 Likes
on
0 Posts
2” Jackyl Tank Lift on my Street Bob:
http://s1125.photobucket.com/albums/...t=DSCN0325.jpg
2” Jackyl Tank Lift on my Night Train:
http://s1125.photobucket.com/albums/...est-2-copy.jpg
His price and quality works for me.
http://s1125.photobucket.com/albums/...t=DSCN0325.jpg
2” Jackyl Tank Lift on my Night Train:
http://s1125.photobucket.com/albums/...est-2-copy.jpg
His price and quality works for me.
#7
03-30-2011, 01:45 PM
Road Master
Another tank lift (about 1.5" is what I was after)...really no different than some others that have been done, except that it takes even less work because I used two of these (the flat bracket part):
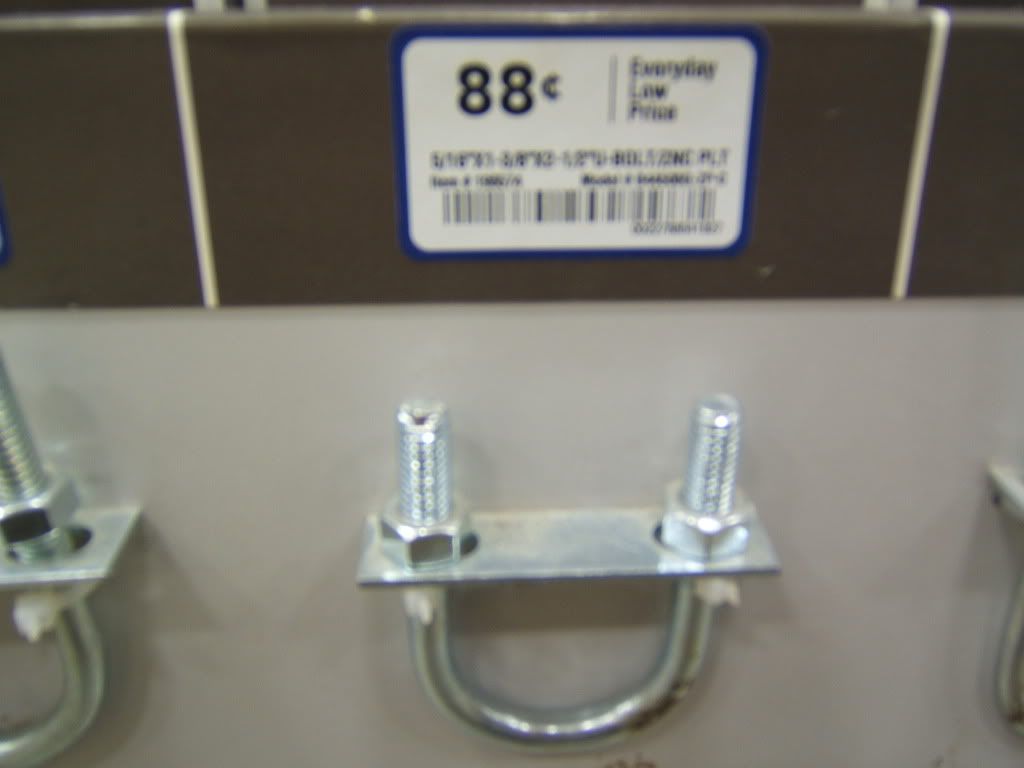
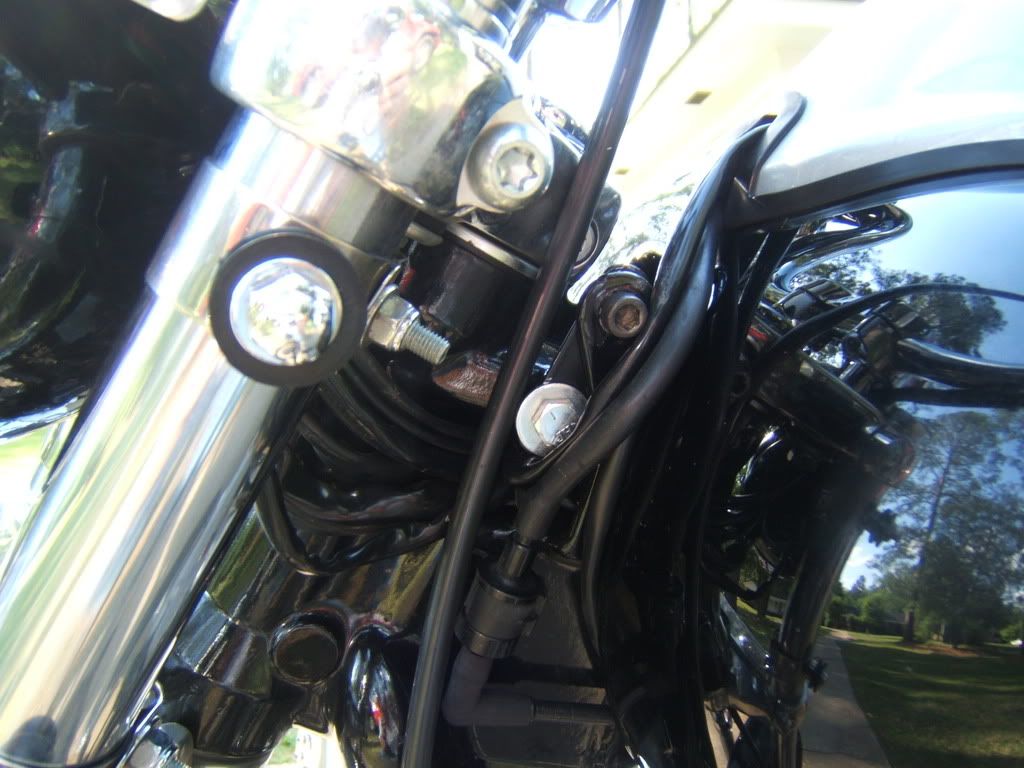
The holes are already there, so no drilling required, plus they are slotted a bit so you actually have some adjustability if you want it (I didn't as Iput them all the way down). I used short black hex type socket head cap screws with stainless nylon lock nuts. In this pic you can see the raw brackets when I put them on for a test run to see how it would look/work.
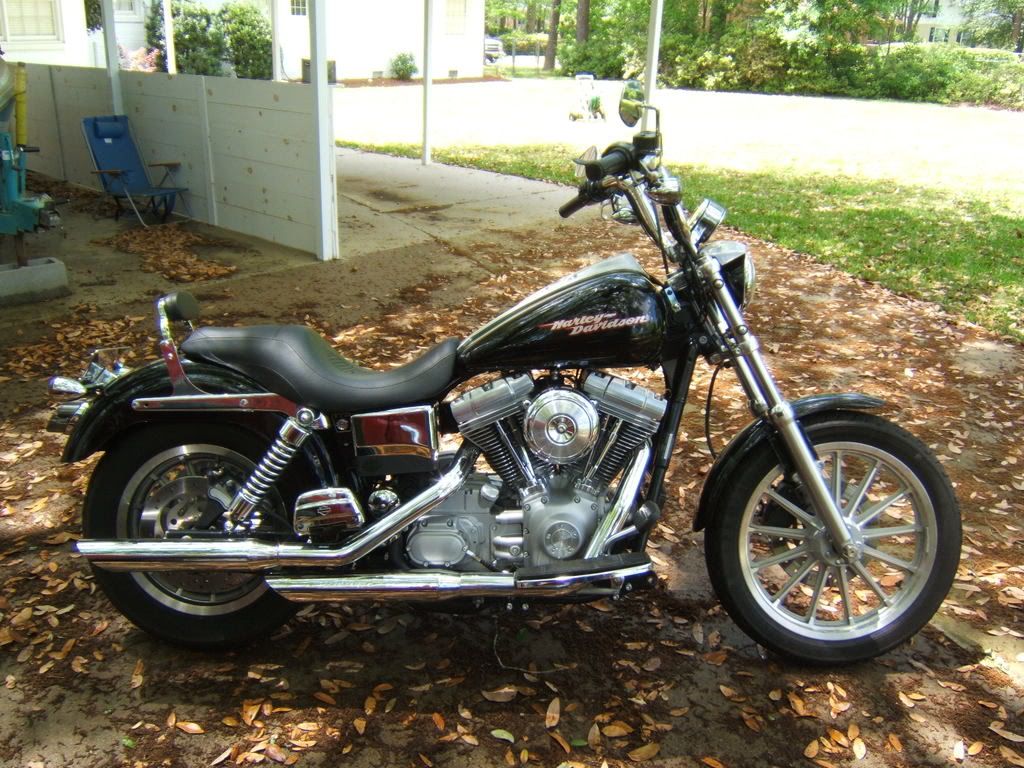
I took them off and ran down the street to an indy guy's shop that I know and used his bench grinder to round and smooth the edges (No shop equipment atmy daughter's house in town where I keep the bike). Then all it needed was some sanding and painting (I was already painting some other stuff). When I put them back on, I decided to go inside the tank tabs this time.The finished product ispretty much invisible, and feels very solid.Total cost wasless than $5 (since I had the paint already), it took very little time, and the grinder was the only thing Ineeded that wasn't in my truck tool box.
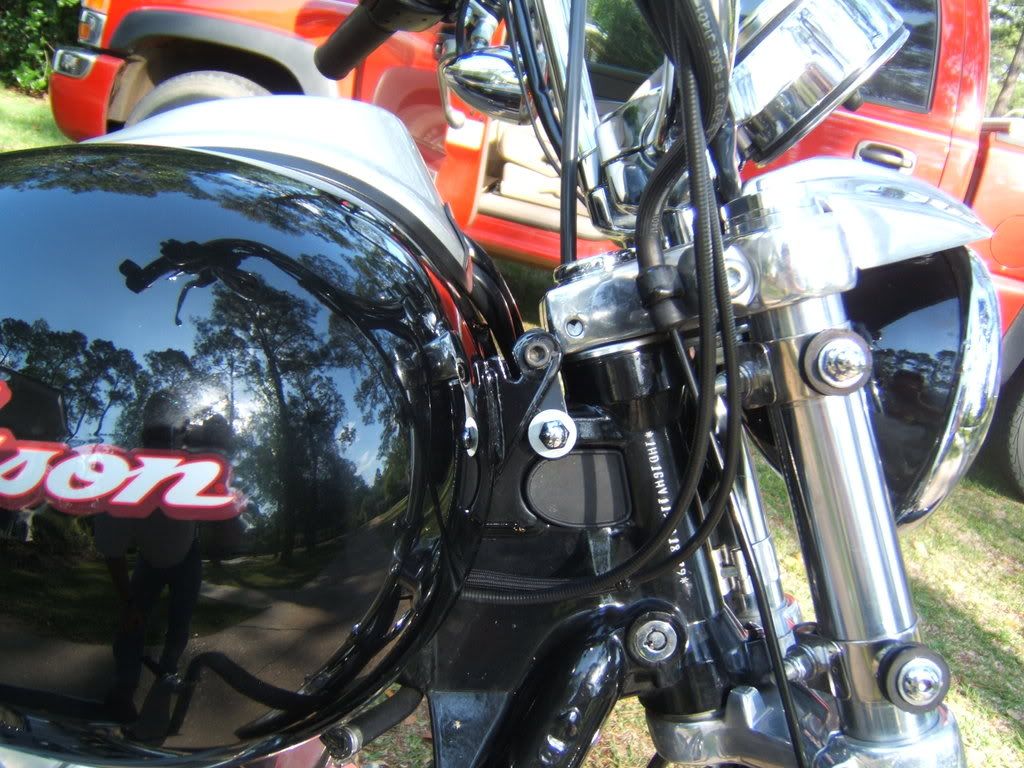
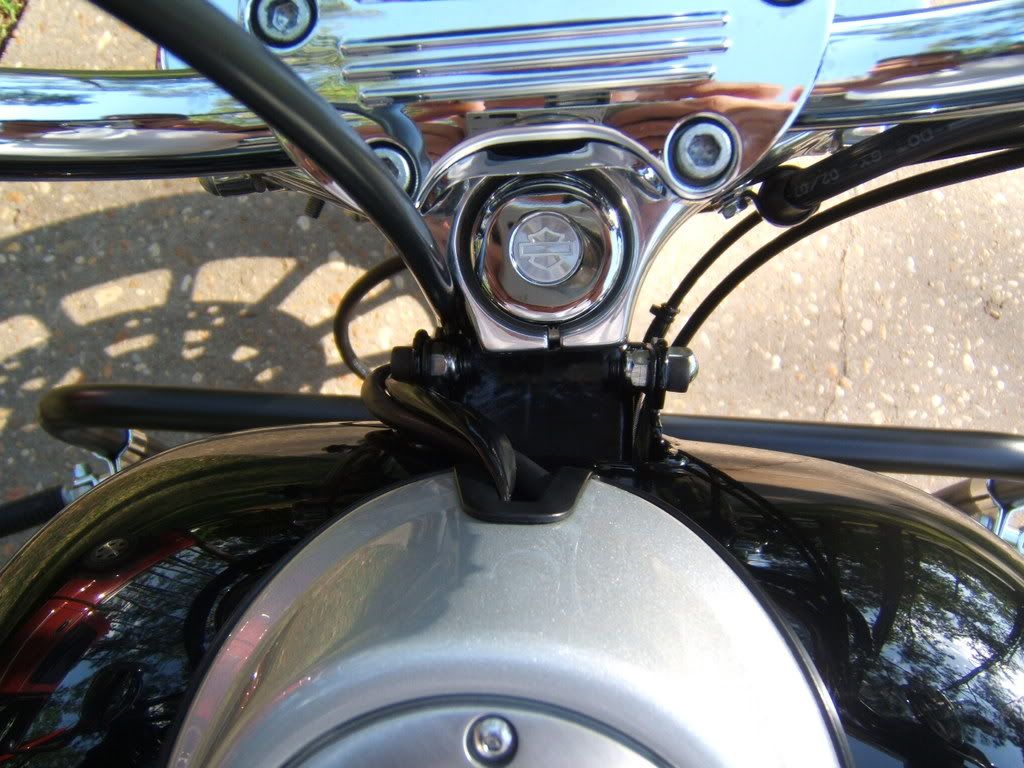
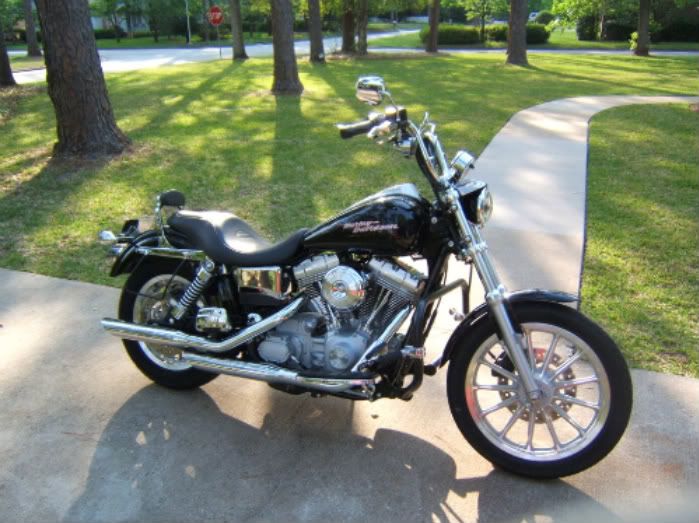
Finished product from a distance:
The holes are already there, so no drilling required, plus they are slotted a bit so you actually have some adjustability if you want it (I didn't as Iput them all the way down). I used short black hex type socket head cap screws with stainless nylon lock nuts. In this pic you can see the raw brackets when I put them on for a test run to see how it would look/work.
I took them off and ran down the street to an indy guy's shop that I know and used his bench grinder to round and smooth the edges (No shop equipment atmy daughter's house in town where I keep the bike). Then all it needed was some sanding and painting (I was already painting some other stuff). When I put them back on, I decided to go inside the tank tabs this time.The finished product ispretty much invisible, and feels very solid.Total cost wasless than $5 (since I had the paint already), it took very little time, and the grinder was the only thing Ineeded that wasn't in my truck tool box.
Finished product from a distance:
Here's the DIY.
If you're hell bent on needlessly throwing money away for one that costs more to do the exact same thing, then you can just donate it to me!
Trending Topics
#8
03-30-2011, 01:56 PM
#9
03-30-2011, 02:26 PM
Tourer
Join Date: Aug 2010
Location: where ever sam tells me to
Posts: 481
Likes: 0
Received 0 Likes
on
0 Posts
#10
03-30-2011, 02:46 PM

jackles kits are just awesome! i make everything myself here in the shop... but quality work is quality work. i have a jackel tank lift on ym bike, hog rida custom bars, and a TON of loner industries custom CNC work!
all 3 make some wicked products that i use and my customers use all the time
you can see it in the top left... so clean, vanishes when your tank is on, and you do not have 2 plates stuck to the side of your tank

all 3 make some wicked products that i use and my customers use all the time
you can see it in the top left... so clean, vanishes when your tank is on, and you do not have 2 plates stuck to the side of your tank