General Topics/Tech TipsDiscussion on break in periods, rider comfort, seats and pad suggestions. Tech tips as they become available will be posted here.
I wasn't mad on the stock black air cleaner cover that came with my '21 Sport Glide and would have preferred a Chrome one so decided to change it. Longer-term I will likely be fitting a higher flow air filter to the bike but have not decided on the route to go with that yet, one route (cheapest) being merely to replace the stock filter maintaining the existing cover set up.
So for now, I decided, having learned that several 107 M8 Softails (107 Fat Boy, 107 Breakout- neither common here) come with a Chrome air cleaner cover as standard, I would try to track one down and just change the cover.
I managed to find a cheap and apparently unused entire 107 air cleaner with a chrome cover on ebay and awaited its arrival.
It came this week and looks basically brand new however it appears somewhere in the removal process someone was a wee bit careless and scratched the edge of black 107 insert on the Cover. It wasn't a huge deal but once you spotted it, it did catch your eye. In any case as my Sport Glide is a Grey paint finish I reckoned the grey/alloy insert from the stock cleaner would look better with the chrome cover so set about looking to try swap the insert from the original black cover to the chrome cover. I did a lot of searching and couldn't find much information on this specific task, on the face of it it looks like the insert trim should just pop off hub cap style... if only things were so simple eh? I see many have swapped inserts on other styles of cleaner and most mention that the old insert often gets damaged in the removal and the glue requires a heat gun to remove. So I thought I would share how I did this with mine, as I wanted to reuse a removed insert and I don't own a heat gun! If it all went wrong, a replacement trim here, costs about �40 ( more than I paid for the replacement air cleaner) ....I have no idea on availability but suspect as anything imported through official channels seems to take months and months post Brexit.
You will need the donor air cleaner cover, some 15lb or thereabout fishing line, optionally some wooden dowel if you value your hands against fishing line, a kettle and some table knives with thin and not sharp-pointed blades.
First I run the fishing line round the raised edge of the trim I wanted to remove and save and knotted it into a loose loop that I could put the dowel into and by twisting get some purchase on.
I then turned the cover over ( try not to let the line fall out the trim though if it does it's easy to put back now you have it all prepared) and filled the bowl of the cover with Boiling water. Leave a few minutes- boil another kettle and feel under the base of the cover to see if the heat is felt on the trim. The water will obviously cool so do this a second maybe even a third time until the trim itself is starting to feel hot to the touch..... a good idea to lie it on a towel or something that won't act as a heat sink.
With it good and hot tighten up on the fishing line as much as you can...the idea is it wanted to be cutting in garrotte style around the edge of the cover trim. I had no idea at this stage if the entire thing was glued or just the edge or the middle .....
This had the desired effect of loosening the trim enough that I could see it starting to move a little.
I then carefully inserted the tip of a table knife under the edge that appeared to move most.... and repeated the job of filling the cover with boiling water again leaving the knife in place- I had to hang it over the edge of the kitchen worktop.
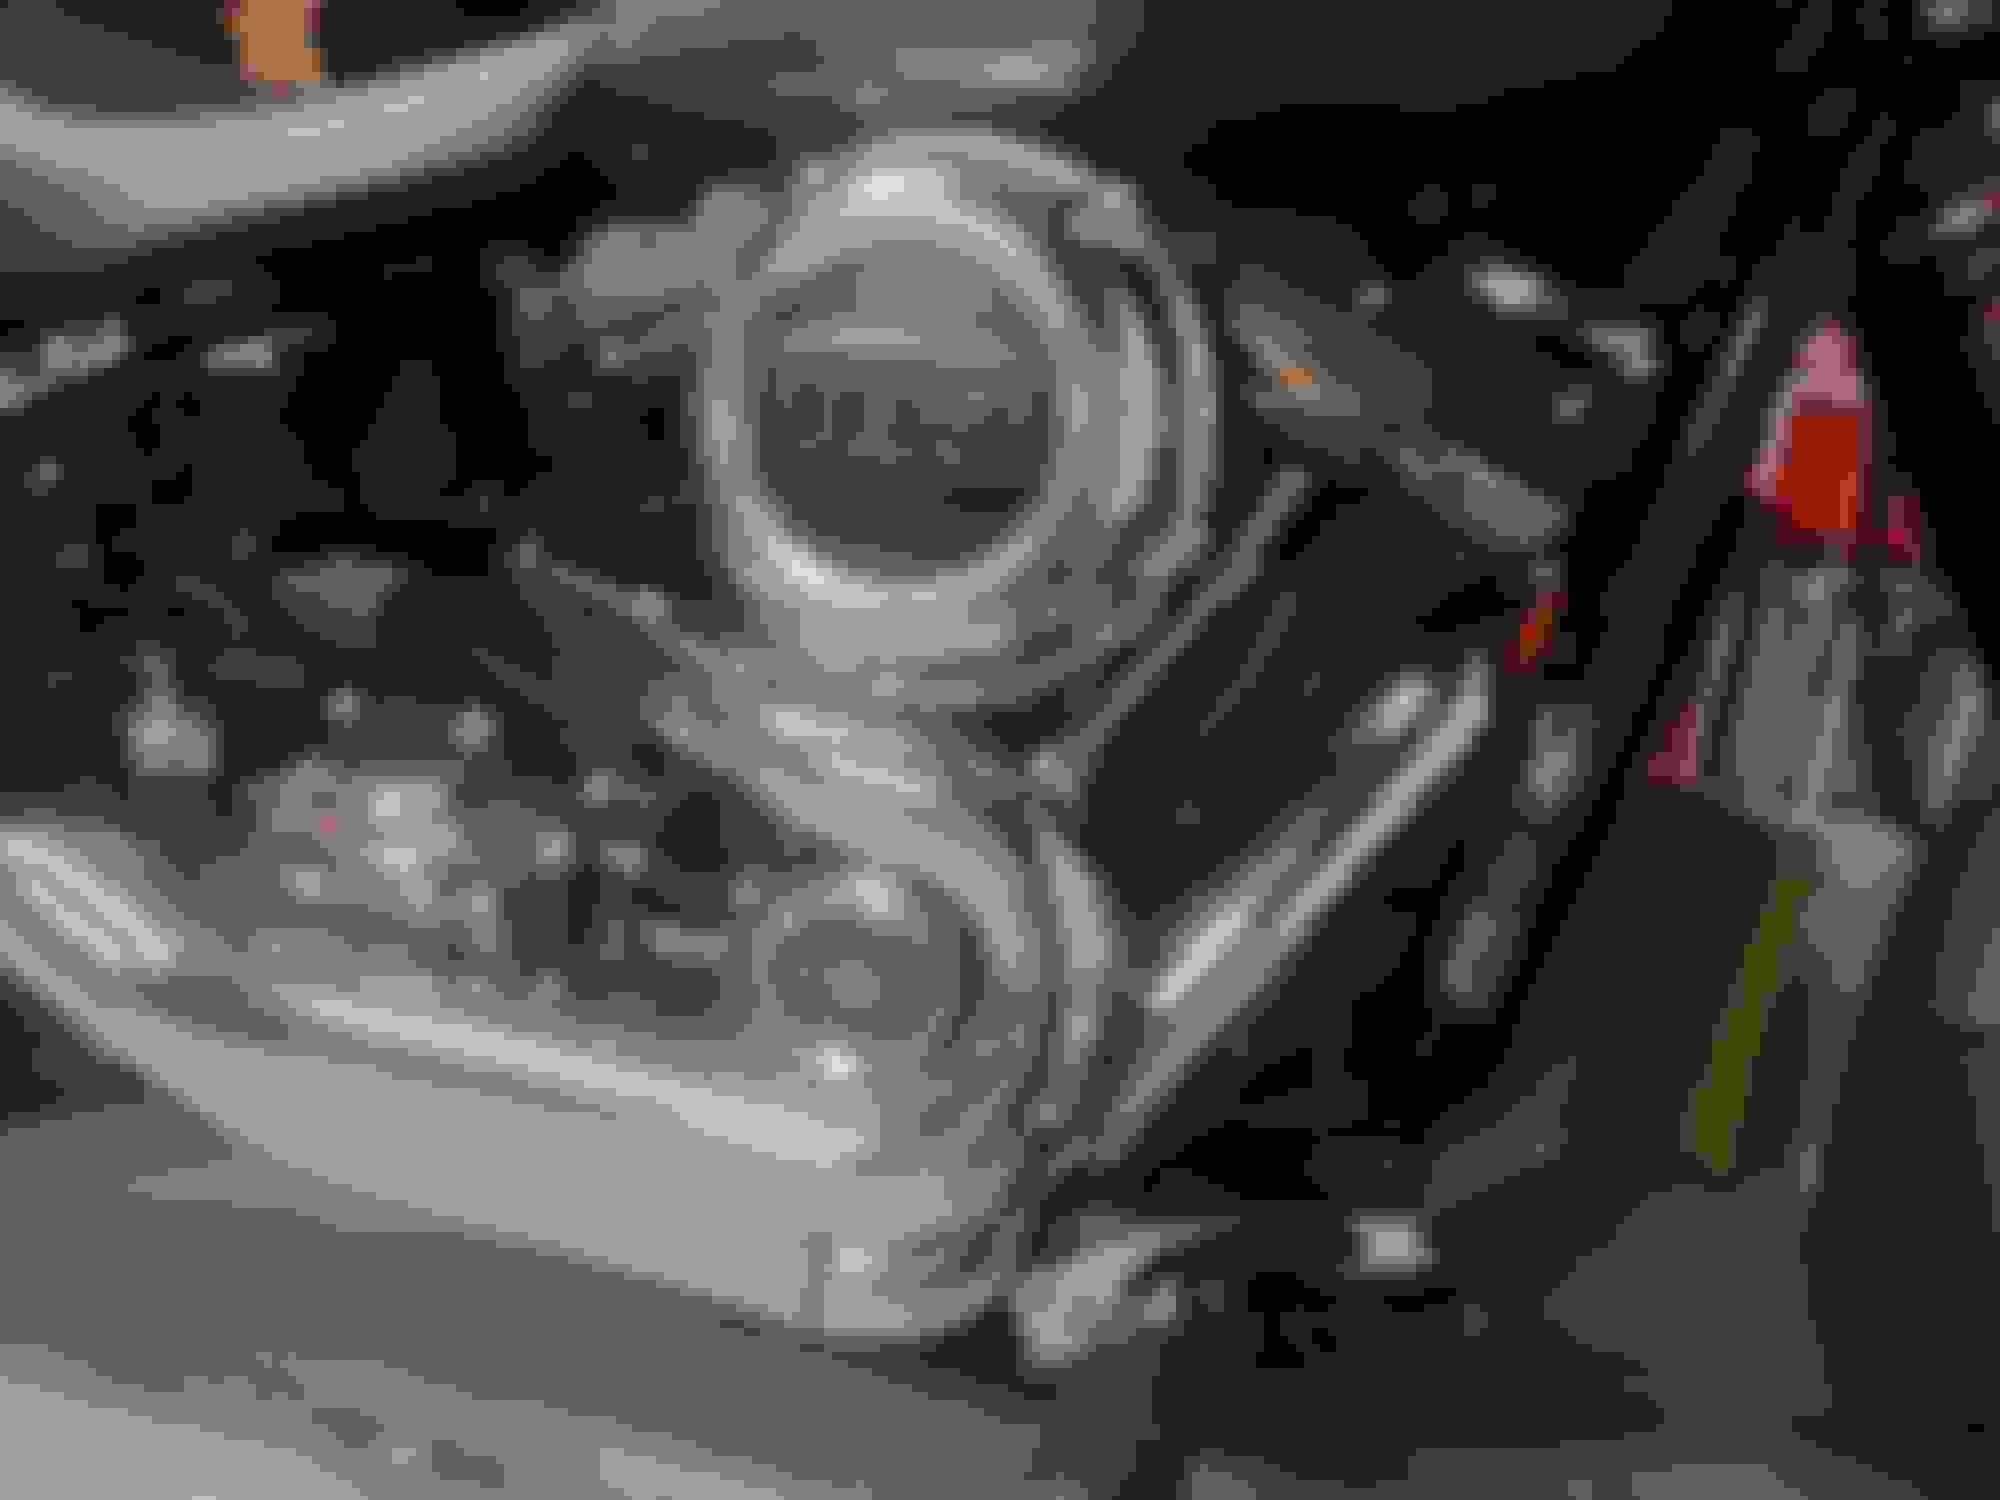
With the cover again good and hot I was able to work the knife around carefully and you can feel the glue give a little, anywhere I detected movement I inserted the tip of another knife. I eventually had three knives inserted under the cover and with yet more hot water to keep the glue hot, I started to feel the glue give and with some very gentle levering and working the knife around the trim just popped off with no damage. The trim is glued with a ring-shaped strip of double-sided The trim I wanted to save..I used 15lb flurocarbon because a) I had some, b) its thin for its breaking strain, and strong enough to take some serious tension. Thread the line round the end of the trim and loop round the dowels to get some purchase on- you are using this to hopefully cut into the glue on the underside of the trim. Fill the cover with boiling water, you may need to repeat several times to really get the heat penetrating the back of the trim. After applying some tension and heat the trim will start to give...carefully insert the tip of a table knife and work it under the trim- do not apply too much force as the trim is thin and will bend. After several iterations the trim just pops off, with the glue strip intact Job done. Grey /alloy trim fitted to chrome cover on my Sport Glide. In case anyone wonders... the wee catch can to between the transmission cover and the crank end cover is for a breather mod I did to the stock filter.
foam.
In all this took about 15-20 minutes to do. I was a bit more hasty with the trim I was removing from the chrome cover as it was scratched anyway, and it got slightly deformed in the removal process but that didn't matter as it's not for reuse, and the sponge tore a little in the removal. So if you want to save the trim and glue strip backing...TAKE YOUR TIME!
I know most won't be interested, but if it helps one person then that's fine.
 08-21-2021, 07:05 AM