One quick thought, did the MC have a check valve in it ? If I remember right you had to pull those for a clutch use so it wouldn't pump up solid on you. Do a search on that, may pay off for you.
Pop the bleeder, see if you a bubble or a spurt not touching the handle, then give a lite squeeze to see what you get. Those little throw out bearings will roach themselves quick if they have any preload on them constantly so back off the adjuster on the pressure plate and see if it that allows the lever to move any. I'd be leaning to the slave cylinder getting sticky if you don't any hard part issues.
On the check valve, I don't think so but will check.
Oh, good idea on double-checking the throwout bearing - thanks. I'll do that before anything else. That check would also allow me to make sure the pushrod is moving freely and didn't somehow bind and bugger up the passage inside the output shaft. I got slammed today, but will try these initial steps ma�ana.
Turns out the installation itself--modified adjuster screw, unmolested later-model circlip-style pushrod and disc throwout bearing, hard lines--was copasetic. The throwout bearing doesn't appear to have been damaged (though I didn't remove the kicker cover, just rotated things and listened). The piston is moving and retracting properly, and 1/2 turn looks better than 3/4 on the freeplay adjustment, as 3/4 turn yields more movement than I'd like at the lever before you hear the initial 'clink' of the pushrod hitting the adjuster screw (or the piston hitting the throwout bearing at the other end...?).
Pressure plate movement is over the .060" figure mentioned above: you can easily see the pressure plate moving and compressing the springs. So, I think clutch disengagement will be okay--and you can't turn over the engine if you squeeze the lever.
However - lever effort was not only difficult (though slightly less than last night for some reason), it was loud. Squeaky. Probably didn't notice that when the engine was running due to those 'mufflers' I have (which are mainly just spark arrestors). So, I pulled the master and dismantled it to see what's what.
As you can see the silicone fluid in the reservoir had fine black particles or dust in it--which I interpret as the seals beginning to degrade...? (after a single day!?). Well, looked at the cover of the reservoir... "use only Dot 4 brake fluid." Doh! So, if indeed silicone Dot 5 can degrade older formulation seals almost immediately, that would explain some reduced master efficiency over the course of a few hundred lever applications during my longish city riding. (My only problem with that is the brake master works fine with the same fluid--but, yes, I replaced it with Dot 4, too, to be sure.)
Close-ups of the piston seals appear to have gunk on them--but it almost looks more like metal particles or dirt than rubber...? Anyway, either the thing was assembled dirty, sat for a long time, or the seals degraded quickly due to the Dot 5, or both. See the testing comments below...
Also - there was indeed a mechanical issue, too, but not what we imagined. As you can see, whoever installed the roller that contacts the piston's end put the little strap connecting the nylon sleeves or bushes outward, so that it sat between the roller and the piston, such that it was preventing the roller from rotating. And when I took it apart, the repeated yanking on that little strap had distorted the bushes, and the circumference of the (aluminum) roller was even chewed up, too.
I removed the strap, deburred the insides of the bushes, cleaned up the roller, and reassembled with Slick Honey bicycle grease (expensive but way better than lithium grease if you have metal on plastic or nylon, etc.). Lever moves smooth as butter now. That strap is clearly not necessary but only there to speed assembly, so employees aren't dropping two bushes under the bench... (there are flanges on the bushes, and they go inward, toward the roller; the raised parts where the strap used to be now go upward--or downward, the original position: sideways, and you can't drive the roller into the saddles without over-compressing the bushes).
Testing: after bled with Dot 4 fluid, it works properly--smooth, very reasonable effort (slightly more than the mousetrap but not bad)--but only if you move the lever quickly. If you move the lever slowly, it drifts all the way to the bar. In my experience, that means bad seals, so indeed I must've ruined them with the Dot 5 fluid--or the thing was assembled poorly and they were damaged then (though I couldn't see any damage with the magnifier).
Either way, I ordered the rebuild kit, Drag Specialties # 0617-0071, and should have her back in service as soon as Dennis Kirk gets the parts to me. BTW alternate part no. for the rebuild kit is V-Twin Mfg. 4624401.
I will report back when the master is rebuilt and bled...
Oh: and Speed Dealer's webpage says the kicker uses viton seal(s) on the piston and they do not specify a grade of brake fluid--which to my mind means Dot 5 would've been okay, and I haven't harmed the piston seal.
Last edited by NM Pan-shovel; 04-21-2024 at 09:09 PM.
Personally I would have replaced the seals and used dot 5.. Clean everything up real good before assembly. I like dot 5 cuz it don't hurt paint.. It's almost impossible for me to work with brake fluid and not get it all over the place.
The big issue with the difference between 4 and 5 is that if you mix them together they become corrosive and eat stuff up. I tried a used flushed dot 4 master with dot 5 and the master eventually went bad. I suspect that the dot 4 had permeated the rubber and leached out under use.. It took a couple years for the master to die. Inside was all corroded and rubber coming apart. If you start out everything virgin and clean dof 5 is fine. I rebuild a CB750 front brake and replaced the master and slave setup for dot 4 but brand new but used dot 5. No issues.. Dot 5 is silicon based and rubber likes it..
That 65 I got, the guy mixed dot 3 and 5. Everything was stuck and corroded.. It likely started when the new shovel banana caliper said to use dot 5..
I greatly prefer Dot 5, too. I'm guessing now that much of the problem was the fulcrum-related stuff stemming from the idiot(s) who assembled it--and perhaps dirt and gunk inside the cylinder from sitting on a shelf too long before sale. Either way, the seals are definitely shot now--and I guess were poised to fail when I installed it.
Well, I'll give Drag Specialties a call and discuss the seals. I had assumed the same as you're suggesting that there couldn't be any harm upgrading to Dot 5, and indeed the old brake master I'd run since resurrecting the bike worked flawlessly with it despite it, too, calling for Dot 4...
The final thing I forgot to mention is that--as far as I can tell--that close proximity of one corner of the banjo bolt for the slave to the exhaust pipe isn't an issue. But of course I need to eliminate the master-related stuff first to be certain. Dennis Kirk is taking its time shipping the rebuild kit...
Those little plastic chicom bushings would be getting replaced with oilite soonest. And yeah I hate the f**k out of all the silly *** games we have to play over brake fluids anymore. Pick one and leave the crap alone...
Those little plastic chicom bushings would be getting replaced with oilite soonest. And yeah I hate the f**k out of all the silly *** games we have to play over brake fluids anymore. Pick one and leave the crap alone...
But, seriously, don't be shy... how do you really feel about it?
Hey, good idea. I'll see if McMaster Carr sells anything the right size--or if I'll have to turn my own (ugh)...
The rebuild kit gets here tomorrow (god willin' and the crick don't rise), so I hope to have a truly successful shakedown cruise this weekend.
In the meanwhile, the simple stainless bicycle clips I bought came in. They're reasonably well made and a perfect fit for the 3/16" line and 1-1/8" downtubes, but too small for where the third one goes, where the tubes get smaller below the sidecar mounts. I snapped the third one on there but it looks a little funny... not entirely necessary anyway, so if it flies off I won't shed any tears...
You might notice a bit of dampness on the lowest point of the fuel crossover hose in the first pic... the fittings where the brake hose connects to the hard line just above the hose (which rests against the hard line) weren't quite as tight as they might've been. So, it's at least possible that was contributing a touch to the gunky master seals in netting less than full disengagement and minor stoplight creep. We'll soon see...
Last edited by NM Pan-shovel; 04-24-2024 at 04:00 PM.
Okay, that was it--a brand new master that needed a rebuild kit and repairs to the lever's roller (for crying out loud). That said, Drag Specialties kit is inexpensive and very complete (plunger with seals, lubricant, crush washers I didn't need, and snap ring).
I can now say with a straight face 'mission accomplished.' The rpm reduction in gear at rest is very slight, shifting is easy as is finding neutral, and lever effort is about like the mousetrap was--perhaps a hair heavier but hardly worth mentioning.
Best freeplay (~3,000 miles on kevlar clutch plates) is indeed 1/2 turn--which produces an audible 'clink' of pushrod engagement each time you lightly touch the lever, so piston retraction is sensitive and reliable. And I lightened up the spring tension a bit, which produced a nice light pull with still good disengagement. Feathering is really good, progressive with no sudden hook-up, and no slippage--noticeably smoother action than a cable. A joy to use on hill starts, in my gravel drive, etc.
I ran down the canyon to the mercantile, and snapped a couple of shots by some hot rodders who have lunch every Friday at the burger joint (derby cover off in case I needed to adjust freeplay - no need). I think the kit is fairly unobtrusive and good looking (click on 1st photo and zoom in). All in all, very happy with the conversion... and never have to worry about freighting around an extra cable on my trips up into the Jemez.
P.S. - that's a new, English-made bar-end mirror. The aluminum job I was so happy with couldn't handle the Paint Shaker's vibration and disintegrated. This one is much sturdier, and I can at least discern a pickup from a sedan at 65~70...
Last edited by NM Pan-shovel; 04-26-2024 at 01:08 PM.
Well... a long ride on a warm day, and the setup got less efficient re: full release as the hours ticked by. Clutch drag or creeping at stoplights increased, and finding neutral tougher. Although the master is fine, it feels like there's air in the system.
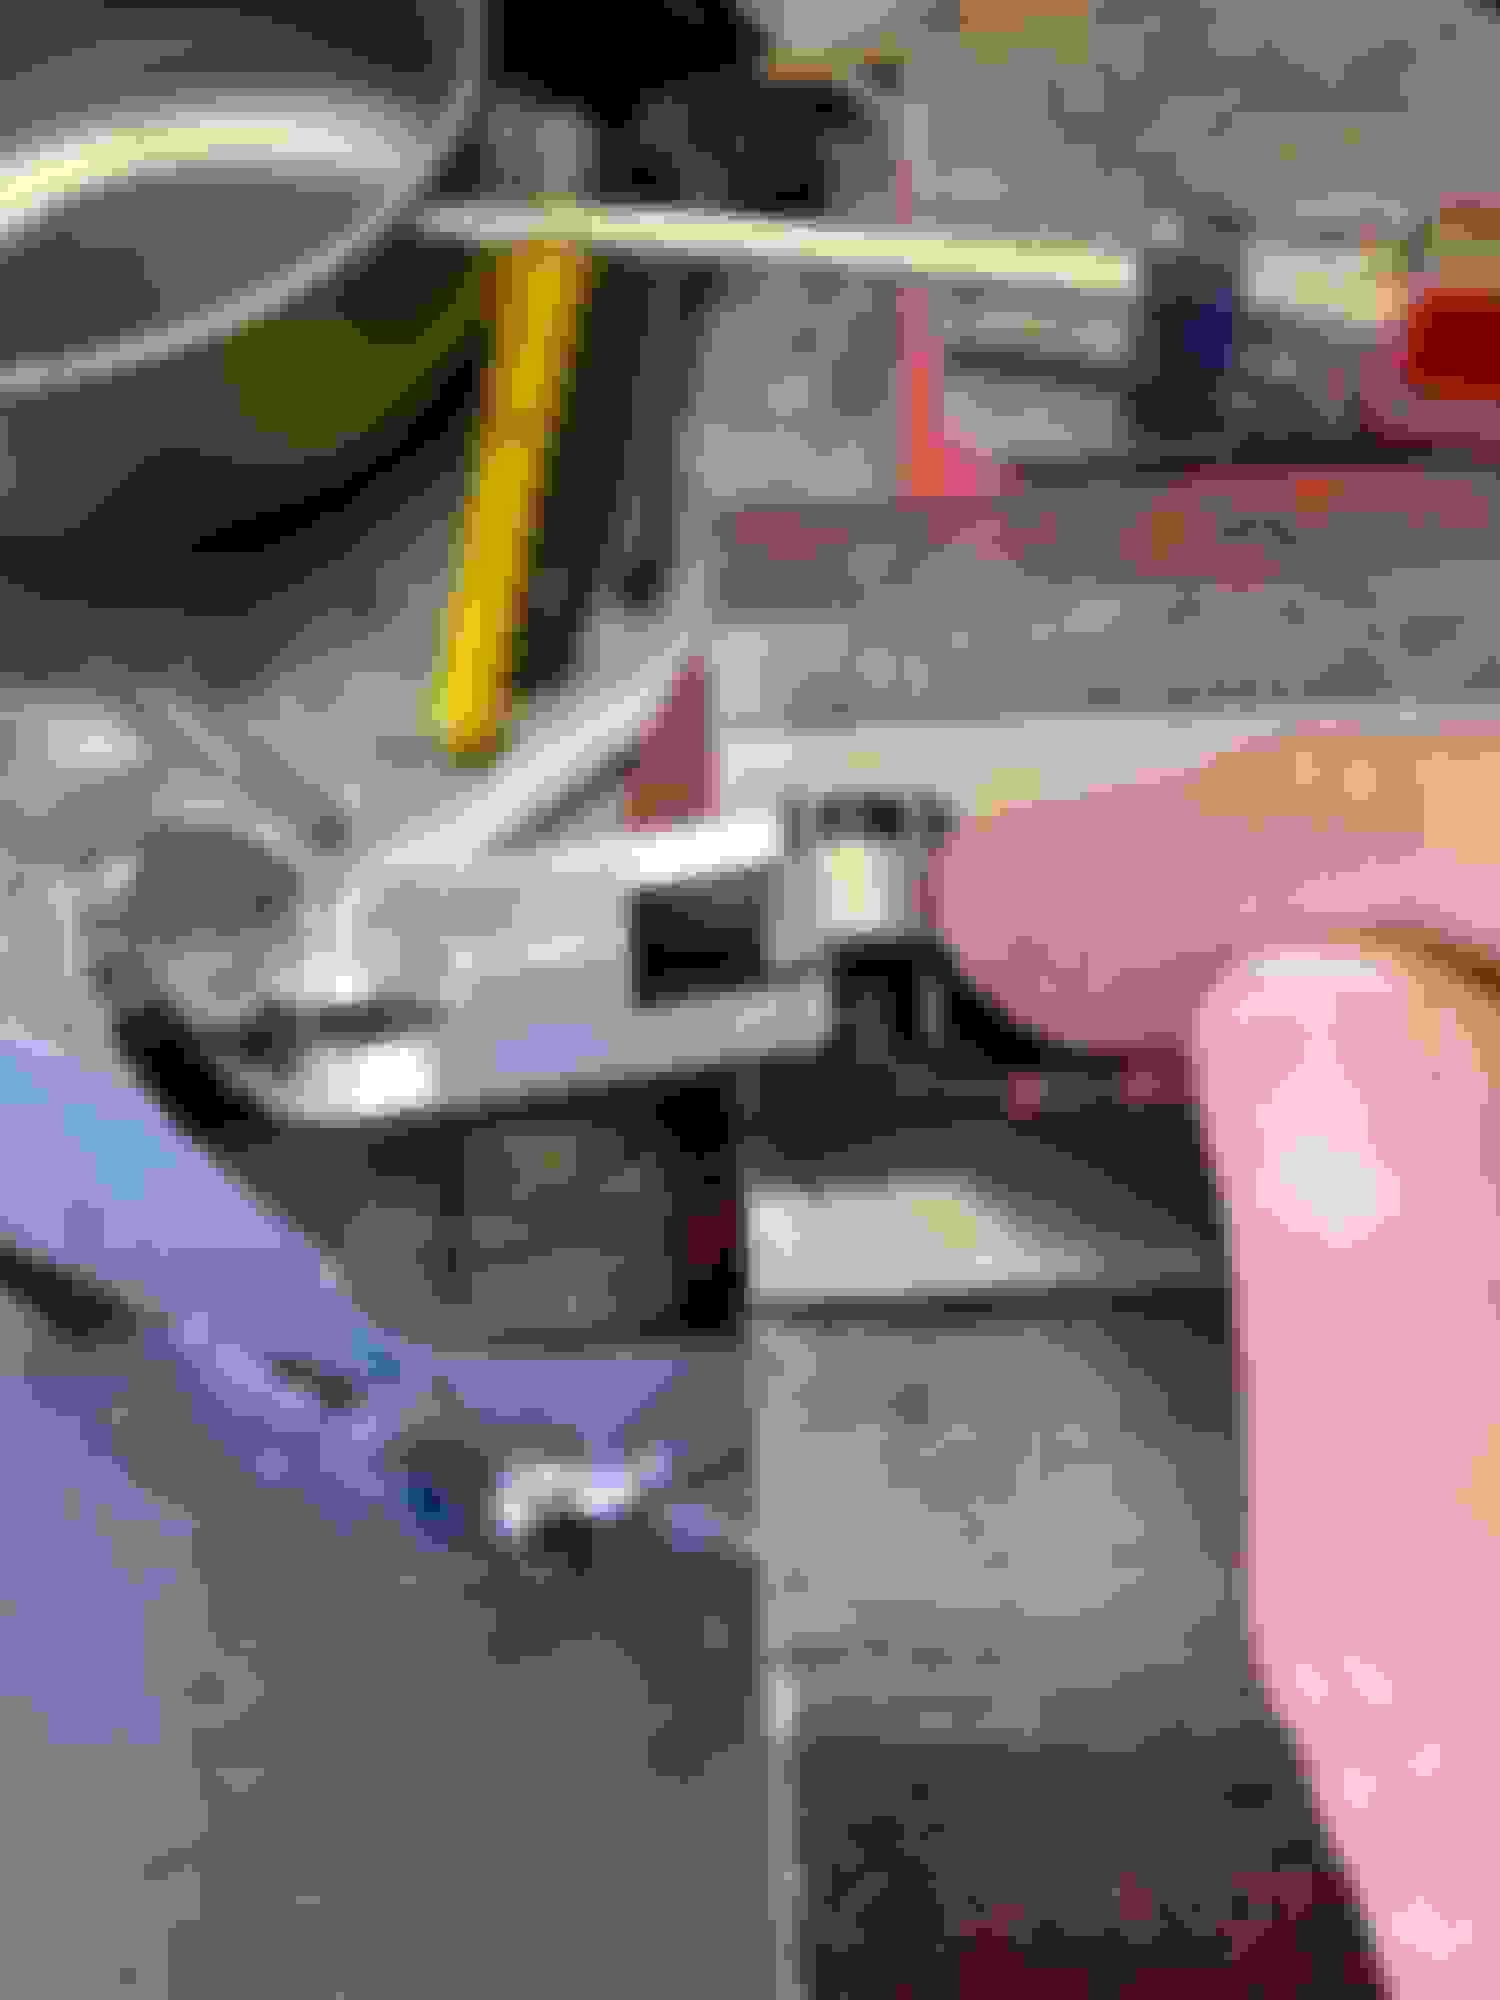
What I suspect happened was that banjo bolt being so close to the exhaust pipe--maybe 1/16" if not less--is boiling the fluid when the bike is moving slowly or idling. Now, this is not going to be an issue with most people's exhaust systems, but I've got that unusual side-by-side shotgun system (Paughco) that puts a tight radius around the kicker cover--right where the extension for the banjo fitting goes with the bleeder topmost (see 1st pic).
It's nearly impossible to bleed if I rotate the piston cover, as discussed earlier. So, I'm going to have my neighbor and machinist drill a second hole in what is the top position in the 2nd photo. I would do it myself, but it needs the bottom precisely angled to match the bleeder screw, and I don't have the equipment to do that. I will also have to get a 30- or 45-degree banjo fitting, so that I won't have to perform much of an adjustment to my existing hard line. I'll have to hunt around and get a second bleeder screw to fill the unused hole.
That should do the trick, I think. The system is really nice but I worried from the git-go that I'd boil the fluid, and I'm 99% sure that's the issue as there are no leaks in the lines and fittings.
Last edited by NM Pan-shovel; 05-08-2024 at 11:49 AM.
 04-20-2024, 05:13 PM