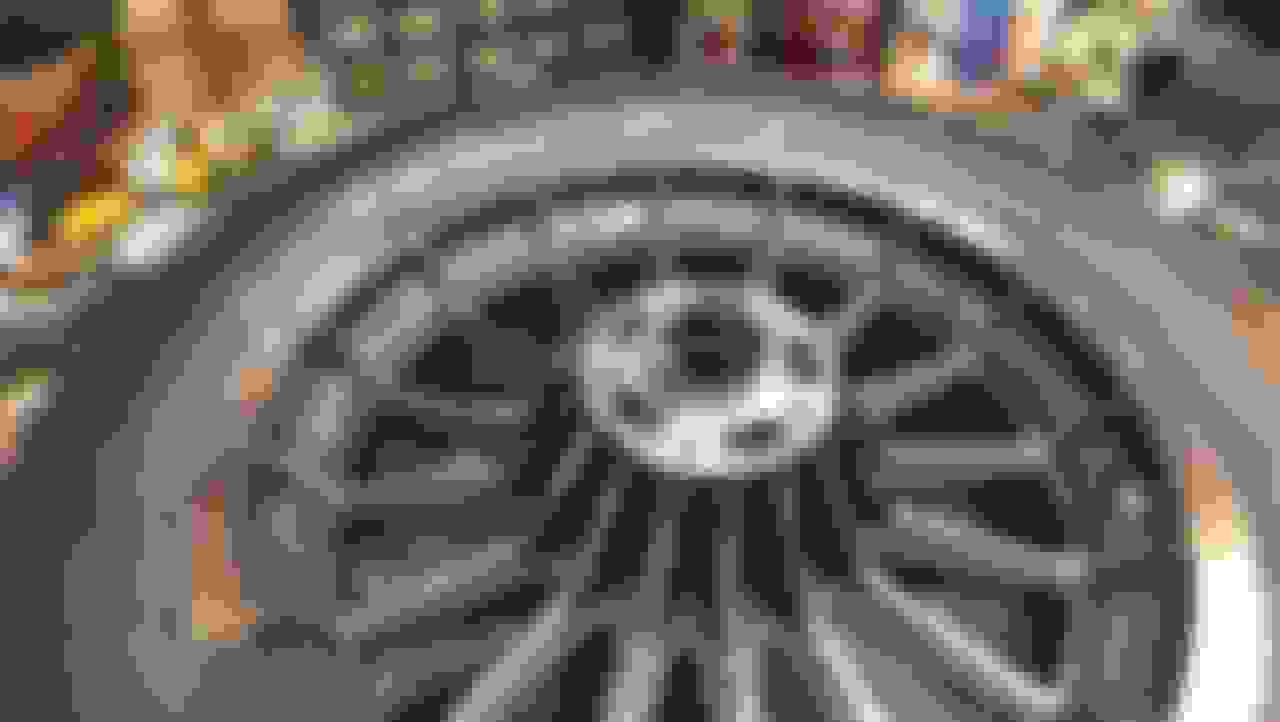
If I draw it in tight with the axle nut, there is barely any clearance between the rotor and the fork:
The speedometer side looks normal, I think. The fat part of the axle is flush with the outside of the fork:
The spacer is about 1/2" long, is that about right? Here's another angle of the gap, and the axle:
[edit - the parts book shows the front spacer is supposed to be 43488-77, .465" stepped spacer. The one I have is plain, the length is about right, though. I'll measure it when I take it all apart. ]
If you remember, the fork brace was too short and I had to elongate the slots, and I suspected a bent fork tube. When I drew the forks together, naturally the brace didn't fit anymore.
I am also baffled by the lack of clearance between the fork and rotor. Those fender screws and nuts rub the tire some, so it all has to come apart again. I intend to loosen the fork tubes in the triple trees and rotate them to see if the lowers move in and out on the axle. That'll prove if they are straight or not.
Unfortunately I won't be able to work on it for a while - got some other things to do. I will think about it though...
if you and you have had the forks apart - we leave the top caps / or the top pinch bolts loose
whats going on is its not new oem parts its used trees - that have run into elephant caves from time to time and things may not be straight as it once was
check the rotor with the caliper and no pads so you can see the center ( rotor to caliper installed pad center ) - that is the correct location with the works tight
I removed the wheel and fender, installed the axle finger tight, and loosened the pinch bolts and top nuts one turn. Then I knocked the tubes down to break them loose from the taper. When I turned the right tube, it jumped and moved in, right where it needed to be:
I turned the left tube and nothing changed, so it seems the right tube wasn't seated straight in the top tree. It's hard to measure so I made a spacer out of wood and it's snug from top to bottom:
Here is where I got involved with solving the wheel spacer problem and forgot to take pictures....
I installed the wheel with the spacer I have, which measures 0.375", and centered the brake disks between the forks by sliding the axle. The fat part of the axle stands just a little proud of the right slider, which I think is correct. There is still a small gap between the spacer and the left slider, and it measures a little less than 0.1". So it appears that I need to get the correct stepped spacer which measures 0.465" and I'll be all set!
Anyone have a part number 43488-77 Stepped spacer? I'll be looking online too.
Thanks TwiZted, but unless I did it wrong, Jireh has the 3/8 spacer and then jumps to 1/2". The only midwest I found is wholesale only and has the same selection. They have some stock size spacers but not the one I need... Thanks anyway.
There is one correct part on ebay but it's $25 with shipping! I did find one without the step that is 0.469" for $8, that may be close enough...
I got an original style spacer off ebay and put it in - 'adjusted' the fender so there are no rubs and it is done, nicely centered in the forks. I am on the fence regarding the fork brace. Probably will install it someday.
It's been a rainy weekend so I got a lot of stuff done inside, and had time to start on the back wheel. Here's how it looked after the general cleanup last month:
I didn't take any pictures because you've all seen it when I did the front wheel, but I spent a good part of two days sanding and polishing to get here:
Since this is sort of a tech thread, I'll show you how I masked off the hub area. Run the tape over the edges, then rub the corner with a sharpened screwdriver or whatever you have. It'll cut the tape evenly and you can remove the excess.
Here's the wheel all ready for paint - I put vaseline on the polished edges of the spokes:
Wait for the paint to set up for 10 minutes and remove the masking tape. That lets the paint edge flow smoothly.
This paint (VHT Wheel Paint) takes 7 days to fully cure. That's when I'll rub the paint off the vaseline edges and give it a final polishing.
While the paint's curing, I started on the rear brakes. Took everything apart and this is what I have. The piston was stuck so I pushed it in with my vice to break it free, then popped it out with a little air.
The bushings on the boomerang bracket are shot, so I ordered new ones:
The top pin measures out ok, 0.495" all around on both ends, but the hole is wallowed out, in both the inner and outer parts. I will have to find a machine shop that can install a bushing with the correct ID. Is the pin supposed to be loose or a slight press?
The holes for the brake pad pins all look round except this one. I don't know if the pins are supposed to be a tight fit in them, but there's about 1/32" slop in the good ones. I am thinking of "gluing" the new pins in with high temp RTV. Is that OK?
 07-13-2018, 06:07 PM