Compensator pics and dimensions - aftermarket junk to look out for
I have collected many compensators over the years because I typically do not build stock setups and usually run belt primaries - when I was building my FLT I figured I'd keep the compnesator - I knew there are some problems with aftermarket compensators and I figured I'd check my setup - what I learned is alarming and here are some noted to think about if you are going to use aftermarket parts in your compensator.
1st - the nut/bolts are very different from suppliers. The depth of the threads and tight fit of the 7/8-14 tapped socket nut is critical to the function and integrity of the mechanism. The nut must have at least 1" of thread depth. Here is a pic of some socket nuts
The V-Twin nut is the worst - it looks nice with the bluing/parkerizing but it is very loose on the sprocket shaft - the one at the top was on the bike and came with the aftermarket compensator. It does not have enough depth to actually tighten the shaft extension to properly seat the mechanism and clamp the sprocket. The Drag Specialties nut is not bad but is a little loose on the sprocket shaft threads. The HD nut is the best and is tight to the threading and seats completely on the shaft. I'll explain the depth issues with these in a moment. Here is a pic of the nut on the shaft and a measurement of the thread depth on the shaft.
So the socket nut also has to clamp the shaft extension onto the shaft and apply the correct clamping pressure to the Torrington and assembly. The nit also has to allow the shell to rotate and that is what the should on the bolt is for. The shoulder must be wider than the tickness of the shell - and the depth of the nut must not bottom on the sprocket shaft or bottom of the shaft extension. So what am I talking about - here is a pic of some measurements - they vary substantially between nuts and some dimensions are off enough that the compensator wil not work.
First - the shoulder dimension - the shell or retainer/cover is .40 thick - so the should has to be greater than .40 - most are about .420 which gives .020 clearance to allow the cover to rotate as part of the mechanism - one is .390 and that was the one that was on the bike - I could see the cover was starting to wear from the binding of the shaft extension and the cover. So this is a dimension you must check. The next value is the depth of the nut fron the shoulder to the end of the nut. This length cannot be longer than the depth of the shaft extension. This is the depth from the top of the shaft extension to the teeth that lock onto the sprocket shaft. To make this more problematic the spacers that you use on the rotor to set your sprocket position and the stator can effect whether or not the shaft extension properly aligns with the splines on the sprocket shaft. What I'm saying is that the splines on the extension should not be lower than the splines on the motor shaft if you set up your sprocket offset correctly. Many people have reported that their comp nut had bottomed out on the splines of the sprocket shaft - this is either due to improper spacing of the rotor and sprocket or a nut that is too long. I found the length of all the socket nuts were not long enough to bottom out on the splines of the shaft extension. They all have about .020 gaps - note this is still fairly close fitting. Here is a pic of the gap that I am talking about.
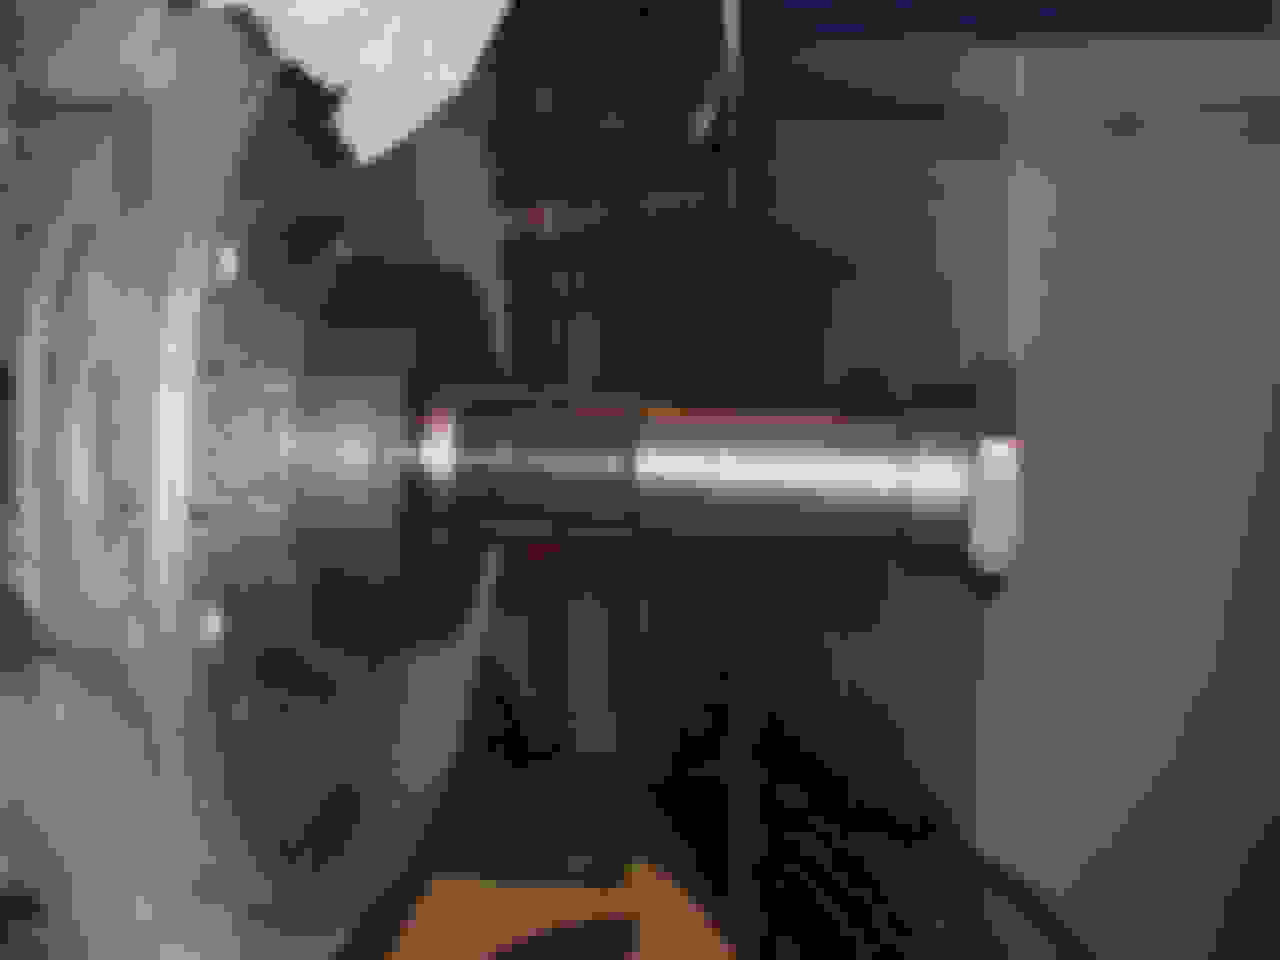
Here is a pic of the shoulder and the lip you need to ensure proper clamping and cover rotation under load
Here you can also see the small gap showing the nut is not bottoming out
One thing I learned is that you have to check all this clearances - the shoulder needs to protrude from the cover by at least .010 - the nut must have 1" of threading that is properly tapped - and the length of the nut from the shoulder to the tip cannot bottom on the splines of the shaft extnsion AND you need to check the sprocket shaft splines using the shaft extension as a tool to check the spline height - a trick is to use the nut and screw the shaft extension onto the sprocker shaft - when it is tight there should be no gap between the shoulder and the top of the shaft extension. I actually used a depth caliper.
Here are a few more pics of the assembly. I found the comp that I took off the bike was crap - it had dimples in the valley of the ramps - it was not setup right and I was fortunate that it did not cause other problems - probably because the moron thaty rebuilt the motor for the guy screwed it up so much it blew up before any long term wear and damage could occur
yes - its a farm tractor - we have tractor pulls in Minnesota - even farm tractors can throw some mud - you are right - the solution to most socket nut problems is to trim 30-60 off the end - I think there is a Harley tech service bulletin on this for Evo's or something - but a lot of guys that come to the forum buy the aftermarlet stuff and some modify what they have - given the mumber of f**k'ed up spacers and washers and loose compensators out there I figured this may help someone - cutting 30 off may work for some - but if the threads are loose or not cut deep enough it will never clamo and the red loctite will never hold loose threads in this application - not everyone has your knowledge, skill set, experience to "cut once" and be successful - most people have to measure 3 times before they make a cut - and then it is still wrong if they did not do their research
I actually had a solid 24T sprocket in my tool chest - put that on - increased idle speed to avoid lope - feather the clutch - seems pretty good as long as I avoid hard decel's and loping the cam
I'm happy you brought this up ferg, I will need a new compensating nut, and wouldn't have considered it was wrong until the compensator was loose and I'm scratching my head trying to figure out why. As usual, I'll look for NOS first.
Last edited by Joe12RK; 06-11-2021 at 07:33 PM.
Reason: added NOS comment
90 percent will never realize the thread issue as its a new part and that�s that
Back during the kit chopper craze late 90's and on those aftermarket nuts were always a problem, I replaced or reworked a load of them to get things right. Thread fit was all over the spectrum, no 2 were ever the same.
here is a pic of the spacers I pulled out of an 81 FXR motor rebuild I just started - compensator was bad - loose for many many miles - yeah - that is a groove in the cheapo inner spacer - oddly - the USA torrington still looks great on the face where this POS rubbed
the motor that came out of showed ZERO scoring or any signs of wear or damage from the spun spacer - I've built 30 to 40 ironhead motors since I was a kid and I dont think I ever saw a bad Torrington - actually once - a guy forgot to put a spacer in the middle to set the end play - lower end ironhead is like 3/4 scale shovelhead -and bullet proof - I should not admit this but I used to shave the spacers to set my end play using mixed and matched old Torringtons - never had an issue - rod bearings are a different story
 06-11-2021, 02:28 AM