Shovelhead A place to talk about Shovelheads.

1979 FXS Rebuild

Thread Tools
 
Search this Thread
 
Old Feb 18, 2018 | 09:19 PM
  #71  
hellonewman's Avatar
hellonewman
Seasoned HDF Member
Photogenic
Photoriffic
Shutterbug
Joined: Jun 2015
Posts: 8,054
Likes: 8,076
From: Canada
Default

My 82 shovelhead has a wrinkle black paint on the crankcase. Wonder when they switched finishes and the heads were black with highlighted fins.
 
Reply
Old Feb 18, 2018 | 10:07 PM
  #72  
scooper321's Avatar
scooper321
Road Warrior
10 Year Member
Liked
Loved
Community Favorite
Joined: May 2012
Posts: 1,385
Likes: 132
From: Baltimore, MD
Default

Originally Posted by Joe12RK
I did the black with a small brush, and then sprayed clear on the heads and cases using a piece of cardboard as a mask to protect the cylinders and chrome.
Nice. My 80 FXS has back rocker boxes, black cylinders and black cases. And a black inner primary. Some paint is chipping so I’m going to sand and paint. But the engine is going to stay in the frame, so it’s nice to see that it’s feasible!
 
Reply
Old Feb 19, 2018 | 07:41 PM
  #73  
johnjzjz's Avatar
johnjzjz
Seasoned HDF Member
15 Year Member
Top Answer: 3
Joined: Nov 2006
Posts: 12,878
Likes: 5,448
From: la la land jerzey
Default

heat guns are your friend
 
Reply
Old Feb 23, 2018 | 03:56 PM
  #74  
Joe12RK's Avatar
Joe12RK
Thread Starter
|
Seasoned HDF Member
10 Year Member
Loved
Community Favorite
Top Answer: 1
Joined: Jun 2012
Posts: 6,130
Likes: 2,523
From: CT/FL
Default

Here's before and after on the rocker boxes. They were even worse but I did hit them with a wire wheel before pulling them off.


First thing to do is sand with dry 220 grit to remove crud and smooth them out some:


step 1 sand with 220 grit

Then get rid of all the scratches by wet sanding with 280 (or 320) grit, 400 and then 600 grit paper:


wet sanding complete

you could stop there if you like the brushed aluminum look.
 
Reply
Old Feb 23, 2018 | 04:00 PM
  #75  
Joe12RK's Avatar
Joe12RK
Thread Starter
|
Seasoned HDF Member
10 Year Member
Loved
Community Favorite
Top Answer: 1
Joined: Jun 2012
Posts: 6,130
Likes: 2,523
From: CT/FL
Default

But I went to the buffing wheels. I got my supplies from the Eastwood Co. I have had good luck with them over the years.

First red rouge on a sewn cotton wheel gets rid of the scratches:


Polishing step 1

But it isn't a deep shine. For that you need white rouge on a loose cotton wheel:


Polishing step 2

Now it could be chrome plated, except I like the look of polished aluminum. A little hand work with Mother's Aluminum Polish, and they look great:

 
Reply
Old Feb 23, 2018 | 07:53 PM
  #76  
johnjzjz's Avatar
johnjzjz
Seasoned HDF Member
15 Year Member
Top Answer: 3
Joined: Nov 2006
Posts: 12,878
Likes: 5,448
From: la la land jerzey
Default

nice job joe
 
Reply
Old Feb 23, 2018 | 08:28 PM
  #77  
98hotrodfatboy's Avatar
98hotrodfatboy
Seasoned HDF Member
15 Year Member
Liked
Loved
Top Answer: 5
Joined: Mar 2010
Posts: 21,004
Likes: 7,538
From: Poolville
Default

Agreed.... Very nice job.....
 
Reply
Old Feb 23, 2018 | 09:38 PM
  #78  
not_so_newb's Avatar
not_so_newb
Elite HDF Member
Joined: Oct 2009
Posts: 3,922
Likes: 826
From: Toronto Canada
Default

nice work on the rocker boxes , i'm not sure they even looked that good brand new !
 
Reply
Old Feb 25, 2018 | 07:55 PM
  #79  
Joe12RK's Avatar
Joe12RK
Thread Starter
|
Seasoned HDF Member
10 Year Member
Loved
Community Favorite
Top Answer: 1
Joined: Jun 2012
Posts: 6,130
Likes: 2,523
From: CT/FL
Default

LOL thanks - I sprayed clear acrylic on them and they almost look chrome:


I had a great surprise today!

Since it is easy to turn the motor over, I put a drinking straw down the plug hole and checked the stroke. It was 4 1/4", stock for 80" motor! Some previous owner must have swapped cranks, and I can only assume pistons, too.


I didn't take any pictures of the assembly process, it's pretty straight forward, right out of the manual. But I did have to grind one of my wrenches thinner to tighten the locknut on the pushrods. If I had an assistant he should have taken a picture of me holding three wrenches to keep the length steady while tightening; it was quite a chore...


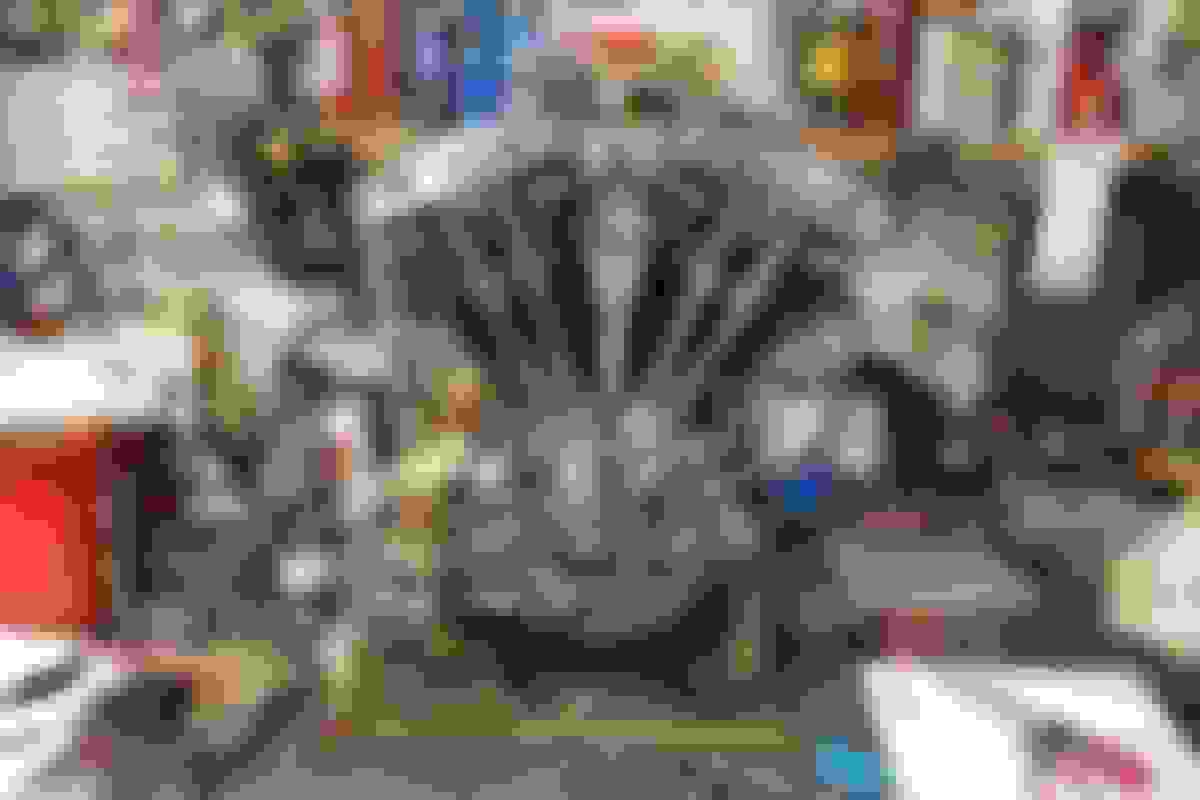
Final picture for the weekend. Next steps, put the motor in the frame, install the carburetor, and then the primary:


glamour shot!
 

Last edited by Joe12RK; Feb 25, 2018 at 08:07 PM.
Reply
Old Feb 25, 2018 | 08:01 PM
  #80  
98hotrodfatboy's Avatar
98hotrodfatboy
Seasoned HDF Member
15 Year Member
Liked
Loved
Top Answer: 5
Joined: Mar 2010
Posts: 21,004
Likes: 7,538
From: Poolville
Default

Nice. An 80"shovel is a great power plant... Looking good man...
 
Reply


All times are GMT -5. The time now is 01:10 PM.