
New Fat Bob Wheels on 48?
#61
 08-01-2015, 03:11 PM

Nothing to it, just takes time to do it... So yes! A straight swap and fits using the same spacers.
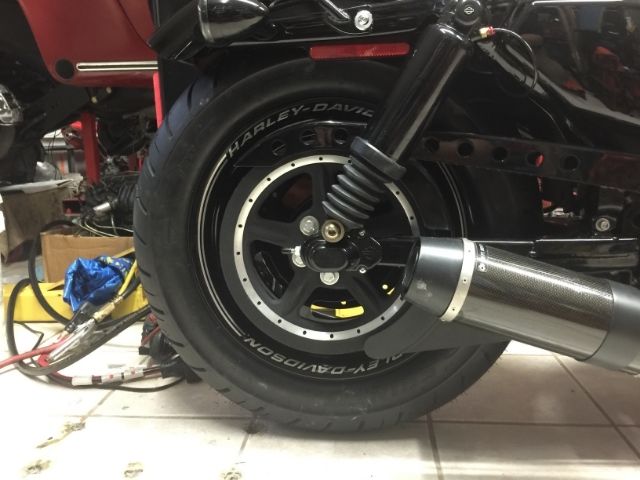
Before I forget... weight differences... stock wheel without rotor and pulley (bearings installed) is 33 lbs; new wheel (bearings installed) is 42 lbs
Removal of the stock wheel was just as simple as raising the rear of the bike, removing the axle covers, loosen tension bolts/nuts, slide axle out, slide the wheel a bit to the front to remove the belt, and then roll the wheel back...
Rotor and belt pulley removed
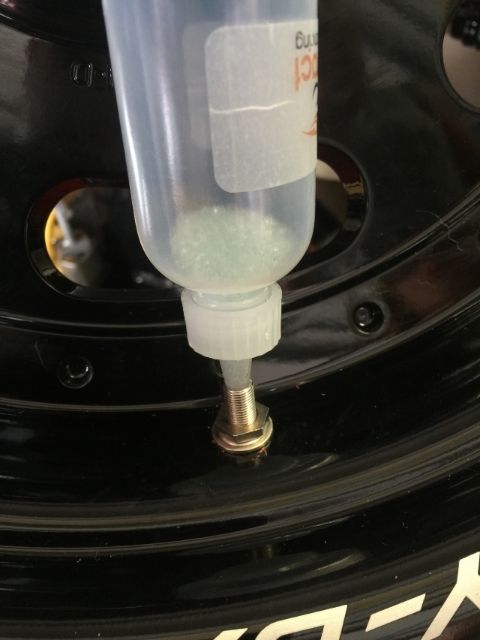
What took a lot of time was putting in the beads in the wheel... son of a gun! more than 1/2 hour to get these frigging things to go in... anyway, I sure hope that they work...
Last edited by wachuko; 08-03-2015 at 04:01 PM. Reason: Corrected the weight... not sure how I got the wrong...
#62
08-01-2015, 03:11 PM
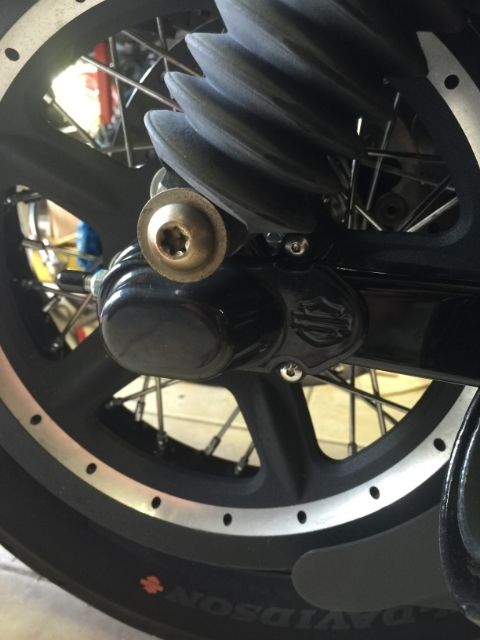
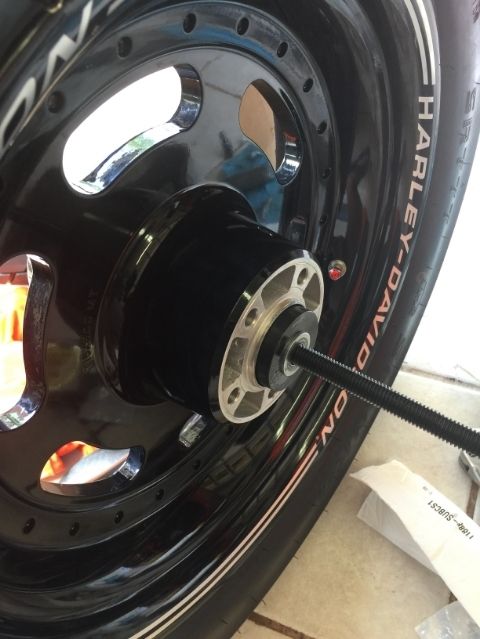
Let's install the bearings...always start on the left side (where the brake rotor is)... bearing letters go towards the outside. The install tool is amazing! These went in easy and straight!
Other side...remember to install the spacer!! or you will get a chance to use the removal tool that came with the toolkit... nope, I did not forget.
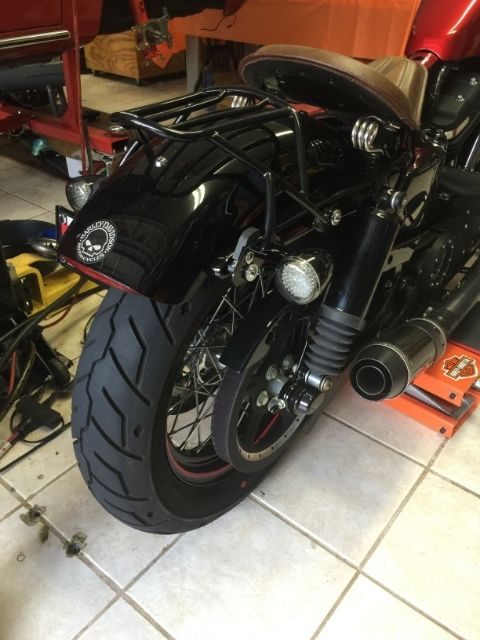
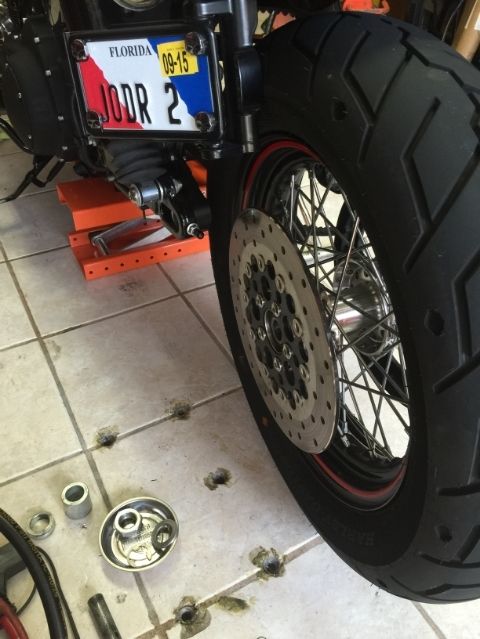
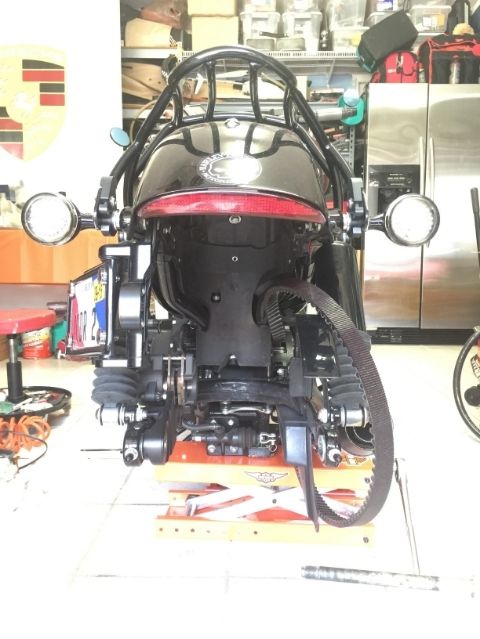
A few photos under the fender.
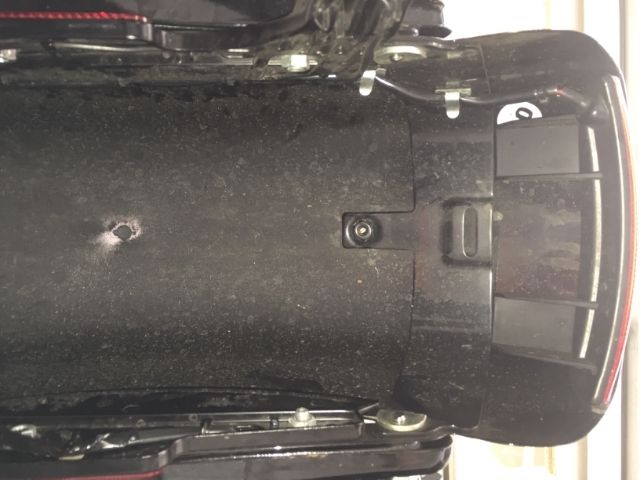
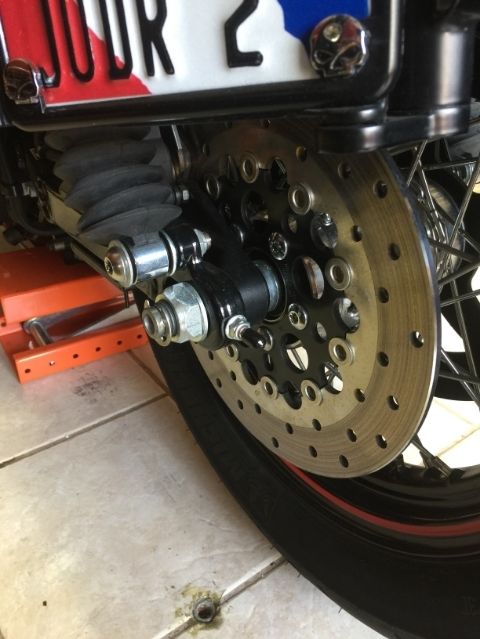
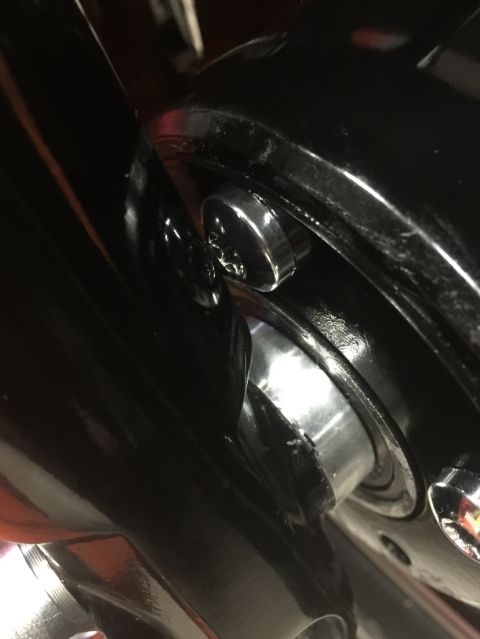
This is the bolt that folks mention needing to trim to avoid contact with a 180 tire... in my case, there was no need to do anything since the tire cleared the bolt without issues... but the wheel was out, I had the time... so I went ahead and put a hacksaw to it...
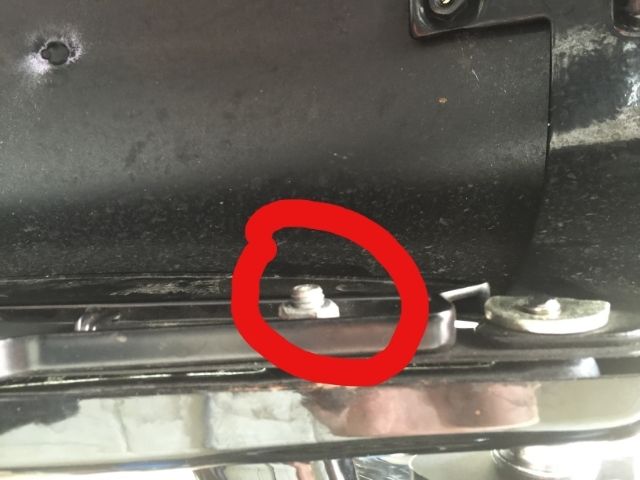
Forgot to take a photo... took it after the wheel was back in place... but you see what was done. Bolt was cut flush with the nut.

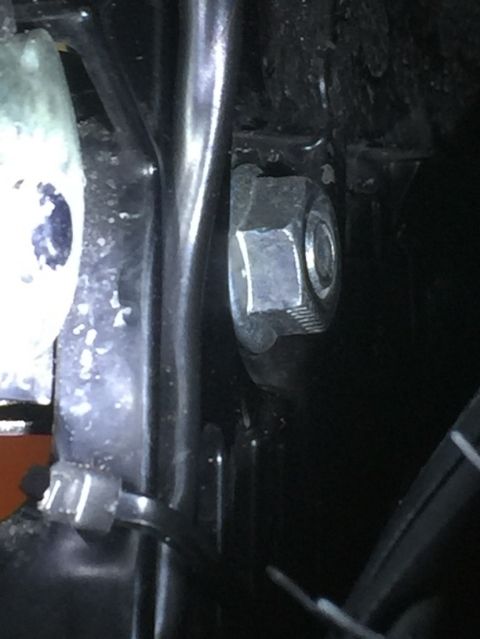
On the other side, I put a tie-wrap on the wires from the tag mount. To make sure that it stays in the channel it has...
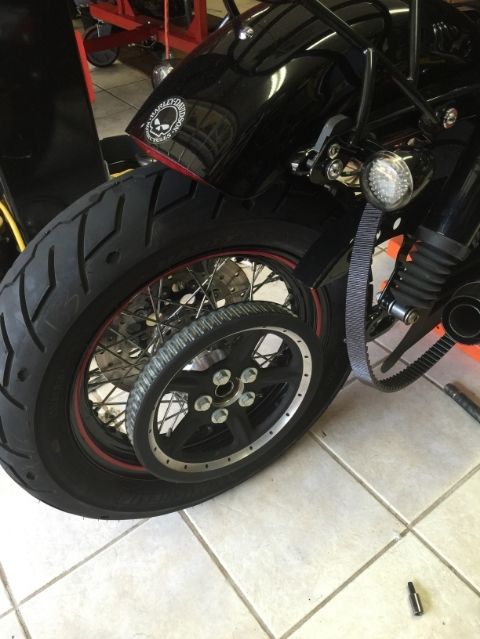
When installing the new wheel/tire... that also took some time. I had to remove both belt guards just to see better, also removed the brake caliper and the clip that stays behind on the mount (to avoid cutting into the tire). I also had to let all the air out of the tire to make it easier to get it in. I raised the bike more so that the wheel/tire would go from the bottom up. That did the trick. Remember to hold the spacers as you lower the bike back as there is no way to insert the spacers afterwards. So, as I was holding the wheel and the spacers in place, my father-in-law lowered the bike. All aligned, insert the axle.... check for wheel alignment, belt tension, tighten the axle... then go finish mounting the caliper and inserting the pads.. mount the belt guards again... voila!
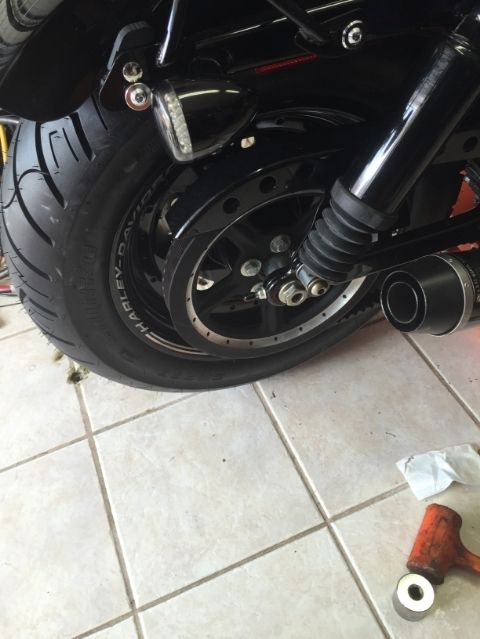
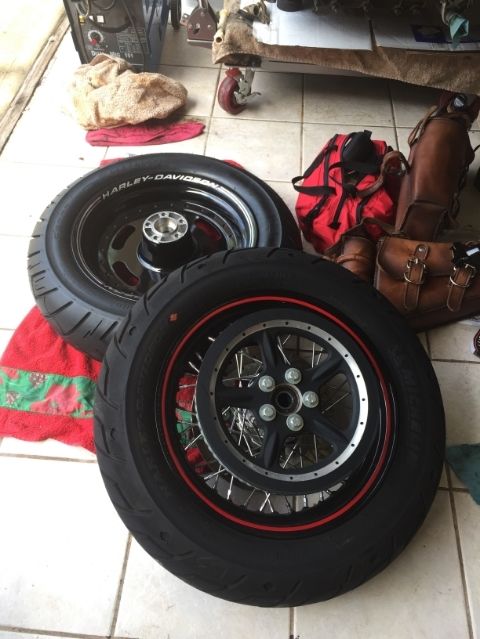
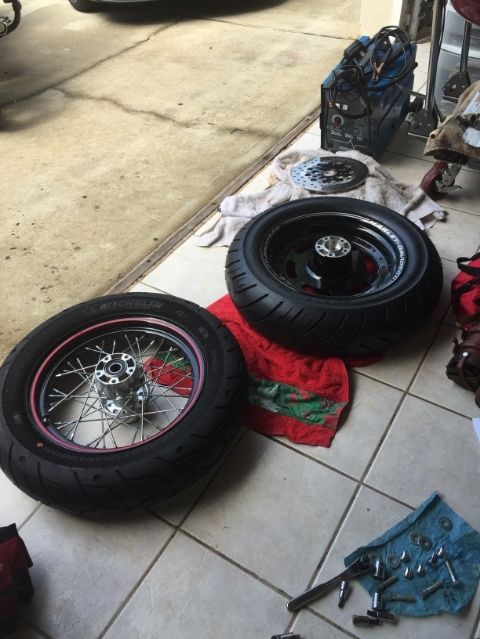
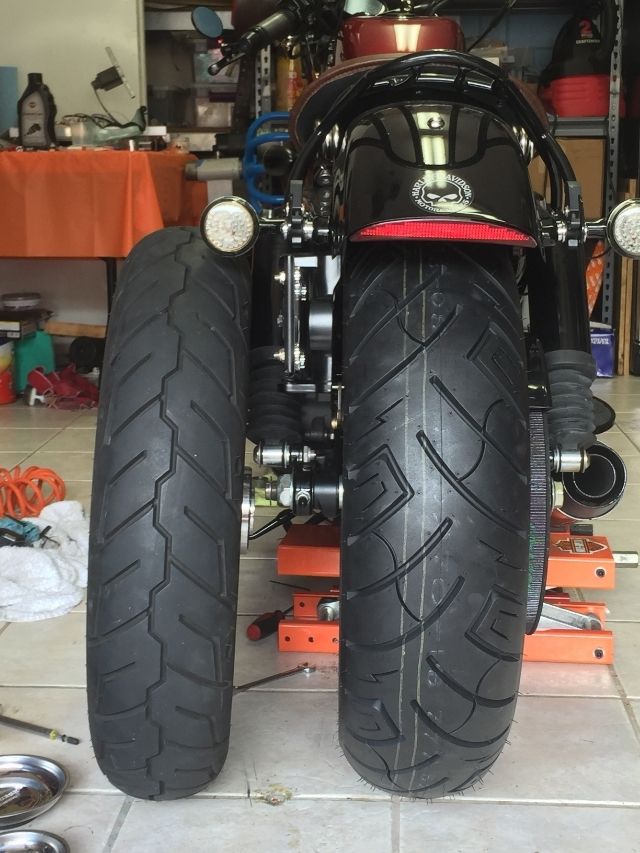
Stock 150 vs 170...
Other side...remember to install the spacer!! or you will get a chance to use the removal tool that came with the toolkit... nope, I did not forget.
A few photos under the fender.
This is the bolt that folks mention needing to trim to avoid contact with a 180 tire... in my case, there was no need to do anything since the tire cleared the bolt without issues... but the wheel was out, I had the time... so I went ahead and put a hacksaw to it...
Forgot to take a photo... took it after the wheel was back in place... but you see what was done. Bolt was cut flush with the nut.
On the other side, I put a tie-wrap on the wires from the tag mount. To make sure that it stays in the channel it has...
When installing the new wheel/tire... that also took some time. I had to remove both belt guards just to see better, also removed the brake caliper and the clip that stays behind on the mount (to avoid cutting into the tire). I also had to let all the air out of the tire to make it easier to get it in. I raised the bike more so that the wheel/tire would go from the bottom up. That did the trick. Remember to hold the spacers as you lower the bike back as there is no way to insert the spacers afterwards. So, as I was holding the wheel and the spacers in place, my father-in-law lowered the bike. All aligned, insert the axle.... check for wheel alignment, belt tension, tighten the axle... then go finish mounting the caliper and inserting the pads.. mount the belt guards again... voila!
Stock 150 vs 170...
#63
08-01-2015, 03:26 PM
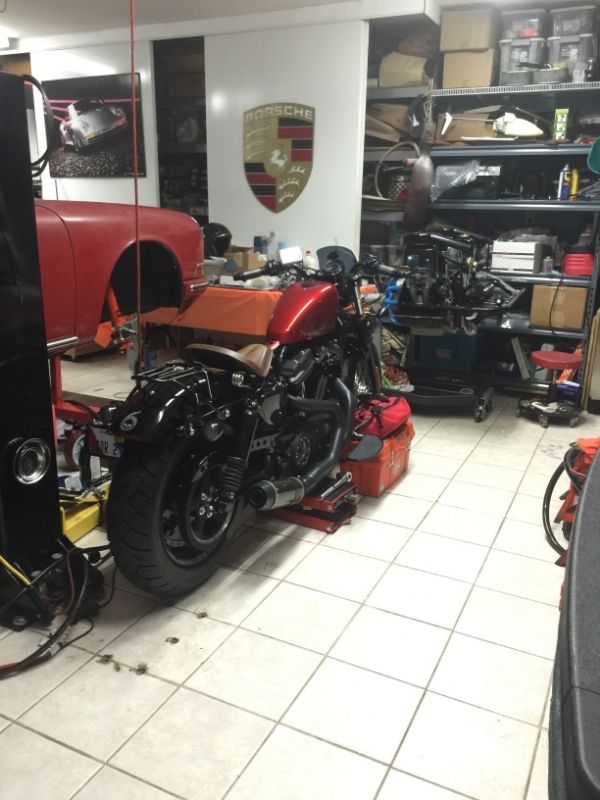
Cleaned up, put the tools away...
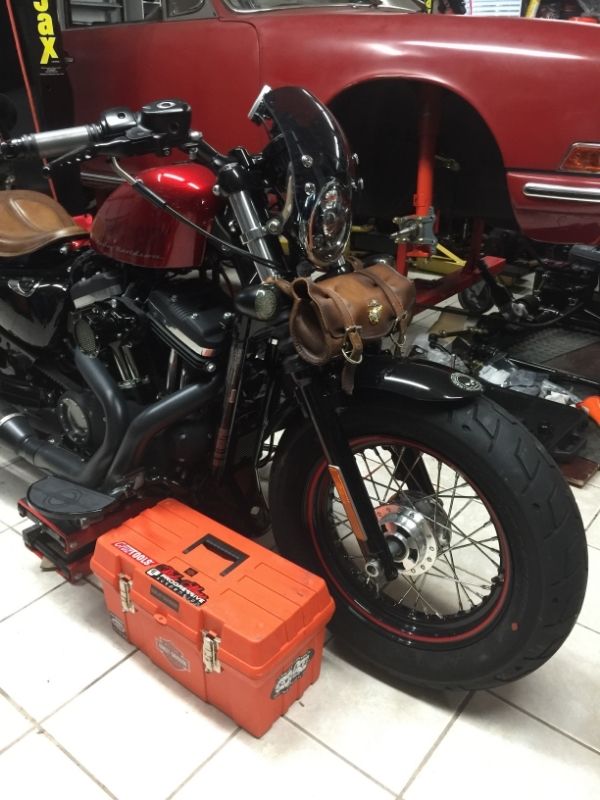
Now getting ready to work on the front. Thinking about having a spacer cut to 6.35mm (1/4") and using a 12.7mm (1/2") spacer on the rotor side... shaving to a minimum the lip on the opposite side of the rotor and use the 6.35mm (1/4") spacer there... and just modifying the brake caliper so that it aligns in the new rotor position... wish me luck...
Now getting ready to work on the front. Thinking about having a spacer cut to 6.35mm (1/4") and using a 12.7mm (1/2") spacer on the rotor side... shaving to a minimum the lip on the opposite side of the rotor and use the 6.35mm (1/4") spacer there... and just modifying the brake caliper so that it aligns in the new rotor position... wish me luck...
Last edited by wachuko; 08-03-2015 at 07:26 AM. Reason: Fixing spacer dimensions...

#66
08-02-2015, 08:45 AM
Yes Sir. One of the first to get one when they came out... that introductory price was sweet! Went from a scissor lift to the Max Jax. Awesome lift for those of us with low garage ceilings...
#67
08-02-2015, 12:02 PM
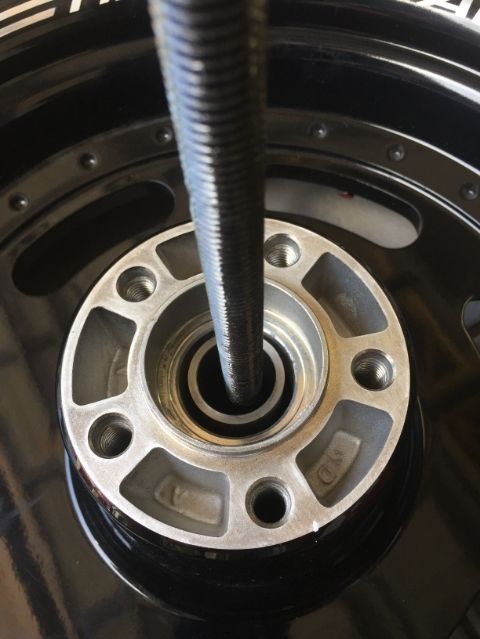
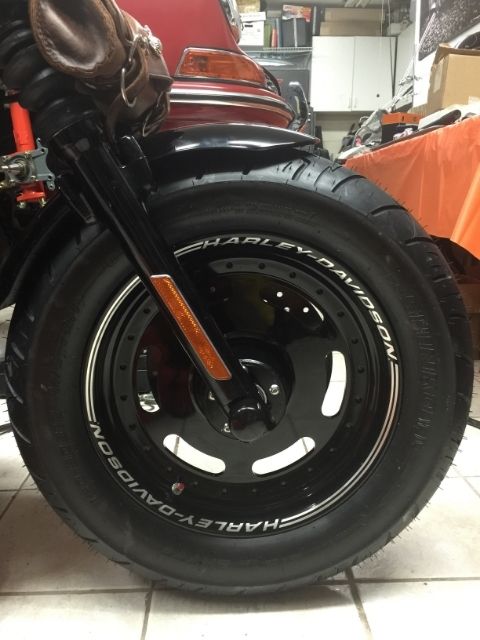
On to the front... first task was to remove most of the lip on the right side of the wheel (opposite side to the brake rotor)... I installed the hub cover as a guide and covered the wheel bearing with some thin cardboard...
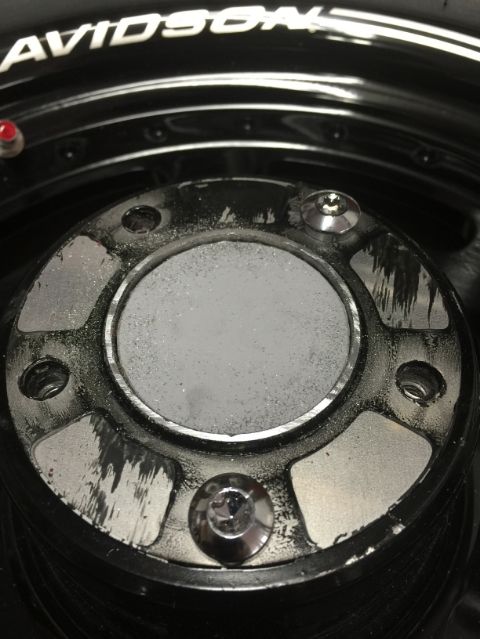

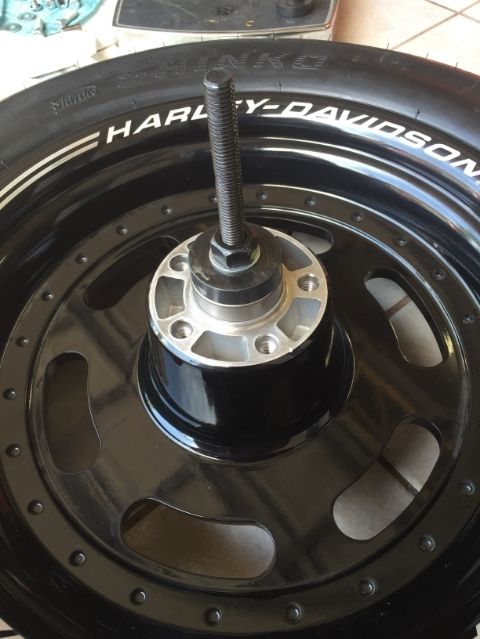
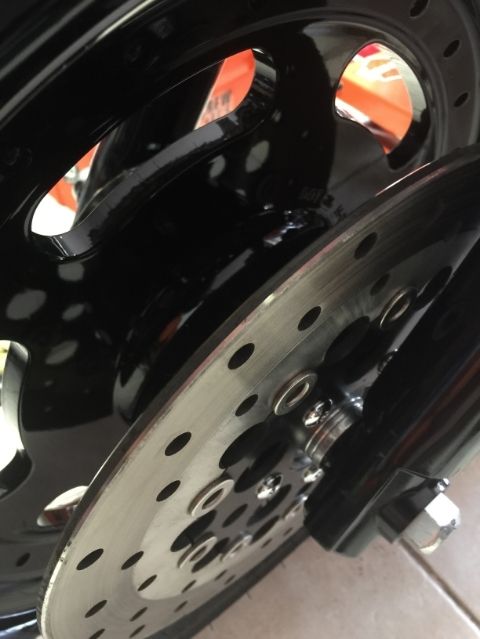
Once that was done... spray painted the center again...
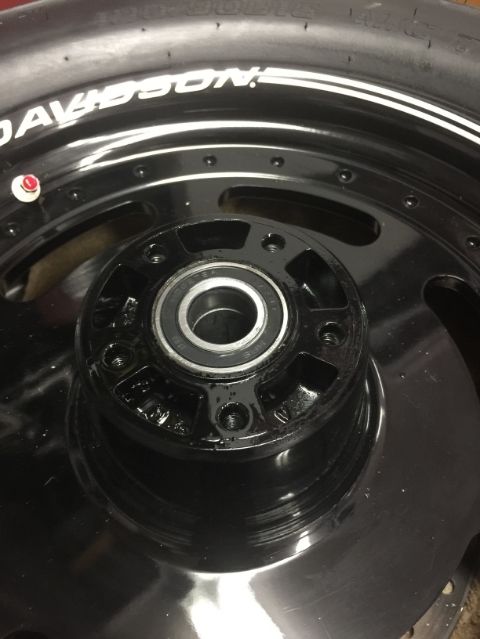
What is wrong with this photo? Yeah... I forgot to insert the hub cover!!
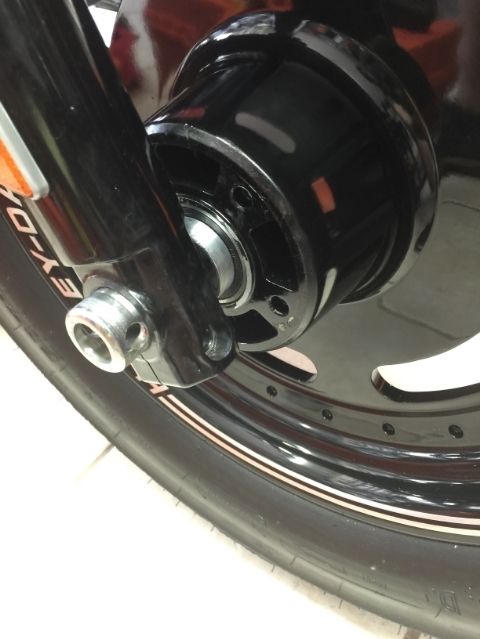
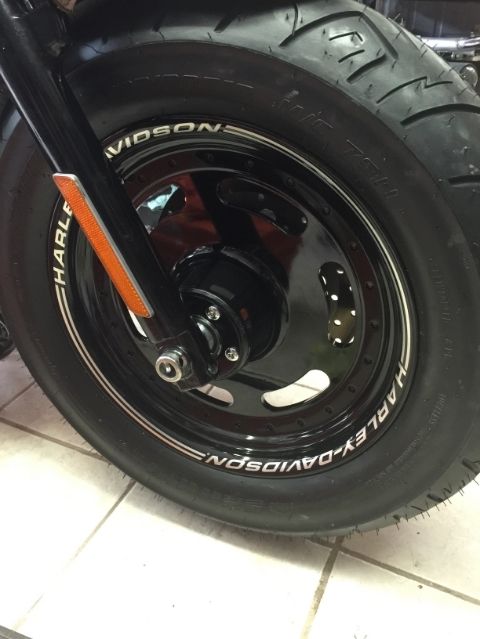
Done! (well... still need to install the axle covers...)
So what now... need to remove caliper and take it to the machine shop so they can shave 1/4" from the mount so it aligns with the new position of the rotor...
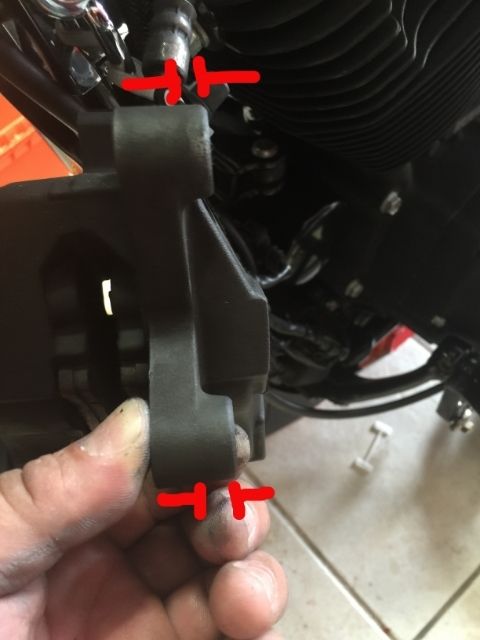
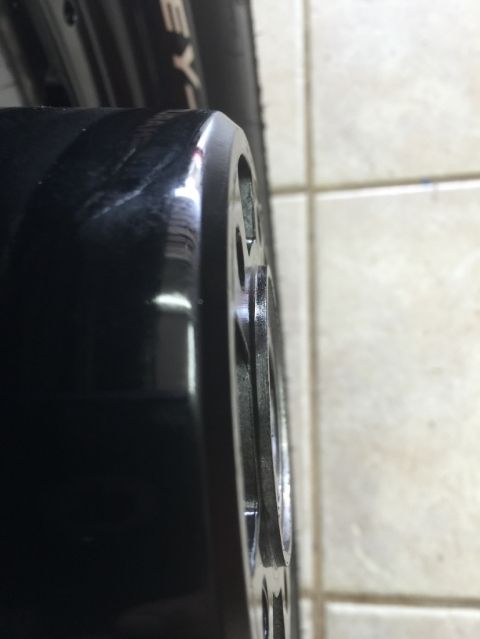
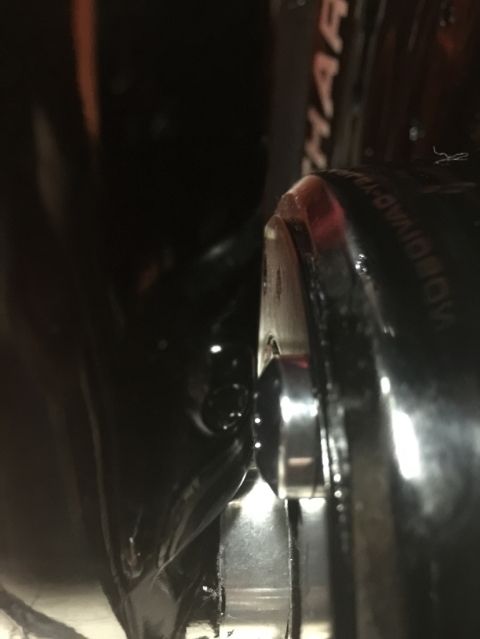
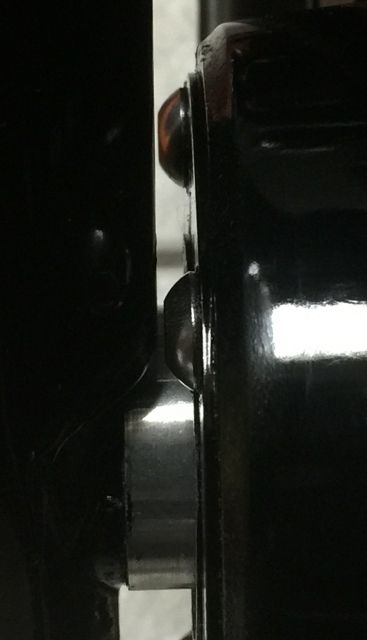
I also need to find new bolts for the hub since the stock ones protrude too much and would hit the fork tube...
More after I have done those two things...almost there!!


Once that was done... spray painted the center again...
What is wrong with this photo? Yeah... I forgot to insert the hub cover!!
Done! (well... still need to install the axle covers...)
So what now... need to remove caliper and take it to the machine shop so they can shave 1/4" from the mount so it aligns with the new position of the rotor...
I also need to find new bolts for the hub since the stock ones protrude too much and would hit the fork tube...
More after I have done those two things...almost there!!
Last edited by wachuko; 08-03-2015 at 07:35 AM.
#68
08-02-2015, 01:38 PM
#69
08-02-2015, 02:47 PM

Road Captain
#70
08-02-2015, 06:47 PM
coming along nicely bet you look forward to the first ride with the wide rear tire, please comment on how the ride is with the wider one.
what does those beads do inside the tire??????????????????
and is that a porsche 912 i se next to the sportster???????
regards
RIX
what does those beads do inside the tire??????????????????
and is that a porsche 912 i se next to the sportster???????
regards
RIX
And yes, can't wait to ride it with the new setup!!!
Good eye on the car... yes... 1967 912 that I am bringing back to life.
My 1967 912 Build Thread