Tryied a few times to get a hold of greg09997 to buy the tour pack light from his 2015 ultra. Since I'm a nee member, i think I'm limited. Can somebody pass along the meassage. Please and thank you
I bought one last year. The only thing you get is the light and it's not plug and play. I made my own template for mounting and bought a badlands rbt module. My total cost was about $175 for everything. Much better deal then the HD unit.
Hey, I just purchased the light bar and will post pics when I install in a few weeks.
I spoke with Harley and to make a run turn brake you need 2 parts, a Y adapter to plug into the existing wire harness either before or after the run turn brake module I already have. And a second part which is a tourpack wiring kit.
Both should run under a hundred bucks and give the plug and play. At the light bar itself, I am sure there will be some crimping and pinning to set up the tourpack wires to molex connector provided in the kit.
Each part number is: Y harness 69911-11. and TPack Harness 70933-10. Call HD and they can set up for your bike year I think. I have an 08 Road king.
I bought mine about 6 years ago and don't have one complaint. just like others posted the only thing in the box are the lights, not even screws. but hey it's much more reasonable price wise then the HD one. I did my research and luckily knew my way around wiring and used 4 small capacitors and 2 resistors and made my own pigtails for the wiring for run/turn/brake. I modified the lower light on my SG and turned it into a brake light as well. I'm currently in Japan but if anyone needs a hand figuring out the wiring let me know. I'll look for all the pics and notes i wrote down.
I bought mine about 6 years ago and don't have one complaint. just like others posted the only thing in the box are the lights, not even screws. but hey it's much more reasonable price wise then the HD one. I did my research and luckily knew my way around wiring and used 4 small capacitors and 2 resistors and made my own pigtails for the wiring for run/turn/brake. I modified the lower light on my SG and turned it into a brake light as well. I'm currently in Japan but if anyone needs a hand figuring out the wiring let me know. I'll look for all the pics and notes i wrote down.
Cep
If you could post your pics and info here when you find it that would be great. Wanting to do this as well.
Ya, I bought one of these too. I also sent it back and went round and round with the Asian i was dealing with. Wanted to know what was wrong. (Wiring connectors were different) Wanted to know why it wouldn't mount in the existing holes. (Studs didn't line up) Then I had to take pictures and send him the pics. I was just about to consider it a loss when he said, OK, You send me back, I return money. It wasn't a bad piece per say, Especially if you don't have one. I have a factory HD one but wanted to replace it because the description said it was a direct fit and all L.E.D.
Trying this post again:2004 Road King with King Tour Pak.
Bought the after market light bar off Ebay, $44.00. Yes no hardware or instructions. Center light 3-wire, outers 2-wire. Used a 12v source for testing. Turns out the center light is run/brake(dual intensity circuit). Outers are brake intensity. Could have made a dual circuit for outers but cared more about bright brake lights than needing additional running lights. Also installed a Custom Dynamics Magic strobe plug & play. Local hardware store for mounting locking nuts and washers.
1. Naked tour pak with no existing mounting holes(pic 1)
2. Cardboard template traced the top of light bar for fitment(pic2) Located best fit and mine came out out 1.5" from trunk lip.
3. Straight edge marking and painters tape where mounting bolts would hit approx(pic3) 4. Wife�s fingernail polish on bolt ends and pressed against the tape to locate mounting holes(pic4) If off figured I could elongate the holes for some play.(pic5).
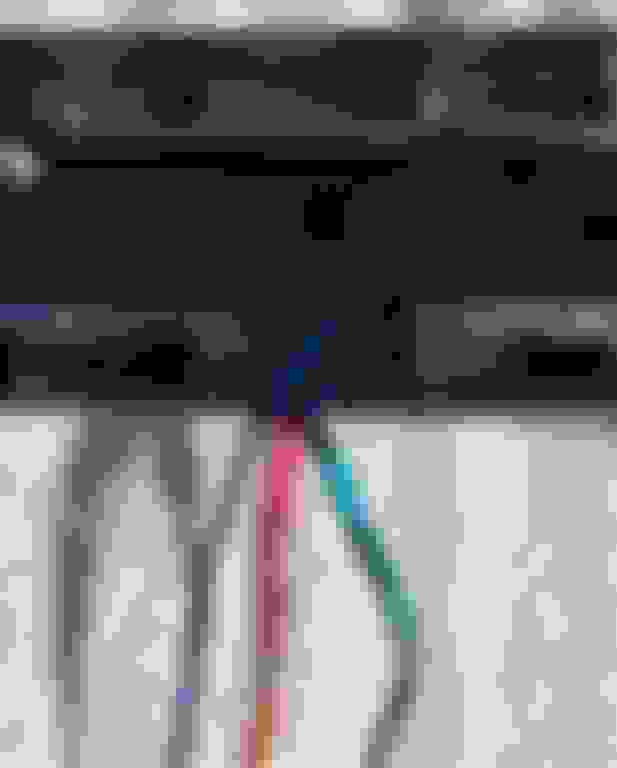
5. Since total 7 wires. Spliced outer and center brake wires. Splice all grounds. That left only 3 wires to bring through the trunk. Purple/blue/black. Used small grommet drilled out where center wires hit. 18 gauge wire. Tucked the spliced wiring into the light bar. (pic5)
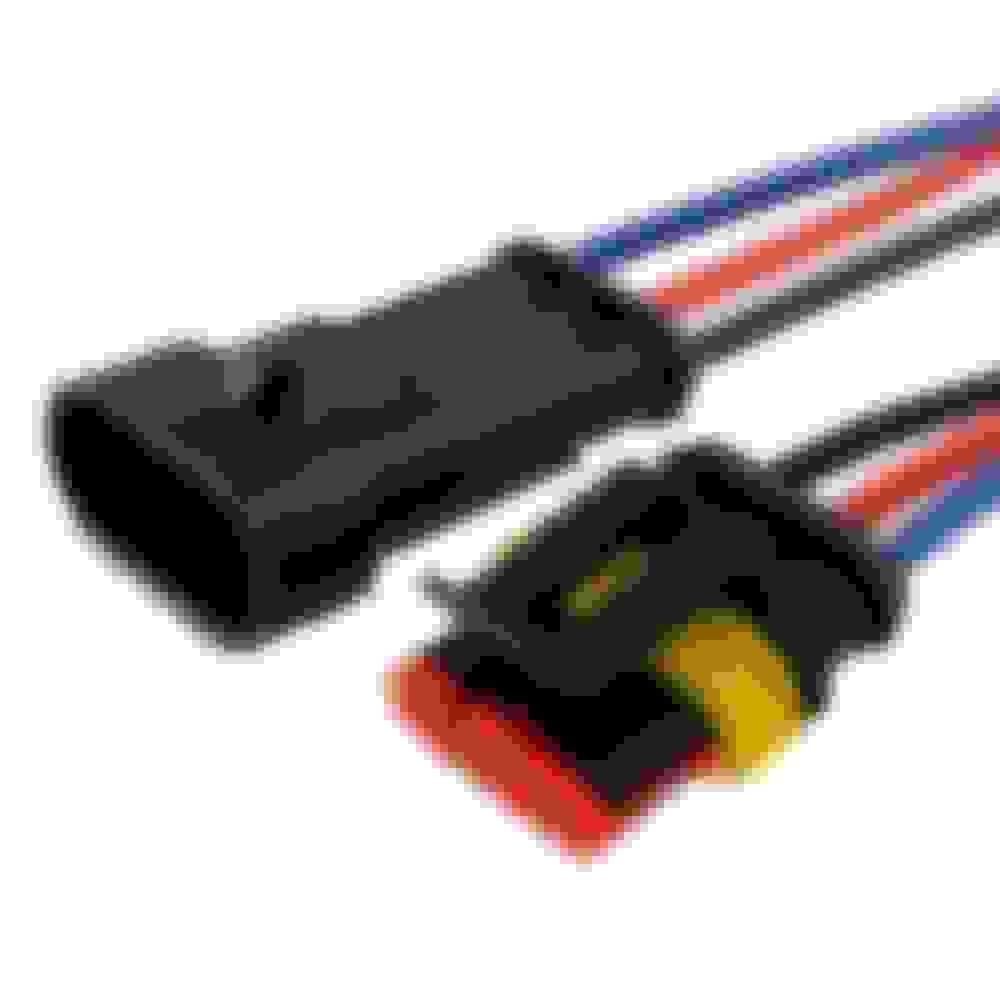
6. Got this waterproof connector Ebay $5. After feeding wiring through the trunk and out the bottom is where I placed it. (pic6) 7. Installed CD plug and play in harness. Since CD has 5 yr warranty, decided to splice into the HD harness aft of the rear light connector. Used solderless connectors. Verified all wiring with voltmeter and wiring diagram from https://serviceinfo.harley-davidson.com/sip/index, registered as independent. 8. From harness out under the side of seat is where the connector from ebay was placed. So I can disconnect the wiring easily then remove the trunk if needed(quick release trunk) 9. Running lights(pic 7) 10. Brake lights(pic 8)
The intensity is very bright. Got the magic strobe set for 4 flashes then steady for brake. Any questions feel free.
Tried to reply to this thread with my install with pics. Got a message when posted that a mod has to review. That was Monday. Did the "contact us" and ask but no reply. Does it normally take this long? Thanks Edit: went back and resized my pics, maybe to large. I'll wait for a reply before reposting.
You have to have more than 1 post to be able to post pics. I'm not sure how many but it's not a lot. Also a certain time period has to elapse for new members as well before posted pics are allowed.
You have to have more than 1 post to be able to post pics. I'm not sure how many but it's not a lot. Also a certain time period has to elapse for new members as well before posted pics are allowed.
Thanks for the reply. Actually got it posted above yours while you were posting. lol

 02-28-2016, 01:16 PM