Harley Davidson Dyna Glide: How to Replace Brake Fluid
The brake fluid is meant to be replaced as a part of maintenance intervals in the Harley Davidson Dyna Glide. Learn how to replace it yourself here.
This article applies to the Harley Davidson Dyna Glide.
The brake fluid is not designed to work forever in the Harley Davidson Dyna Glide. After a while, between 15,000 to 30,000 miles, the brake fluid tends to absorb moisture, which lowers its boiling point. This could cause the pedal or lever to get spongy, but it will also cause a decrease in brake performance. Replacing the brake fluid isn't a hard process; however, it requires you to bleed any air out of the system. Any air entering the system could sacrifice brake feel and performance. Read on to learn how to properly replace your brake fluid on the Harley Davidson Dyna Glide.

Materials Needed
- Wrench
- Phillips head screwdriver
- Bottle
- Clear hose
- Brake fluid
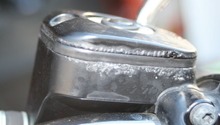
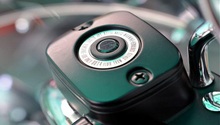
Replacing the brake fluid on the front brakes is identical to the rear brakes. The only difference will be the location of the master cylinder. The front one is on the right side of the handle bar, while the rear one is on the side of the bike, by the exhaust, and the front brake is controlled by your right lever on the handlebar, but the rear brake is controlled by the right foot pedal.
Step 1 – Flush old fluid
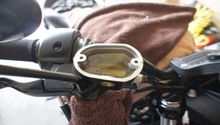
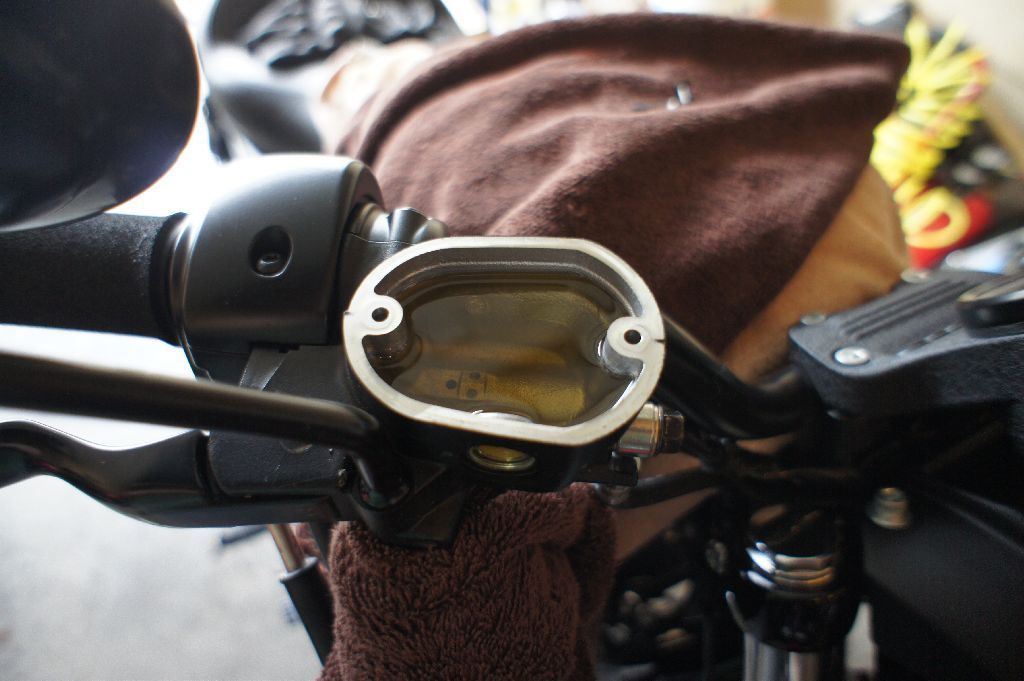
The first step is to open the cover on the master cylinder. It is held in place by two Phillips head screws. Remove the cover and set it aside. Locate the bleeder screw on the brake caliper, then connect the clear hose to it. Connect the other end of the hose to a bottle. Pump the brake lever a few times, then keep it pressed in. Loosen the bleeder screw and let the fluid drain. Keep an eye on the master cylinder and don't let the fluid get too low. When you have a thin layer of fluid in the master cylinder, tighten the bleeder screw, top off the master cylinder with fresh fluid, then loosen the bleeder screw again using your wrench. Keep an eye on the fluid coming out, as soon as it becomes clear and clean, tighten the bleeder screw.

Step 2 – Fill brake fluid
Make sure to fill the master cylinder until it's full. Do not let go of the brake lever until you've tightened the bleeder screw.
Step 3 – Bleed air
After you fill the master cylinder with new fluid, repeat the process by pumping the brake lever, loosening the bleeder screw, and this time, watch for any bubbles in the system. If there is no bubbles or as soon as you stop seeing bubbles, tighten the bleeder screw first, then let go of the brake lever. Top off the master cylinder to the appropriate level. Reinstall the master cylinder cover and tighten its two Phillips head screws.

Related Discussions
- Brake Fluid Flush - HDForums.com
- How to Flush Brake Fluid - HDForums.com
- Replace Brake Fluid - HDForums.com