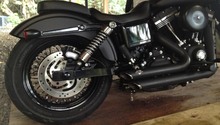
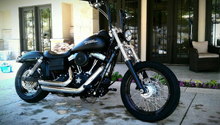
Harley-Davidson Sportster: How to Paint Wheels Using Plasti-Dip
So, you want to paint the wheels on your Sportster? What if there was a cheap, easy-to-use product that you could use to do the job? Plasti-Dip is the answer!
This article applies to the Harley Davidson Sportster.
What if we said you won't need to pay a mechanic several hundred dollars to apply premium-quality paint to the wheels on your Harley-Davidson Sportster? Furthermore, what if we said you could achieve a professional-level finish using only a few cans of spray paint (the cost of which shouldn't run you more than approximately $50 for all four wheels). Well, it's true! Using Plasti-Dip, you can paint (and then repaint) your wheels in less time and for less money than the cost of a professional paint job at an auto paint shop. Keep reading and we'll explain how to apply the paint, as well as how to protect the rest of your bike from overspray.

Materials Needed
- Wheel cleaner or simple washing supplies
- Masking or painter's tape
- Plasti-Dip
- Replacement bearings
- Glossifier
Step 1 – Clean the wheels
- Clean all contaminants from your wheels using a mixture of car soap and water.
- Dry the entire surface area using a microfiber cloth.
- Go over the entire wheel with a second microfiber cloth dipped in rubbing alcohol.
- Dry the entire surface area using a second microfiber cloth.

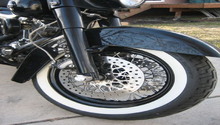
Step 2 – Mask the rotor
- Mask your rotor and pulley, as well as your bearings, using evenly-sized strips of masking or painter's tape.
- It's recommended that you go ahead and swap out your old bearings for new ones before masking them off.
- Mask all surrounding areas to protect them against overspray.

Pro Tip
If you don't want to paint them, black spoke covers are available online as well as through local auto parts stores for less than $50.
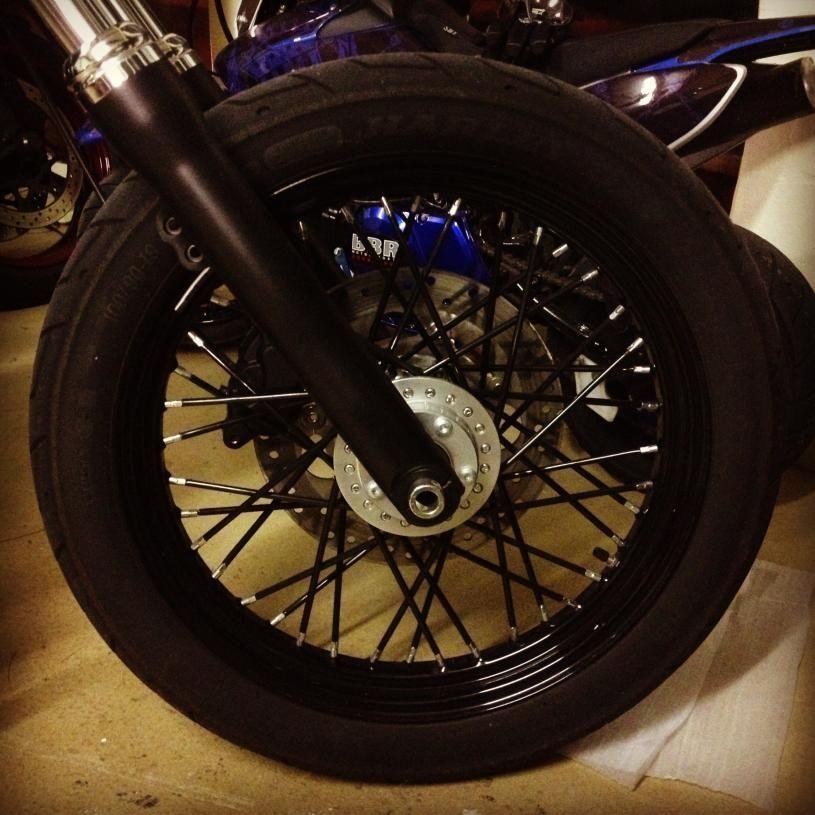
Step 3 – Apply the paint
Now it's time to apply your paint. When it comes to Plasti-Dip, it's important that you apply four to five light, even coats.
- Start by applying a light, even coat to one side of your wheel, following a back-and-forth motion as you move from one section to the next.
- Flip your wheel and do the same on the other side.
- Apply your 2nd, 3rd, 4th and 5th coats of paint to both sides, starting on one and moving to the next once the previous coat has dried.
- For the best level of coverage, move slowly, allow each coat of paint to successfully dry, and only apply light, even layers to avoid clumping.

Step 4 – Apply a clear coat
- Once you're done applying all of your color coats, it's highly recommended that you apply a top clear coat for enhanced shine.
- To intensify brilliance, shine and glossiness, complete the job by adding a glossifier spray.
- Plasti-Dip manufactures a top quality glossifier that retails for approximately $8 at local auto parts stores and online.
- Apply the product by spraying it using a steady, back-and-forth motion until each wheel is completely covered.
Pro Tip
If you removed the wheel, you'll need to mount it back on once your new paint (and clear coat) have completely cured - not a second beforehand.
Related Discussion and Video
- Mask off Mounting Surfaces - HDforums.com
- Plasti-Dip applied to Harley - Youtube.com