Harley Davidson Touring: Brake Modifications
Sooner or later you will need to do a brake job. Why not upgrade to better than new? There is so much room for improving your stopping power. Read on and find out how to choose the right brake upgrade for your riding style.
This article applies to the Harley Davidson Touring (1994-2014).
All of the recent Harley Touring bikes come from the factory with front and rear disc brakes. They are pretty good in stock condition, but there is certainly room for improvement. Better pads, bigger discs, and calipers with larger pads and more clamping force are all available. So, instead of doing a simple brake overhaul, consider an upgrade.
Brake Modifications for Touring Bikes
The aftermarket offers a wide variety of brake parts from manufacturers such as Performance Machine, Brembo, EBC and others. You can start out with aftermarket pads with a much better initial bite, steel lines for better feel at the brake lever, and fresh high temperature DOT 4 fluid, and move up to larger diameter, full floating, drilled rotors with 6-piston discs that clamp with enough force to stop a train. Unlike a lot of upgrades, brakes look good, as well as very practical, and have no real downside.
A lot of Harley riders like the bling and shine of chrome and fancy items that are functional as well as enhance the bike's appearance. There is a plethora of offerings for wild looking rotors and flashy calipers attached, to sparkly or colored braided stainless lines. You can basically customize your entire brake system with bolt-on, out-of-the-box equipment. The nice thing is that the good looking stuff usually works better than stock, too.

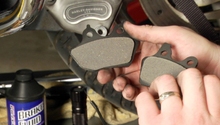
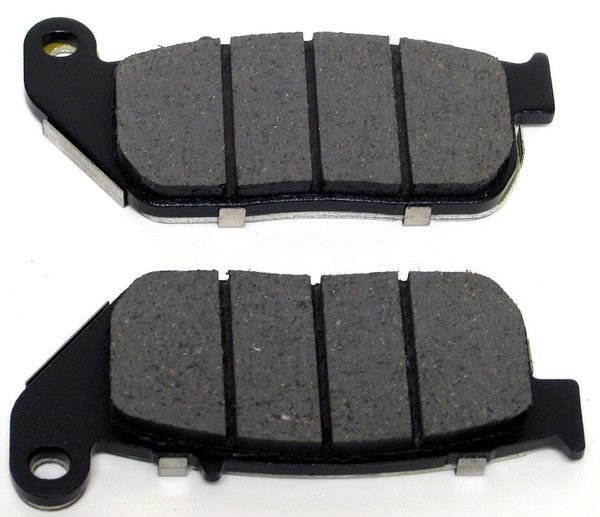
#1 Aftermarket Brake Pads
DIY Cost – $50
Professional Cost – $125+
Skill Level – Easy; replacing brake pads is an easy job and requires basic tools.
The aftermarket offers a wide variety of brake pads such as Hawk, EBC, Lyndall and others. Grooved brake pads enhance the short stopping distance by having multiple leading edges, and let dust escape more readily for consistent stopping. The compound of brake pads is important, too, embedded with fibers such as Kevlar, stainless steel, fiberglass and other materials, each of which contributes to the feel, friction coefficient and temperature sensitivity. Brake pads for road race bikes seldom have a good bite until they start to get hot, which is not what you want for a street driven Touring bike.
(Related Article: Brake Pad Reviews - HDForums.com)
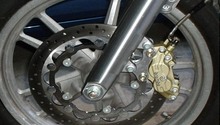
#2 Aftermarket Rotors
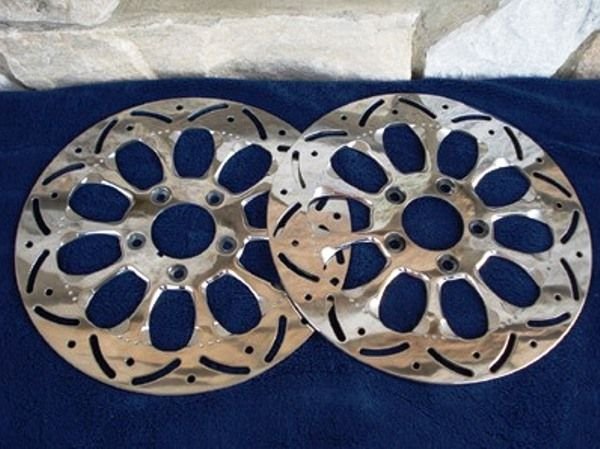
DIY Cost – Cost of the rotor varies by manufacturer: $85-$120
Professional Cost – Labor and cost of parts is $320-$520
Skill Level – Medium to advanced.
Aftermarket rotors are sometimes just better looking versions of stock type discs, but they can be much more. To keep the brake system from overheating from friction, grooves or holes are added to the rotors to allow air to flow through them while being applied. These added reliefs also give you better initial bite from all the leading edges, and contribute to better whet weather stopping, too. When you have decided on the rotors to purchase, it’s always a good idea to get the recommended brake pads, since the manufacture often performance tests matched products. Swapping stock discs for aftermarket versions is easy, and if you stick with the same size as stock, you can do it in less than an hour.
(Related Article: How to Replace Pads/Calipers/Rotors - HDForums.com)
#3 Stainless Steel Brake Lines
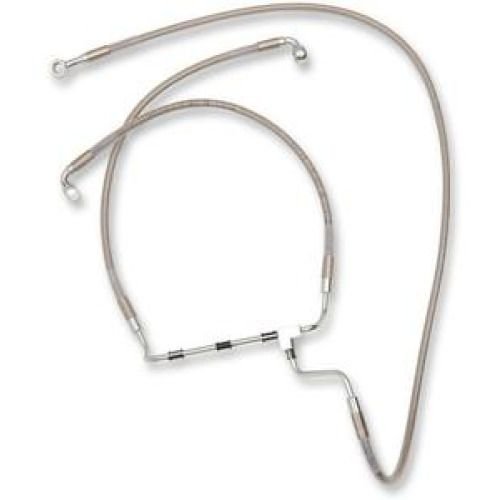
DIY Cost – $50-110
Professional Cost – $300-500
Skill Level – Moderate; replacing the brake lines will require you to bleed your brakes.
To improve the braking response and eliminate that spongy feel, consider replacing your original rubber brake lines with braided hoses. The stock hoses flex when applying the brakes, whereas the braided lines don’t balloon and the pressure goes directly to the brake calipers. Braided lines also reduce the amount of lever travel required to stop your bike. The nice thing about the steel brake lines is that they come in a chrome finish, which adds to the look of your bike. If you want to improve the looks of your Harley while increasing your brake feel and performance, steel brake lines are the way to go. You can also get them with colored sleeves over the steel, for an almost candy paint metal flake look.
(Related Article: How to Replace Brake Line - HDForum.com)
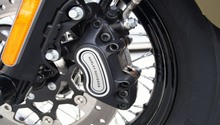
#4 Four or Six Piston Calipers
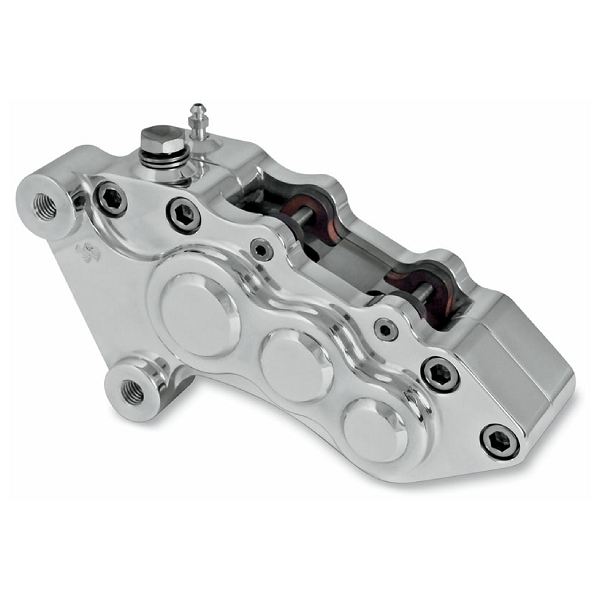
DIY Cost – $389-500
Professional Cost – $500-800
Skill Level – Moderate; replacing calipers will require you to bleed your brakes.
When you are upgrading the brakes on your Touring Harley, you may want to toss your old style single piston calipers, all the current bikes come with four pistons from the factory. Even two piston calipers will make a world of difference in stopping power. Four or six piston calipers from Brembo, Performance Machine and others offer considerably less effort in applying the brake. For the stop-and-go traffic, having to squeeze the brake lever often can be tiresome and painful to some of the old-timers.
(Related Article: How to Replace Pads/Calipers/Rotors - HDForums.com)
#5 Big Brake Kit
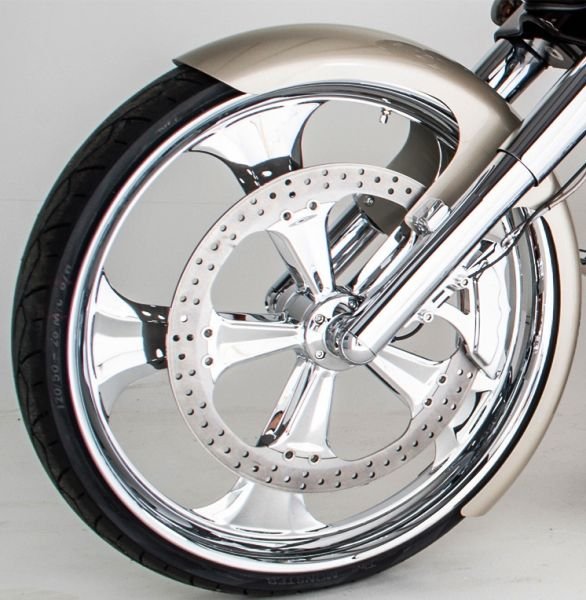
DIY Cost – $800-1,500
Professional Cost – $1,000-2,000
Skill Level – Advanced; You'll have to change out quite a few parts and bleed the brakes.
Thanks to the increasing use of 23" and even 30" wheels on the front of baggers, the aftermarket has come up with bigger and bigger brake kits. These not only look better with huge wheels, but give you more stopping power, too. Companies such as Wilwood, Brake Tech, Performance Machine and Hawg Halters now offer brake kits with discs as big as 18" in diameter! Some of these allow you to run just one disc, leaving the other side of the wheel naked for a better look. Others come with two big discs, and upgraded calipers and brackets, for a bike that can stop so hard the back wheel will come off the ground.
Related Discussion and Sites
- FLHR Brake Mods / Rotor Upgrade - HDForums.com
- Disc Brake Pads – Construction, Selection and Break-in - Wotid.com
- Lyndall vs EBC - VtwinForum.com
- Lyndall Brakes - LyndallBrakes.com