Bought the Alloy Art FatBoy Front Nacelle LED Signals for $160 from Revzilla.
I decided that I wasn't turning my Deluxe Vicla stylie again and wanted something a little different. First step was to yank the driving & turn signal bar off the front.
The light bar ended up in the box with all the other crap I've pulled off this bike…
Some may say that it takes away from the nostalgic look of the Deluxe, to which I say good! I like the slim look from the MoCo's catalog bikes. But, I did not want to go through the hassle of running more wires through the bars for a set of bar mounted signals like those on the catalog bikes...
One thing I wanted was factory connections. No splicing or crimp on stuff. So, I ordered up a plug end HD part #73156-96BK...
And a 10 pack of HD socket terminals part #73191-96...
I researched the fact that the factory plug/wiring has 6 wires as follows (2008 HD service manual, from the top of the plug on down);
1) Black - Right ground
2) Brown - Right signal power
3) Red - Right driving light power
4) Red - Left driving light power
5) Violet - Left signal power
6) Black - Left ground
The red power leads are to supply the driving lights with power as the signals on my Deluxe only come on when I am signaling. In order to have the signals constantly on and illuminate brighter when signaling, I would need to add a 2 into 3 wiring Eclipze2 Turn Signal Module from Custom Dynamics for about $25.
This kills the stealthy look to the Alloy Art signals, so I chose to only have the signals illuminate when I hit the signal button or when the alarm sets (factory setting).
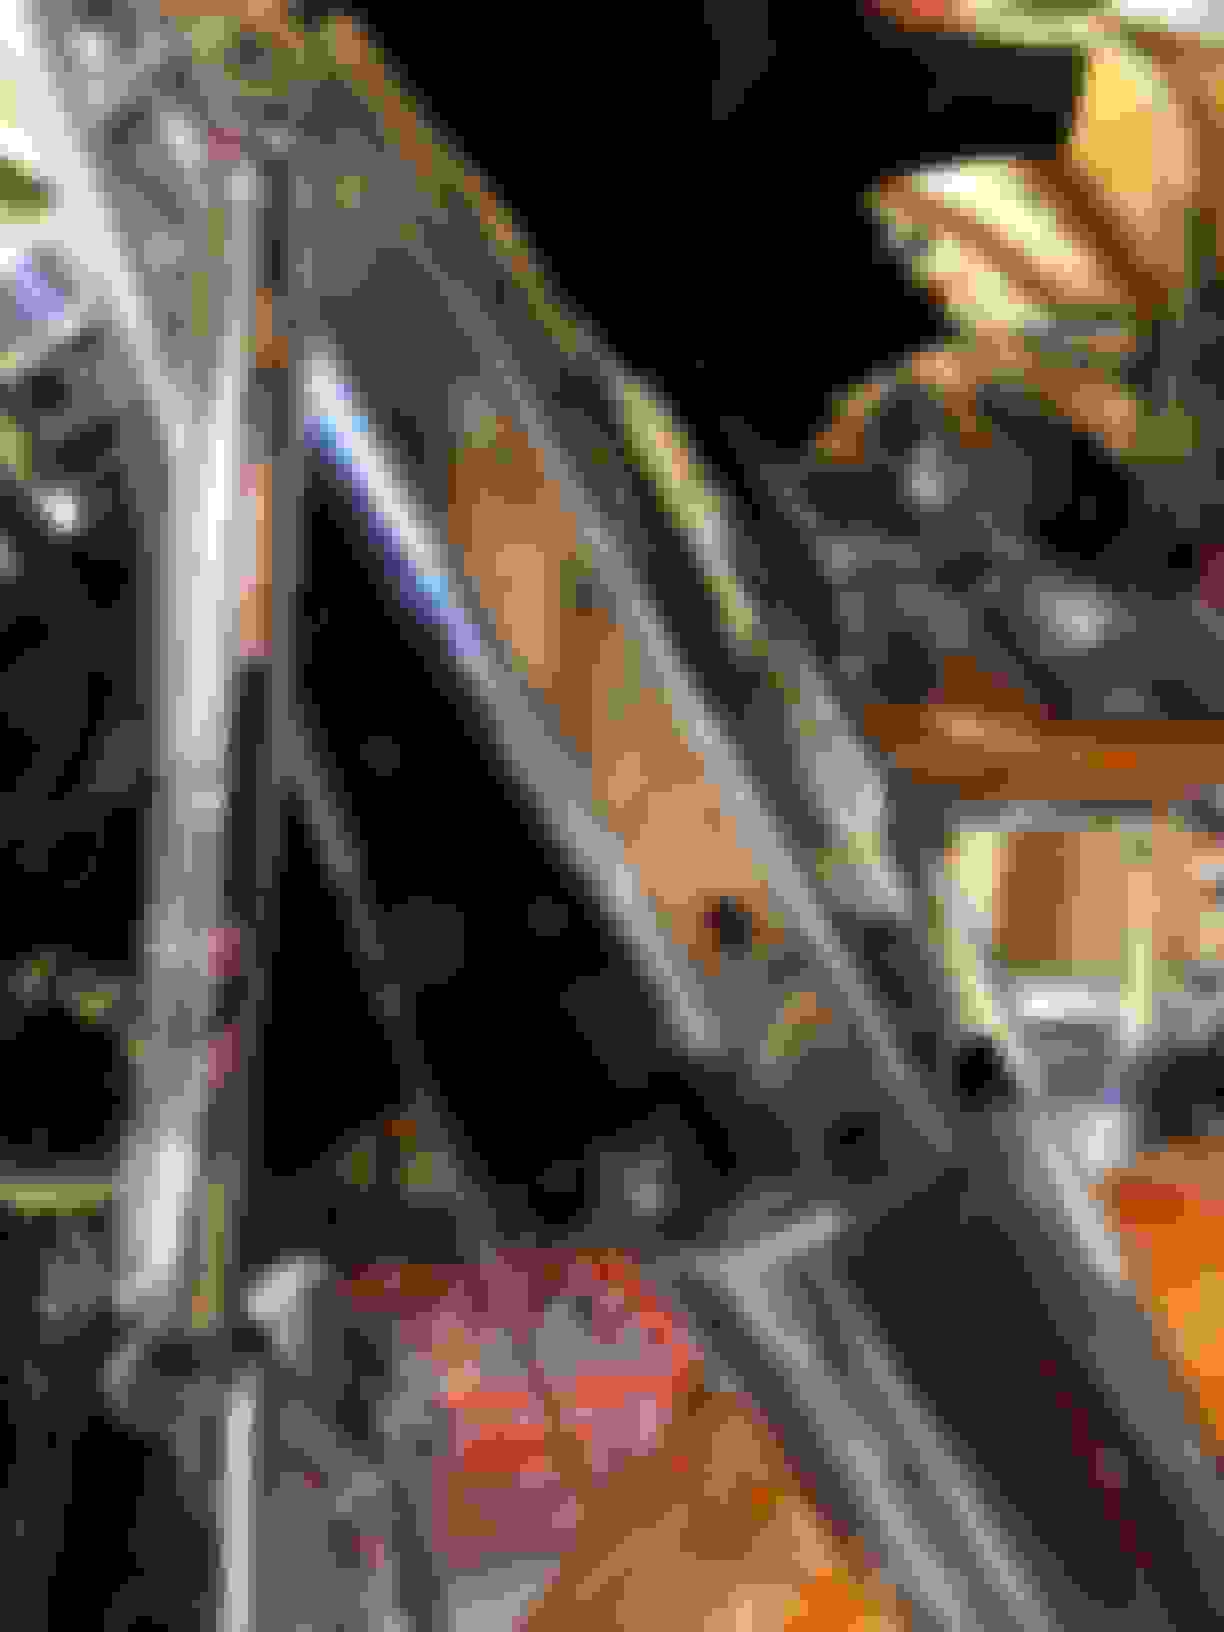
First thing was to pull the seat, disconnect the fuel line, pull the through bolt at the front of the tank, and slide the tank back about 6". I already pulled the rubber protective flap thing that covers the wiring on the frame off when I installed my DK 1.5" Tank Lift.
I then undid the nacelle backing plates, mocked up the LED signals, and figured out where to drill a hole on each side to run the signal wiring into the nacelle.
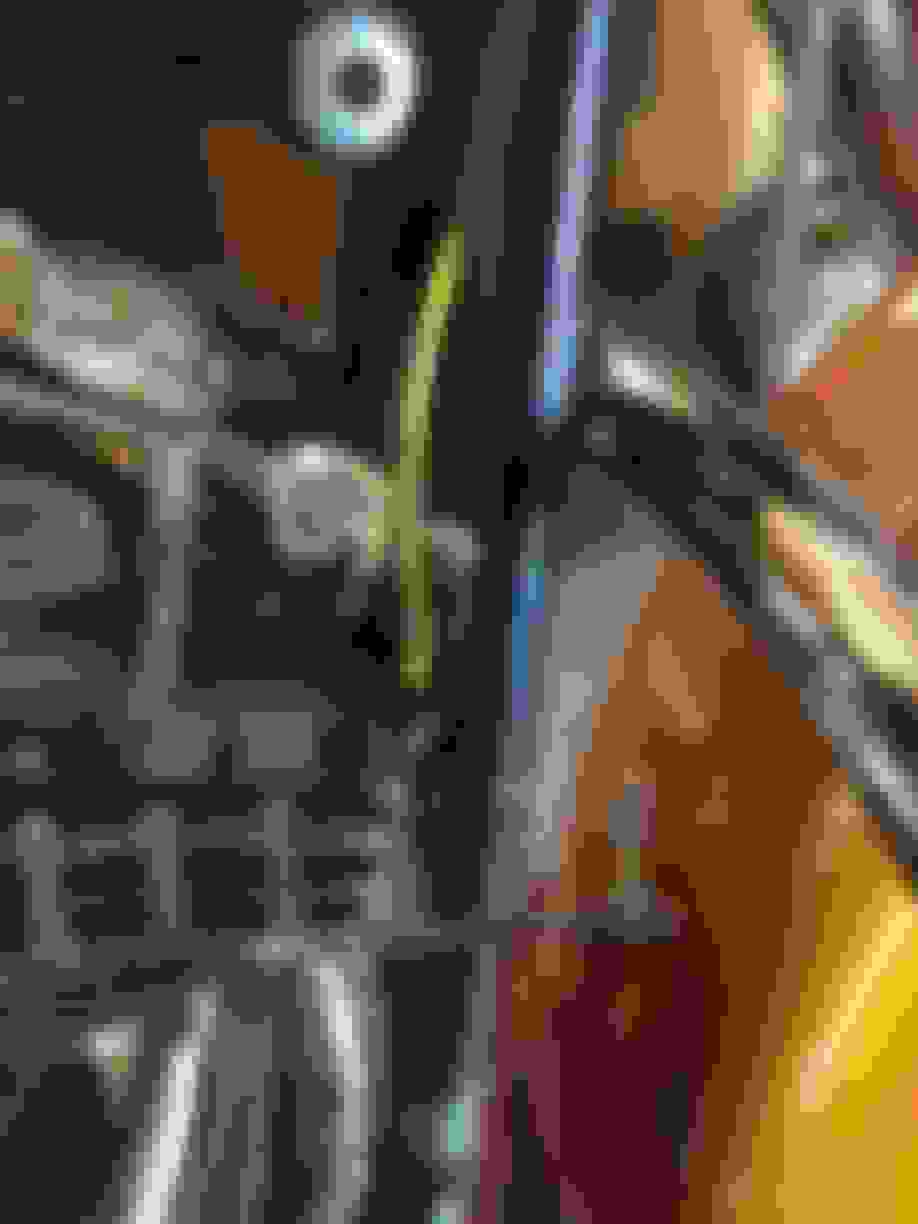
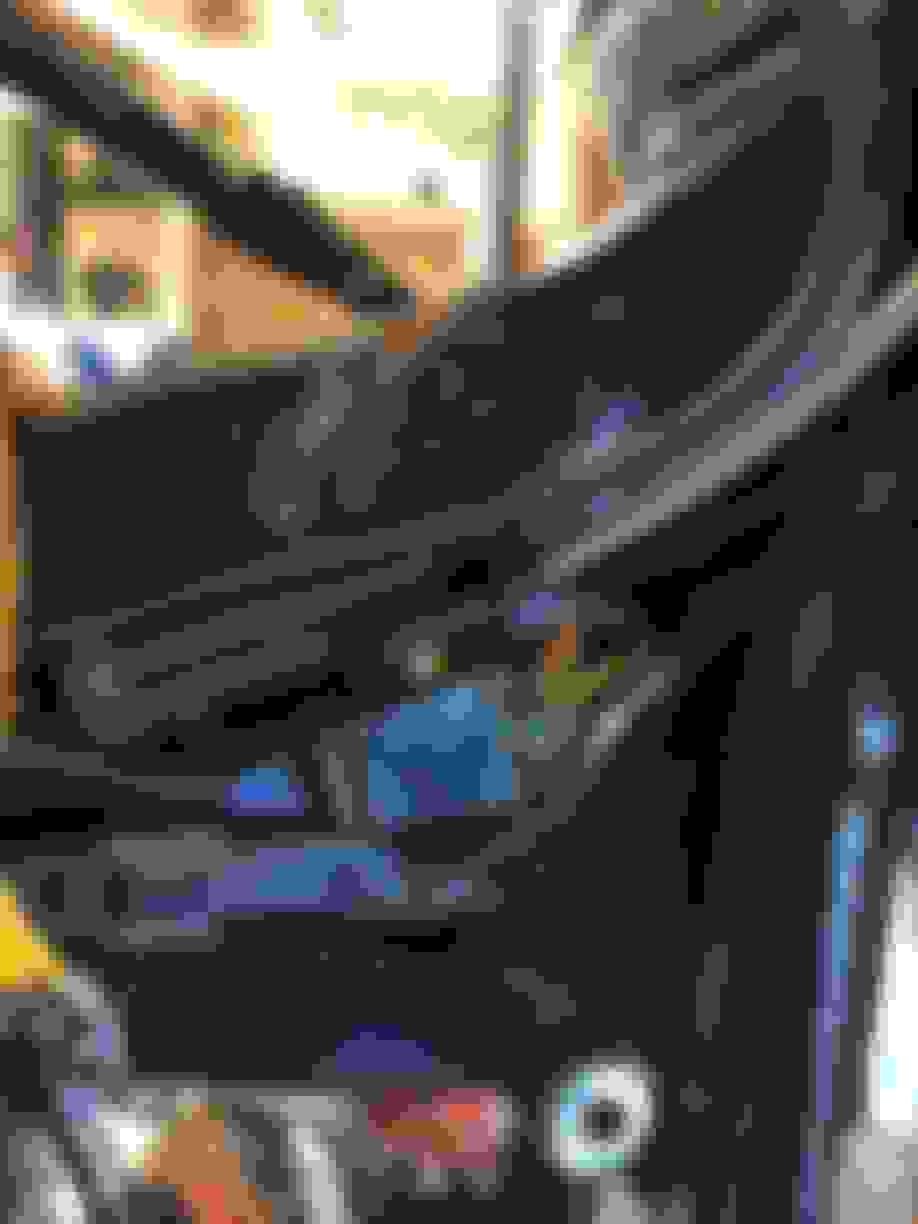
I then bolted up the signals with the wiring run through the nacelle to the right side where the factory plug was. Before starting on the wires, I connected a power test light to the plug by connecting the alligator clip to the negative and then touched the other end to the turn signal power lead. When I hit the signal button, the tester blinked on and off like it was a turn signal, verifying I had the correct wires/colors/sides identified. Using shrink tubing, I covered the wires and ran the black wires to the appropriate #1 & 6 slots in the plug and the yellow power wires to the #2 & 5 slots using the plug ends I bought. I then slid them into the plug receptacle.
I plugged the receptacle in, turned the power on the bike, and tested that the signals worked.
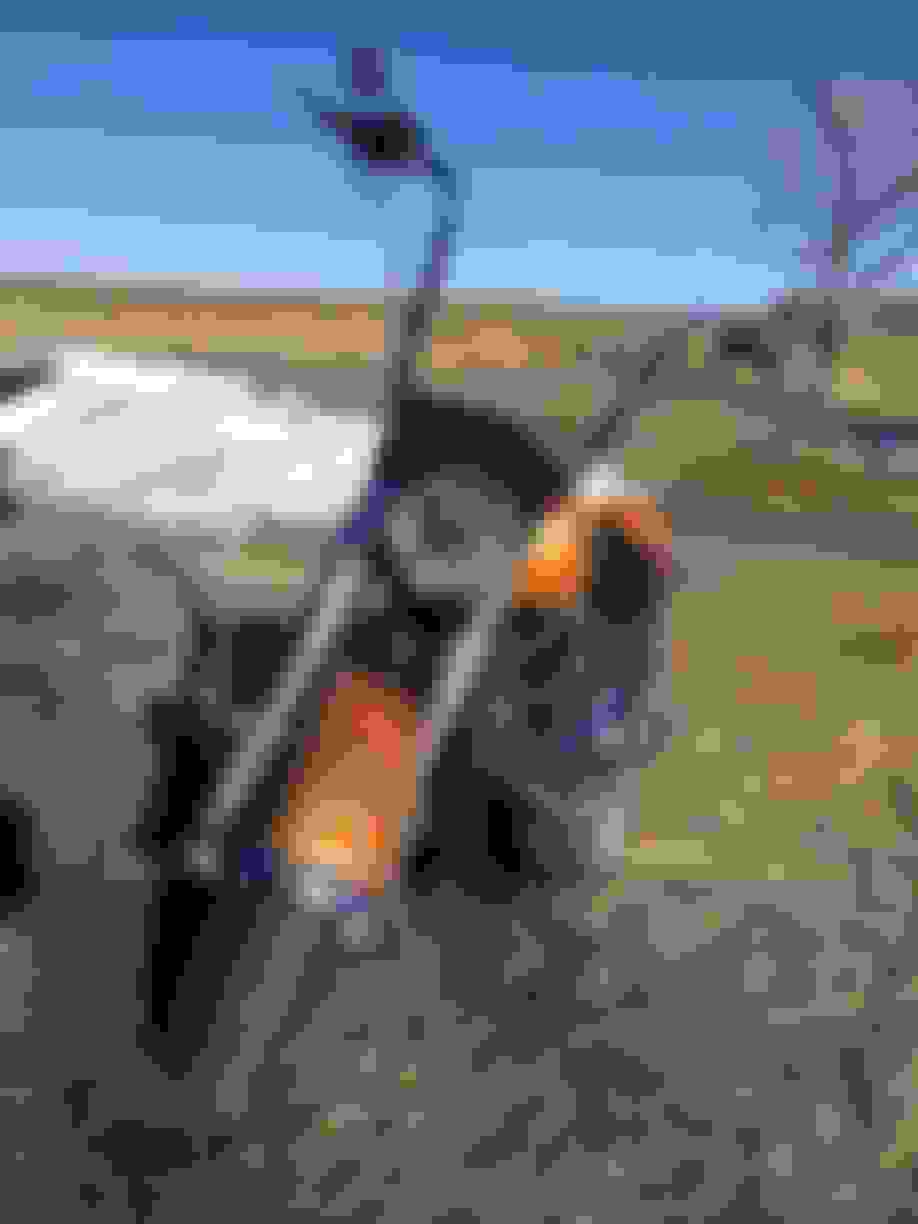
Wiring the Alloy Art LED signals to the front did not require a load equalizer. The rear signals flash at the same speed as before as do the new LED front signals. If I add LED rear signals and/or a Custom Dynamics LED Tombstone Tail Light, I will have to add the load equalizer. I will not be using the Alloy Art rear strut LED signals as the Deluxe has two large indentations and holes in the rear fender to accommodate the rear signal bar and it would be too ugly without the signal bar mounted.
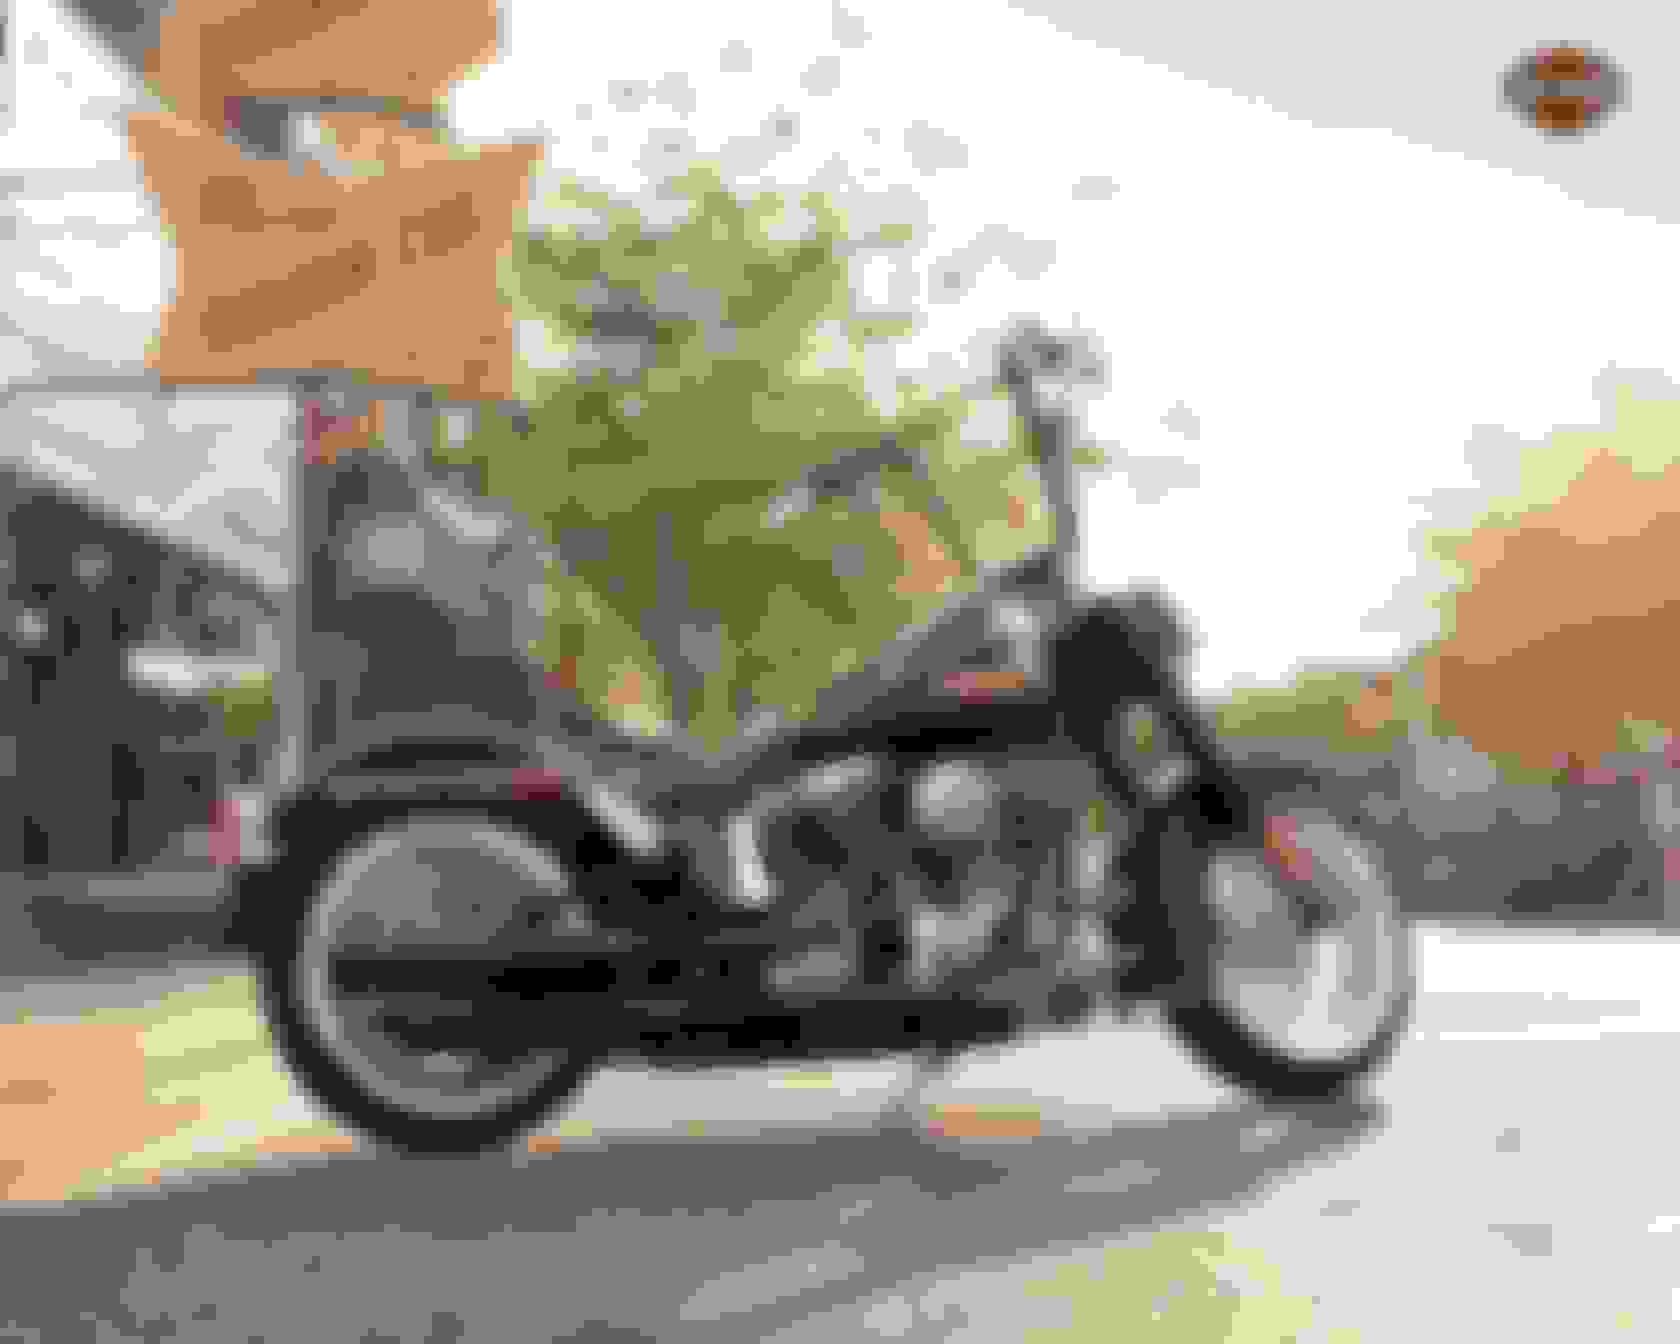
I'm pleased with the stealthy outcome! Your milage may vary!
Looks good man, much cleaner look. If you ever need to remove the nacelle you will wish you had cut notches instead of drilling holes. I drilled holes when I put mine on the first time. When I blacked out the front end I had to lift the tank and then de-pin my connector in order to remove the tins. I cut notches with my dremel on each peice to clear the wire when I put it back together just in case there was a need to remove the tins again.
Looks good man, much cleaner look. If you ever need to remove the nacelle you will wish you had cut notches instead of drilling holes. I drilled holes when I put mine on the first time. When I blacked out the front end I had to lift the tank and then de-pin my connector in order to remove the tins. I cut notches with my dremel on each peice to clear the wire when I put it back together just in case there was a need to remove the tins again.
Now you tell me, LOL! Hopefully I won't need to pull it anytime soon. Might have to preemptively Dremel them out.
That looks good man! I really like those turn signals.
Obviously by putting all of the other crap in a box you're keeping it, BUT if you decide to sell that deluxe light bar with the turn signals, I'd be interested if you'd let me know.
 02-28-2016, 06:12 PM