I wanted a black rear brake rotor, and wasent paying Harley what they wanted for theres.
heres how I did it....1 can of high emp exhaust paint. 1 cheap cookie pan. 1 can of carb/brake cleaner. 1 roll of masking tape.
 \\;
1. Remove Brake rotor
2. clean with brake/carb cleaner
3. tape up the outside of the rotor, where the brake pads wear
4. spray with High temp exhaust paint
5. remove tape and place on cheap cookie pan
6. follow instructions on paint can, for baking paint
7. steps 3-6 for the other side of rotor( if you tape up both sides and paint, use 3 spacers to \\;hold \\; rotor off of cookie pan)
8. install rotor on bike
Here's avery easy and cheap way to get a much more"Harley" like sound a bike should have had from the factory.
There is no needto have the Delphi FI system remapped if youleave the intake alone.I spent under $5 for the parts I used to do it right.
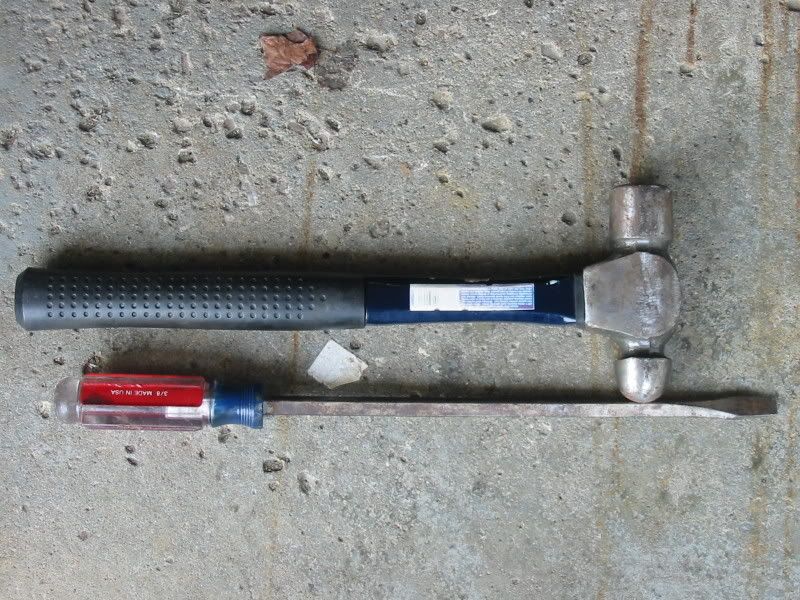
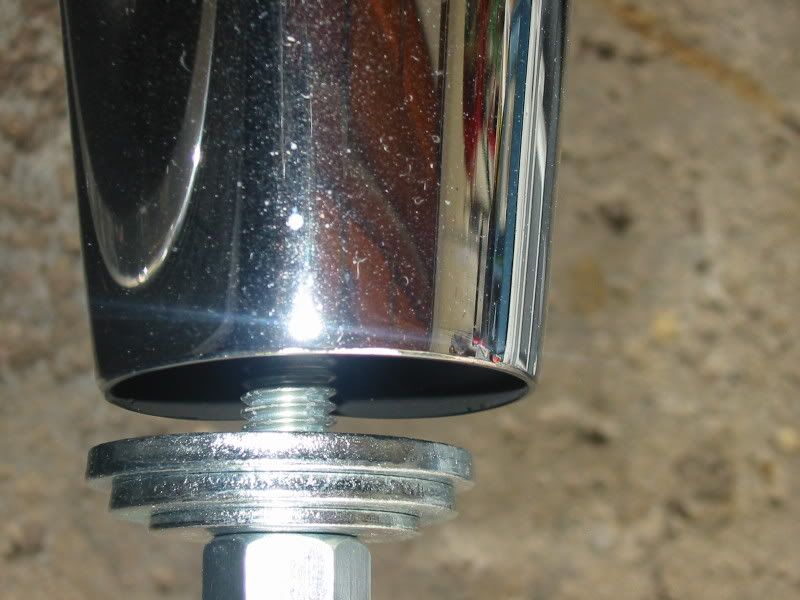
Here's the tools I used to take it 'out';
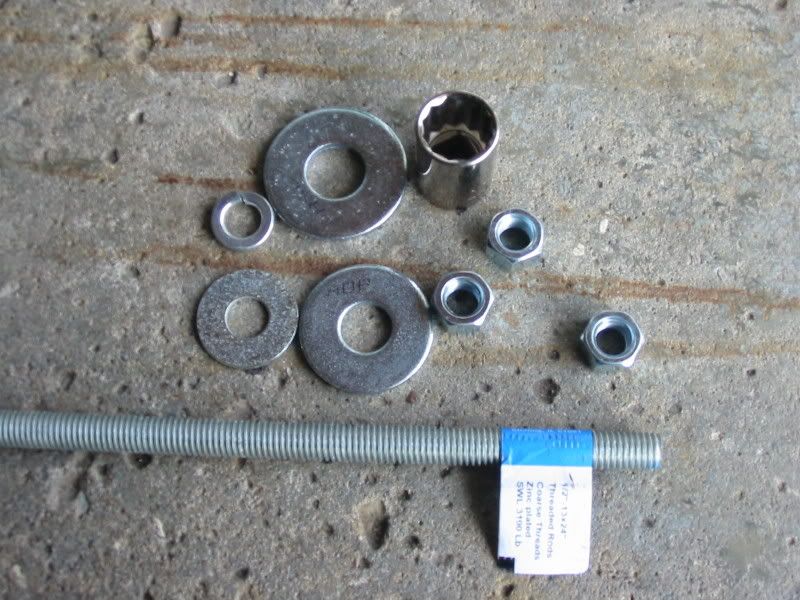
I didn't have a hole saw that would fit all the way down to the plate so I used a hammer and screwdriver, unfortunatly it leaves a bunch of ragged edges. So I came upwith these parts, under $5 at the local Lowes plus a 21mm socket to clean things up.
1 piece of 1/2" X 3' long threaded rod, three nuts to fit and four washers.
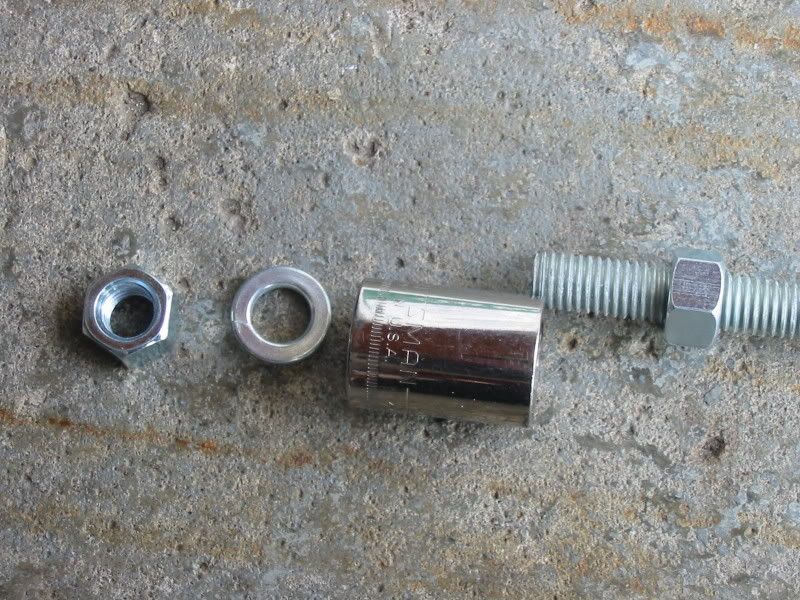
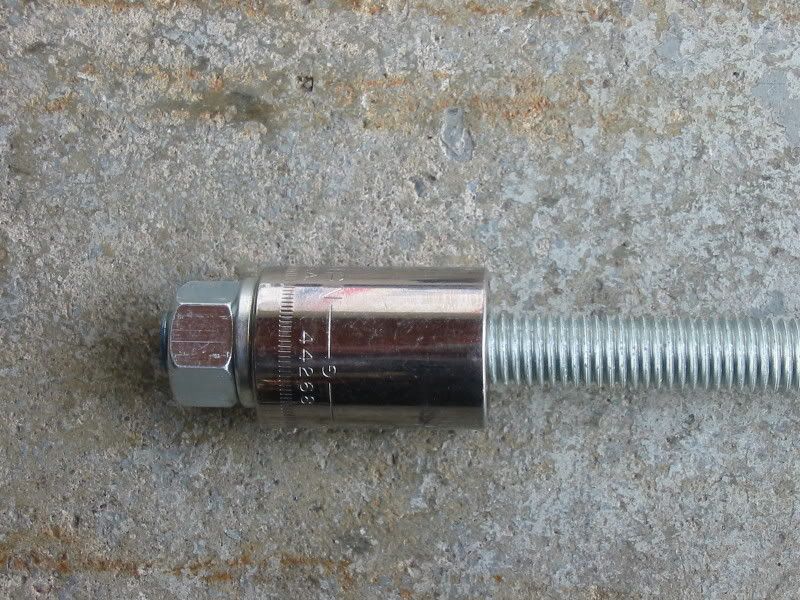
Put two nuts, the socket, and a lock washer together like this at one end.
As the socket is certain to get jammed in there when you hammer it through, don't let it go in too far. It only has to go in about 1/2 to 3/4" to work. If you go in too far you might have trouble getting it out without removing the muffler from the bike.
Anyway you can use the rest of the washers and the last nut to prevent it from going in too far, and as a bonus it can be used to "jack" the piece back out. Cause you will almost certainly not be able to pull it out by hand.
Don't expect it to sould like its got a set of Rush slip on's w/2" baffles, or a set of Big Radius pipes. But if you like the stock looks but not the sound or your just short funds for new pipes its acheap way to improve what you got.
So... that I am understanding fully.
You are punching a hole in the baffle with the screw driver. Then you bring in the all-thread with the socket to smack it into the rough hold to make it more pretty and you yank the all-thread back out. Tada.. hold put into the baffle.
Just one hole?
Any pictures up the pipe of what the baffle looks like when you are done?
I purchased 4 12" LED lighting strip sets from AutoZone for $19.95 each and installed them in my front fender, rear fender, under the gas tank, along the from under the seat and along the frame under the bike.
I them purchased a wireless keychain remote lit with strobe, dim/bright glow and full on with dimmer and it also had 2 different zones too for $45 online.
I added the 2 fenders in 1 zone and the engine/frame area in the other zone.
Works great and the whole bike was done for under $150!
Well after a few years of off and on tinkering, and a few different iterations, got my willie G fender finished....now I'm not sure I like it LOL. The good thing is-7 bolts and an hour of time and it's back to original.
Last edited by bikersurgeon; 03-22-2015 at 11:41 AM.
Well after a few years of off and on tinkering, and a few different iterations, got my willie G fender finished....now I'm not sure I like it LOL. The good thing is-7 bolts and an hour of time and it's back to original.
Hey, at least the groundwater running down your back will keep you cool!
Im liking the looks also. I rattle canned the brake lever black. 400 grit, duplicolor etching primer then auto rustoleum. Did the crash bar, floor boards and fangs also. Seems to be holding up real good. Just a suggestion.
 02-26-2015, 02:53 AM