Harley Davidson Softail: How to Replace Brake Fluid
Replacing the brake fluid is an important step in ensuring your Harley Davidson Softail is as safe as can be. Read on to learn how to do it.
This article applies to the Harley Davidson Softail (1984-Present).
The brake fluid in the Harley Davidson Softail plays a very important part in your safety. Over time, the fluid becomes contaminated with dirt, buildup and moisture, lessening its boiling point (maximum temperature threshold), thus not working as well as it should, and posing a possible safety risk. In a motorcycle, every safety concern matters so it's really important you replace it on time. Depending on how much you drive, the average life of brake fluid is two to three years. So if you don't remember the last time you've changed your fluid, now is probably the time. There are two brake calipers and two master cylinders on your Harley: one on the front and one on the back. Replacing the fluid for both of them is identical, the only difference is the location of the components. We will cover replacing the brake fluid for the front master cylinder; for the rear one, repeat the same process with the rear caliper, rear master cylinder, and right foot/brake pedal. Read on to learn how to replace your brake fluid on your Harley Davidson Softail.


Materials Needed
- Clear hose
- Bottle
- Phillips head screwdriver
- 3/8" wrench
- Brake fluid
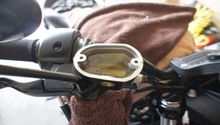
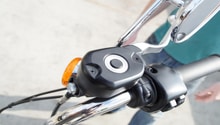
Step 1 – Remove master cylinder cover
Using your Phillips screwdriver, remove the two screws holding the master cylinder's cover in place. Carefully remove the cover and set it aside.
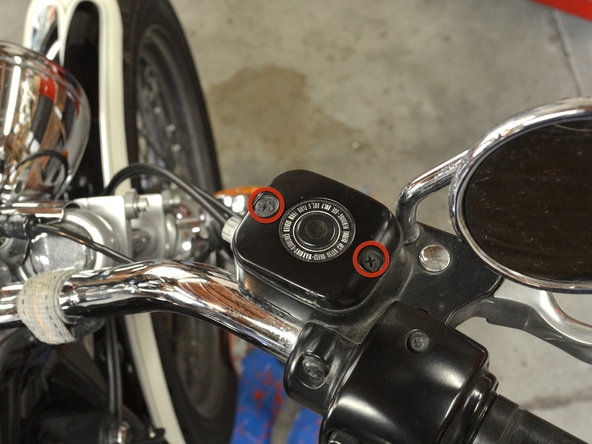
Figure 2. Remove two screws. 
Figure 3. Set cover aside.
Step 2 – Bleed old fluid
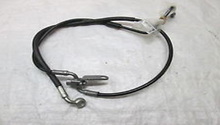
Before adding new, fresh fluid in, you will need to get rid of the brake fluid. Since the brake system is a pressurized system, there is a technique in getting rid of the old fluid. First, locate the bleeder screw on the front brake caliper. Slide the clear hose on, and put the other end of the hose into a bottle. Pump the brake lever (right handlebar) with your hand a few times, and then keep it compressed. You could ask a friend to keep it compressed for you, or you can keep it compressed while bleeding the brakes. Using your wrench, slowly open the bleeder valve with your 3/8" wrench and let the fluid bleed, but keep your eyes on the master cylinder so you do not let the fluid get too low. This action pressurizes the brake system and forces old fluid to be expelled from the system. Close the bleeder screw, then let go of the brake lever, leaving some fluid in the reservoir. You may need to repeat this process several times to pass all of the old brake fluid through the system. If you see pockets of air bubbles in the brake fluid, you need to continue until only fresh brake fluid is leaving the system.
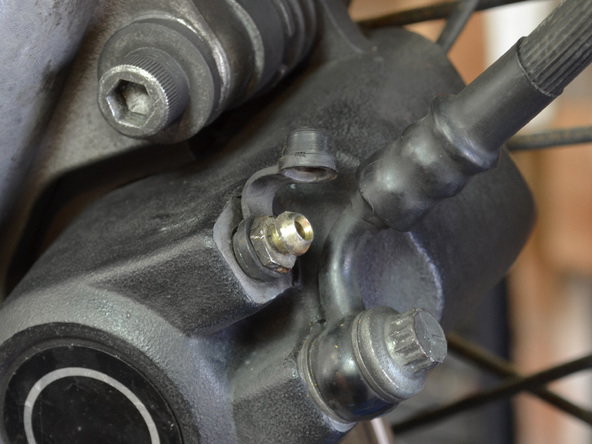
Figure 4. Locate bleeder screw. 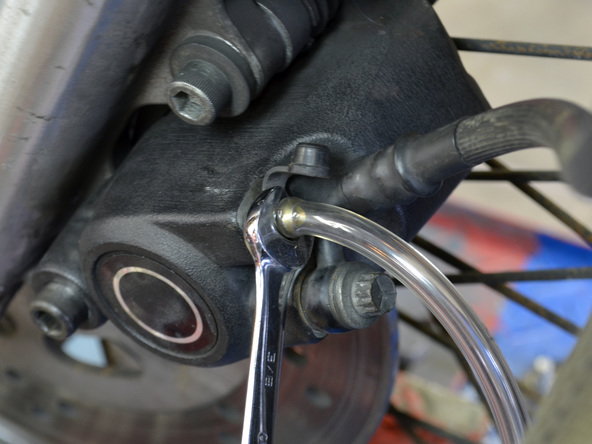
Figure 5. Bleed brakes. 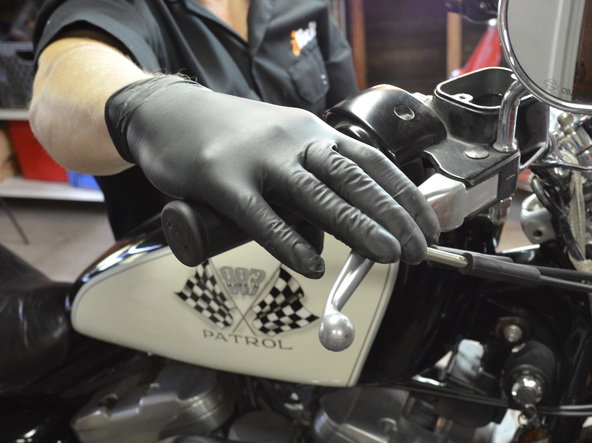
Figure 6. Keep pedal compressed.
Step 3 – Add new brake fluid
Add new brake fluid into the reservoir until full, and then repeat the process above. Watch the brake fluid coming out, close the bleeder screw when you start seeing a different color fluid, which means the old fluid is out and the new fluid has taken over. Be sure to repeat the process correctly with the brake lever compressed. Add more fluid in the reservoir until it's full.
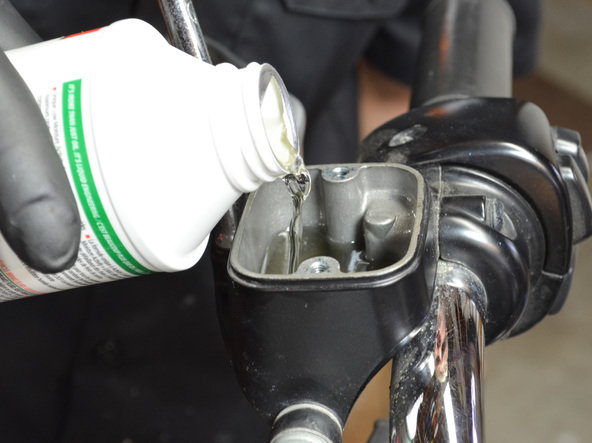
Figure 7. Add brake fluid. 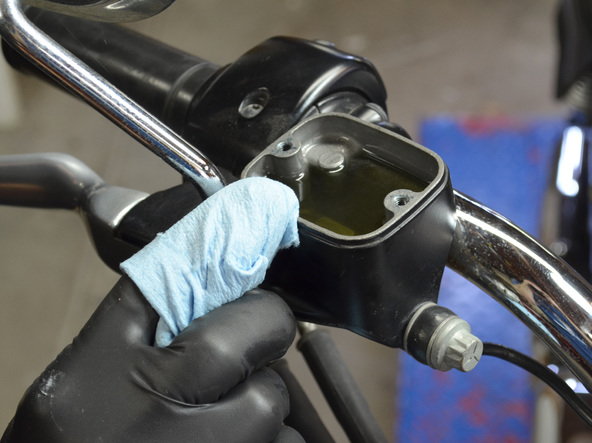
Figure 8. Fill properly. 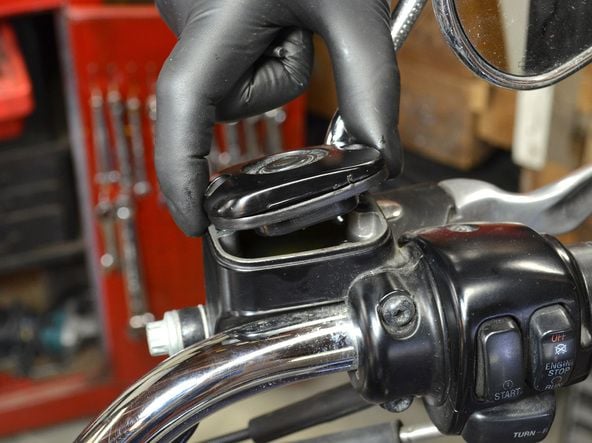
Figure 9. Install cover back on.
Related Discussions
- Brake Fluid Flush - HDForums.com
- Brake Fluid Change - HDForums.com
- Front Brake Fluid Change - Ifixit.com