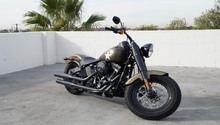
Harley Davidson Touring: Why is My Bike Rattling?
The Harley Davidson Touring has a lot of bags, trim, chrome, and other parts on it; overtime, things can get loose and you can experience some rattling. The big V-twin just makes things worse with its constant shaking. Read on and we'll go over the most common annoying rattlers.
This article applies to the Harley Davidson Touring (2000-2015).
It is no secret that the Harley Davidson Touring vibrates hard. Overtime, some components can come loose and start causing a rattling noise. It's often hard to follow the source of the noise, since the whole bike can be loud. This guide will shine some light on the components that have been known to get loose and cause such noises. If you're getting annoyed from the rattling sound coming from your Touring, then start reading so you can start tightening.

Materials Needed
- Socket set
- Phillips screwdriver
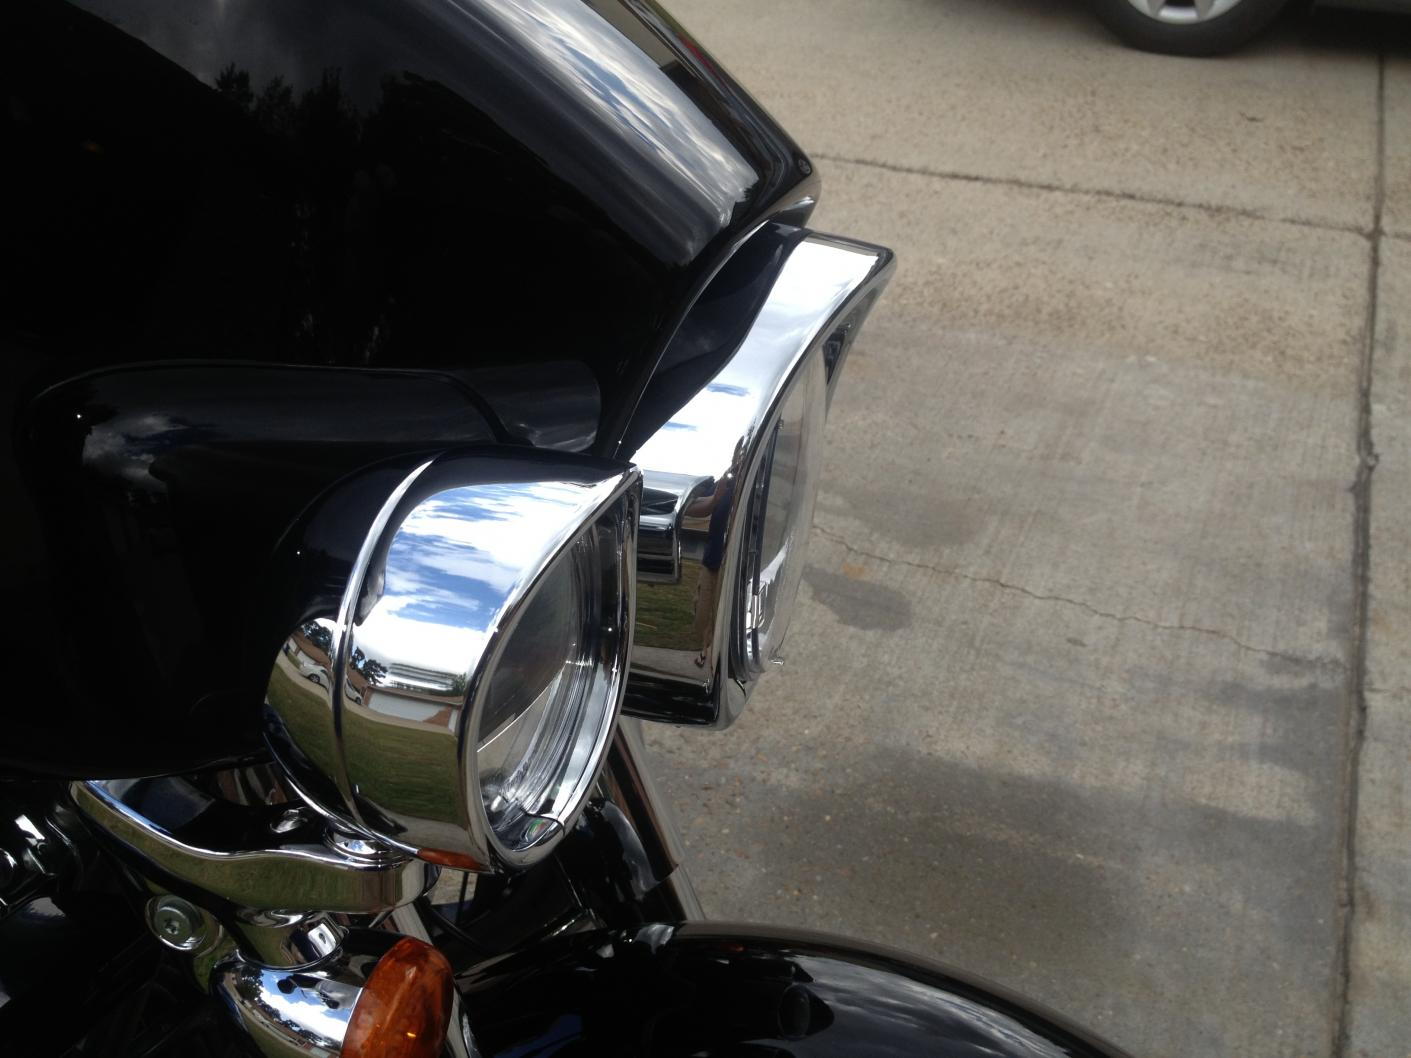
Step 1 – Check trim
They could be loose.
With the constant vibration, the trim could get loose. Check all the trim, from the Harley emblem on the side, to the tank console, to the chrome strips along the fenders. Wiggle each piece of trim and tap on it. If you can't follow the noise because the bike is too loud, you will have to try to move all the trim pieces by hand to see if any of them are loose and tapping against the body. If you find a loose bolt on the covers, tighten it and maybe use some Loctite. If you find loose trim, you may have no other option but adhesive, since much of it is stuck on and not screwed.
If all trim is tightly in place, proceed to Step 2.
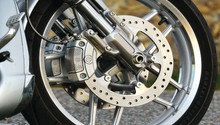
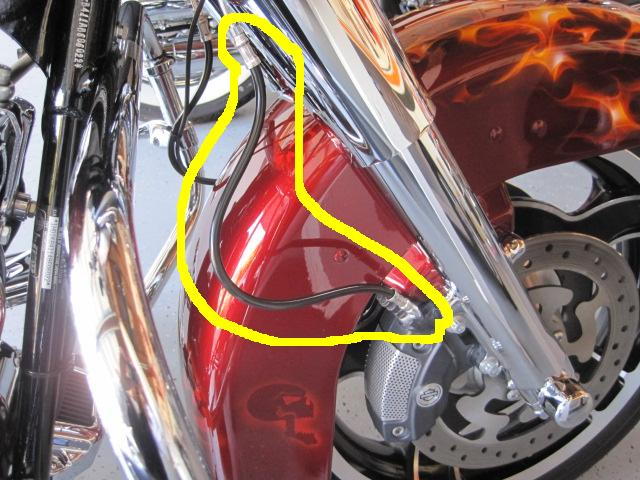
Step 2 – Check lines and cables
They could be loose or miss-routed.
The brake lines and the clutch cable are held in places by little clamps. Often they get loose and start moving around when the wind hits them cruising down the road. When you pull over, they stop rattling because there is no wind. So unless you can drive the bike and check the lines at the same time, you will have a hard time discovering the issue. Inspect the lines and make sure they are run through all their clamps. If one of the lines has come off one of the clamps, you're almost guaranteed a rattling noise at higher speeds. Another clue is signs of rubbing between the line/cable and the fender, which can not only annoy you, but ruin the paint too.
If the lines aren't the culprit, proceed to Step 3.
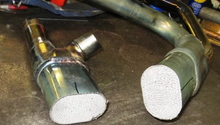
Step 3 – Check exhaust
They could be loose.
The most common cause of rattling, according to the forums, are exhaust heat shields coming loose. Over time and with tons of engine vibration, the exhaust shields' bolts or clamps can just give up and get loose; sometimes they even fall off. With the bike cold, wiggle the exhausts and the exhaust shields. Visually check for their bolts to make sure they're all in place. If one of the bolts is loose, tighten it, then listen for noise again. Even if you don't find a loose heat shield, it pays to make sure they are tight periodically to avoid having to buy a new one when you loose it on the freeway.
Warning
Do not attempt Step 3 unless the exhausts are cold. Bikes equipped with a catalytic converter can stay hot for hours after riding.
Related Discussions
- Rattling Noise - HDForums.com
- Why is My Bike Rattling? - HDForums.com
- Engine Noise - HDForums.com
- Right Side Rattle - HDForums.com