Harley Davidson Touring: Suspension Noises Diagnostic Guide
Clunks, scrapes, rattles, squeaks. Does your bike make noise when you cross railroad tracks or potholes? We'll take you through diagnosis of where the noises most likely come from.
This article applies to the Harley Davidson Touring Models (1991-2016).
You're riding on your favorite road and cross some railroad tracks. It's been happening more over the past month or so. The bike doesn't shake or feel bad, but that noise is annoying and it's getting worse. Even if you think the noise is coming from one specific area of the bike, it may be from another and reflecting to your ears or hands. Here are a few simple things you can do to track down and stop the problem.

Materials Needed
- Motorcycle lift or jack (preferred but not required)
- Hand tools (US and metric)
- Rubber mallet
- Torque wrenches (inch-pounds and foot-pounds)
Step 1 – Check simple stuff first
Sometimes rattles come from the simplest things.
- If you have tools or something hard in your saddlebags or tour back, make sure they are secure and aren't banging on the inside of the bag.
- Check that the saddlebags are tight, and the lids are properly latched.
- When the engine is cool, examine the exhaust heat shields. They are held on by hose clamps that may loosen or shift. A common problem is for the front shield to hit the brake or foot-board bracket.
- Check the rear of the mufflers; if the rubber mounts are worn or missing, they can cause a rattle.
- Your foot-boards or the passenger foot-boards/foot-pegs can also come loose, so check them by tapping with the rubber hammer.
- Something on or in your fairing, or windshield, may be loose. Try striking it with the palm of your hand. If it's not something obvious, the Batwing fairing mounting brackets have been known to crack. That would require removal of the outer fairing to fix.
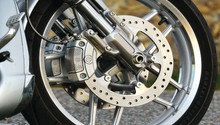
- Check the brake calipers front and rear; if the pads are worn, they may rattle. Hit them with a rubber mallet.
- Check the top motor mount. It's either between the cylinders or attached to the front one. It should not move by hand or rattle when hitting with a mallet.
- Check for a loose tail light, turn signal or auxiliary light. Grab anything that you see and try to rattle it now. The license plate bracket can sometimes crack and rattle.
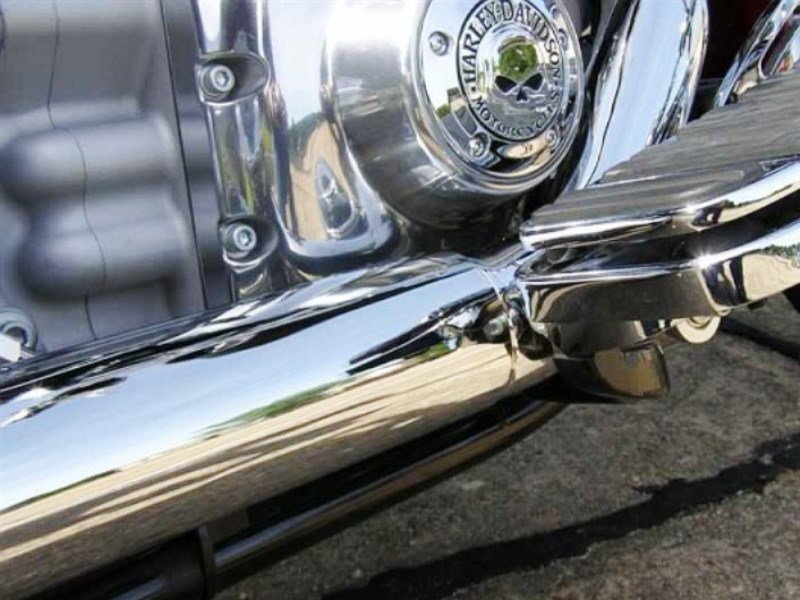
Figure 1. Check exhaust heat shield. 
Figure 2. Rear muffler rubber mounts. 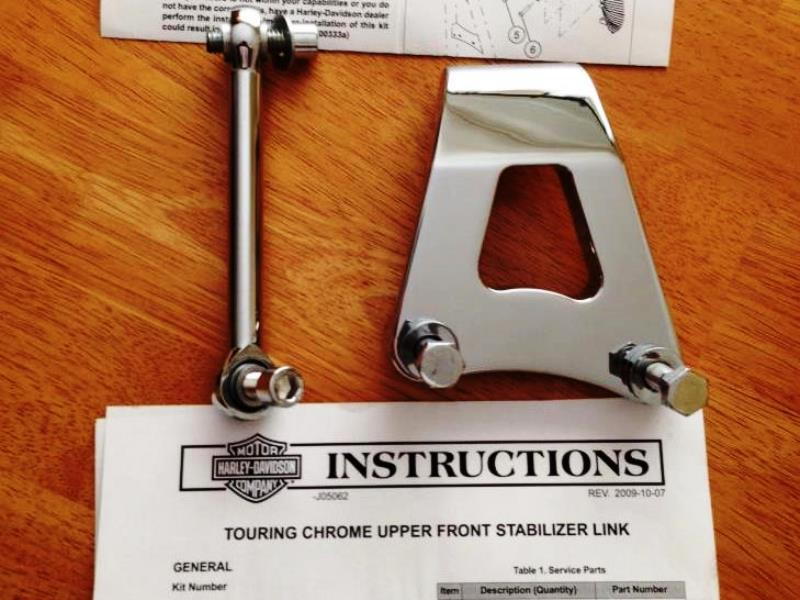
Figure 3. Top motor mount link.
Pro Tip
The above steps are something that anyone can do, but the next steps require use of a jack and stand or some disassembly of the bike. You should be more experienced or have an experienced helper to proceed.
Step 2 – Suspension and frame noises
We'll go through some of the more common items, from simple to complex. Worn out, loose, or broken suspension items may be at fault, or it could be mounts, brackets or other hard parts, some important while some not:
- Put the bike on a jack or stand so both wheels are off the ground. Use straps to keep the bike from falling, as we will be tugging on major parts.
- Remove the saddlebags. Grab the rear shocks and try moving them. Any movement or noise will be apparent.
- Try lifting, or moving the rear wheel side to side; there should be no movement or play in the axle or the shock mounting bolts or the swing arm pivots.
- Grab the front wheel and see if there is play in the axle or upper fork bearings; there should be no movement or play.
- Check the steering head bearing swing as follows: with both wheels off the ground an equal amount, turn the handlebars fully to the left and release. Count how many times the wheel swings back and forth. This should be one to two times for frame mount fairing (shark nose) bikes, two to three times for Road Kings, and three to four times for bar mounted fairing (Batwing) bikes. If necessary, adjust per the service manual.
- Check that the bolts on the front of the gas tank are tight. Also, check the front dash mounting screws.
- Remove the seat and check the back of the gas tank. Also, check that the battery and ECM (if applicable) are secure.
- Check the torque on the nuts securing the exhaust pipes to the heads. They should be 108 to 120 inch-pounds (9-10 foot-pounds).
- On 2009 and up bikes, check the bolt securing the exhaust crossover to the transmission. It should be tight.
- Check the torque on the bolts securing the rear shocks. They should be 35 to 45 foot-pounds.
- Check the front motor mount. On newer (2009 and up) bikes look under the right foot-board; the mount bolt should be roughly centered in the recess in the rubber mount. On older bikes, look under and behind the voltage regulator; the mount should firmly support the motor plate well above the frame crossmember.
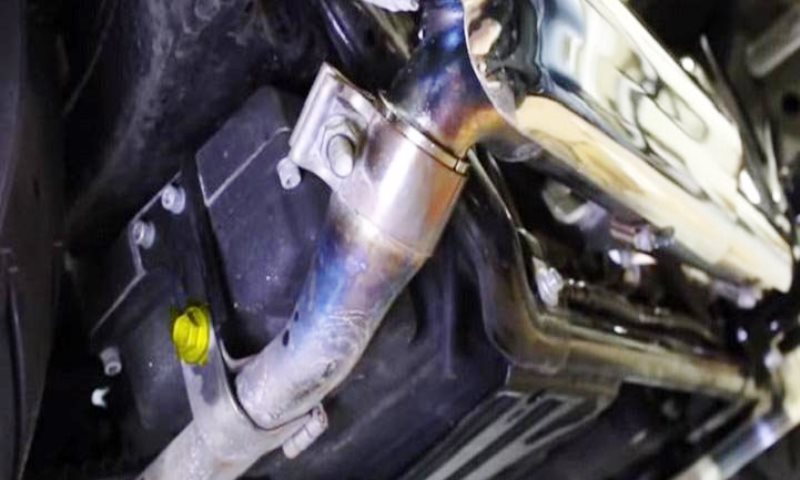
Figure 4. Exhaust crossover mounting bolt (highlighted yellow). 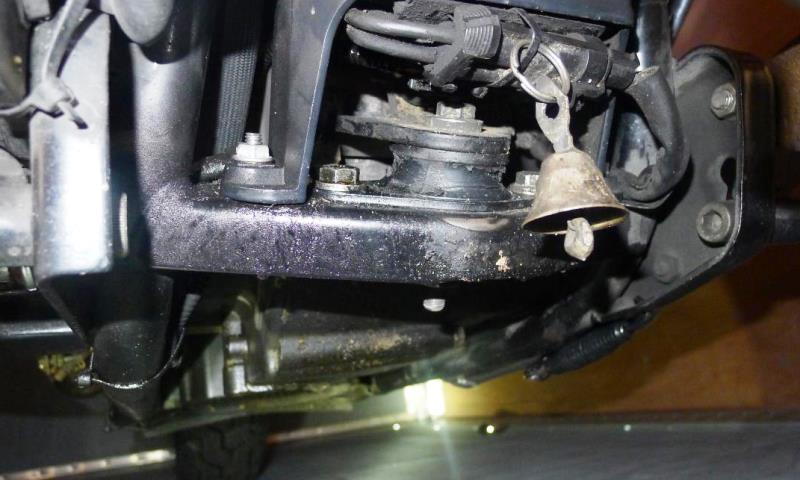
Figure 5. Front motor mount.
Pro Tip
So far we've examined everything that is accessible without disassembly. If you haven't found the source of your noise yet, it's time to start taking things apart. Here is where you should have a helper.
Step 3 – Check inside the fairing
There are a lot of components inside the fairing. We can also get a better look at the front forks and triple trees.
- Remove the bolts that attach the windshield and remove it. Remove the remaining bolts attaching the outer fairing. Have a helper hold it and remove to a safe location.
- Check the headlight mounting brackets first. The rubber mounts should be secure in the holes.
- The wiring connectors should be securely mounted to brackets, so they cannot move about.
- The screws holding the upper fork covers (tin cans), radio and gauges should be tight. Check them all.
- Look carefully at the inner fairing mounting brackets. They may be cracked and require replacement.
- Check the bolts holding the fork tubes into the lower triple tree. They should be torqued to 53 to 57 foot-pounds.
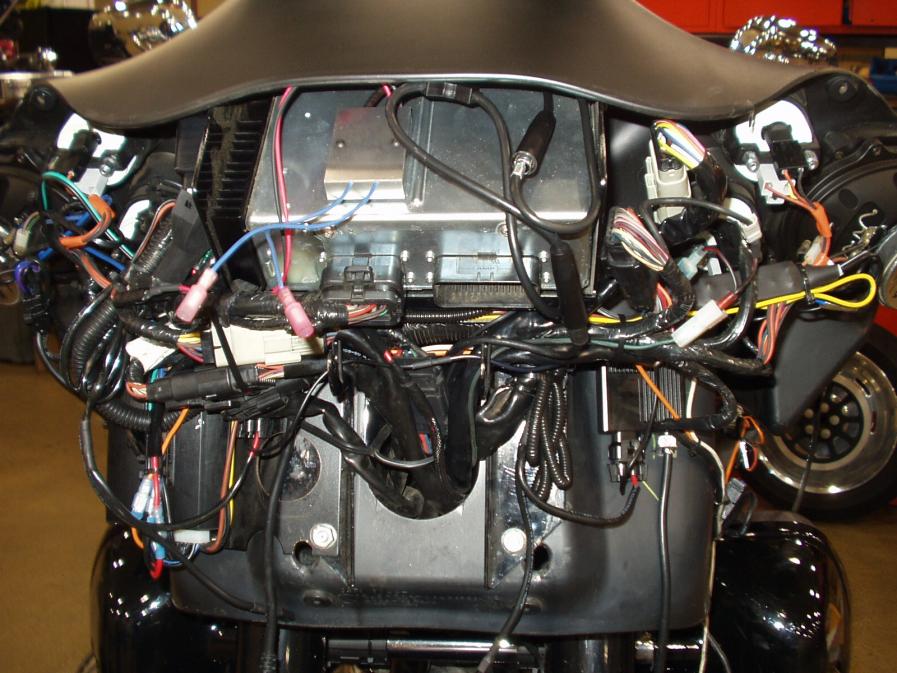
Figure 6. Inside a Road Glide fairing. 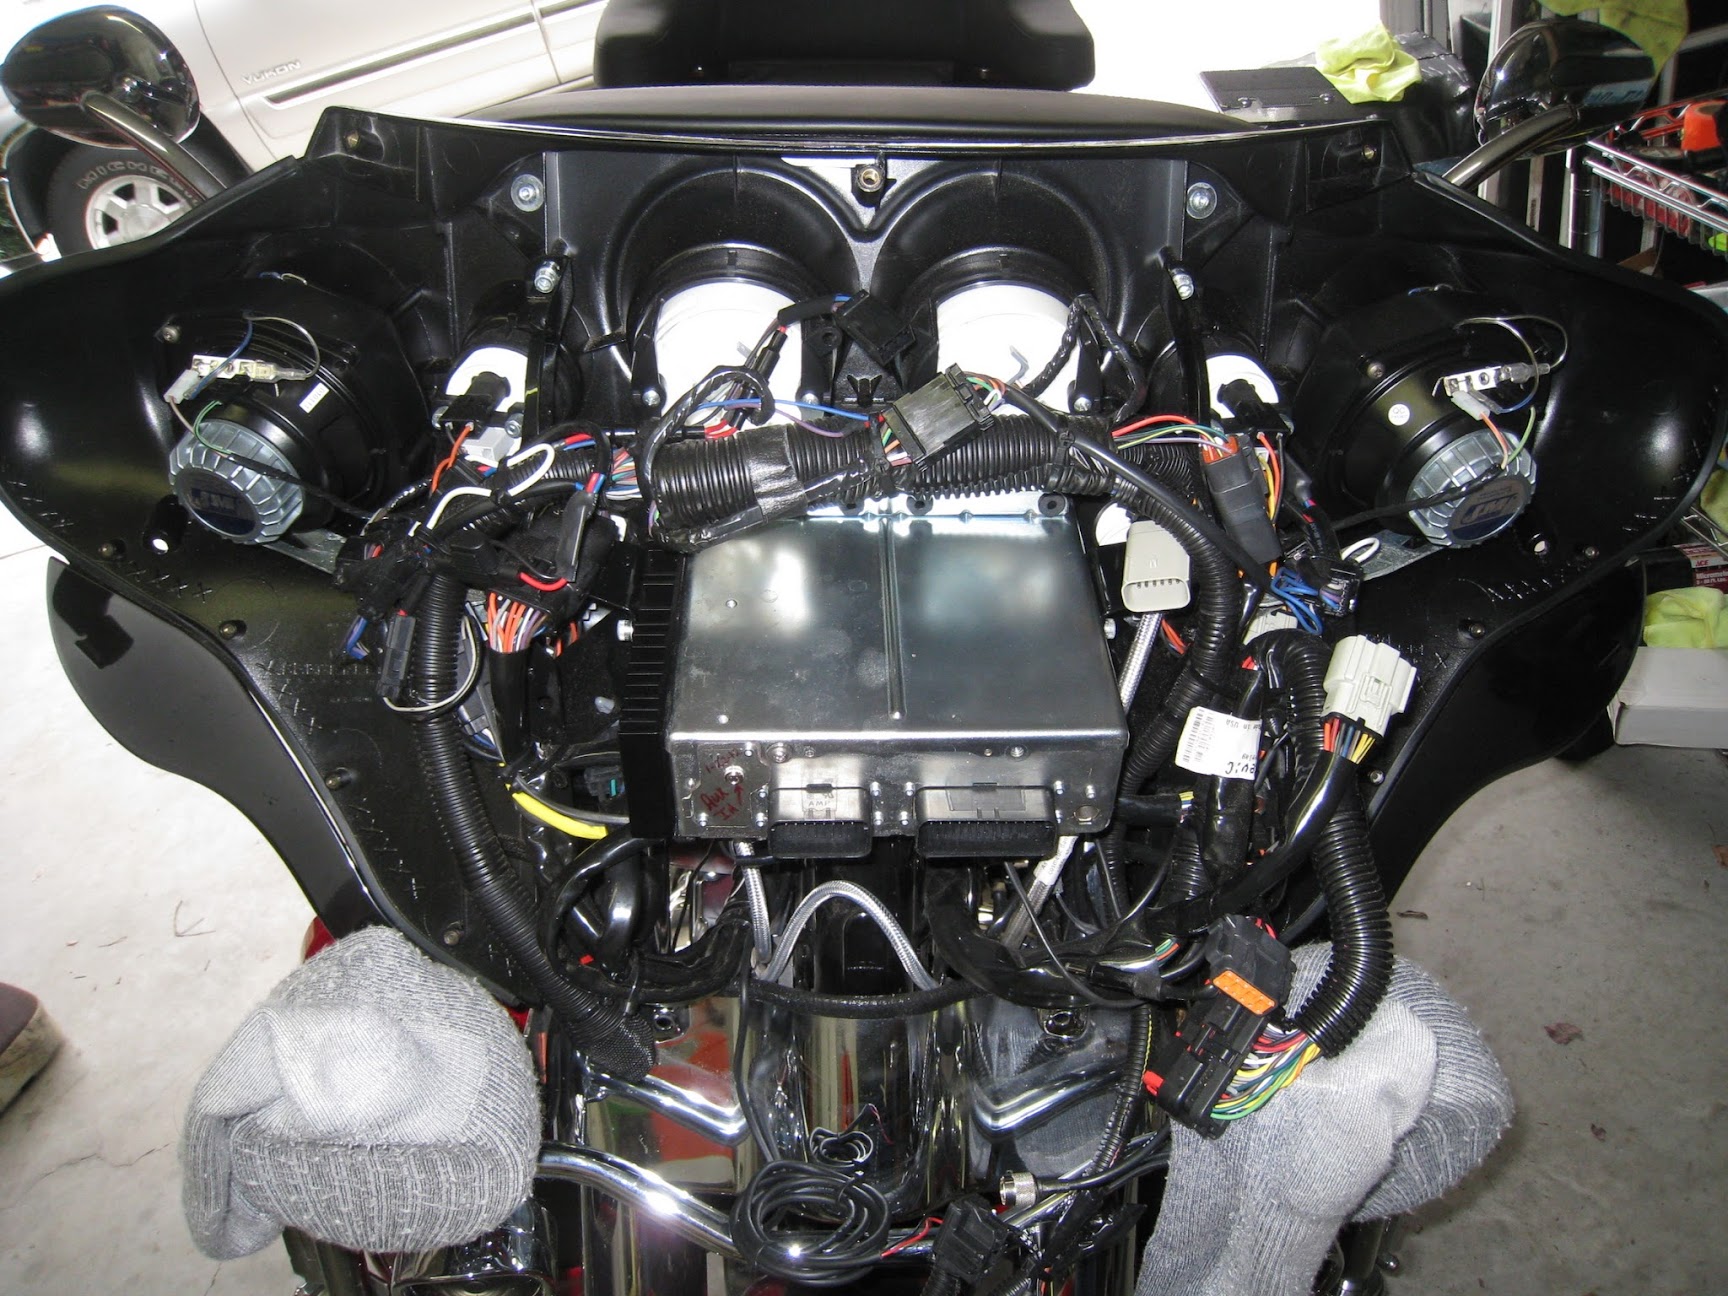
Figure 7. Inside a Batwing fairing.
Pro Tip
Hopefully by now you've identified the source of the noise. Congratulations! If not, it may be time for a professional to take over the search, as it might be inside the forks.
Related Discussions
- Front Fork Loud Bang Noise - HDForums.com
- Weird Banging Sound Question - HDForum.com
- Popping Noise in Front End - HDForum.com