If I recall from doing mine, I fed the throttle wiring and control wiring in from the bottom as one, taped together, and once the control wiring was where I needed it, cut the tape and situated the throttle wiring where I needed it, slid the throttle mech in and reached through the machined slot and plugged the throttle mech harness into the pigtail already in. If your plug is sitting right on the peak, just pull it out a bit towards the bar end and leave some slack up top. Better to have the wiring too loose than too tight. What worked well for me was bending a "U" in the end of a coat hanger and using that from the bar end slot to push the wiring away from the sharp bend internally while pushing from the bottom, then once everything was situated, find something to stuff in the bottom slot around the wiring to keep it held in place.
I ended up ripping apart one of the connectors for the TBW, so now the plan is to cut the connectors off and solder everything together.
What a PITA so far, I hope the end result is worth it!
sixshooter, did you leave the vinyl "sleeve" on your harnesses or not? I only managed to get everything in place and moving easier once I cut them off. Although I did like the idea of extra abrasion resistance.
I can't remember if I did or not. The wiring was a bitch, but I got mine eventually situated after a lot of cursing and beer drinking. If the covering you're talking about fell about where the top bend in the bar is, I'd have done everything I could to keep it on.
I had to run to Radio Shack and grab some shrink wrap which was good because I was going to beat these bars into the concrete in short order.
Now I just need to find the right diagram in the service manual to make sure that the red, white, and black (yellow harness), and the red, white, and black (black harness) get soldered to the correct color wire on the TBW harness.
So, no matter what I try, I cant get the right side of the bars wired internally.
Mostly because the connectors for the TWB assembly wish to reside right in the "peak" of the bars.
If I have the control harness inside the bar, I cant get the TBW harness to push back down once I connect the TBW assembly.
If I do it without the control harness installed, I can get the TBW assembly seated, but then cannot get the control harness back through.
WTF
What worked for me to get the connectors over the peak was a plastic coat hanger that I cut just AFTER the bend... leaving a small upward piece... I beveled that upward piece and put the TBW harness on top of the bevel and slid it inside the bar to the peak... then used it to push and guide over the peak... worked great for me.
Also.. if you haven't got any... get conduit lube from electric supply house.... KY FOR WIRING.... use it all the time at work
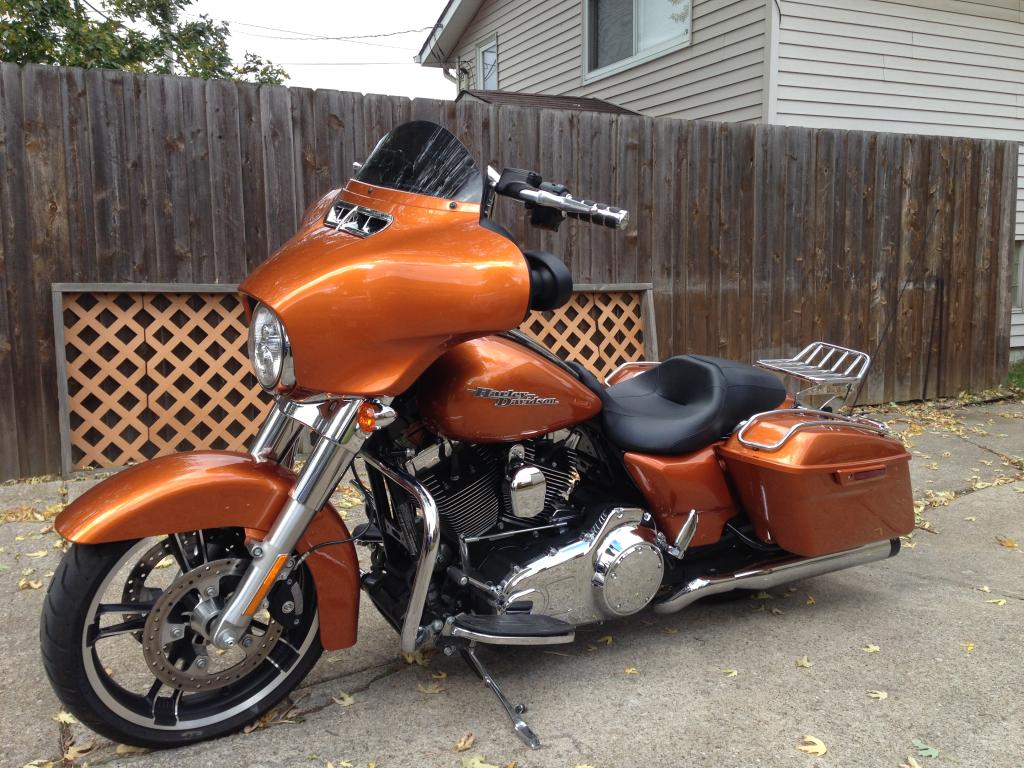
looks damn good man! can't wait for saturday, got a ride planned, then a buddy is coming over to help me install my new primeapes. soooooooo looking forward to it. just hope everything goes smooth.
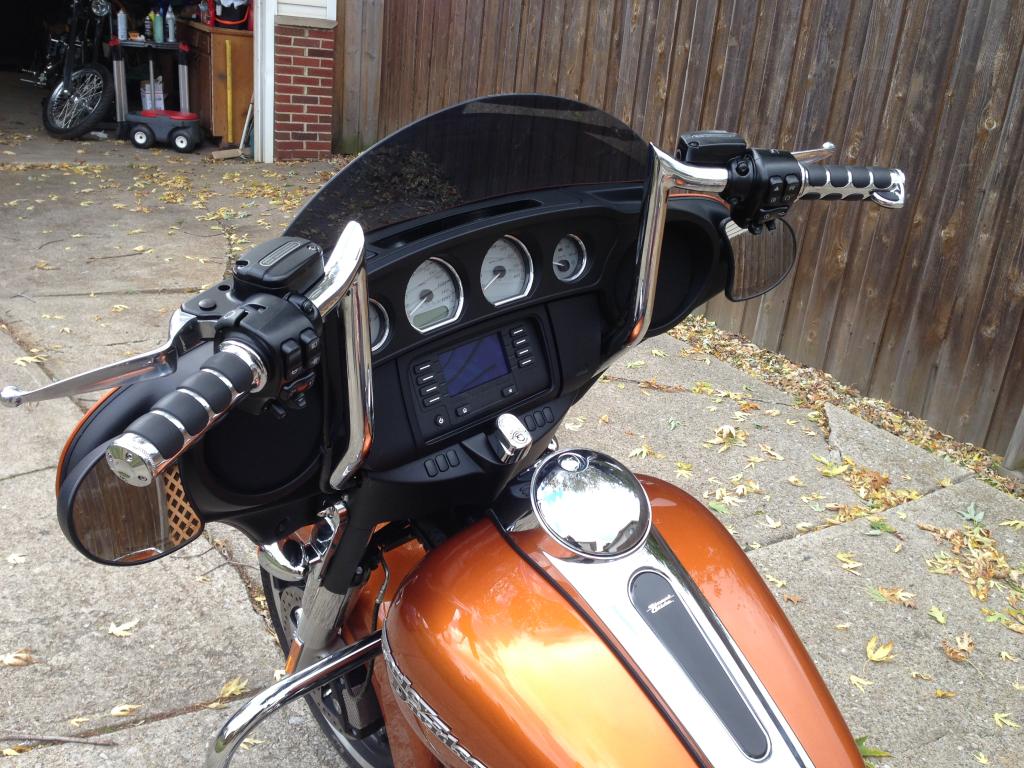
Finally installed mine today. Fishing the all the wires was a real bitch, TWB, switch wires and heated grips. All in, it took me about 8.5 hrs (including a lunch break and clean up), working at an easy pace.
I still am not sure what my permanent solution for mirrors will be. (I don't think I like the way my stock mirrors look on the 12s. A little high for my taste, and I don't care for the under the bar mirror look either. Anyone what's involved in mounting fairing mounted mirrors on a CVO? (There is no holes in the fairing for them.)
I also need to do a little additional brake/clutch line routing to clean them up a bit.

 10-28-2014, 03:48 PM