Dyna Glide ModelsSuper Glide, Super Glide Sport, Super Glide Custom, Dyna Glide Convertible, Super Glide T-Sport, Dyna Glide Police, Dyna Switchback, Low Rider, Street Bob, Fat Bob and Wide Glide.
.
. I've received several emails over the last three years asking about
extracting wires from the ever so popular AMP connectors.
HD uses these in several locations on their machines.
.
I am a strong believer in NOT cutting wires.
remove the lens, then unplug the fitting.
Really very simple to disassemble the electrical connectors
so you can pull the wires thru the standoffs.
I've heard quite a few folks on the forums
brag on how fast they can cut the wire and then solder.
Sadly, that bit of misinformation is a joke.
I can extract several before you can even get out
the snips, soldering gun, solder, shrink wrap, heat gun, etc.
Patience is a virtue while mastering this technique on the first wire.
After that, they get easier.
I can release them in a matter of seconds now.
Same is true for the other connectors that HD uses -
Deutsch, Packard, Delphi -
NO need to BUY SPECIAL extraction tools for any of these.
Here ya go:
Remove the two screws that hold the taillight to it's housing.
Use a small screwdriver to push the lock tab down a little,
and pull the fitting out.
.
.
.
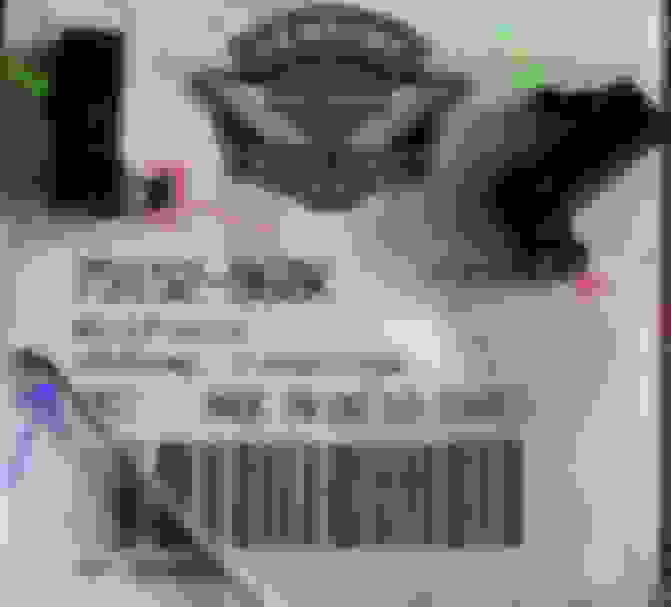
. This image below shows the 2 hole AMP and the tip of the 16 gauge wire I use.
Blue arrow shows a slight bend, and the tip is hammered flat.
Red is the first lock to undo. This is what holds the wires in the fitting.
Green is the tab that you released in the first step above,
it locks the fitting to it's receiver.
Green on the right is opened way up for some of the pix farther down.
Don't bend it out or you will ruin the fitting.
They are cheap, fifty cents or so.
.
.
.
.
Blue below, better shot of the 16 ga tip.
.
.
.
.
Next image you see I put an S bend in my release tool so I can control it better.
Also here you see that I have the turn indicator wire pushed fully IN
while raising the lock tang inside.
.
.
.
.
Now, below, once you have the lock tang lifted,
extract the wire.
.
.
.
.
Don't forget to pay attention to which wire comes from which side of the fitting.
There are small numbers on the housing.
In this case. 1 is purple, 2 is black.
Next two images illustrate where the tang is, and where the tip of my tool needs to be.
Green is pulled way up here simply for the photo.
.
.
.
.
I suggest buying a couple of new sockets so you can fold this way wide open
for your first try at this. If need be.
Little blue arrow indicates how far the end of the tang lifting wire needs to be.
.
.
. .
These are great fittings, but, they are not watertight.
Green below shows a generous dab of dielectric compound on the tip of a little brush.
Red - the fitting is full .
.
.
.
I made two video tutorials.............................
I picked up a little three piece set of tiny screwdriver looking tools from my local auto parts dealer that will undo any type of plug made, if I remember right the kit was like $14, I have used them on many different projects and are a must have !! They work awesome !!
Ok i got it, thank u for the help!! If anyone else has a street bob 17 or simular connector. Its....
Locking TAP up!!! Needle through the bottom hole! Its like a square w a lil square on tipe if it. A house w a chimminey outline if u will. Needle in and push down towards the floor. The tang will slowly but sureley release it as u pull.
I use a length of safety wire because it is a bit smaller diameter. The above illustration does show the right way to do it. It takes a while to figure out the movement of in and down. But once you figure it out, it becomes really easy.
This is what the Molex contact extractor tool looks like.
I used them for years working on avionics. They cost about $5 each and are pretty fragile and will break, so in a pinch we would make them out of old hacksaw blades.
T pins and jewelers screwdrivers will work in an emergency, but they can and will damage the plastic locking tab if done too many times.
I used a sewing needle. Tge first one broke. Trying to wrestle w the connector and tang. The second one was a little bit thicker with less bend and worked like a charm! If i plan on doing more wire work, which i might in the future, i will have to pick up that tool!
yes i put a piece of tap on each wire w a note to where it goes in the connector. I did that for every wire starting from the wires under the seat. Everything is tapped and noted w pen.
Progress is happening but heavy rain in my area has delayed me! I have read that the great bike gear relocation makes the turn signals to short! Doable but very tight. I actually spoke w great bike gear over the phone before ordering. I addressed the concern with the wiring being to short but he said there shouldnt be any issue w clearance. By the way, theyve been great. If i had a question, id call and theyd help me w answers....
If i wanted to extend the wiring for the turn signals, is there special type of wiring i need to get to add onto it to extend it? A certain name for it? Or a size? Or type? Would i be able to get this at a home depot if so? My girl is off sat and sun. So i have those two morning to wrap this up. I work the pm shift. Come monday i will need to rely on my bike to get me to work. Just want to cross my T's and dot my I's on this one. So i dont run into any issues w something like wire shortage and not knowing wat to do.
Is Home Depot the only choice? I've never looked for wire there, but Lowes doesn't have much in the way of small automotive grade wire. An auto parts store might be a better choice.
Regardless, you need stranded copper wire in the 20 gauge range. 18-22 would be fine. I wouldn't worry about high temp ratings that far from the engine\exhaust. Good water-tite protection over the splices is far more important. I like glue-lined heat shrink tubing but non-lined can work OK. Some liquid electrical tape or plasti-dip under normal heat shrink is good too. Heat shrinkable crimp splices are also available, but maybe not locally in small sizes. If water seeps in under the insulation, it can corrode the copper badly within a couple years.
I actually found some 18 copper strand wire at auto zone here in town. So it worked out perfect. I spliced and added a couple of inches onto it. Worked out great. I have extra wire under the seat but id rather have plenty w lots of room instead of barley enough and its a tight constant pull.
i followed this chrisfix guy on youtube. How to salder. Im saldering pretty damn good now. I use all the stuff he suggested so i got a pretty tight seal. Used heat shrink tubing on the individual wires themselves. Then put a bigger sleeve over all three of those w some more heat shrink. Its golden.
progress is coming slowly hut surley. I have one more tail light to do then im good. As u can see the sissy bar in the back. Its the reason i did the relocation. Whew almost there! Thank u for the help! I see the light at the end of the tunnel.
 03-15-2018, 05:31 PM