When you click on links to various merchants on this site and make a purchase, this can result in this site earning a commission. Affiliate programs and affiliations include, but are not limited to, the eBay Partner Network.
Dyna Glide ModelsSuper Glide, Super Glide Sport, Super Glide Custom, Dyna Glide Convertible, Super Glide T-Sport, Dyna Glide Police, Dyna Switchback, Low Rider, Street Bob, Fat Bob and Wide Glide.
.
A few folks have asked about my 121 inch motor,
so I am posting up some info on this.
Real happy with this package.
150 torque 116 HP and a pleasure to ride from zero to the limiter
stop and go, around the curves, InterState power on demand,
1/4 mile high 11s on a street tire, don't matter, this 006 Dyna is a Guided Missile.
(thanks for input from Doug and Kevin at HeadQuarters
John at Hoban Bros DarkHorse CrankWorks
Ed at The Dyno Difference
Phil M
Mark at Javelina HD
etc)
.
.
.
.
Below is a comparison, my Power Curve and another Head Quarters package
with different HQ cam, lower compression, bigger induction module, different exhaust.
160 torque 117 HP.........
.
.
.
.
.
.
.
.
One thing leads to another........
Variable Pressure Clutch and Heavier Spring are must have......
.
.
.
.
I used Doherty Breathing and Filtering and Venting Apparatus.........
.
.
.
.
HPI Induction Module 51mm
don't mistake biggest for better, match the size to the package.
The stock unit is sufficient for many builds,
don't kill the high velocity (air) factor by over doing it.
Control fuel with the injectors.
In my case, the 4.89 injectors.......
.
.
.
.
Exhaust, I am using the DandD BoarZilla........
.
.
.
.
Oil Cooler is not a must, but,
I added a Jagg 14 row cooler.
Made in Sweden by Setrab.
You can find this identical unit in the JunkYards (look under the hood of the Volvos)
.
.
.
.
Built an engine stand for disassembly/reassembly
.
.
.
.
some cases are difficult to separate the halves.
I welded on a piece of angle, for C-clamp assistance.
.
.
.
.
.
.
This is my second build on my 006 88 inch A motor.
First time was a 95 inch HeadQuarters package, same cams, and compression,
also a really nice performing machine.
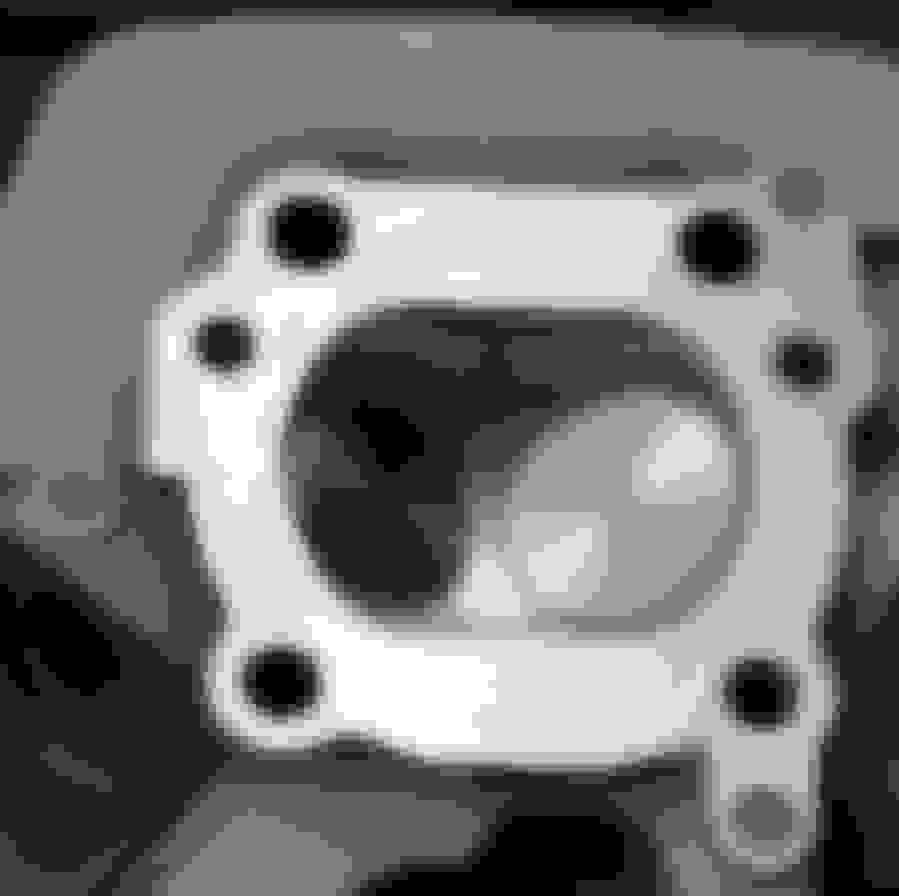
To go to 121, I used the HD oversize cylinders,
which require boring the cases, for the larger spigots,
and HQ resizes the bore to match the CP pistons.
Here below is the stock size 88" piston in the 4.065 bore..........
.
.
.
.
Eleven to One Compression.
CP builds these pistons to Doug's specifications.....
.
.
.
.
To accommodate the 4 5/8" Jim's Stroker wheels,
note that the piston pin is up into the lower ring groove.
This makes for fun when installing the piston into the cylinder.
.
.
.
.
End Gap on the rings (on any build) should always be checked,
and corrected if necessary.
First, use the piston to push the ring about one inch into the bore.......
.
.
.
.
Now, measure the end gap....
.
.
.
.
carefully remove material, if needed.......
.
.
.
.
I use a fine file to deburr....
.
.
.
.
then the big eyes for a careful inspection,
before repeating the measuring (as above).......
.
.
.
.
H-beam rods in the Hoban Bros assembled lower end,
they also trued, balanced, welded, bored, clearanced, and all the other needs...
.
.
.
.
The long stroke motors also require the Jim's Oilers.
unless you want to knock the stock oiler off on the first pass
and burn the motor in about an hour.....
.
.
.
.
Timken Bearings,
and the wheels really do need to be welded, as shown below........
.
.
.
.
.
.
I'm using two deCompression Valves per cylinder on this motor.
Stock spark plugs are plenty sufficient.
.
.
.
.
Doug reWorks the stock TC Heads.
combustion chamber volume is calculated for the desired compression ratio.
In this case, 11:1
1.900" intake valves. 1.625" exhaust.
.
.
.
.
High Velocity HQ porting is shown below.
(HQ head build #7098 as of 07 2008
that's 14,000 heads)........
.
.
.
.
Torque heads....
Small amount of anti-Seize on the threads
and the underside of bolt Heads.........
.
.
.
.
.
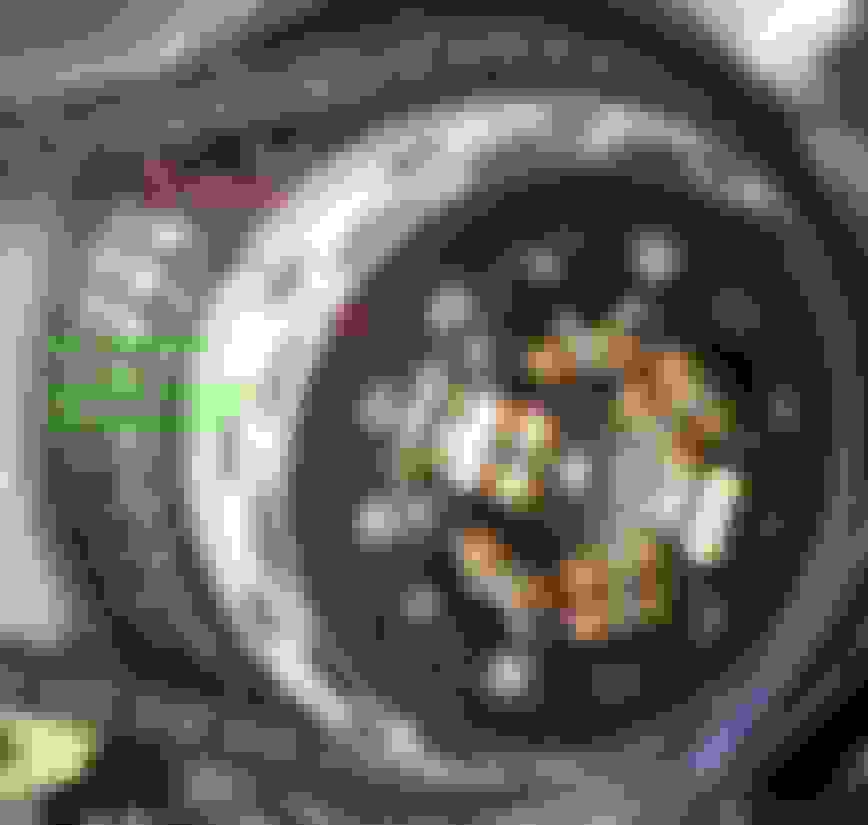
Clearancing is usually required for the higher lift cams.
See below how close the Titanium Collars are in the Rocker Housing........
.
.
.
.
Area of concern is marked,
then I removed material as needed........
.
.
.
.
Now there is room to move safely.........
.
.
.
.
The Rocker Cover also needs attention.
I use wax wads to indicate where and how much to remove.......
.
.
.
.
Plenty of room out here.......
.
.
.
.
A bit close at the tip of the Rocker Arm,
so this cast rib is removed........
.
.
.
.
Before final assembly,
I preCharge the lifters by attaching to my Vacuum Chamber.
There are other ways to fill them with oil, this works for me........
.
.
.
.
I'll add more - - cams, induction module, tuning, etc,
if there is interest.
mud...........
.
Last edited by mud; Mar 4, 2020 at 05:49 PM.
Reason: replace missing photos
Your 60" time is (no offense) not very good. I bet your bike is quicker than that, even with a street tire. I bet you could get the 60" down around 1.7/1.8 at least, and knock another half second off the 1/4.
Nice build, Nice pictures, The torque reading are high at low rpm, what are the spec's on the cam. I have 135 pounds of torque, and I have no traction with the stock tires. I can not fathom 160 Lbs of torque.
Harley-Davidson Fat Boy Becomes a Dark, Decepticon-Inspired Custom
Slideshow: Killer Custom's latest build relies on styling changes rather than performance upgrades, giving the cruiser an entirely different personality.
7 Surprising Harley-Davidson Products that Are Not Motorcycles
Slideshow: The bar-and-shield logo shows up on far more than motorcycles, some of the company's most unexpected products have nothing to do with riding.
Slideshow: From the troubled AMF years to modern misfires, these bikes earned reputations for reliability issues, questionable engineering, or disappointing performance.
Crazy Bunderbike Build Looks Amazing, But Is It Impossible to Ride?
Slideshow: The Swiss custom shop has taken a Harley Softail and stretched it into something so long and low that it looks closer to a rolling sculpture than a conventional motorcycle.
Engraved Rebellion: Inside Bundnerbike's Glam Rock II
Slideshow: A standard cruiser becomes an intricate metal canvas in the hands of a Swiss custom house known for pushing Harley-Davidson platforms far beyond their factory brief.