My build: 98 FLHRCI

#12
 11-19-2012, 09:22 PM

Originally Posted by Tee⋁10572236
My heads looked nothing like that when I did my gaskets. I guess I'm jealous. Dayuum they look really purdy.

#14
11-20-2012, 07:53 AM
Grand HDF Member
#15
11-20-2012, 08:00 AM

Cruiser
Join Date: Oct 2012
Location: Morgantown, wv
Posts: 100
Likes: 0
Received 0 Likes
on
0 Posts
#16
11-24-2012, 09:06 PM
a bit more accomplished tonight.
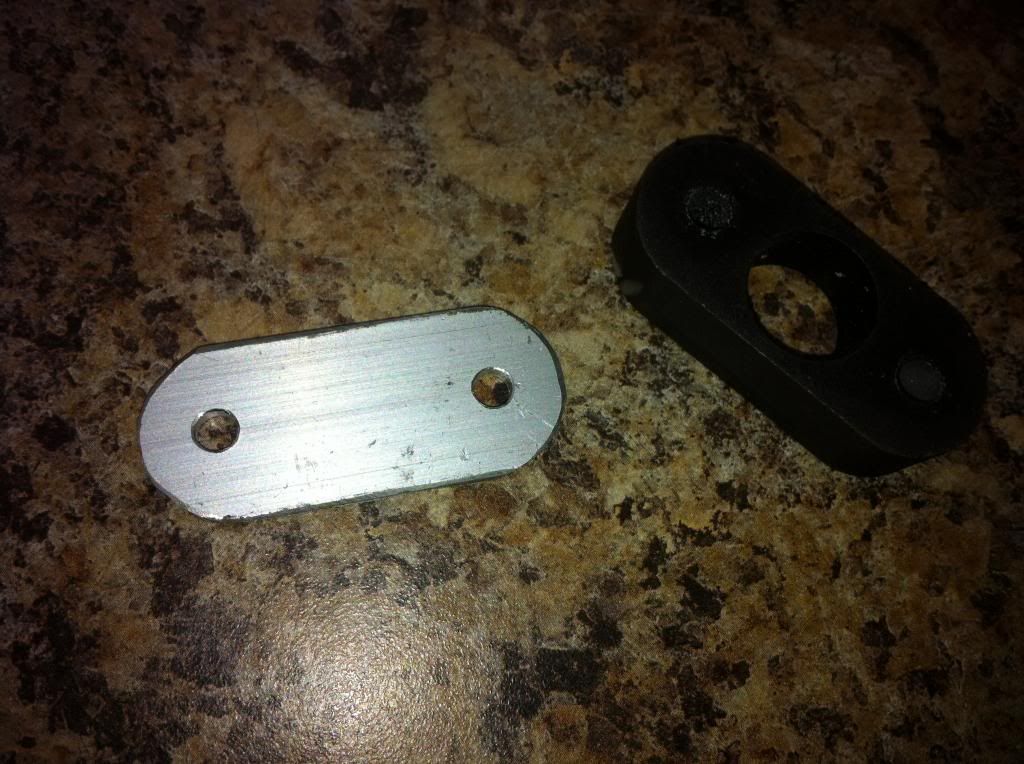
made my new plug for the old crank sensor (gonna make a gasket to fit, and use a bit of *VERY* thinly applied high temp RTV to make sure i dont have any leaks)
oughta be a LOT easier to remove/replace the oil filter now (the sensor got in the way big time)
(old sensor spacers on the right, AKA my template. I'll hit the new block off plate with a little bit of flat black spray paint, and you'll never see it)
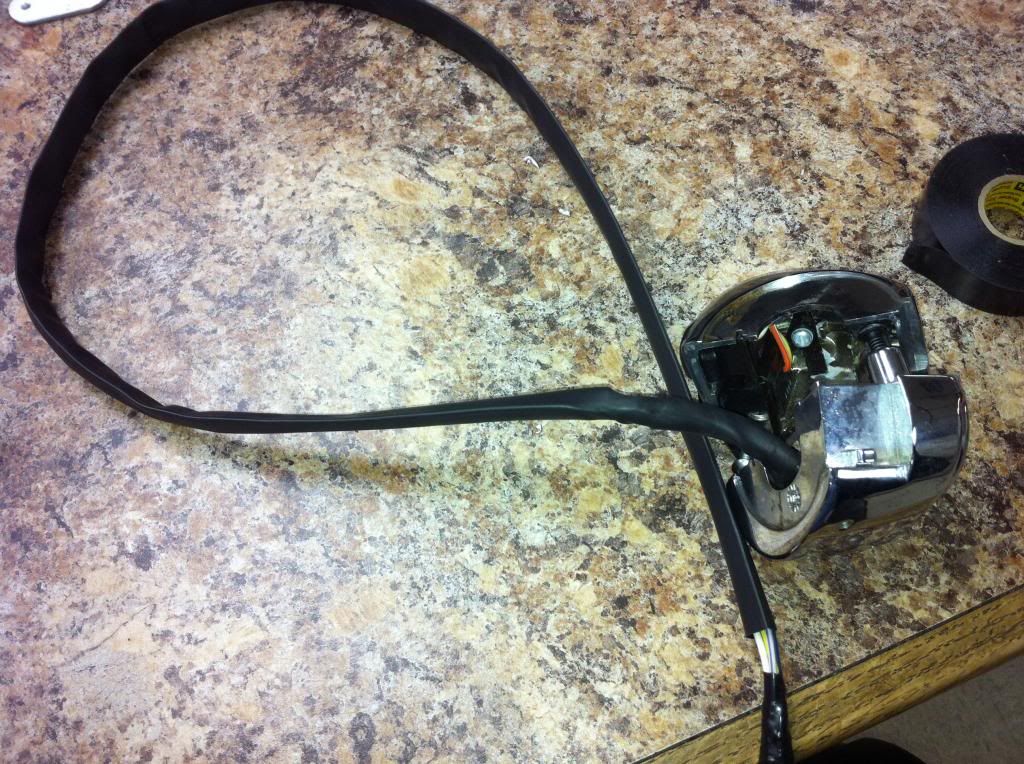
measured out my wiring harnesses for the handlebars, and i needed to extend them ~ 15" to me comfortable (theres plenty of room in the headlight housing to hide the extra inch I added). now my bars will be wired internally. unfortunately I forgot to bring my heatgun with me, so tightening up the rest of the shrink wrap will have to wait til the morning.
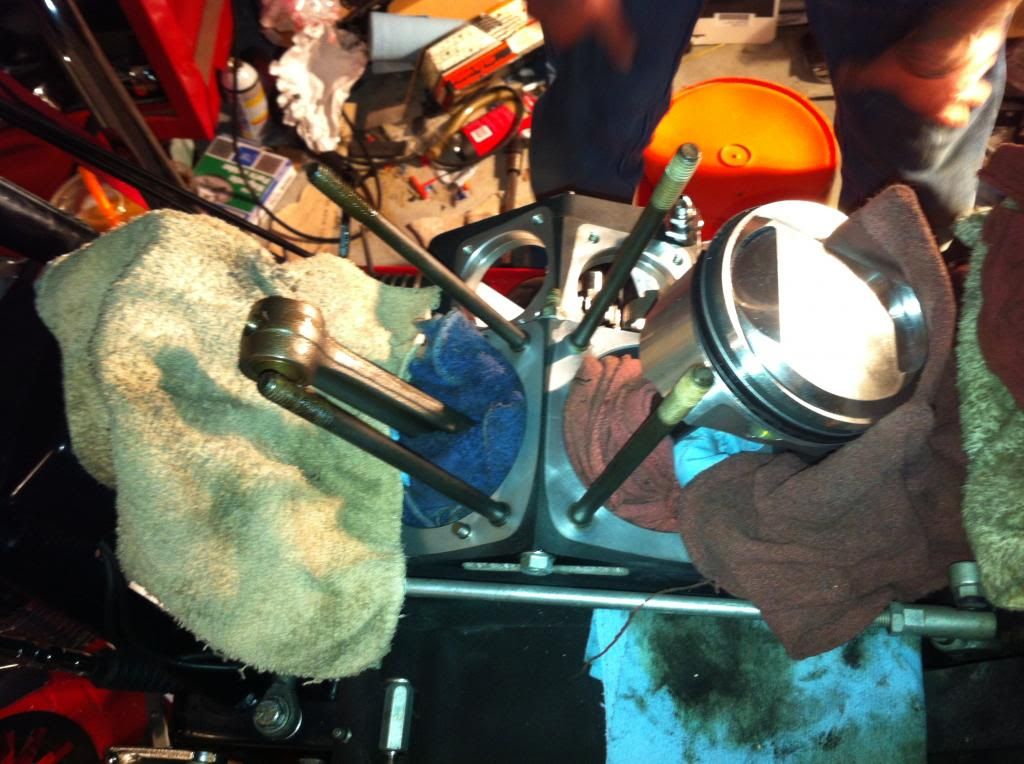
jugs and heads go back on tomorrow too. Just gotta finish mocking up/modifying a new top engine mount to hold my coil and choke, paint it, and I *think* i'm just about done with fab
now....to learn how to install new progressive mono tubes. thats also on the agenda for tomorrow. never pulled the front end of one of these apart before
made my new plug for the old crank sensor (gonna make a gasket to fit, and use a bit of *VERY* thinly applied high temp RTV to make sure i dont have any leaks)
oughta be a LOT easier to remove/replace the oil filter now (the sensor got in the way big time)
(old sensor spacers on the right, AKA my template. I'll hit the new block off plate with a little bit of flat black spray paint, and you'll never see it)
measured out my wiring harnesses for the handlebars, and i needed to extend them ~ 15" to me comfortable (theres plenty of room in the headlight housing to hide the extra inch I added). now my bars will be wired internally. unfortunately I forgot to bring my heatgun with me, so tightening up the rest of the shrink wrap will have to wait til the morning.
jugs and heads go back on tomorrow too. Just gotta finish mocking up/modifying a new top engine mount to hold my coil and choke, paint it, and I *think* i'm just about done with fab
now....to learn how to install new progressive mono tubes. thats also on the agenda for tomorrow. never pulled the front end of one of these apart before
#17
11-25-2012, 08:28 PM
#19
12-01-2012, 09:09 PM
now onto the fun stuff 
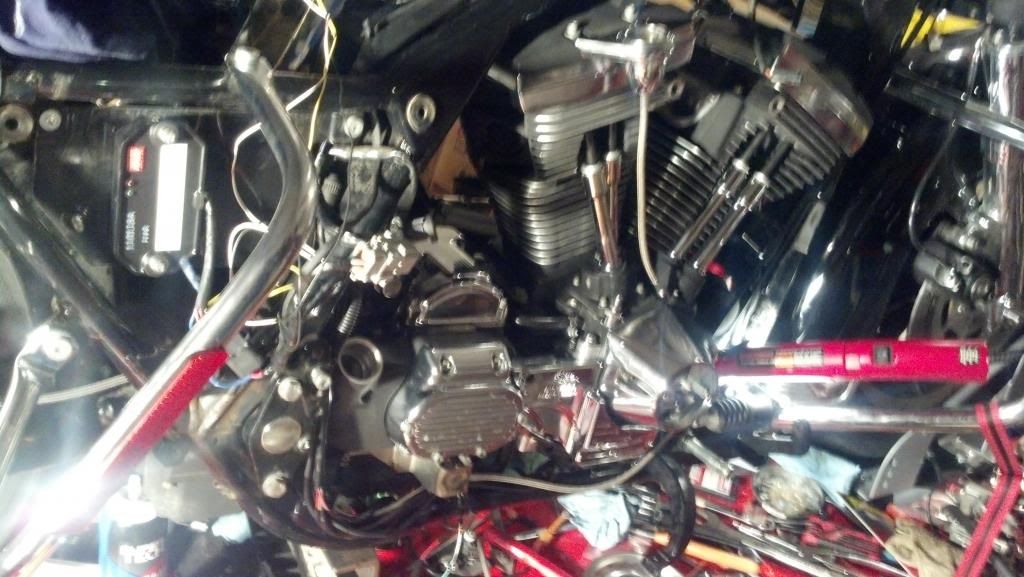
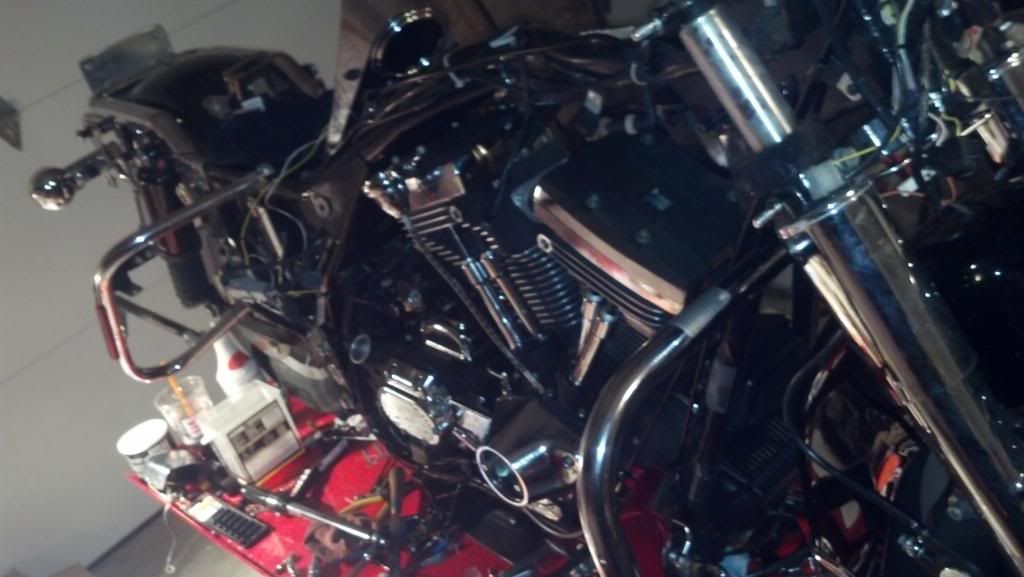
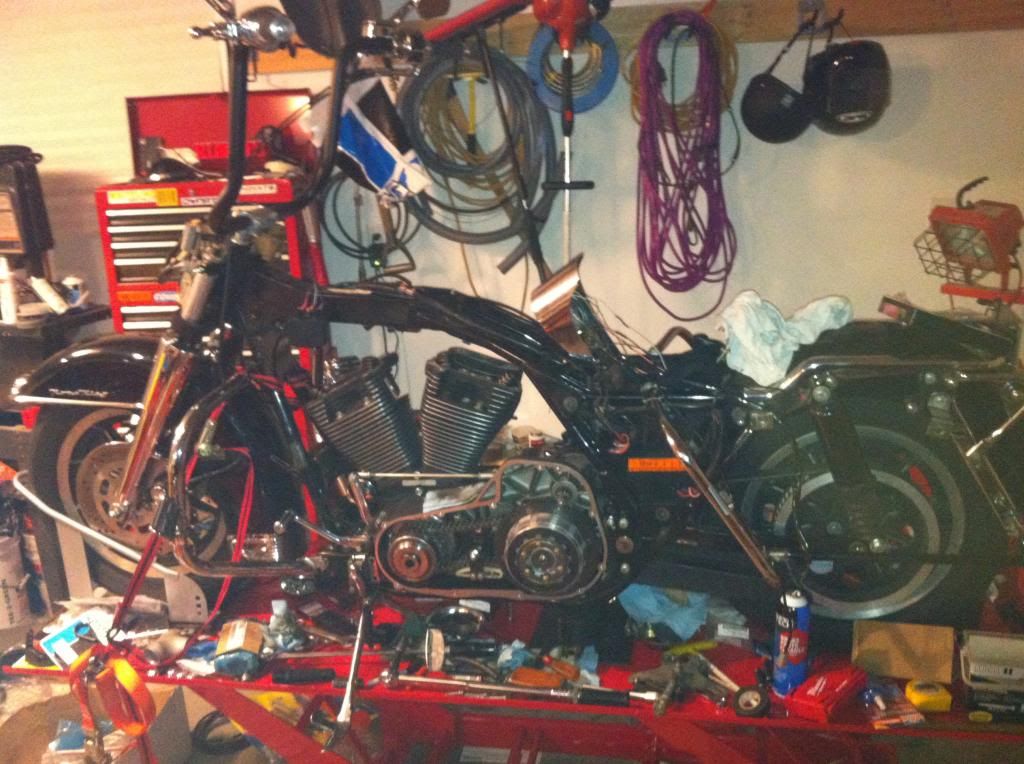
engines reassembled...cam is timed, pushrods are in and adjusted (although I'd like to double check with 1997bagger/miacycles about exactly how tight the pushrods oughta be for the W6 cam). got the racebrace installed, and everything pretty well buttoned up. I'll get the rest of the right side of the engine put back together tomorrow, and mock up the new motor mount (using an FXR mount with the coil mounted on the left side of the engine....hate having to lift the gas tank to get to plug wires). gotta start thinking about where i'm gonna relocate the horn to.
its almost time to start her up
almost forgot, had a great convo with Howard @ motorcyclemetals today, and ive got some new rear shocks picked out (finally). gonna be running a set of JRI B13's (for the riding i do, the all out JRI/Ohlins just arent worth the investment). Just gotta finalize the deal on monday and send him some money. I do wonder how these compare to Progressive 430/444/940's (or similiar). unfortunately I dont know very much about suspension beyond the basics.
go figure, first snow of the season today.
Last edited by Jasper86; 12-04-2012 at 11:53 PM.
#20
12-02-2012, 06:57 AM
Grand HDF Member
Attached a good referance to performance pushtube adjustment, can calculate distance according to threads. Usually 3.5 turns on regular cams but have gone as deep as 4.5 turns with the Woods, the chart listed will give you info on where you are at in depth per turns.
Forgot to mention, looking good!
Harley Davidson's hydraulic tappets max actuation range is .190-.200". (From zero lash to bottoming out) Factory adjustments usually ask for .100-.125" range. I've found they operate the best and the most quiet at .140-.150" range (cold set, not including cylinder growth at operating temps).
More with aftermarket cams then stock cams. Stock cams I set the pushrods at .125" or so.
Regardless, you need to know what thread pitch your pushrod threads are to adjust them properly.
TPI = threads per inch.
To find this, simply use a thread gauge, or count the threads in a one (1) inch section.
Keep in mind there's 6 wrench flats (flat sides of a nut) per 360* (full) turn of the pushrod adjusting nut.
1 complete 360* turn of a pushrod = 6 flats.
The most common thread groups are:
32tpi = 3.2 turns to .100" (.03125" per turn/.00520 per flat)
30tpi = 3.0 turns to .100" (.03333" per turn/.00555 per flat)
28tpi = 2.8 turns to .100" (.03571" per turn/.00595 per flat)
24tpi= 2.4 turns to .100" (.04165" per turn/.00694 per flat)
I run 24 tpi SE pushrods, set at 3.6 turns = .1499 tappet depth.
So, depending on your Brand/TPI, you would adjust the pushrod that many number of turns and be in the middle of the tappet depth range.
Brand list: (There are more. This is what I have.)
Revolution Performance Chromoly � 32 tpi
Jims Pro-Lite � 24 tpi
Slim Jims � 32 tpi
Andrews � 28 tpi
Andrews � 32 tpi
Crane New Time Savers � 28 tpi
Crane Old Time Savers � 24 tpi
Crane � 32 tpi
H-D � 32 tpi
S&S � 32 tpi
Screaming Eagle � 32 tpi
Screaming Eagle- 24 tpi
Rivera Taper Lite � 40 tpi
Rev Tech � 36 tpi
Adjusting a tappet requires a cold engine, due to cylinder growth at operating temps, changing the tappet operation depth. (slight decrease as the cylinder grows taller.)
Depending upon the Brand/TPI pushrod being used, the procedure is to get the lifter for the valve being adjusted on the base circle of the cam. The "Base Circle" of the cam is the lowers point the tappet rides on, indicating the valve is completely closed at that time.
The pushrod is then adjusted to the point of 0 lash.
"Zero Lash" is the point where there is no up/down play and but pushrod can still be turned easily using your oil covered thumb and index finger.
From that point, the pushrod is adjusted (extended) the required number of turns or wrench flats to set the plunger in the approximate center of the tappet's travel.
(.200" max = .100" center: See chart above for tpi and turns to .100")
After adjusting a tappet, it's critical to allow that tappet to sit for 15-20 minutes to bleed down and allow oil to escape from the hydraulic unit. Before turning the engine over to adjust another valve, you have to be able to spin the pushrod of the last adjusted valve with your fingers (now bled down) or you'll bend a pushrod or worse yet, bend a valve.
__________________