Harley Davidson Dyna Glide: How to Replace Spark Plugs and Wires
Old spark plugs and wires can make a huge difference in the way your bike runs. They are cheap and easy to replace, too! Why wouldn't you take advantage of that?
This article applies to all Dyna Glide models (1991-2016).
Getting spark is essential to making power reliably. New plugs and wires are a great start to upgrades on your motorcycle. Some people, like myself, change their plugs almost as often as they change oil. While that isn't necessarily required, a pair of plugs are cheaper than a quart of engine oil, and they really can make a difference! Keep reading and I'll walk you through it.

Materials Needed
- 5/8" spark plug socket and ratchet
- Dielectric grease
- Spark plugs (I prefer NGK)
- Spark plug wires (I prefer ACCEL for all my vehicles)
- Wire brush (optional)
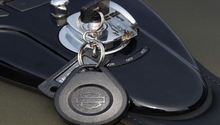
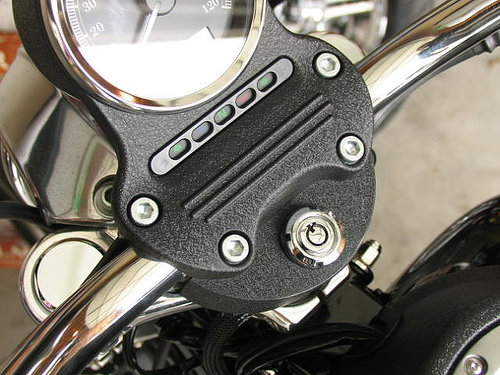
Step 1 – Ensure that the ignition is off
Verify that the bike's ignition is off completely. Make sure that the key is in the "OFF" position. You could actually disconnect the battery here for further safety and reassurance if you were so inclined, but it is not necessary.
Pro Tip
If your ignition switch is not clearly marked, simply twist the key as far counterclockwise as it will go and remove the key. Do not use too much force when turning your key!
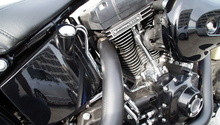
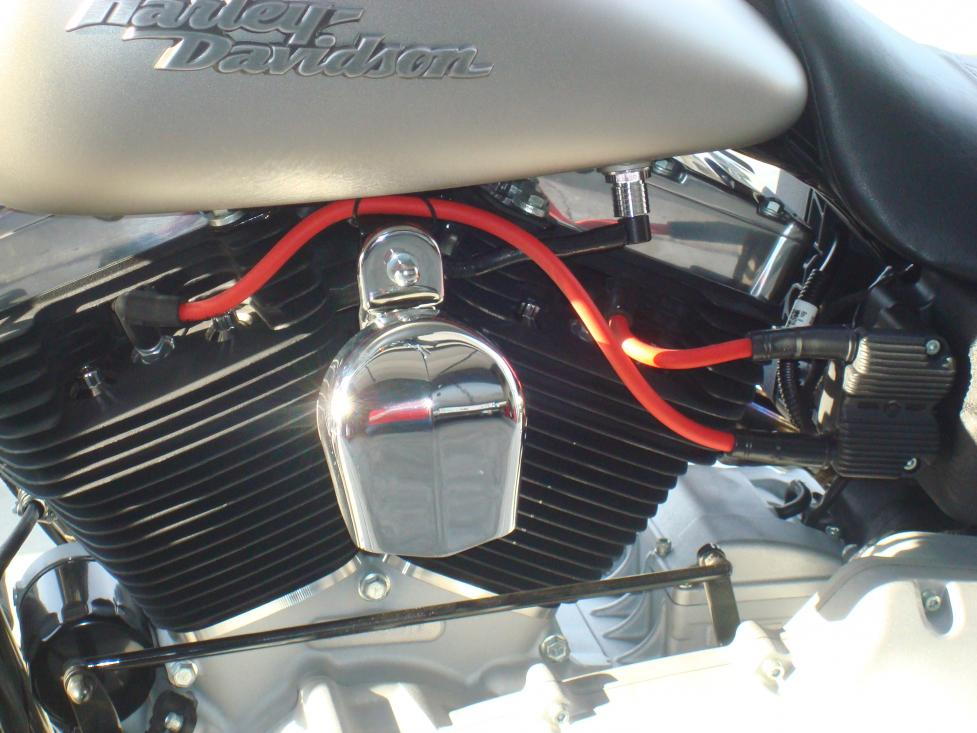
Step 2 – Disconnect the old spark plug wires
They will just pull off of the ignition module/coil and the spark plugs. Make sure to pull them directly off of the connections by gripping the thicker boots, not the thinner wire itself. If you are replacing the wires with a new set, you can discard these. Pay particular attention to what ends of the wires are connected to the plugs and which ends are attached the the ignition module. If you need help remembering, you can take a picture of the old wires on the bike with your cell phone before you start.

Pro Tip
Check the connections inside the old wires for corrosion. If you are reusing them, be sure to clean them well with a wire brush.
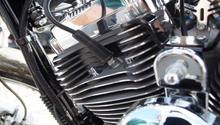
Step 3 – Remove old spark plugs from the cylinders
Brush any dirt or debris off the motor in the area around the spark plugs to avoid getting it in the cylinder when you remove the plugs. Using a 5/8" deep well socket, carefully remove the plugs from their place in the cylinders' heads.
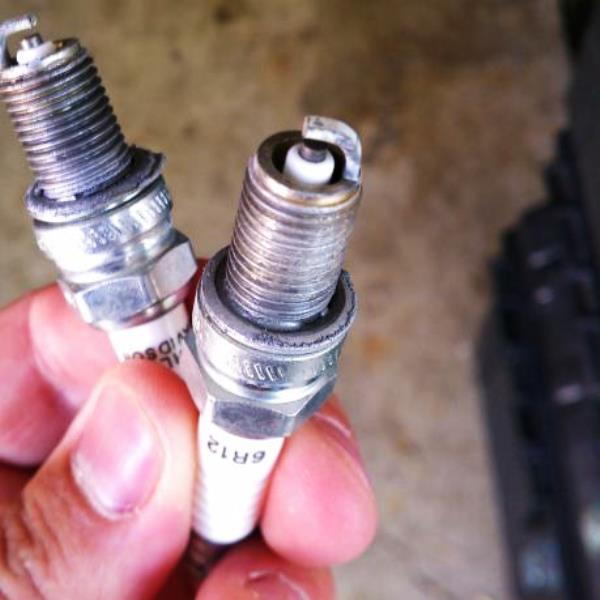
Pro Tip
Visually inspect your old spark plugs before discarding them. The color of the tip of the plug can indicate how well your engine is running.
Step 4 – Install new spark plugs and wires
Place your new plugs in the cylinders and tighten them gently by hand. Starting the plugs by hand helps reduce the risk of cross-threading the holes. Spark plugs should not be over-tightened; the rule of thumb is to snug them up little more than finger tight, then add 1/4 of a turn to crush the gasket ring. Any more than that, and you run the risk of cracking the cylinder or breaking off the plug. Using dielectric grease, cover the conductor at the end of the spark plug where the wires connect as well as the connectors on the ignition module. Connect the spark plug wires oriented in the same way the old wires were connected. Wipe off any dielectric grease that squeezed out when the wires slid on.
Pro Tip
Hand-tightened plus 1/4 turn is what most people use, but if you would like to use a torque wrench, you can. The torque value for spark plugs is 12 to 18 ft/lbs.
Related Discussions and Site
- Plug Reading 101 - HDForums.com
- Spark Plug Wires - HDForums.com
- How to Read Spark Plugs - OnAllCylinders.com