Harley Davidson Touring: How to Replace Spark Plugs and Wires
Eventually we all want to learn how to do our own motorcycle maintenance. Fortunately, changing spark plugs and wires is a good start at learning how to maintain your bike. Even if you are an experienced mechanic, there are certain precautions you must take to keep your bike running right.
This article applies to the Harley Davidson Touring Models (1990-2016).
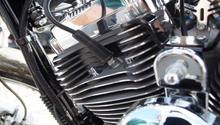
Spark plugs provide the ignition that burns the gasoline that makes your bike go. They have to operate under very severe conditions of temperature and pressure. Fortunately, ignition system and spark plug technology have improved to where they are very reliable, but it doesn't hurt to check or replace them every 10,000 miles to ensure the best performance. Wires typically last longer, but can be damaged if they rub against the frame or motor.
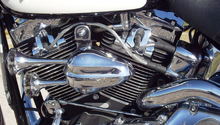
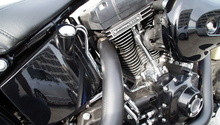
The spark plug wires on some models may be hidden under the gas tank. This article assumes you can get you hands on the wires and the clips that hold them in place. If you need to lift or remove the gas tank, the job becomes moderately harder. Refer to your service manual or the link at the bottom (Related Discussions) for procedures.

Materials Needed
- Spark plug wrench (5/8")
- Spark plug gap gauge (wire-type)
- Torque wrench
- Assorted hand tools to remove seat and gas tank if needed.
Step 1 – Disconnect spark plug cables from spark plugs
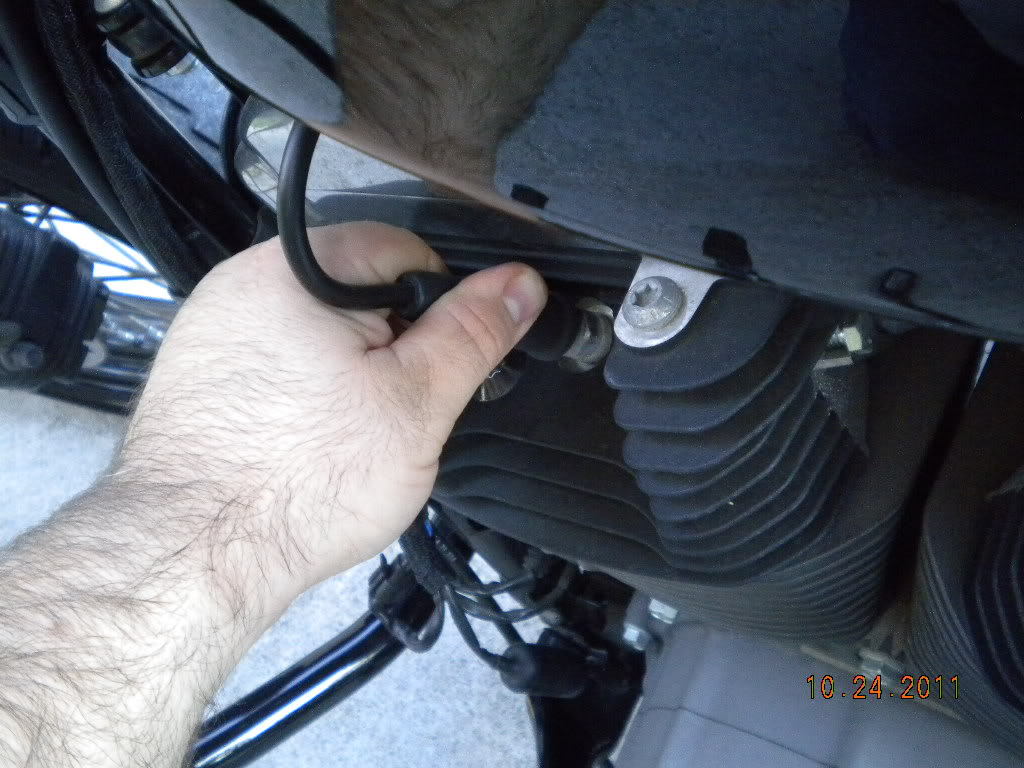
Firmly grasp the rubber boot around each spark plug and pull the wire away from the plug. Do not pull on the wire itself. Mark each wire front or rear if not obvious.
Step 2 – Remove the spark plugs
Clean the area around the spark plugs to avoid dirt getting into the motor. Remove spark plugs with a 5/8" spark plug socket and ratchet.
Examine each plug center electrode tip when removed. They should be light grey, or tan. Black deposits indicate too rich of a mixture, a weak ignition, or oil burning and should be investigate further.

Pro Tip
The 2006 and up Harleys with EFI use "ion-sensing' anti-knock technology to provide optimal ignition timing. This technology reads the current flow to each spark plug to detect spark knock. The system requires a plug with 20k ohms resistance to function properly and most aftermarket plugs are 6k ohms. Use of any plug other than the stock HD-6R12 plug can cause a malfunction.
Step 3 – Set the spark plug gap
Using a wire-type spark plug gap tool, measure the gap on the new spark plugs. There should be a very slight drag on the gauge when passing a 0.040" (0.038"-0.043") gauge between the center and outer electrode. Bend the outside electrode with the tool to obtain proper gap.
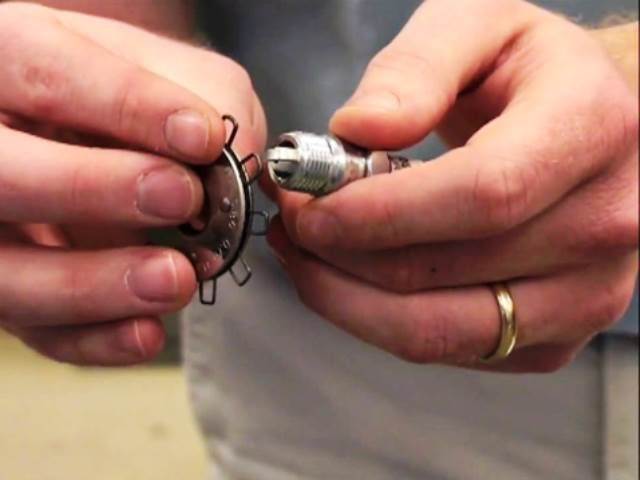
Pro Tip
Do not pry against the center electrode to move the outer electrode. It is delicate and will break.
Step 4 – Install the new spark plugs
Check the condition of the spark plug threads in the cylinder heads. If necessary, soften deposits with penetrating oil or clean out with a spark plug thread chaser. Apply a very light coating of anti-seize to the spark plug threads.
Install the plugs finger-tight, and then torque to 12 to 18 foot pounds. If you don't have a torque wrench, tighten plugs an additional 1/4 turn after finger-tight.

Step 5 – Re-install the old plug wires
If you are changing the wires, skip this step and go to Step 6.
Add a little dielectric (ignition) grease to the boots and push them onto the plugs, ensuring they go back to the correct cylinder. You should feel a definite snap when they are fully seated.
If you didn't take the tank or seat off, you are done! Otherwise, put it all back together and go for a ride.
Step 6 – Remove the old wires from the coil
Firmly grasp the rubber boot and pull the wire away from the coil. Do not pull on the wire itself. Mark each wire front or rear if not already done.
Follow each wire and remove from the clips. Note where they go for installation of the new wires.

Pro Tip
Match up the lengths of the new wires with the old and install to the same cylinder.
Step 7 – Install new wires
- Put the new wires in place, following the same path as the old ones. Make sure you use all of the original clips to avoid rubbing the wires.
- Add a little dielectric (ignition) grease to the boots on the coil end of the wires and push them onto the posts. Ensure they go on the correct post.
- Add a little dielectric (ignition) grease to the boots and push them onto the plugs, ensuring they go back to the correct cylinder. You should feel a definite snap when they are fully seated.
- Adjust routing of wires to avoid them being pulled tight or rubbing on any hard parts, such as the motor or gas tank.

Pro Tip
The 2006 and up Harleys with EFI use "ion-sensing' anti-knock technology, which reads the current flow to each spark plug to detect spark knock. The system is designed to be used with stock spark plug wires. Use of other spark plug wires may cause a malfunction.
Related Discussions
- Easiest Way to Replace Spark Plug Wires? - HDForums.com
- Changing Spark Plug Wires - HDForums.com
- 2009 & Later - Gas Tank Removal - HDForums.com