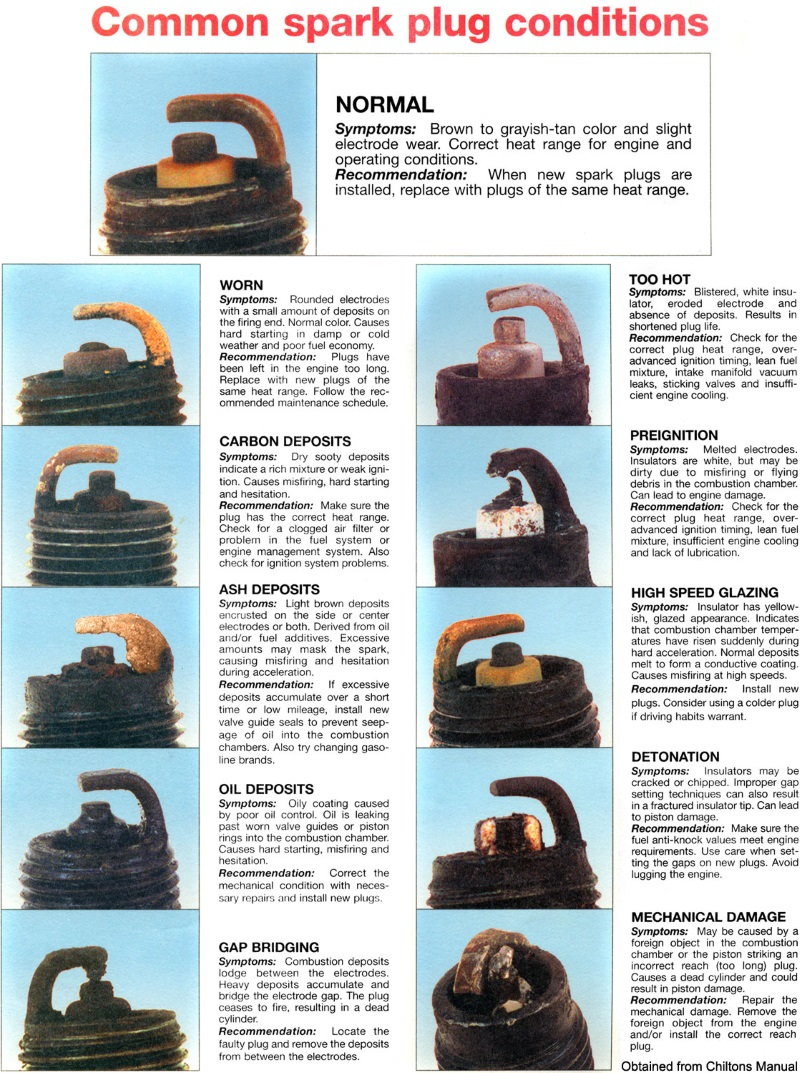
Harley Davidson Softail: How to Replace Spark Plugs
The spark plugs ignite the air/fuel mixture inside your engine. As the spark plug electrode gap increases due to wear, there becomes a point where the ignition system cannot generate enough energy to make the plug spark. Harley makes the plugs easy to access and replacement is fairly frequent at every 10,000 miles.
This article applies to the Harley Davidson Softail.
Spark plugs are made from various highly conductive metals to maintain strength and easily transmit the battery's voltage to the spark plug. Just as important as the materials it's made from is the gap between the electrode and ground electrode. This determines the sparks temperature and how much air pressure the spark can take before it no longer arcs. Plugs that are not replaced at the recommended service interval may promote engine hesitation, misfires (especially at wide open throttle), and reduced fuel economy.

Materials Needed
- Ratchet
- Spark plug socket (13/16" or 5/8")
- Small ratchet extension
- Torque wrench
- Two new spark plugs
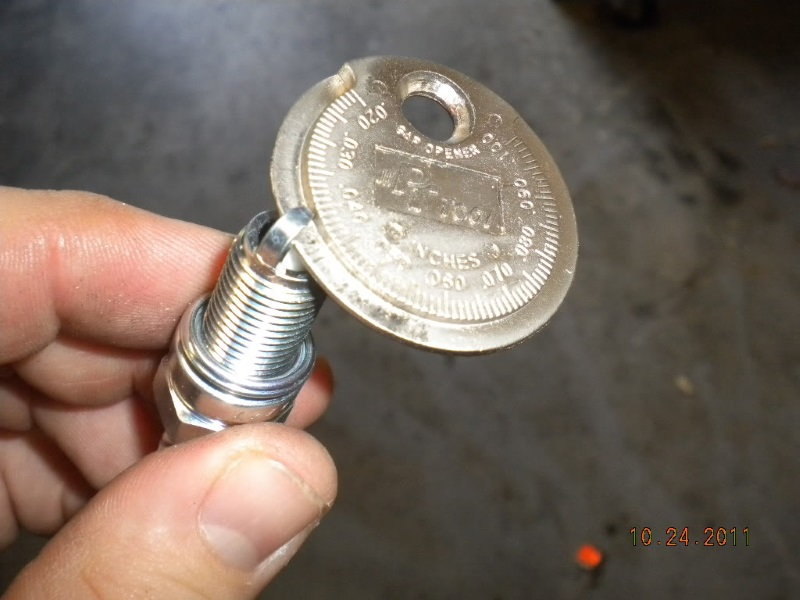
- Spark plug gap measuring and adjusting tool
- Anti-seize
- Owner's manual
Refer to your owner's manual for the specific spark plug type and part number. A copy can be downloaded from their website Harley-Davidson.com.
Step 1 – Locate spark plugs
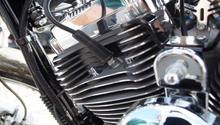
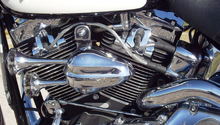
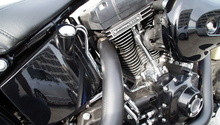
There are two spark plugs on your Softail. They're located on the same side as your kickstand and below the gas tank.
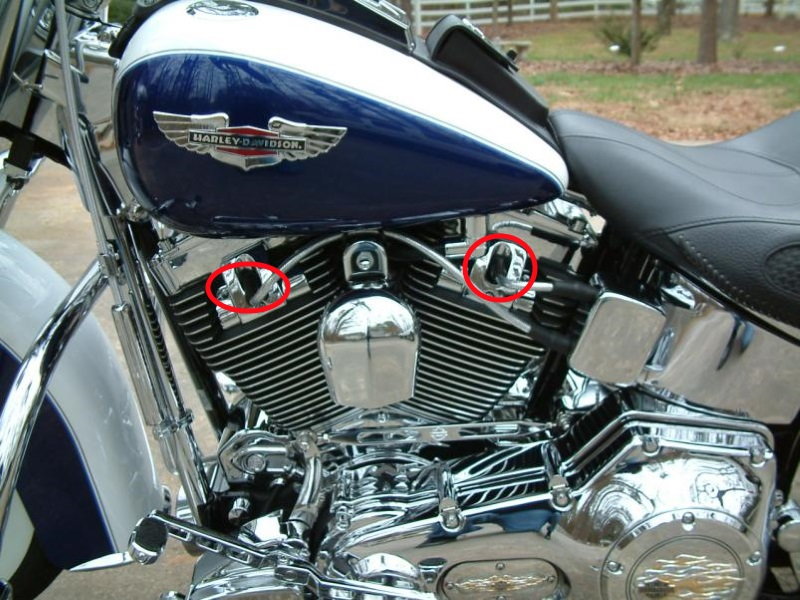
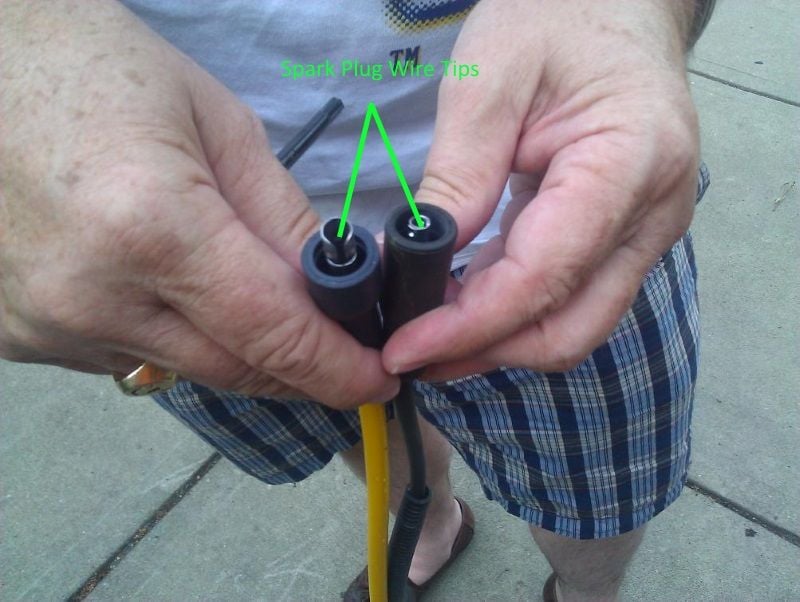
Step 2 – Remove spark plug wires
Clean off any dirt around the spark plug with compressed air. Pull the spark plug wire from the boot (not the wire) away from the spark plug. You'll feel it disengage from the tip.

Step 3 – Remove spark plugs
Your spark plugs may require a 13/16" or 5/8" socket. Turn the plugs counterclockwise with a large ratchet to remove them.
Once they're removed, look at the tips to get an indicator of how your engine is running.
Step 4 – Install new spark plugs
Ensure your spark plug gap is correct. You'll need a spark plug gap measuring and adjustment tool. Carefully pry upwards on the ground electrode to widen the gap and push the ground electrode against a hard surface to narrow it. Most mid and late 2000's models require a 0.40" gap. Lightly coat the spark plug threads with anti-seize. Thread the spark plugs in by hand. Most mid to late 2000's models recommended torquing the spark plugs to 15 ft/lbs. Check your owner's manual for specifications on your model year.
Step 5 – Re-attach spark plug wires
Place the spark plug wire boot over the spark plug tip and push straight down. You'll feel the boot tip snap onto the spark plug. Start your engine and listen for any rough running. This may be a misfire caused by an incorrectly installed boot. Shut off the engine and lightly twist/push down on the boots.
Featured Video: Harley Davidson Spark Plug Replacement
Related Discussions
- Best Spark Plugs to Use - HDForums.com
- Spark Plugs - HDForums.com