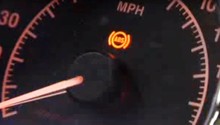
Harley Davidson Sportster: What's Wrong with My Rear Brake Light Switch?
Before you go on and replace that brake switch half a dozen times, find out what is causing it to malfunction. The following information points out three common problems that could be contributing to switch failure.
This article applies to the Harley Davidson Sportster.
A malfunctioning rear tail light is one of the most common problems seen on a Sportster. There have been reports of some owners replacing the unit two to three times of year due to it failing. However, the problem many not be due to a series of faulty switches, but instead of its location. The main sources of switch malfunction is due to heat, water or environmental debris damaging it. Listed below are the three ways the switch can fail, along with solutions you can do to avoid it from happening again.

Materials Needed
- Brake fluid
- Soldering iron
- Heat shield kit
- Bottle
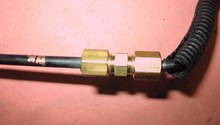
Step 1 – Check brake lines
There may be some debris stuck in the lines.
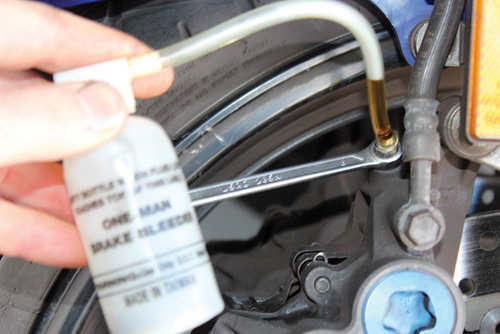
If the switch has failed numerous times, check the lines themselves. If there is air in the lines or some small piece of debris, the switch will not receive a signal when it's pressed. To fix this issue, use the break bleed procedure listed below.
- Locate the master cylinder.
- Cover the bleeder screw with a piece of vinyl tubing, attaching the other end to a catch can.
- Press the brake lever and loosen the bleeder screw until fluid travels into the catch can.
- Continue the process until no more bubbles come out of the fluid.
This process must also be used every time a new switch is replaced.
Related Articles
- How to Replace Rear Brake Line - HDForums.com
- How to Replace Brake Fluid - HDForums.com
- How to Replace Brake Master Cylinder - HDForums.com
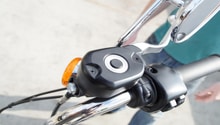
Step 2 – Check for water damage
Water may have shorted the switch.
Since these switches do not have any safe guards, water can often find its way into the wiring and leading them to being shorten out. Once this occurs, the switch themselves have to be replaced. After you replace the switch, make sure to place a rubber cap on top to help protect the wiring from any water hazards.
Step 3 – Check for burnt wiring
The heat from the exhaust may have caused the unit to fail.
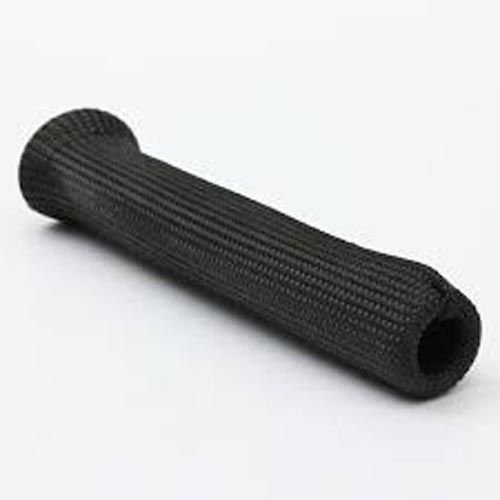
A quick look at all these issues shows one common denominator, the placement of the switch. This same rule applies to switches that sustain too much heat. Since the units are mounted near the exhaust pipe, the heat can eventually melt or burn its wiring. You can not salvage the switch once it is burned, but you can replace the unit and install a heat shield. To install a heat shield, simply slide the sleeve over the component after installing it.
Related Discussions
- Rear Brake Light Switch Went - Again!!! - HDForums.com
- 05 Sportster Rear Brake Light Switch Reply - HDForums.com
- Replacing the Rear Brake Light Switch - HDForums.com